Good Face Cream for Mature Skin: A Natural Shea Based Recipe

IMG_2665.jpg

The shea butter experiments have been going well! Over the last ten or so days, I've whipped up so many creamy and nutritive concoctions. Every day is starting to feel like a spa day. Today's recipe was inspired by my mother in law who has been asking for an all natural shea based face cream that she could use to counteract wrinkles and signs of age.

The truth is, this natural facial moisturizer for mature skin can really be used at any age, 25-105, as it's never too early to begin taking care of the delicate skin on your face and decollete.

Good Face Cream for Mature Skin: A Natural Shea Based Recipe

ood Face Cream for Mature Skin: A Natural Shea Based Recipe

I love this formula and keep a little jar on my dresser. I use it every night before bed. The natural facial moisturizer for mature skin draws upon the powerful anti-aging properties in turmeric, sea buckthorn oil and frankincense. All of which have been used for thousands of years to combat signs of aging and wrinkling-the natural way!

If you'd like to whip up a batch to try, here's what you'll need:
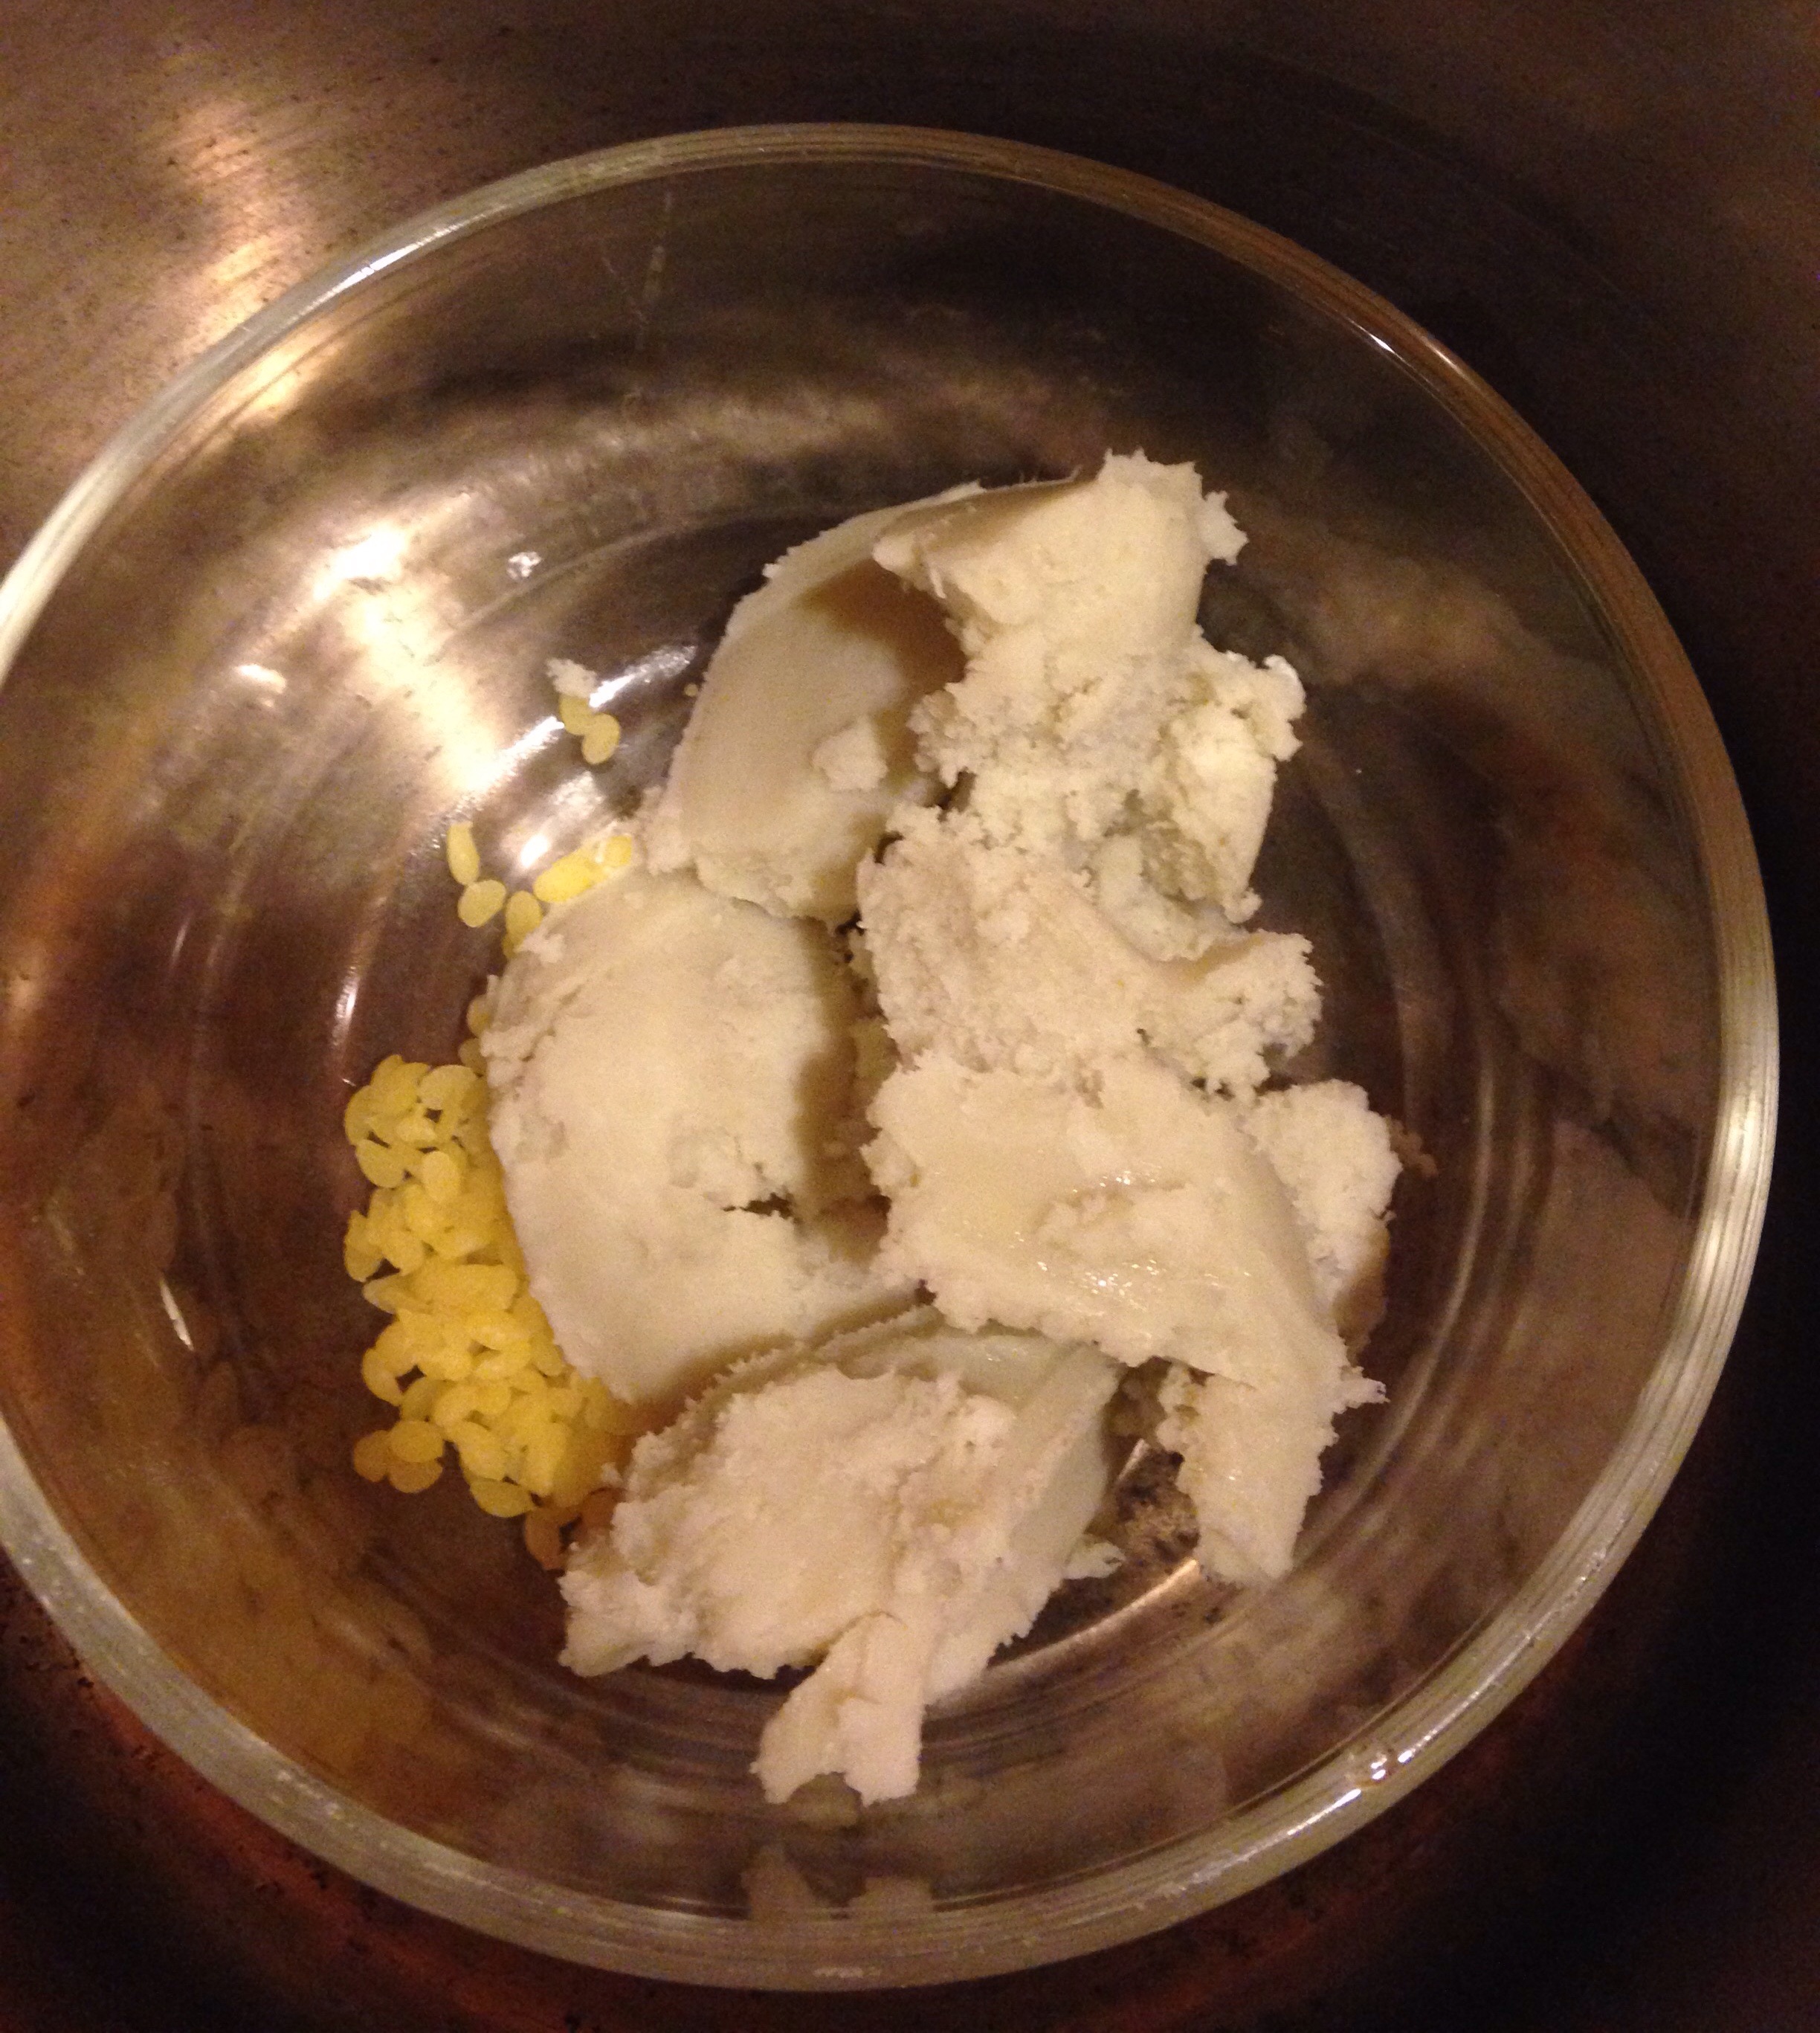
1/2 cup shea butter

1/2 teaspoon sea buckthorn oil

1/8 teaspoon turmeric

35 drops of frankincense essential oil

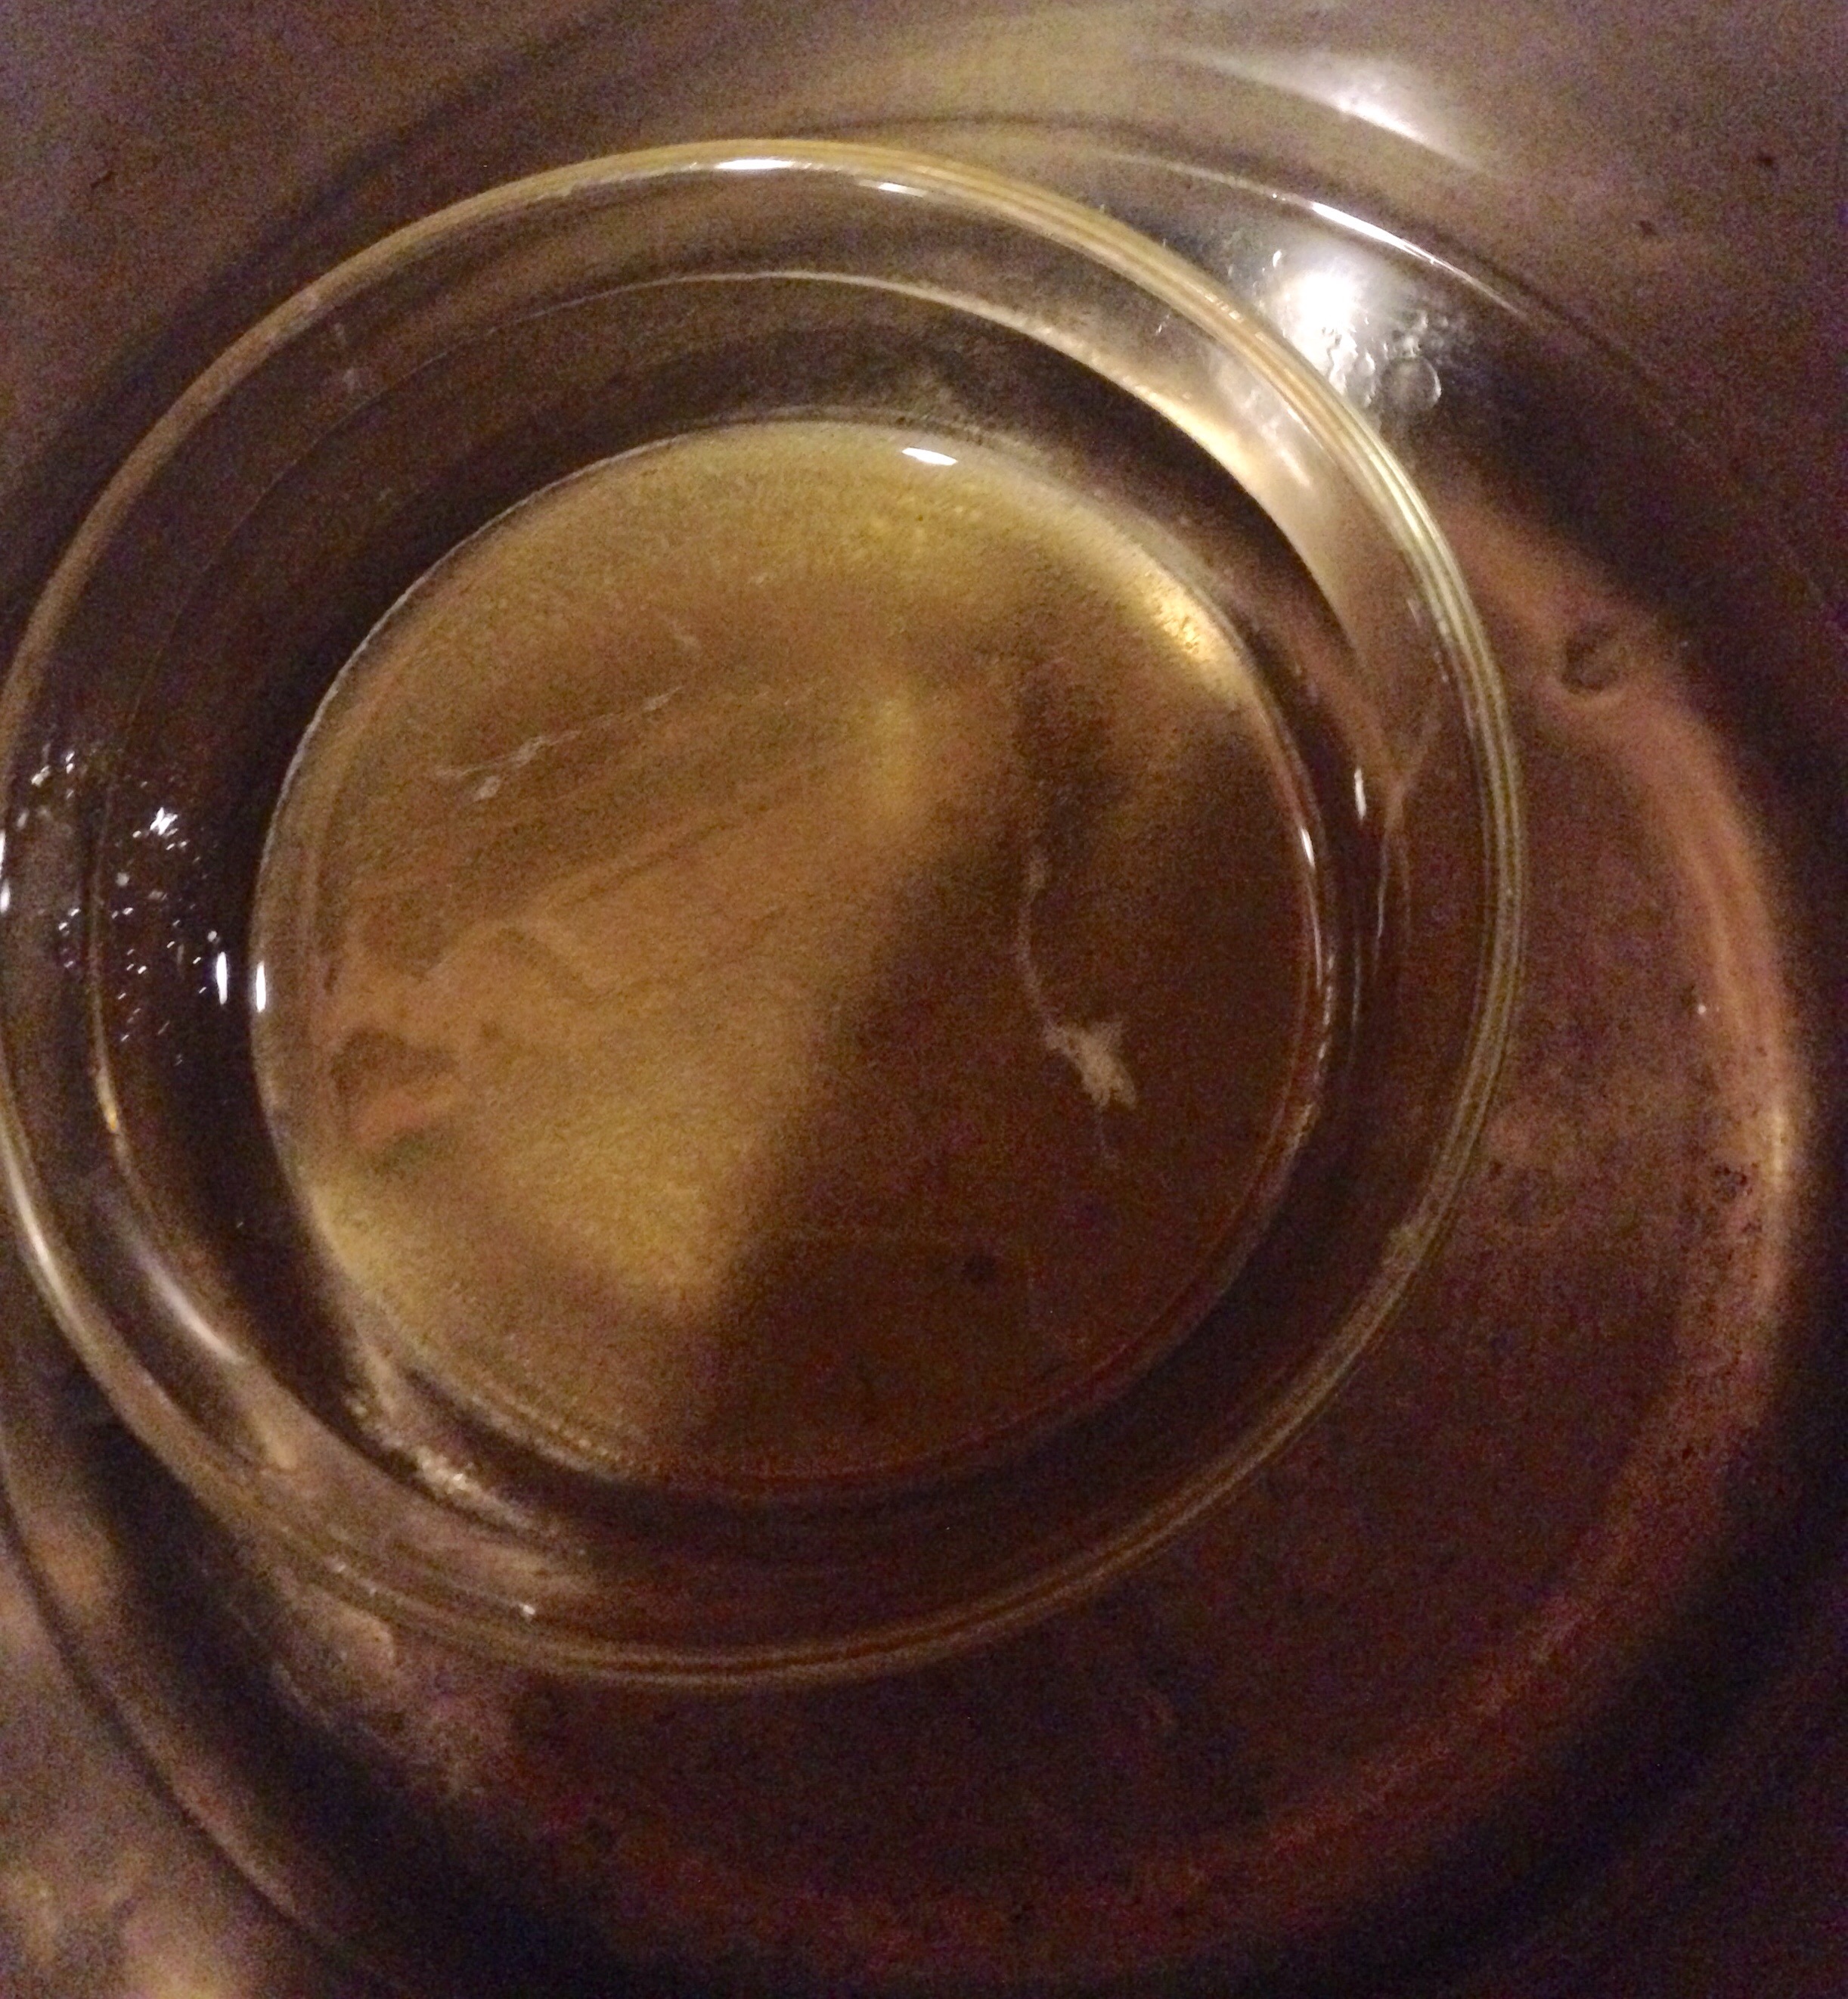
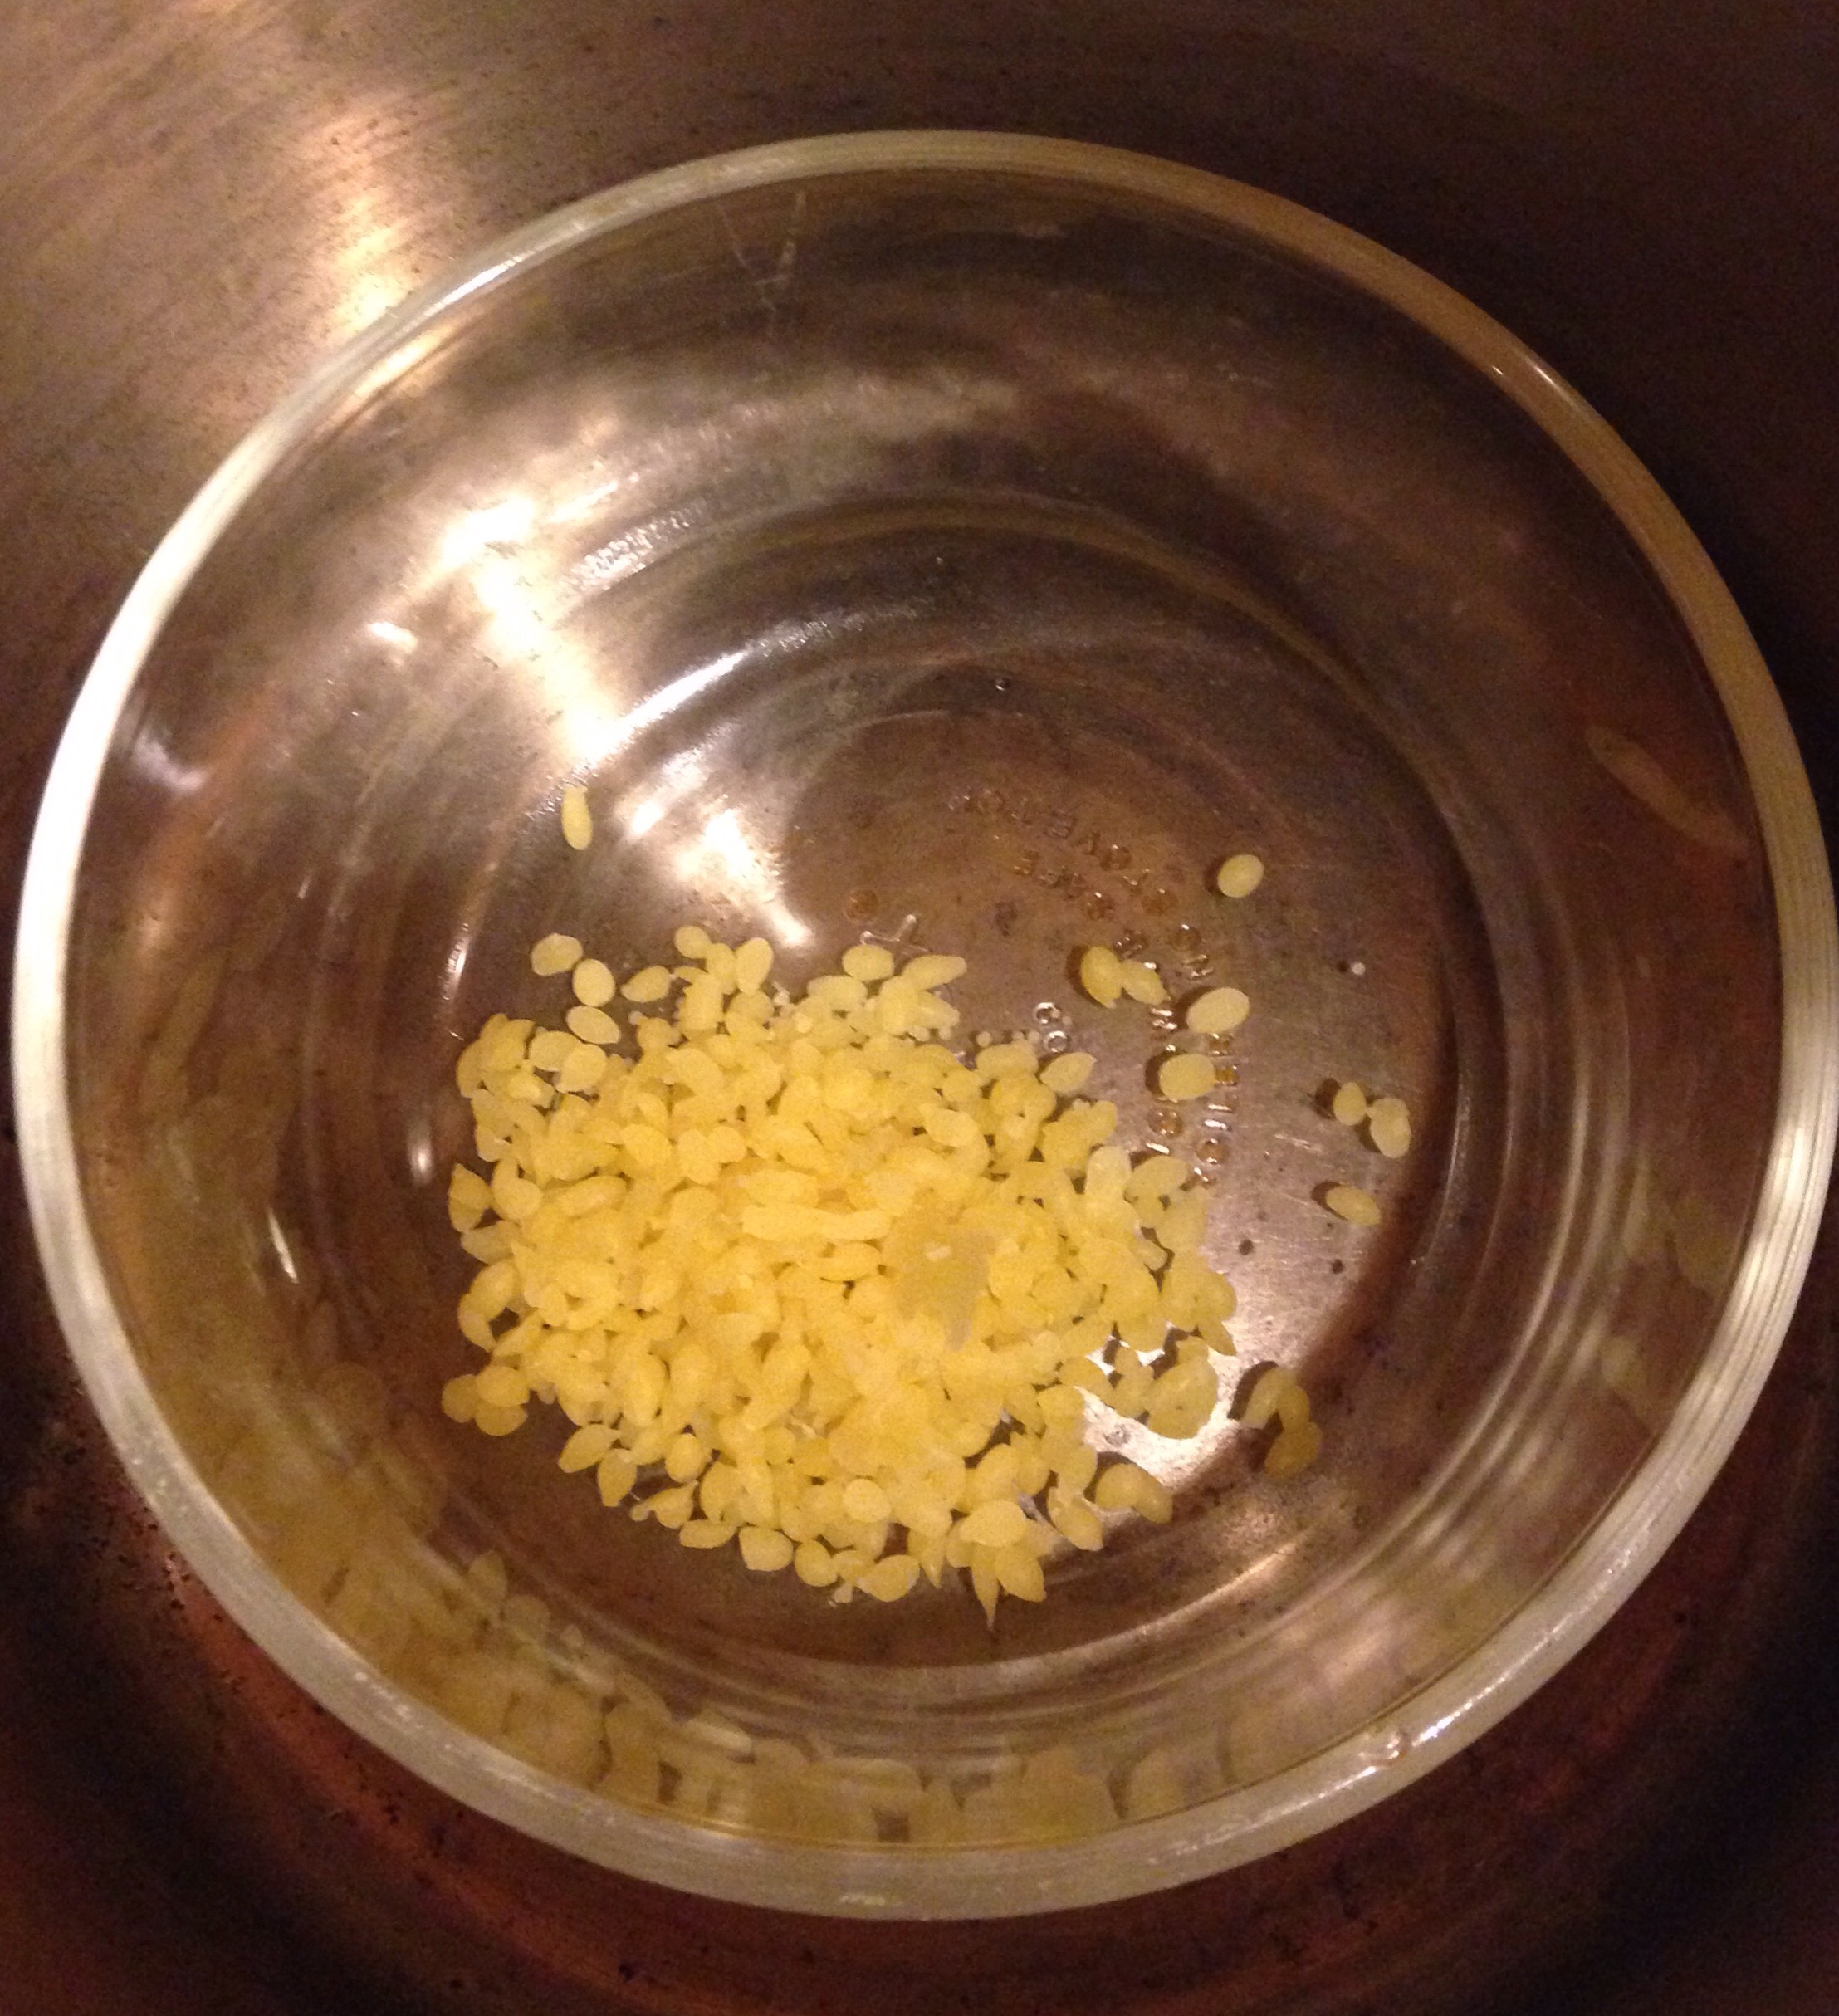
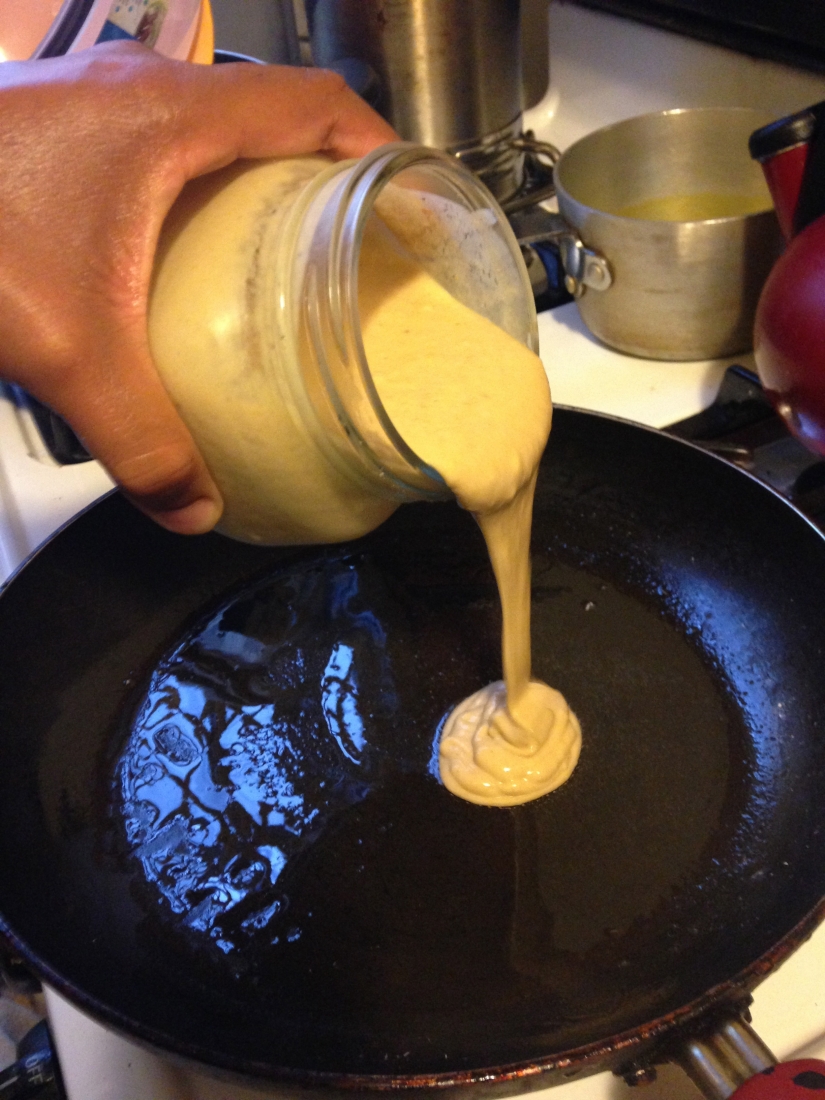
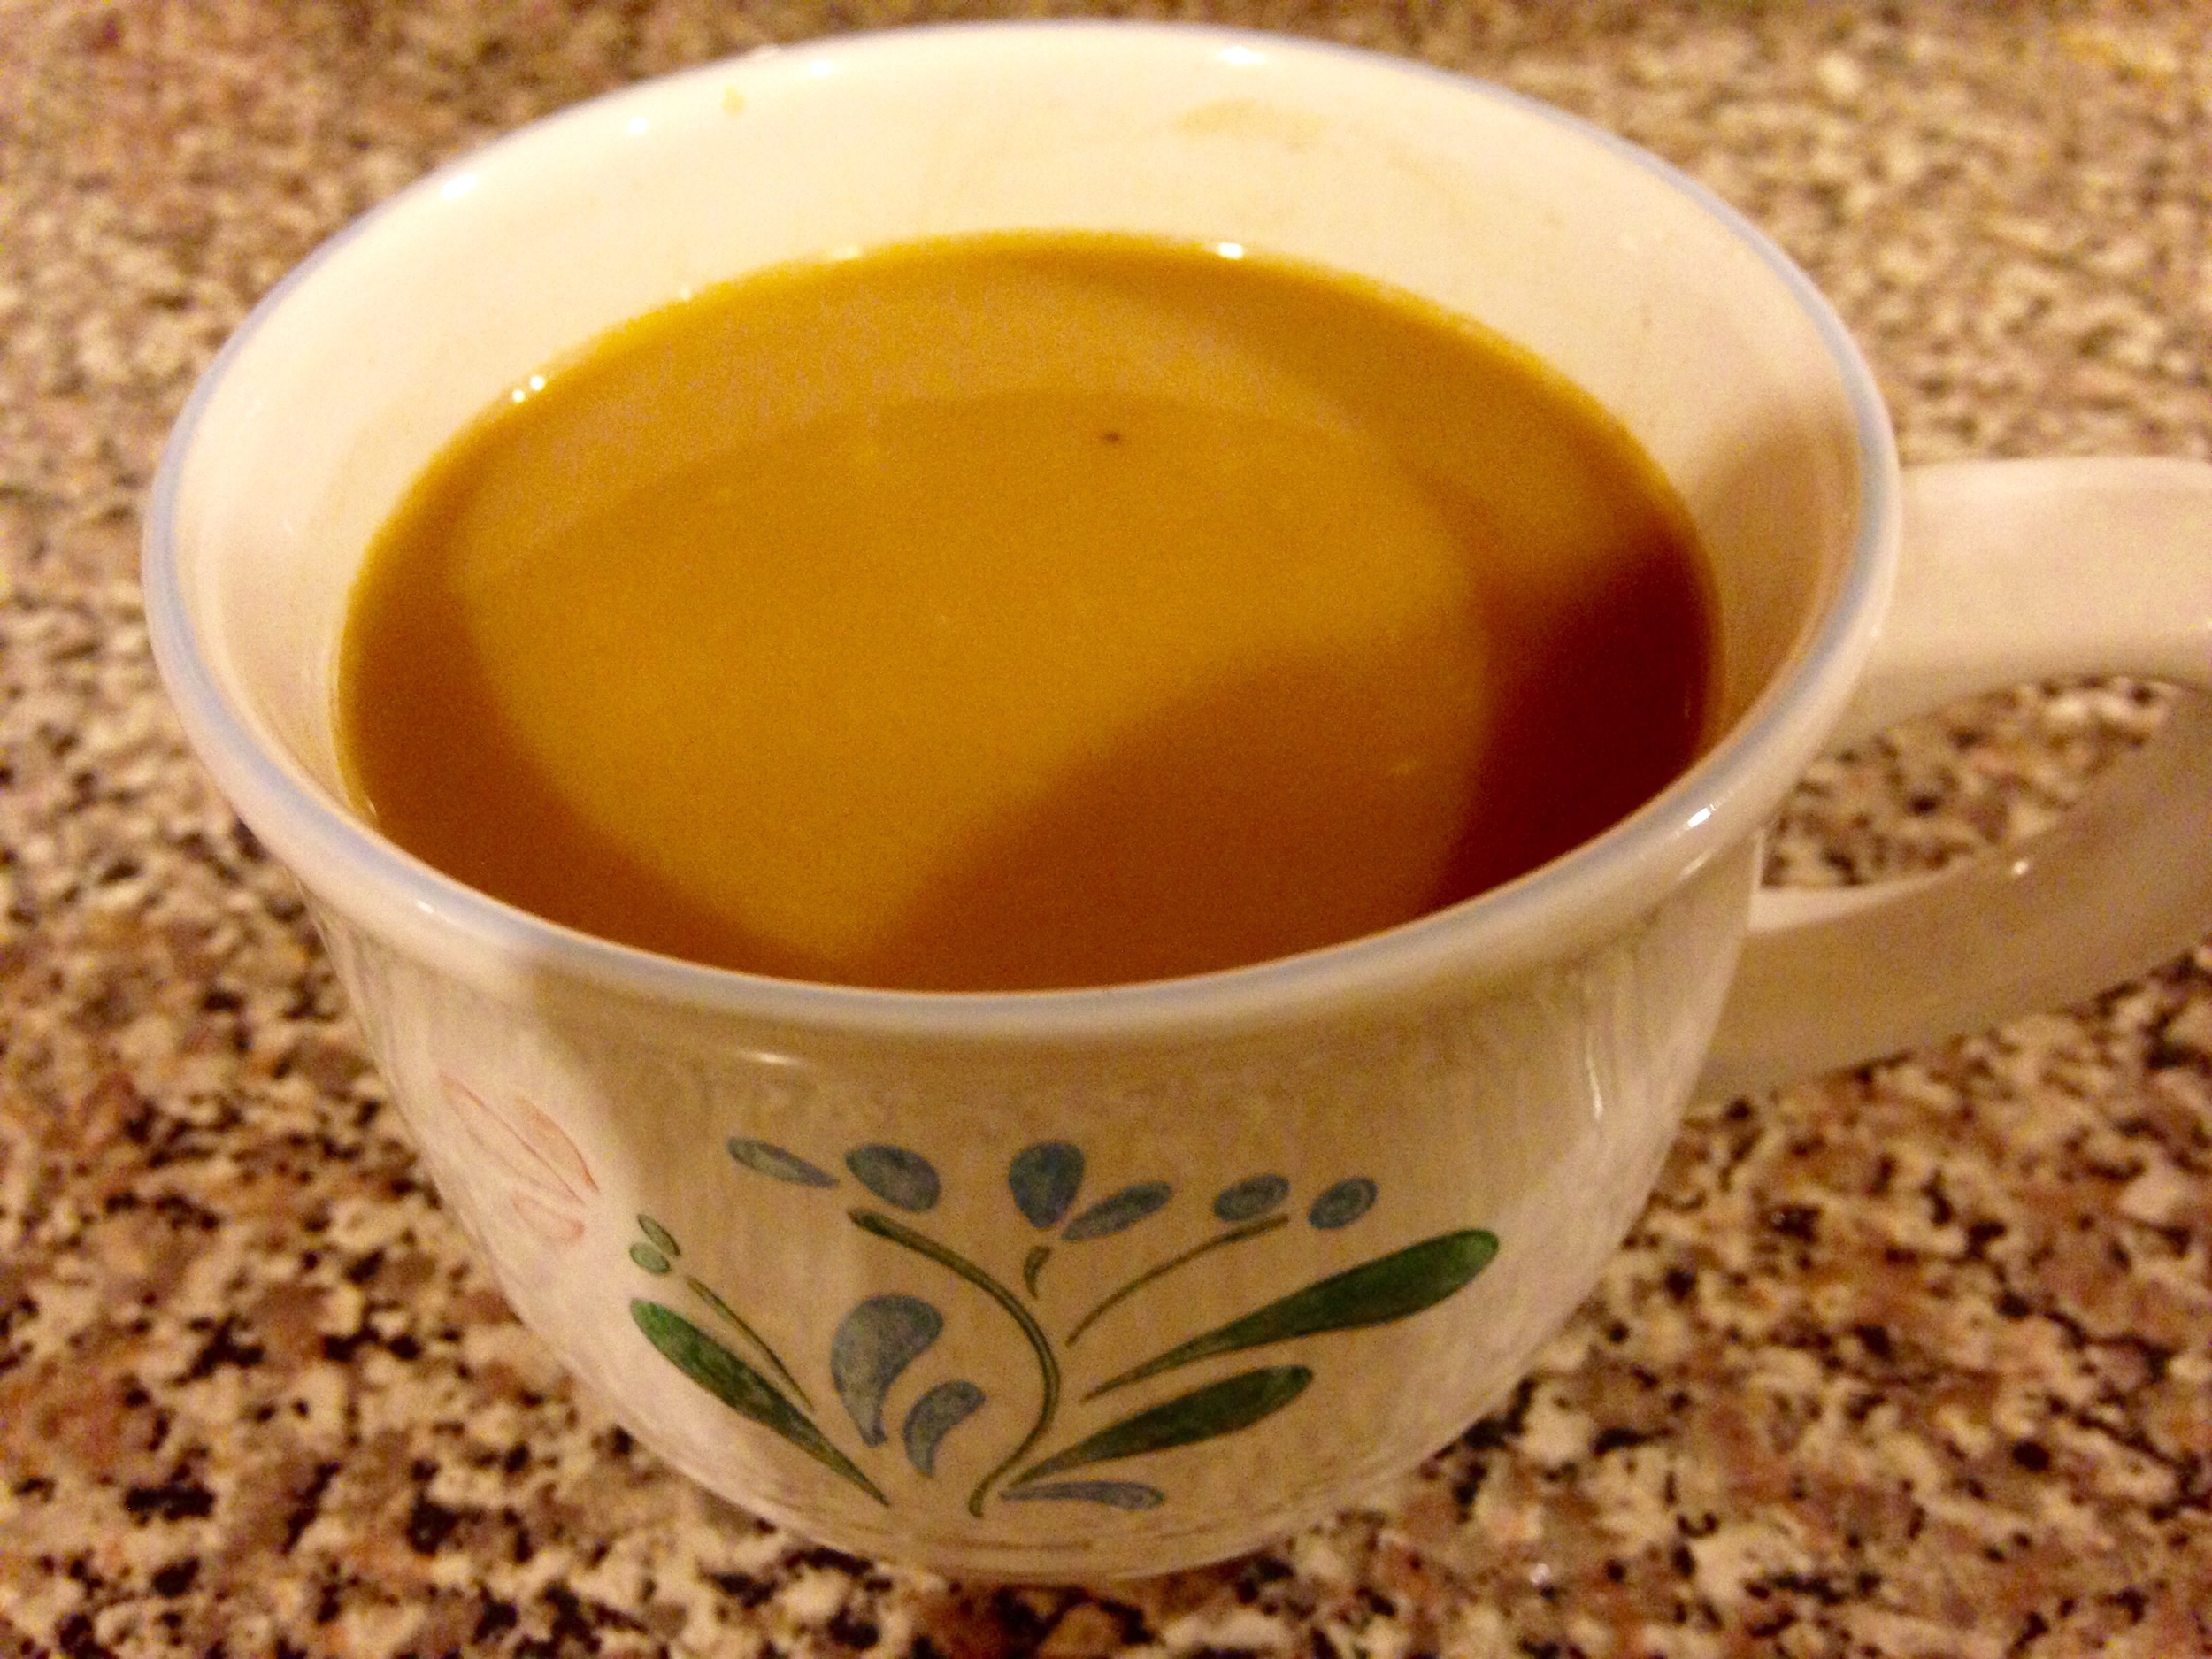
Melt your shea butter in a double boiler over low heat or by using a pyrex glass container placed inside a pot filled 1/4 of the way with boiling water.

Once the shea has turned to a liquid, pour it into your container. Add the sea buckthorn oil, turmeric and frankincense.

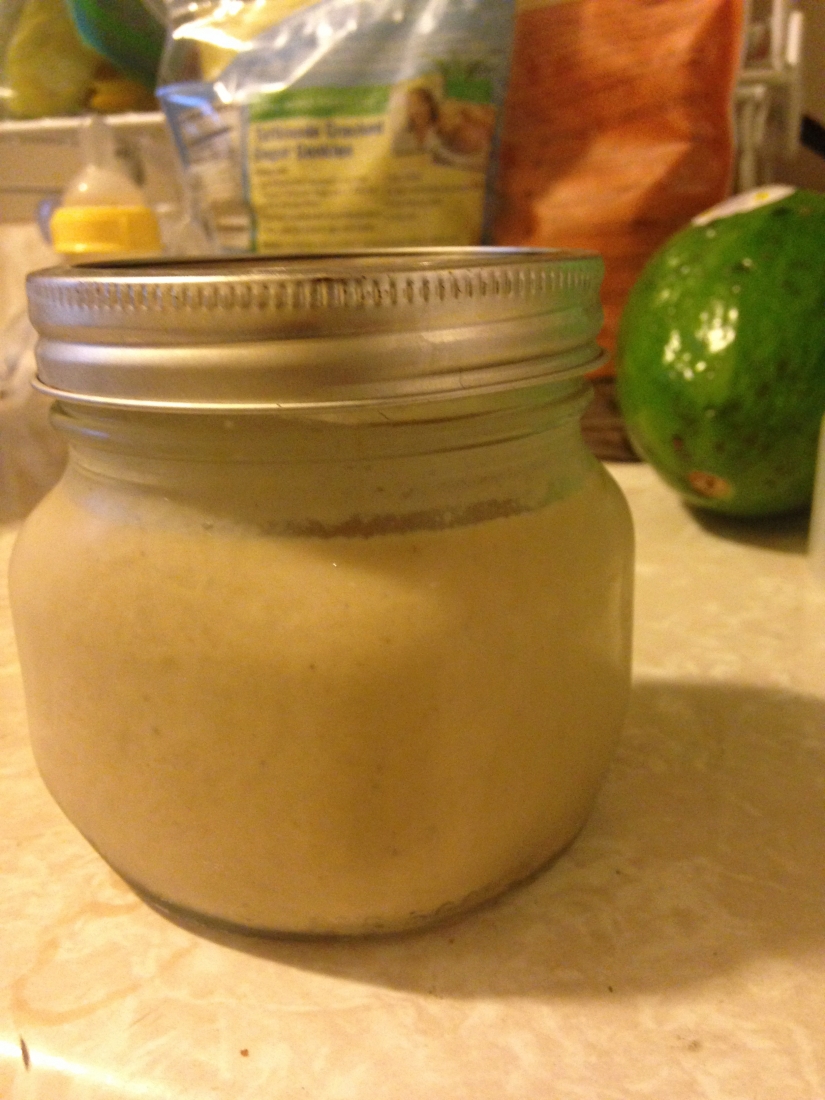
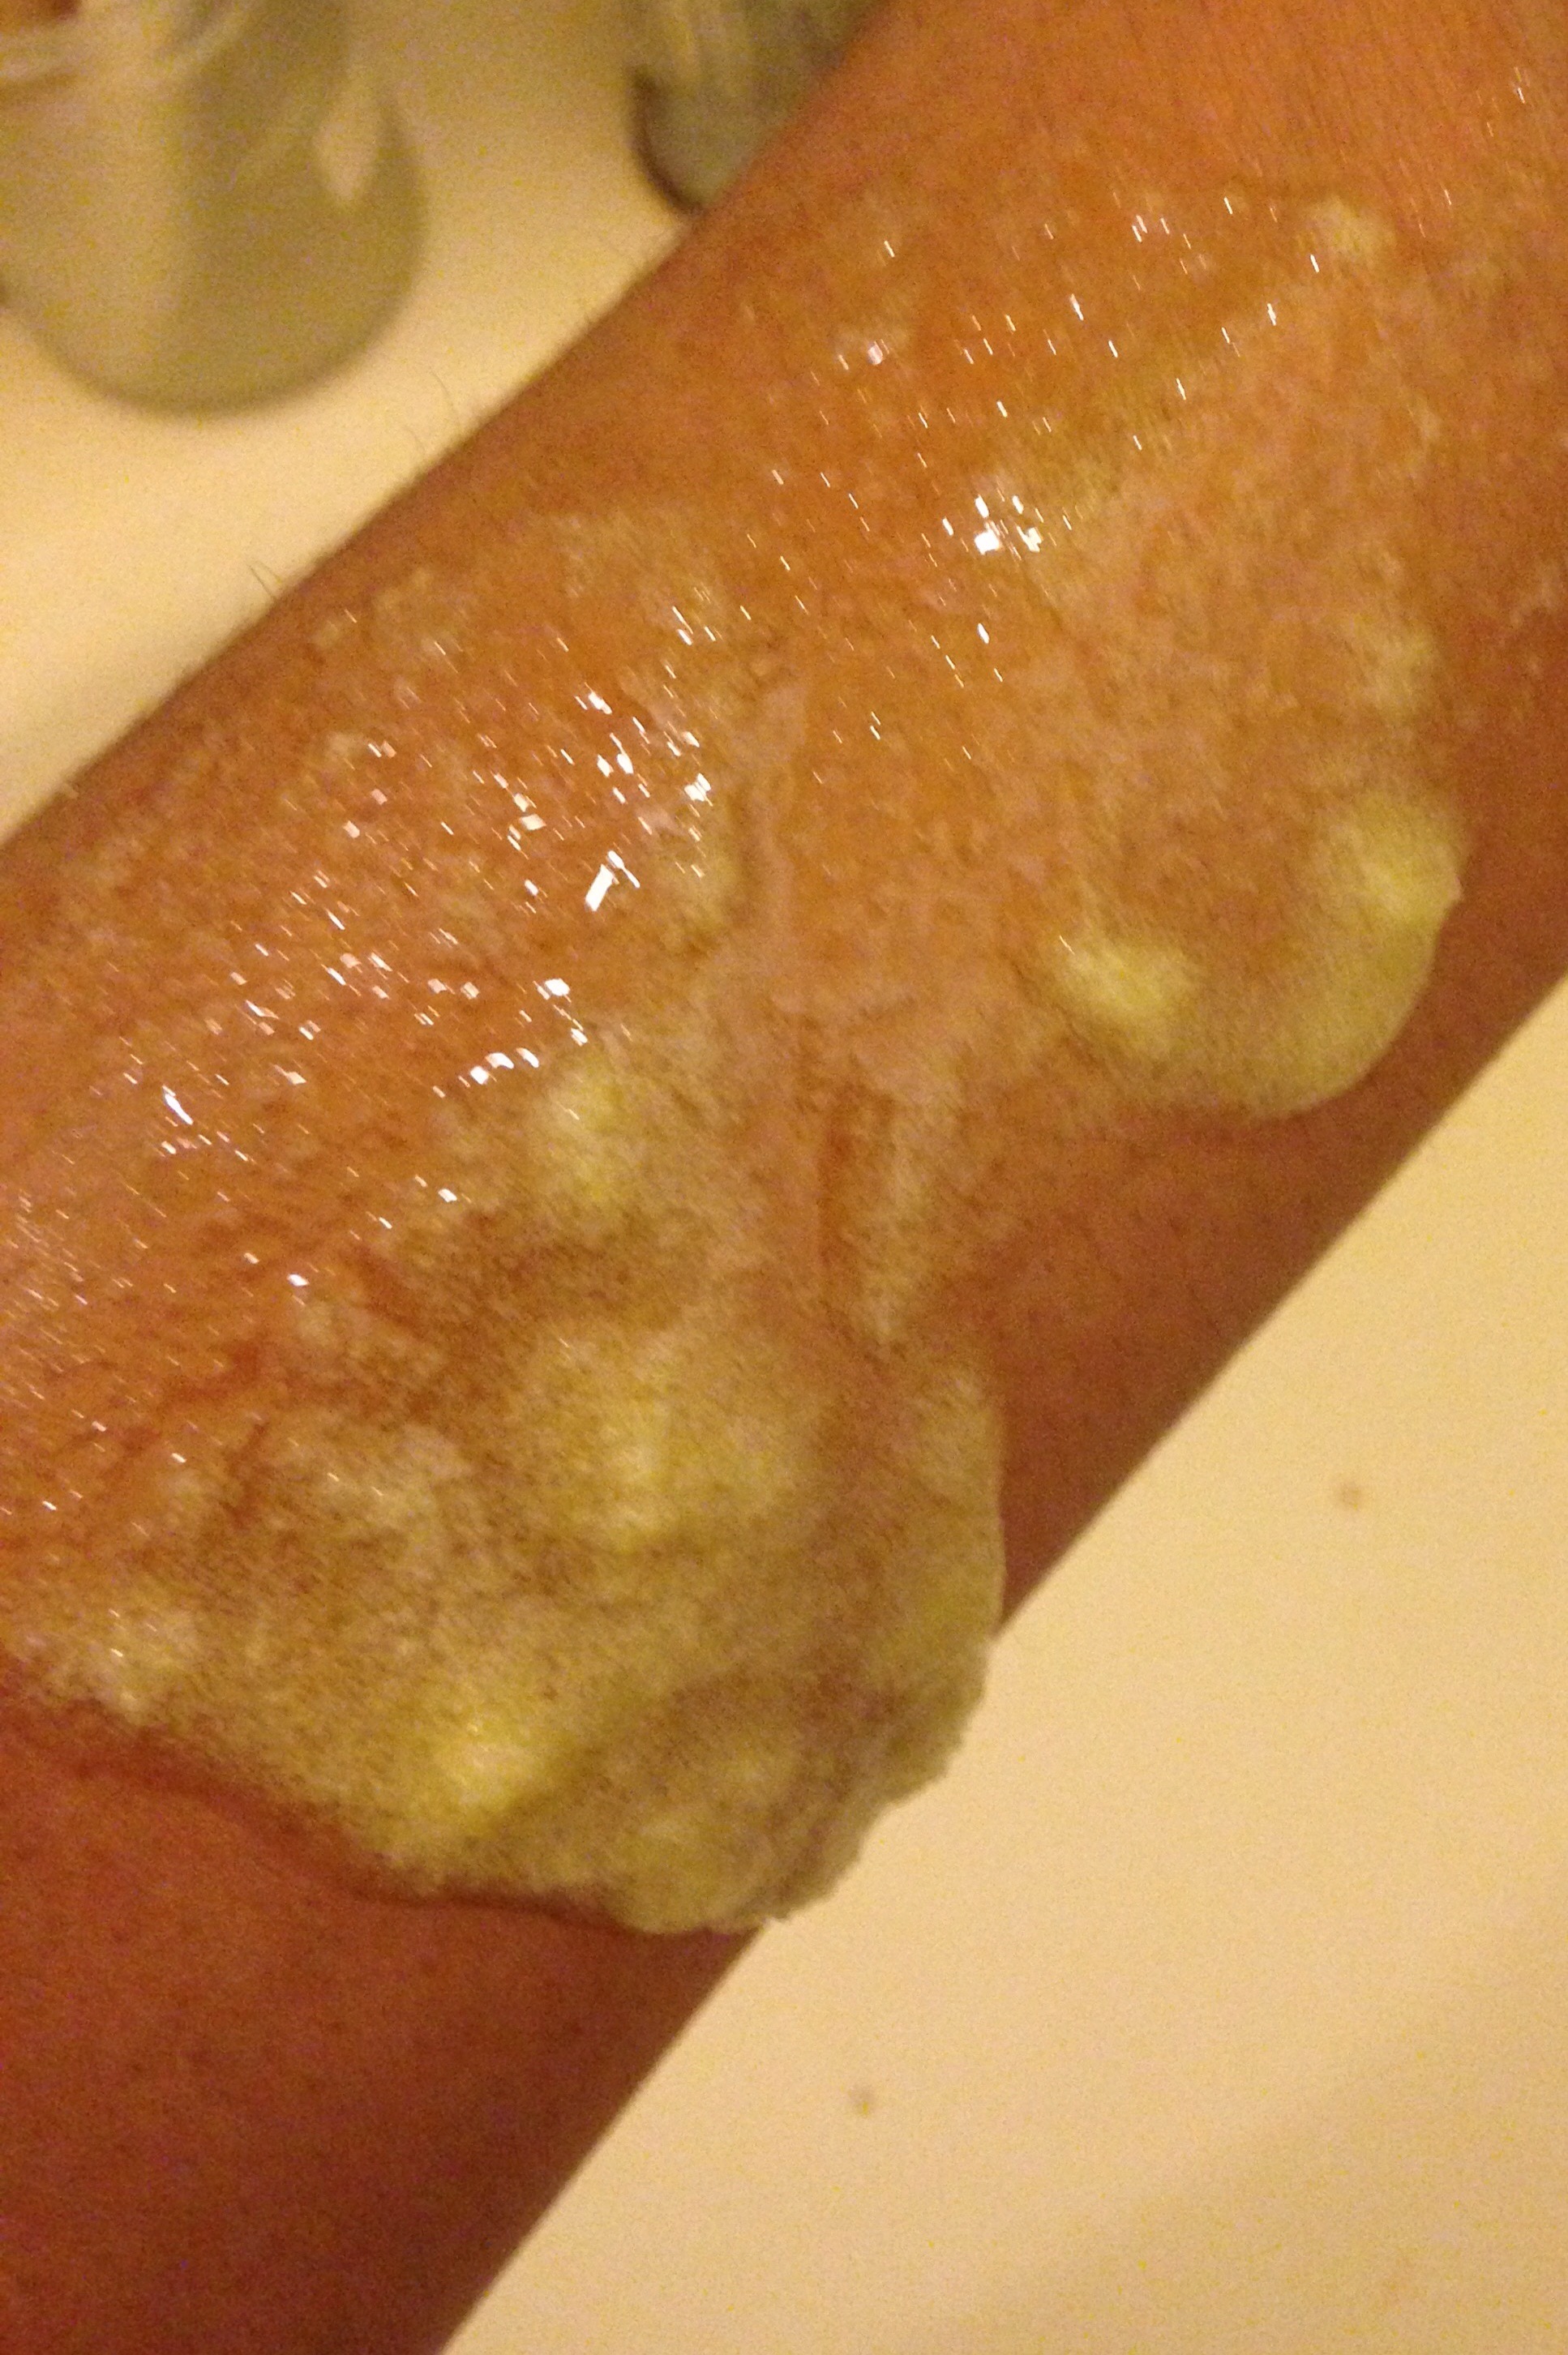
With the lid secured tightly, shake the mixture until the contents have blended thoroughly. It should be a light gold color.

Place your container in the refrigerator for thirty minutes to set, before returning it to a room temperature environment.

This recipe will fill a 4 oz. bottle.

*This formula is very concentrated- a little bit goes a long way. A pea sized amount is all you need for your face. Don't forget to use another pea sized scoop for your decollete (it will give your age away in an instant).

**Despite being thick in consistency, you do not need to worry about your pores getting clogged our break-outs. In fact, if you have acne prone skin, this formula will work in your favor when it comes to keeping break-outs at bay. Turmeric, sea buckthorn oil and shea butter are effective in the treatment of problem skin.

Shea Butter Moisturizing Body Scrub Recipe

IMG_2686.jpg

We have the driest heat inside our house in Brooklyn. I've never experienced anything like it. My hands seem to have aged twenty five years this winter alone.

I wake up for water multiple times in the middle of the night.

My hair is like straw.

Luckily, this super moisturizing shea based scrub is slowly reviving me.

DIY shea butter sugar scrub

I'm a huge fan of scrubs. It's so rejuvenating to slough away dead dry layers, making way for a softer, newer self. It's like emerging new every time you step from the shower.

I have a scrub recipe that I love, but my trusted go-to coconut scrub was no match for this dry winter (apparently the coldest winter in 200 years according to this morning's news).

Well, I guess the good news is that it's almost over.

Perhaps the even better news is I've discovered a recipe for a deeply moisture rich scrub that will convince your skin that spring has sprung. Even if there are feet of accumulated snow outside.

Shea Butter Moisturizing Body Scrub Recipe-

1/4 cup shea butter

1/4 cup jojoba oil

3/4 cup brown or white sugar

1/2 teaspoon vitamin E

10 drops ylang ylang

Melt the shea butter in a double boiler or by placing a pyrex glass jar inside a pot filled 1/4 way with boiling water.

Once your shea butter is melted, place it in the container you will store your scrub in and add the jojoba oil, vitamin E, sugar and ylang ylang.

Stir until blended.

Place in the refrigerator for thirty minutes to set and then store in your shower.

This mixture will fill an 8oz jar and will last for a year.

IMG_2611.JPG

The formula is gentle enough for daily use!


A Zanzibar Spiced Coffee Recipe

We were completely jet lagged when we arrived. After a midnight bus ride from Canal Street in New York on the Chinatown Express to 14th street in Washington D.C., where we took a taxi to Dulles airport and slept for four hours on plastic benches before flying ten hours to Addis Ababa, Ethiopia, cue an eight hour layover before arriving in Stone Town, Zanzibar five hours later where we learned that the hotel we'd booked online was overbooked as were all of the hotels and guest houses in town that night, we were in desperate need of a pick me up.

Dragging our rolling luggage behind us over dusty cobblestone streets, we came upon an ocean view cafe.

Perched on silky cushions, we ordered food and began to panic.

The air smelled of cardamom and salt water. In the distance, waves noisily lapped at the beach.

Our coffee came out first. It was served in tiny silver cups, warm to the touch. At first I was confused, the cup smelled more like chai tea than coffee. Don't get me wrong, chai is lovely, but I really wanted coffee and wasn't in the mood for another disappointment.

I took a sip. Equally stimulating and grounding, the coffee bathed my mouth with flavor.  Zanzibar does many things well, their spiced coffee, they do really well.

We stayed in that cafe until it closed. Until we were forced to wander the streets once more in search of a place to stay, which we finally found several hours later as the sun began to rise. Thank goodness for that coffee!

Rarely am I nostalgic about that evening, but when I am, it centers around that coffee.

That's why tonight, after putting the kids to bed, I decided to brew a cup of my version of Zanzibar spiced coffee.

It was almost as good. Here's what I did-

IMG_2607.JPG


Ingredients:

1 rounded scoop of french roast coffee

1 teaspoon fresh cardamom

1 teaspoon fresh sliced ginger

5 whole cloves, crushed

1/4 teaspoon cinnamon

1/4 teaspoon nutmeg

1/4 teaspoon turmeric

IMG_2606.JPG

In a french press add your ingredients along with 1/2 cup boiling water.

Let the coffee sit for five minutes before straining and pouring into your mug.

I added a pinch of almond milk but you can dress your coffee however you'd like.

This recipe makes a strong single cup that is sure to get you through any tough spot you may find yourself in.

IMG_2608.JPG

Clink.


A Shea Butter Cuticle Cream Recipe

This is perhaps one of the simplest shea butter recipes out there.  While great for the cuticles, you can use this salve in many ways from extra thick hand lotion to a replacement for Vicks Vapor Rub, to a scalp treatment for dandruff. My favorite use this time of year is as a cuticle cream. Dry chapped winter hands are no fun, but unruly cuticles and hangnails are the difference between no fun and misery.

I keep a tin of this cream near the kitchen sink for use after washing dishes and I keep a tin in my purse so I can rub my fingers down before I slip on my gloves. Moisturizing beneath gloves is like magic, the heat from the gloves is like a heating cap, promoting deep moisturization resulting in silky skin.

This two ingredient shea butter cuticle cream recipe can be executed in five minutes!

Here's what you'll need:

1 teaspoon shea butter

5 drops eucalyptus essential oil

Here's what to do:

Melt your shea butter in a double boiler (or pyrex bowl placed inside a pot of boiling water).

Once a liquid has been formed, add five drops of the eucalyptus oil to your melted shea butter. Stir and pour into a 1/2 oz. metal tin.

You can cool and set your cuticle cream by placing it in the refrigerator for twenty minutes.


How to Make Deodorant using Shea and Lavender

I'm on a shea butter kick. I'm doing research for a project that will keep me busy for the next six weeks or so. To stock up my arsenal until my 30 pound bulk shipment arrives, I walked 10 blocks, over icy city streets and purchased a ten pound tub, which I laboriously carried back home (sans incident I'd like to brag). Having hunted and gathered, the games have begun!

How to Make Deodorant using Shea and Lavender

The first thing I made today was deodorant. My husband has been complaining about the powdered deodorant that I usually make because it's messy when he carries it in his gym bag. Since I promised an alternative, I had to deliver. I found some old travel sized deodorant tubes lying around, emptied them out and made my own- completely organic, all natural, aromatic shea based deodorant. It was so EASY! I did the whole thing while balancing my seven month old on my left hip.

IMG_2555.JPG

This is a great deodorant for people with sensitive skin. It also works well if you've just shaved your arm pits and you don't want to experience that uncomfortable burning sensation that can accompany store bought chemical deodorants.

As a breastfeeding mama, I love this shea and lavender deodorant formula because I know my little guy isn't ingesting any harsh chemicals. Remember- what you put on your skin gets absorbed and can end up in your blood stream.

Here's my recipe:

1 teaspoon beeswax

5 teaspoons shea butter

2 teaspoons bentonite clay

15 drops lavender essential oil

10 drops cinnamon essential oil

1 teaspoon baking soda

1 teaspoon vitamin E

In a double boiler (or pyrex bowl inside a pot) melt your beeswax and shea together until a liquid is formed.

Add the vitamin E oil to the liquid and blend.

Add the bentonite clay and baking soda and mix. Note, when using bentonite clay, you don't want to use a metal spoon because metal reacts with the healing properties of bentonite. Use a wooden or plastic spoon.

IMG_2545.JPG

Add in your essential oils and mix until the liquid froths a bit and thickens.

Pour into empty deodorant tubes and VOILA!

IMG_2546.JPG


You can let the deodorant set in the refrigerator for an hour before introducing it to a room temperature environment, or you can set it out overnight at room temperature.

IMG_2551.JPG

It is that easy!

This recipe will fill about two tubes. One for home and one for the gym!

No-Yeast Cinnamon Buns With Almonds

This morning, I woke up in our house in Maryland to six shimmering inches of snow. I made myself a cup of Earl Grey tea and sat by the window. It was quite a sight.

Sunlight streamed through the loops of the naked trees and reflected brilliantly off of the snow bathing my kitchen in light.

How lucky I am, I thought to myself, to be inside and not out.

How lucky I am, to have this nice big kitchen, a full pantry, sleeping children and this wicked craving for sweet almonds and cinnamon buns.

I made myself another cup of tea and put my thinking cap on. I didn't have any yeast, or almond paste...but I did have sliced almonds and I could make cinnamon bun dough out of a drop biscuit variation since I didn't have yeast.

I put on my apron, I dusted off my measuring spoons, I listened to my nose and tasted, and came up with a batch of delectably moist almond cinnamon buns.

It was so easy. Here's what I did-

yeast free almond cinnamon buns

You'll need:

Dough

2 cups flour

2 tablespoons sugar

4 teaspoons baking powder

1/2 teaspoon salt

1 teaspoon almond extract

3 tablespoons unsalted butter

3/4 cup buttermilk

Filling

4 tablespoons butter

1 cup brown sugar

1/4 cup shaved almonds

3 teaspoons cinnamon

Glaze

1/2 cup powdered sugar

2 tablespoons butter

1 teaspoon vanilla extract

1 teaspoon milk

Here's what to do:

Preheat your oven to 375 degrees.

We'll begin with the dough.

In a large mixing bowl, combine your dry ingredients (flour, salt, baking powder, sugar). Once your dry ingredients have been mixed together, cut in your butter, using your hands to mix. Once the batter is flaky, add your milk and almond extract and blend until your batter forms a smooth dough. Set aside.

Time for the filling. In a small mixing bowl, combine your brown sugar, butter, almonds and cinnamon. Mix until a paste is formed. Set aside.

Return to your dough. It's time to roll it out. Using a rolling pin, you want to create a rectangle.

Pour your filing on top of the dough and then roll into a loaf and slice (about 2 inches thick).

Place your slices in a buttered 9x9 circular pan. You want to make sure you leave space between the buns because when they cook, they'll expand and rise.

IMG_2455.JPG

Cook for 20-25 minutes until lightly browned.

IMG_2457.JPG

While your cinnamon buns are cooking, it's time to whip up your glaze. In a bowl, mix your melted butter with your powdered sugar. Once a thick frosting is created, add the milk and vanilla extract and blend again until the glaze thins.

Once your cinnamon buns are ready, remove them from the oven and pour the glaze over the top.

Let the buns cool ten minutes before serving.

IMG_2467.JPG

Psssst... I know I normally post healthy recipes, but this time I didn't. This one is simply indulgent and good and that's all there is to it.

Packing Tips: Keep it Simple and Light this Winter!

Don't let the cold weather keep you indoors! Winter is a great time to travel. Not only are there usually great travel deals to take advantage of but winter travel, depending upon your destination, can mean fewer crowds and shorter waits.

When it comes to packing, especially clothing items, winter can present the opportunity to practice simplicity. Just because the weather is cold, doesn't mean you have to pack more. Winter travel is all about the use of layers and finding staple pieces that can be worn multiple ways.

Over packing opens the door to clutter. When your suitcase is cluttered:

a) It's heavy and unpleasant to tote around

b) It's disorganized and causes you stress and frustration whenever you have to open it to find clothes

c) You have no room for all the beautiful new seuveniers you'd like to bring home with you

NO BUENO!

When it comes to travel, keep it simple and keep it light! Here are some of my favorite accessories, toiletries and clothing ideas:

Winter Travel Clothing Essentials:

l-1


Simplicity is key here. A pair of leggings are essential because you can get multiple uses out of them. Leggings can be worn as pants, stockings, to that surprise yoga class or as long underwear. One pair of weather appropriate yet fashionable boots will be versatile enough for day and night, casual and dressy. A simple scarf can be worn around the neck, over the head (if the weather gets blustery) or can be used on the plane as a blanket. You don't need a giant shoulder bag when you travel, keep it simple and light with a sleek and all-purposed cross body satchel. An attractive statement tunic sweater can serve multiple uses as a dress and as a sweater for heavy layering. Keep jewelry simple, a pair of easy to coordinate earrings you can rock every day both day and night will ensure that jewelry doesn't get lost or tangled up in your travel pouch.

Travel Gadgets and Accessories: l-2


The fewer gadgets the better. The smaller the better. A dual purposed passport holder/wallet will take you far as will a sleek compression sleeve to protect your computer. Portable travel chargers are tiny, can slip inside your computer compression sleeve and are life savers. A small, single unit speaker dock for your smartphone can  make a good trip great.


Travel Carry On Toiletries: l-3


When it comes to hotel toiletries, you never know what you're going to get. To keep things familiar, yet light, I look for travel sized packs of brands I know and love. Since everything is travel sized, you can zip through check-in with a simple overhead bag and the smug knowledge that you've packed everything you need.

In terms of make-up, I keep it simple! Mascara, plus lip tint (that can double as cheek tint), plus a SPF concealer equals, easy, breezy and beautiful.

So go! Take that weekend trip, mini-break or full blown vacation. For your cold weather trip pack smart, not excessively.

6 Apps for Tourists in New York City

IMG_0302.jpg

New York is fast, it's vibrant, it's brassy, it's gritty, it's glamorous and it's artistic, but let's face it, if you're a visitor, it can be downright intimidating.IMG_0640 How to navigate, where to park, what to tip, to walk or try the subway? A visitor's list can scroll for miles.

Luckily, the following apps have come to the rescue. They've done the dirty work for you, so you can focus on living it up in New York!

6 Apps for Tourists in New York City:

1) HopStop: Need directions from your hotel to the Museum of Natural History and then down to the 9/11 Memorial? No problem, Hopstop has got you covered and will have you navigating the city like a local. Simply type in the address of your departing location and the address of your destination to receive step by step, easy to follow directions either by car, subway, bus or on foot. If you choose the subway option, you'll get a full report that takes into account track work, delays and the latest train schedule.

2) ParkWhiz: So you've decided to drive into the city, but you're nervous about street parking. Park whiz to the rescue! Find discounted parking garages in your desired neighborhood or in close proximity to a specific location. Whether you're looking to park your car for the weekend near your hotel, or simply need to have a secure parking spot by Rockefeller Center for three hours, Park Whiz will find a lot close to your destination and will conjure up a discounted price. No worries about feeding meters, getting towed, or getting dents or scrapes.

3) Uber: There are certain times where it's impossible to hail a taxi. Certain neighborhoods (ahem, Greenpoint, Brooklyn) tend to have fewer cabs and hailing one can be a time consuming fight. Let's not even get into the misery of hailing a cab in the rain, or howling wind, or freezing snow. With Uber, you can relax and summon a cab through your phone at your convenience. Be prepared for quick and easy door to door service. Call your cab the same moment you ask your waiter for the check, by the time you're finished paying, your cab should be outside waiting. Time spent awkwardly pacing the sidewalk with your arm outstretched- none.

4) Seamless: So you've spent the day walking through crowds, you're too exhausted and hungry to wait for a reservation to open up and you're tired of the same old room service from the restaurant in your hotel...time to order from Seamless. Simply type in your hotel's address and a list of participating restaurants will pop up. You can browse hundreds of fabulous, ethnically diverse menus and place an order from some of the most delicious restaurants in the city. Within 45 minutes (max) your food will arrive and yes, they deliver to hotels and hostels. Just because your opting for a night in, doesn't mean you need to settle. One of the greatest joys of New York is taking full advantage of the city's many culinary options. If you can crave it, someone will make it.

5) Exploration Dining: Not sure how to score last minute reservations or even where to eat, Exploration Dining is a mobile concierge service designed to solve that problem. Browse hundreds of dishes from local restaurants, find what inspires you and make reservations (if needed) directly from your phone. Just like that, you're in! Bon Appetit.

6) RelayRides: Leaving your car behind while you take your New York vacation? Make money with your car by participating in RelayRides! Say what? Break even on that gorgeous handbag you saw at Macy's by using RelayRides. RelayRides is a car sharing service that will pay you, to rent your car while you're gone. They take care of insurance and the legalities, you get to make money while you travel. Since your car will just be sitting there, you might as well let it serve someone else and bring home some bacon.

IMG_4009 So there you have it, six apps that will help with the logistics of your next trip to New York, so you can focus on more pressing concerns such as which museums to visit, what shoes to buy and what shows to see. IMG_7781 Mmmmmm.... Concrete jungle where dreams are made!

Honey Sweet Cornbread

I have a mild obsession with quick breads. Not a week goes by where I don't make at least three batches of batches of biscuits or cornbread or loaf bread. Sweet, savory, plain, loaded, I can't get enough of these versitile delicious breads. Carbaholics Anonymous- come and get me. I'm so guilty!

My "retirement" dream, and I'm putting this down because recording your dreams is the first step to realizing them is to open a cafe/bakery featuring the many quick bread variations that I've fallen in love with.

In the meantime, I'll keep working, refining and recording those recipes here.

Today's recipe for Honey Sweet Cornbread is a sweet and flavorful cornbread. Sweetened with honey and coconut palm sugar, you get a robust sweetness while keeping the glycemic index relatively low. The pepper, nutmeg and cardamom provide subtle, layered secondary flavors, while the olive oil and almond milk absorb the sweetness in a nutty earthiness. Long story short, it all just works!

Your result is a sweet, aromatic cornbread, that is crisp around the edges and moist in the center that pairs perfectly with your favorite savory chili or a light fruity jam.

IMG_2370.JPG

Here's what you need:

1 cup yellow cornmeal 1 cup all purpose flour 1 tablespoon baking powder 1/3 cup coconut palm sugar 1 teaspoon sea salt 1/2 teaspoon finely ground cardamom 1/2 teaspoon nutmeg 1/8 teaspoon coarsely ground peppercorns 1 cup unsweetened almond milk* 2 large eggs 1/3 cup extra virgin olive oil 1/3 cup raw honey 2 teaspoons pure vanilla extract

*Feel free to substitute your milk of choice. Almond gives this recipe a rich nutty flavor.

**This recipe is great for those with milk allergies or lactose sensitivity.

Here's what to do:

Preheat your oven to 375 degrees. You're going to use the lower rack, so it's probably easiest to adjust it prior to turning on the heat.

In a large mixing bowl, combine your dry ingredients (cornmeal, flour, baking powder, sugar, sea salt, nutmeg, cardamom, peppercorns).

In a small mixing bowl, gently beat the milk, olive oil, vanilla and eggs with a whisk. Once uniform, pour the mixture into the dry ingredient bowl.

Make sure your honey is soft. Raw honey, if stored near a window can stiffen which makes it difficult to work with.

I like to drop my raw honey in the center of the bowl. Using a mixing spoon and some elbow grease, I mix the batter until smooth.

It will smell wonderful!

Go ahead and take a deep breath. Enjoy what you've created so far.

I like to work with round cooking pans, but the shape doesn't matter. Use what you've got.

Before pouring in the batter, I use canola oil to coat the pan.

Spread your batter evenly, then place the pan in the oven for twenty minutes.

Let the cornbread cool for 15 minutes before you enjoy.

IMG_2371.JPG

Yum!

A Space Of My Own: Reflections on Being a Write at Home Mommy

With all of the demands of being a write-at-home mom of a toddler and a newborn, I have been finding it difficult to find the space and quiet time to write.

Blogging, I can manage between burps and books, play dates and paint, bottles and naps, but my fiction requires a different focus. In order to really write, get inside my head and listen, I need meditative stillness and quiet. I need a room of my own.

But since I'm not Virginia Wolf, and I cant spend hour upon reclusive hour alone with my pen, because I share a Brooklyn apartment with a musician husband, a boisterous toddler, a crying baby and a ridiculously loquacious cat, the key isn't so much finding a room of my own (although that would be lovely), but finding time of my own.

Time.....

The only quiet or down time I get is contingent upon two unreliable forces: a) My infant, who usually falls asleep first, must stay down after my toddler goes to bed and b) My toddler who usually goes to bed these days (thank heavens) without much of a fuss, must do just that and in a timely fashion. If the above has rolled out smoothly, and I've got no dishes left in the sink to wash and the floor has already been swept, all surfaces wiped down, then, around 9:00pm, I usually have a fifteen minute window, when all is silent.

Silence....

Then the teething infant wakes or the dashing hubby returns home from a gig and wants to binge watch one of our favorite Netflix shows, or maybe the toddler wakes, startled and alone and decides to have a meltdown. When it's over, when it's all said and done, my brain is so fried, I'm doing well if I can recall my name. Sometimes I can't.

The morning is my only hope.

And so my experiment began. How to be a productive writer in the morning? Would it be possible. Would I be able to wake up? It's hard enough starting the day at seven am considering the infant is not sleeping through the night yet. Would I crash and burn? Would the kids sense that I'm awake and decide to get up and join me? Would it all just work out brilliantly?

IMG_2384.JPG

Slowly I began at first, 6am rise, then 5:30 am, and finally 4:45 am rise. It seems to be working.

I am fortunate enough to have a desk of my own, a space of my own within a room that I share. But the magic happens when I can approach my space in my own time.

Apparition-like, my bare feet shuffle lithe across the hardwood, earl grey/lavender infusion in a teacup in my right hand, I've been known to pace the living room in those sacred pre dawn hours as I plan and concoct plots and settings, subtleties and flaws.

Sometimes the cat will join me. She's an hones and trusted editor.

I've been keen on spontaneously rolling out my yoga mat behind my chair, working through some sun salutations or gentle flow poses to focus or stimulate my mind and body, get them working as a team.

It seems to be working.

In perfect stillness my future starts, I'm free to write and re-write, edit and deconstruct. There are no limits or borders. I have the pleasure of showing up for myself. And bonus, I have a front seat to the spectacle of the rising sun.

When seven rolls around, away go my books, my yoga mat, my journals, pens and laptop.

With the pitter patter of little feet, the clamor of the garbage trucks, the white light of the sun, I transition again from writer to mommy. A role I can truly sink my teeth into, because I've made the time to do something creative with my life.

Now, I just need to figure out how to get more sleep!

Re-discovering Myrtle Beach or That one Spring Break or Don't Be a Victim of Winter Weather!

As I wade through the knee deep snow in search of my car, which I can't seem to find, my mind can't help but wander to warmer memories. One memory at the front of my stack of lovely moments, was the cool morning stroll I recently took in Myrtle Beach, South Carolina. Myrtle Beach SC A few weeks ago, we piled into our family van and took a ridiculously slow (thanks to our nursing six month old) road trip from Brooklyn, New York to Orlando, Florida where my in- laws live.

Since we had the time, and since gas prices are so wondrously low, we decided to drive and help ourselves to side trips since there is so much to do and see off of I-95.

In the past, we've visited Savannah and Charleston, Raleigh Durham and Atlanta, this time Mark made the case for Myrtle Beach. Palm Trees Myrtle Beach The first and last time I had been to Myrtle Beach it was 1999 and I was on Spring Break. As a nineteen year old, I even remember thinking - yuck!

Myrtle Beach was crowded, it was dirty, it was full of seedy bars and shady people. That Spring Break was a disappointment I was ready to forget.

The hubby however had other ideas. He had never been and wanted to go. Since Myrtle Beach made a reasonable second stopping point after our first break in Washington D.C., I gave in.

I'm kind of glad I did.

Myrtle Beach, during its off peak season, was nicer than I remembered. We found a beautiful hotel and were walking distance from some delicious seafood.

I'm not going to lie, the boardwalk/main drag is still dodgy at best, but the beach, in the still of the morning, with a gentle 60 degree winter breeze is lovely.

The sea grass rustled, the waves crashed, couples walked dogs, my three year old collected shells.

The beach was a surprisingly meditative oasis.

To be fair, the snow on Sunday as it was falling, and even on Monday as it lay shimmering and still, was also quite meditative and oasis- like. Today, as I dig my car out with a dustpan so I can take my little one to preschool, I see little more than a cold and inconvenient mess.

At least I can mentally escape to that morning stroll along Myrtle Beach.

Mother nature, you can freeze my fingers and toes, you can make me slip and slide, but you can't take my memories!

Goddess Ix Chel: Exploring the Mayan Ruins at San Gervasio

Goddess Ix Chel: Exploring the Mayan Ruins at San Gervasio My feet slip, I can't seem to stay on the path. Perhaps I think, perhaps it's best after all to be barefoot.

My heel slips off the sole of my flip-flop, I'm pierced by a jagged rock. I take a moment to make sure I'm not bleeding. All is well, but I'm puzzled- how did the Mayan's function, barefoot, along these narrow jagged paths? Paths that seemed to stretch for miles uphill through dense jungle. There are so many mysteries surrounding the Mayan civilization, I think to myself.

During our recent trip to Cozumel, Mark and I decided to spend some time exploring the Mayan ruins at San Gervasio. This adventure turned out to be the highlight of my trip.

IMG_2339.JPG

Surrounded by a steamy tropical jungle, full of aggressive mosquitoes and thick, moist air, lies the sprawling site of a series of two thousand year old  Mayan ruins including a temple dedicated to the  goddess Ix Chel (goddess of the moon and fertility).

mayan ruins

IMG_2272.JPG

IMG_2269.JPG

IMG_2270.JPG IMG_2265.JPGa

A two thousand year old well.

The temple erected to honor the supreme goddess   . Women, well, I guess I should call them girls, from 13-15 years of age would make the trek and give offerings in hopes of finding a husband and being blessed with many children.

Ix Chel's temple. On first glance it looks dusty and white. But when you look really hard in the direction of the two columns you can catch a glimpse of the cobalt blue that was the original color of this temple. It must have been a true sight to be seen in its day.

I can't tell you how cool it was to be able to experience history in this way.

The ruins at San Gervasio are a true treasure that were discovered by accident. The land that holds the ruins belonged to a wealthy Spanish family. When the patriarch died, the family came to the island from Spain and blasted the land in search of gold. Instead, they found these ancient ruins which they didn't care much for and had no plans to maintain. The government of Mexico stepped in and facilitated a land exchange. In turn for the ruins, the family gained several acres of beachfront property which has now been converted into a successful series of resorts.

Many of the original structures were damaged in the blasting efforts, but what remains is truly remarkable.

It makes one think, how many other Mayan sites are buried beneath the massive estates owned by the early Spanish colonial families. I guess we'll never know.

Visit Cozumel: Six Reasons to Pack Your Bags Now!

Visit Cozumel: Six Reasons to Pack Your Bags Now! In moody turquoise waters, off of the coast of Mexico, there lies a sleepy island sprinkled with fine white sand. Atop a labyrinth of coral reef and beneath the brazen sun, lies the tiny island of Cozumel.

Cozumel Mexico

At first glance, non-pretentious, natural, somewhat secluded tranquility with plenty of local charm, Cozumel made me smile.

At second glance, water undulating in the distance, dilapidated cobblestone streets, hammocks swaying over a jagged ivory coastline, motorbike rentals, the astringent odor of tequila, I knew I was in a place I could get lost in.

Cozumel Beach

Lost that is, in a time altering, eye opening, space shifting metaphysical sense.

IMG_2301.JPG

A mere 33 miles long from north to south, Cozumel's road is an exact loop around the island's periphery, making it pretty difficult to veer off course.

That is of course unless you decide to trek inland without a guide, towards the surprisingly dense jungle and get abducted by a boa constrictor (the island has plenty after two snakes were brought to Cozumel for a movie shoot in the 70's and were set free to multiply). Non-endemic boa constrictors aside, Cozumel meets every expectation when it comes to a sleepy, serene, Caribbean island getaway.

IMG_2292.JPG

IMG_2309.JPG

So without further ado, here's my list of reasons to visit the serene island of Cozumel.

6 Reasons to Visit the Island of Cozumel: 1) Cozumel has some of the best diving and snorkeling in the world! In fact, Jacques Cousteau put this island on the map in the touristy sense after exploring the reefs below. Cozumel's reef is second only to Australia's Great Barrier Reef. If snorkeling and diving don't appeal to you, you can always swim with whale sharks (don't worry, these gentle giants are neither whales or sharks, they're actually fish- ginormous docile fish) or dolphins. Whatever your pleasure, Cozumel is bursting with oceanic adventures.

2) Cozumel has a fascinating collection of ancient Mayan ruins! I'm a complete history nerd and I must say, the hours that I spent hiking through the mosquito infested tropical jungle to take in the ruins from the ancient Mayan civilization was my favorite memory from Cozumel. I loved learning about the shamans and musicians in particular whom played an integral role in shaping Mayan society.

3) Cozumel is a wonderful culinary destination! I love Mexican food, it's one of my favorite forms of comfort eating. The fresh ocean inspired Mexican food in Cozumel is some of the best food I've tasted in Mexico. Cozumel is so abundant with fresh fish and seafood, it's a pescetarian's dream!

4) Tequila! I mean, need I say more? I counted three fully operational tequila factories each with their own local spin and flavor. These factories are open for tours where sampling and tasting is encouraged. You can even schedule cooking classes to learn how the locals use tequila infusions to enhance the flavors of their cooking.

5) Cozumel is easy to navigate! As mentioned before the main road on the 33 mile long island is a loop. It is so easy to explore Cozumel on your own. The island is extremely safe and most locals are happy to chat- the majority of whom speak perfect English, if Spanish is not your forte. At the main port, where cruise ships come in, you'll find car and motorbike rentals. Traffic on the island is calm, I definitely suggest making your own adventure out of your trip. Taxis can get expensive, but a motorbike rental is only around thirty dollars a day.

6) Cozumel is a place for simple non-pretentious relaxation! If hammocks on a beach and a cold drink in your hand on a secluded beach is your idea of relaxation, then Cozumel is the place for you. Yes, there are a few resorts and yes, some of them can get busy and touristy, but in Cozumel, there is plenty of space for everyone. For every busy beach, you'll find a quiet one, where you can exist in a secluded state of suspended time. Hello gentle breeze, warm sun, rolling waves...

So there you have it. Cozumel, my friends is a gem. You can do as little or as much as you'd like. You can spend as little or as much as you like. You can stay on mainland Mexico and visit for a day or weekend, or you can fly directly in and spend the week in meditative relaxation.

Whatever your pleasure, whatever your pace, Cozumel, is worth a visit.

Model Trains and Botanicals: The Magic of the New York Botanical Garden's Holiday Train Show

The holiday season feels so much richer now that I've got kids. Suddenly, I have the opportunity to experience the magic of the season all over again and through their brilliant, excited eyes. Yesterday, I took Ohm and Jai to the New York Botanical Garden's Holiday Train Show. It was an outing to remember.

The New York Botanical Gardens Holiday Train Show is wondrous!

The Holiday Train Show is a coveted annual event. Elaborate train tracks are constructed out of natural materials and botanicals.

Model trains chug down tracks that loop around New York's iconic landmarks that have been re-created using bark, leaves, flower petals, and sticks. It's an imaginative child's dream. It's a nature lovers dream. Who need leggos when you can build such extraordinary things using items you can forage on a walk through the park?

It was really astonishing to see what the imagination can do.

It was fantastic to see my little guy beam and light from within as he ran through the garden chasing trains and pointing out landmarks.

The New York Botanical Gardens never fail to inspire me. Regardless of the time of year, where else can you go, in New York to completely escape the hustle and bustle? Where else can you go and get lost in layers of green? Where else can you spy vibrant, tropical orchids, track numerous species of moss, and explore desert cacti and the flora of the tropical rain forest while never setting foot outside of the city? It really is an instant vacation.

Visiting the New York Botanical Gardens in the winter feels extra special because beneath the canopy of the greenhouse, the temperature is simply tropical. Dress in layers and be prepared to be comforted by the warmth of other suns.

The Holiday Train Show runs through January 19th. Don't miss it!


Art in NYC is All Around

Whenever I get frustrated about how cold, or dirty, or loud, or impersonal the city is, it helps to take a moment to reflect on what drew me here- great art! The wonderful thing about New York City is the fact that art, visual and performing, both great, questionable, and small is all around.

Today was a great art day. I didn't have to go to a concert hall, a theatre, or seek out a gallery, I simply went about my business and the art found me.

My subway commute this morning was full of extraordinary music. There were jazz trumpets at Fulton Street, a Vivaldi violin concerto at 86th street, 96th street featured a stirring blues electric guitar performance and on the way back home, I was serenaded with bells and a lovely chorus of Hare Krishna devotees singing a round of mantras at Atlantic Avenue.

Ah, New York...

IMG_2047.JPG


Impromptu music isn't New York's only artistic virtue, the city is layered in colorful paint (and I don't just mean graffiti ).

Artists make use of abandoned spaces.

Every time Ohm passes this particular face, he asks me to take his picture. This was from the summer.

You can find paintings and murals everywhere. It's a lovely thing...

My favorite is this collection of portraits that bring the otherwise dull abandoned buildings in my neighborhood to life.

Up and down Fulton street in Clinton Hill, Brooklyn, the artist Alan Aine's expressive portraits are part of the neighborhoods permanent collection.

I love his work! There's a whole story behind the eyes of his subjects. And I, lucky me, get to view his creations for free.

Although this writer and former actor is no longer an eager and helplessly enthusiastic new to New York, New Yorker, taking a moment to consciously bask in the city's art brings back some of that magic.

Because, after all is said and done, despite the grit and grime, the noise, the rats and the smells, this is a magical place.

This is the city that art built; a place buzzing with inspiration, creativity, and "I'm going to make it happen!" dreams.

Christmas in New York City: The Magical Rockefeller Tree

Because when you asked, you said please offering a sticky hug, the grin on your face revealing teeth Because you have the biggest, most impossible to resist midnight eyes, that gleam electric when you’re excited Because you promised to hold my hand and read your book on the train, even though you'd rather run free through the busy streets of Manhattan and dance a jig on the blue seats of the subway Because you get excited when you see the lights along Fulton street, snowflake shaped and golden, making even the dingiest façade from Bed-Stuy to Ft. Greene sparkle and shine Because you remind us there’s magic in the air and wonder all around, no matter how cold or rain dampened the air might be Because, because, because, Yes little one, We shall go see, We shall go see the Rockefeller Tree!

IMG_1889.JPG


IMG_1893.JPG

IMG_1884.JPG

IMG_1886.JPG

IMG_1871.JPG

Help Getting to Sleep with this Natural Ayurvedic Remedy

Sleep troubles are a nation wide epidemic. Most of us (myself included) cram so much into a day, that by the time we're ready to go to bed our minds are still racing to catch up, or prepare for the next day. If you have trouble unwinding at the end of a long day, then this post is for you.

I’ve got a natural sleep remedy rooted in Ayurveda, sure to have you enjoying your beauty rest (unless of course like me, you’re up at night feeding a baby, in which case, I can offer you no more than a good luck!)

If your sleep difficulties are not a result of a baby or a toddler, this ancient Ayurvedic sleep remedy may help you reclaim some lost hours of rest. It also happens to taste really good and is suitable for children and adults alike. Unfortunately, it does not work on newborns!

You’ll need:

1-cup milk (whichever type floats your fancy, but I always opt for good old fashioned whole milk when I make this recipe-texturally, it works so much better)

1-teaspoon saffron

1-teaspoon pure vanilla extract

1-teaspoon ghee (clarified butter)

1/8-teaspoon nutmeg


Here’s what to do:

In a saucepan, combine your milk, saffron, vanilla, ghee and nutmeg and warm on low heat.

IMG_1715.JPG


Stir.

Pour into a mug.

IMG_1719.JPG

Enjoy an hour before bedtime as part of your unwinding ritual.

Or, if you find yourself up in the middle of the night, you can make this preparation, return to bed and prepare to go to sleep naturally.


Healthy Sweet Potato Bread Recipe

I've been spending a lot of time in the kitchen lately. Now that my youngest has started solids, I've been glued to the counter blending, mixing, mashing. This is not a baby food recipe. I promise.

It just happened to come about after I made an overly ambitious batch of mashed sweet potatoes for my little one.

I have no idea why I felt compelled to mash five pounds of sweet potatoes, I guess it's because they hold a very sweet spot in my heart. Just thinking back to the sweet potato pies and sweet potato custards I used to eat growing up makes me smile. Now, I can't remember the last time I ordered regular fries at a restaurant, I always opt for sweet potato. One of my favorite neighborhood restaurants serves a hearty sweet potato stew. I'm a bit besotted.

Prepared savory or sweet, I can't get enough of the hearty comforting texture.

Sweet potato or bust!

mashed sweet potatoes

So with some of my extra mashed sweet potatoes, I decided to make bread. If you ask me, sweet potatoes take the prize in a sweet bread. Similar to pumpkin bread, the flavor is so much richer with sweet potatoes. This bread is what would happen if a sweet potato pie married a biscuit. Oh, and did I mention it's pretty darn healthy too?

IMG_1838.JPG

Here's what you'll need: 1 ½ cups flour

1 cup coconut palm sugar

1 teaspoon baking soda

½ teaspoon of sea salt

1 tablespoon fresh grated ginger

1 teaspoon ground nutmeg

1 teaspoon ground cinnamon

½ cup olive oil

2 tablespoons buttermilk

2 eggs, slightly beaten

1 teaspoon vanilla extract

1 cup mashed cooked sweet potatoes

1 cup chopped pistachios

½ cup dark chocolate chips (optional)

Here's what to do: Preheat oven to 350°F then oil (coconut oil works great!) an 8x8 round pan and set aside. In a large bowl, stir together flour, sugar, baking powder, salt, nutmeg and cinnamon. Blend in the oil, milk and eggs.

Make sure your batter is fully blended before adding the sweet potatoes, ginger, pistachios, and chocolate chips.

Mix until uniform and pour into your oiled pan.

Bake 35-40 minutes or until toothpick inserted in center comes out clean. Cool about 1 hour.

IMG_1721.JPG

I dare you not to fall in love!

Recipe for Chocolate Chip Spiced Apple Pancakes

Some of my fondest morning memories are centered around making pancakes. Growing up, whenever I'd visit my grandfather's house in Maryland, he'd have a box of pancake mix waiting for me. My sister and I would whip up batches of sweet, fluffy, buttery pancakes that we'd slather in butter and honey and share with everyone. Those breakfasts, slow and languid, would make us forget about lunch.

Good pancakes are pure magic!

Some of the most comforting meals are the simplest.

It's been a long time since I've made pancakes out of a box. Pancakes are so easy to make from scratch, the box hardly seems necessary anymore. Besides, I love the thrill of creating something from scratch. Cooking so resembles alchemy.

Just like gold, this recipe for chocolate chip spiced apple pancakes is a beautiful autumnal twist on an old classic.

chocolate chip pancakes with spiced apple

Here's what you'll need:

  • 2 teaspoons nutmeg
  • 1 teaspoon cinnamon
  • 1 teaspoon salt
  • 2 teaspoons baking powder
  • 1 teaspoon baking soda
  • 2 cups of sifted flour
  • 2 tablespoons sugar
  • 2 eggs
  • 1/4 cup apple butter
  • 2 cups of buttermilk
  • 2 tablespoons melted, unsalted butter
  • 1/4 cups mini chocolate chips
  • 1 teaspoon vanilla extract

Here's what to do:

  • In a mixing bowl, stir the dry ingredients together (nutmeg, cinnamon, salt, baking powder, baking soda, flour and sugar).
  • In a separate bowl, mix the vanilla, eggs and buttermilk. Once blended, add the melted butter and then the apple butter. Blend thoroughly.
  • Add your wet ingredients to your dry ingredient bowl. Stir until almost completely combined.
  • Butter your griddle and place over medium heat. Spoon your batter onto the griddle by the mixing spoon full and cook until bubbles begin to form, flip and cook until golden brown.
  • If you have any extra batter, a mason jar is excellent storage. Now you can enjoy pancakes quickly later on in the week!IMG_0985
  • Gluten Free Lasagna with a Lactose Friendly Twist

    My dear cousin Brielle who is gluten free and lactose intolerant inspired this recipe. Brielle, a practicing postpartum doula, came to stay with us for two weeks this summer after Jai was born. Not only was she an AMAZING help (If you are pregnant or know anyone who is currently pregnant- I highly recommend a postpartum doula- life changing I tell you!) but she was an illuminating nutritional presence as she introduced me to the wonders of sheep cheese, the various incarnations of goat’s cheese and the outright goodness of brown rice pasta.

    Lasagna is a beloved dish in our household, but I’d avoided making it regularly because my husband is lactose intolerant (booh!).

    I'm happy to say that holding the cheese when it comes to lasagna is no longer an issue!

    Brielle, whose hubby is one of Washington’s most talented and innovative chefs, was able to give me the skinny on non-cow dairy.

    It turns out, sheep cheese very closely resembles the taste and texture of cow’s milk cheeses and most lactose intolerant people are able to digest it without trouble. This was revolutionary news in my household since my hubby is a cheese lover who suffered (not so silently) through his difficulties rather than give up his beloved cheese.

    Goat cheese, is also gentle on the digestive track for lactose intolerant individuals. Goat cheese is fabulous because it comes in so many different forms, such as ricotta.

    IMG_0287


    Bring on the cheese!

    Using goat ricotta, sheep mozzarella and parmesan, rice lasagna noodles and a pesto inspired sauce; I created this non-traditional lactose friendly, gluten free lasagna. But I don’t want to focus on what’s not in this lasagna; instead, let’s focus on what makes this lasagna delicious and unforgettable.


    Pesto Sauce Ingredients:

    1 cup olive oil

    1 teaspoon sage

    1 teaspoon salt

    1 tablespoon of ground chia

    ¼ teaspoon cayenne pepper

    ¼ teaspoon cinnamon

    2 tablespoons of basil

    1 tablespoon of parsley

    1 tablespoon of minced garlic

    IMG_0284

    Combine all of your dry ingredients

    IMG_0285

    Add the olive oil and blend.

    Set aside for later use.


    Lasagna Ingredients:

    Rice lasagna noodles

    1 heirloom tomato (sliced thinly)

    Goat Ricotta cheese

    Sheep parmesan cheese

    Sheep mozzarella cheese

    1 yellow onion (sliced and caramelized)

    1 red pepper (thinly sliced)

    4 cups arugula

    1 package of ground turkey (thoroughly cooked in a skillet)

    IMG_0286


    Directions:

    Preheat your oven to 350 degrees.

    Lay two rows of lasagna noodles onto the bottom of your baking dish.

    *Note: Most rice noodles don't need to be pre-cooked. Check your box.

    In a small bowl, combine your ground turkey crumbles and your ricotta cheese. Lay a layer of your turkey and ricotta, topped with caramelized onions, arugula, mozzerella and red peppers. Pour your pesto sauce on top and sprinkle a light layer of parmesan cheese.

    Lay another layer of lasagna noodles and repeat the same process of layering turkey and ricotta, caramelized onions, arugula, red peppers and pesto sauce.

    Lay your final layer of lasagna noodles and top with your tomato, pesto sauce and a generous layer of parmesan cheese.

    IMG_0292

    Bake for 30 minutes, until the cheese has browned.

    Let cool for ten minutes, before cutting and serving.