Body

How to Melt Wax to Make Bath and Beauty Products!

How to Melt Wax to Make Bath and Beauty Products!

Apparently I've been on a tutorial kick.

Last week, after getting a ton of emails from people asking me to clarify how to melt shea butter properly I posted a super thorough and simplified tutorial for melting shea butter.

Today, I'm going to extend that tutorial to demonstrate an effective way to melt wax.

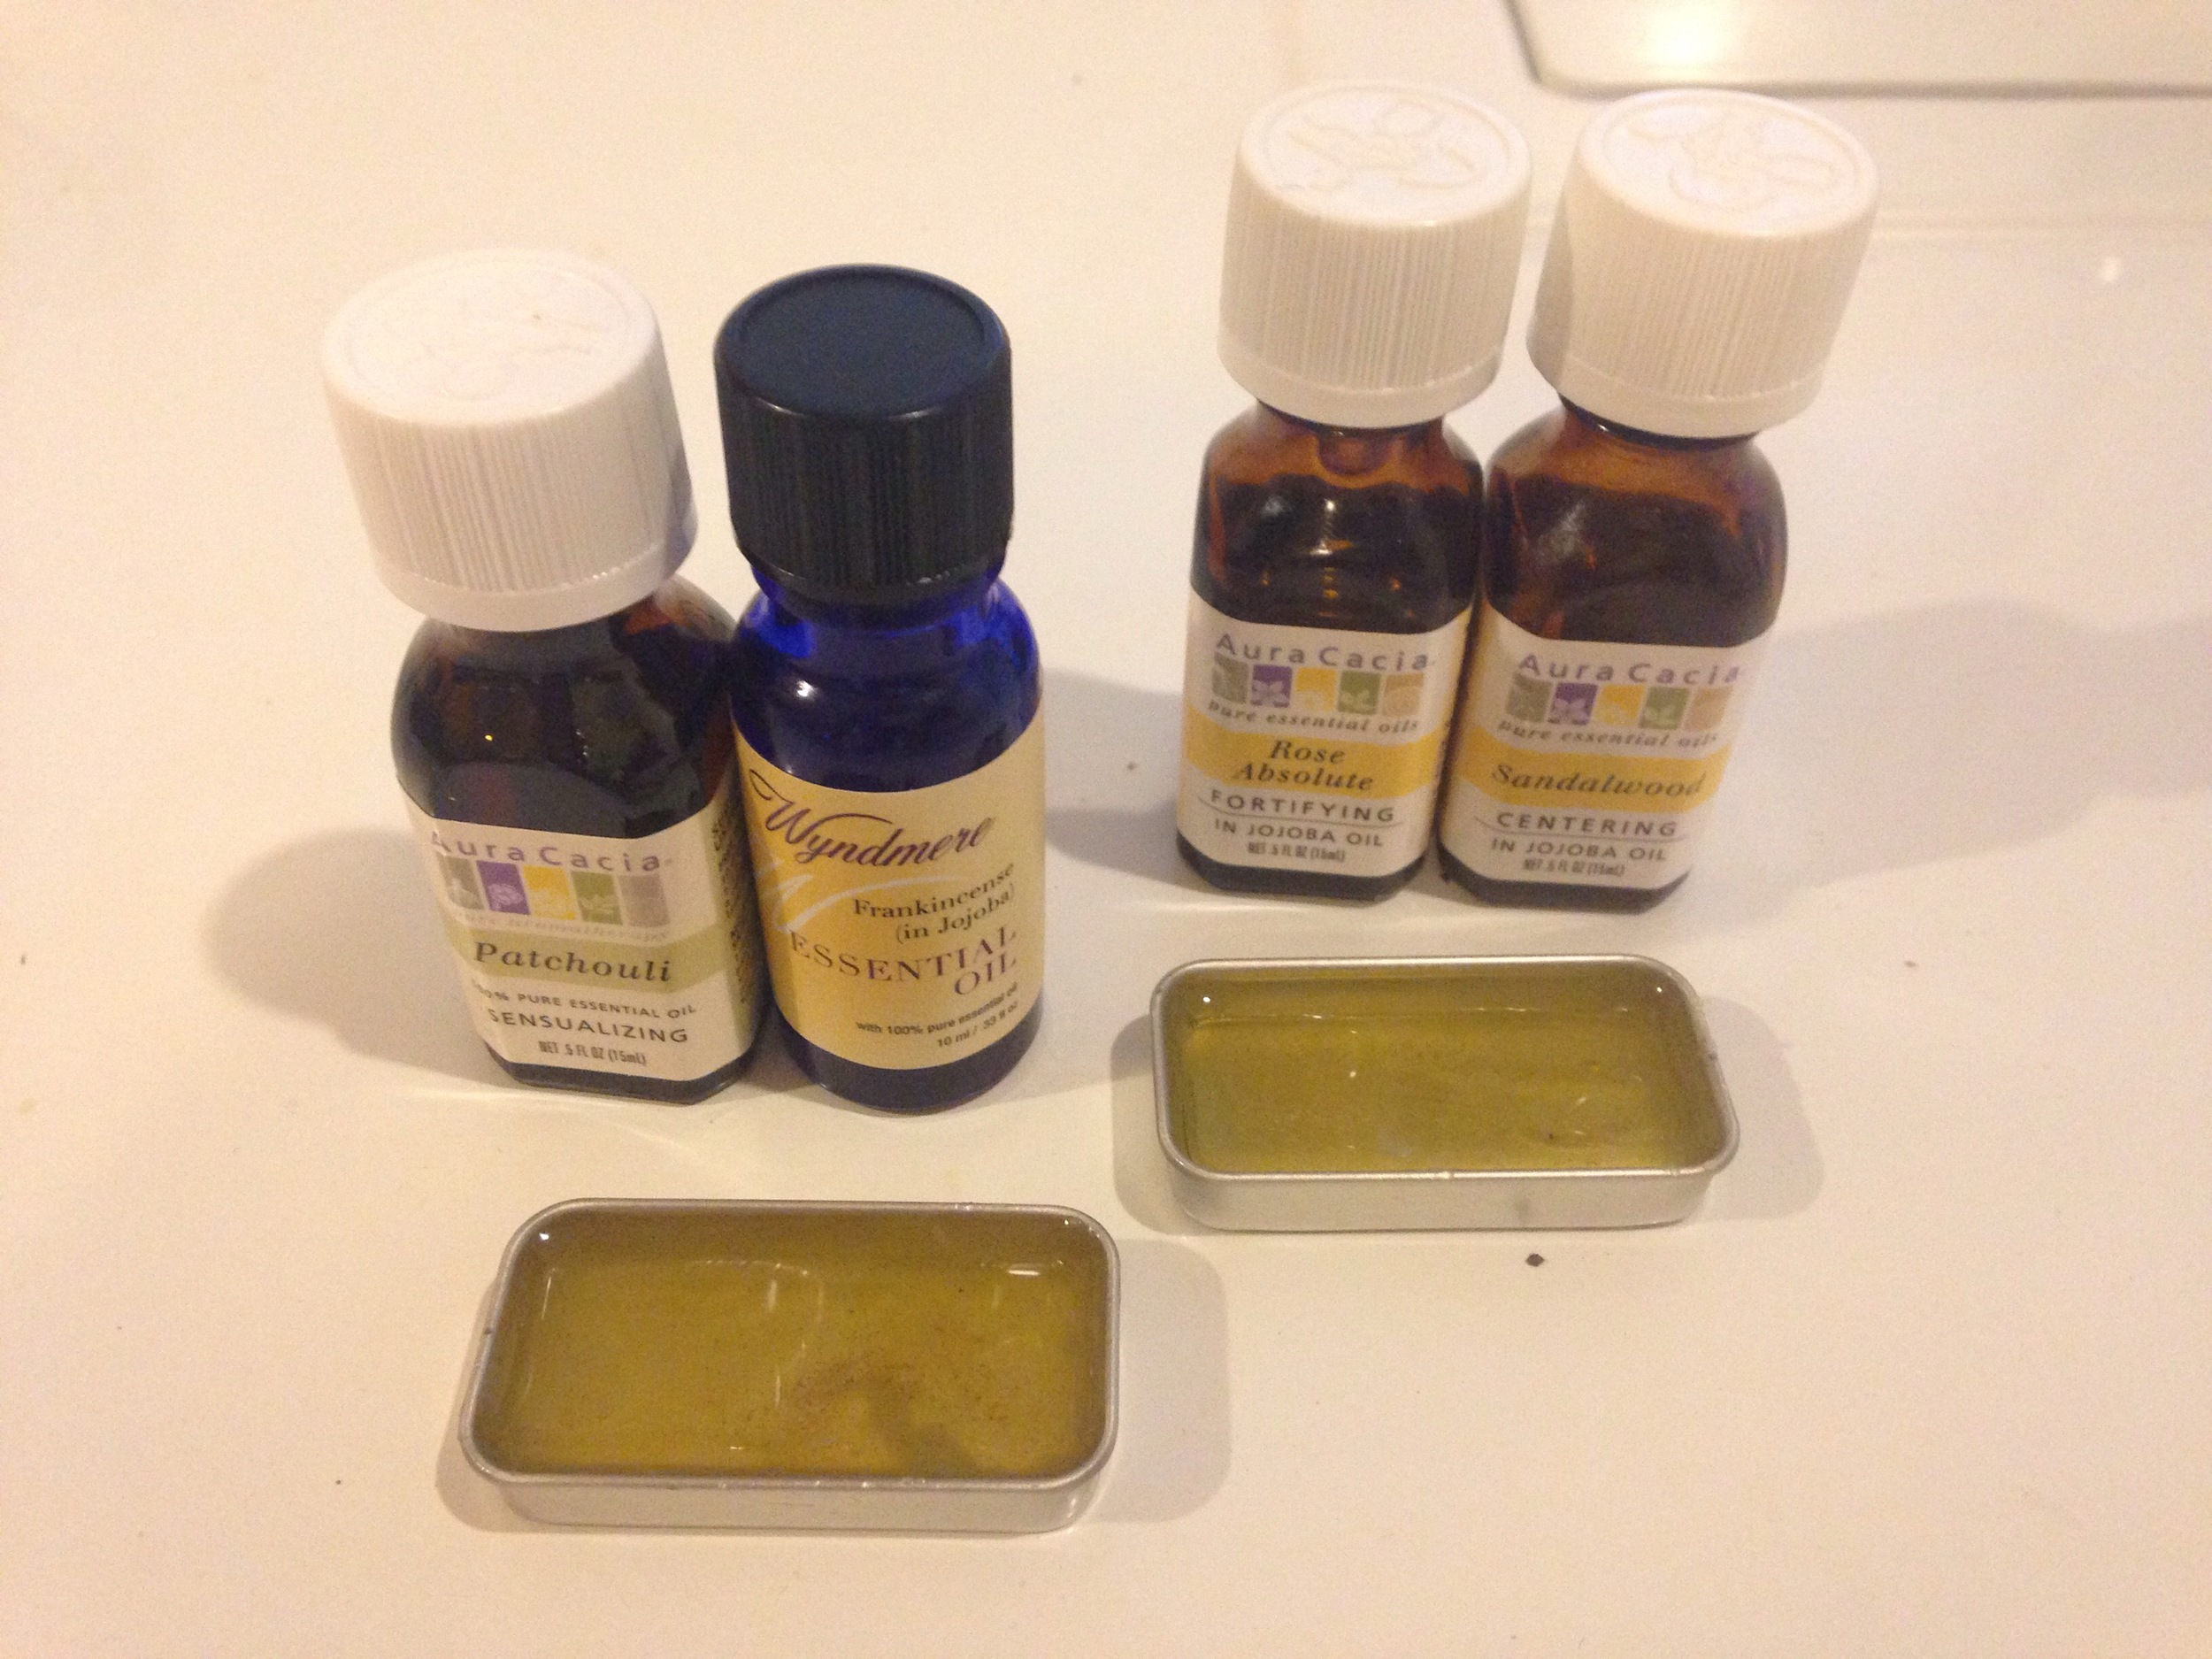
Waxes are used often in bath and beauty products, particularly body butters and lip balms because they're fantastic emulsifiers and contribute to a lovely texture.

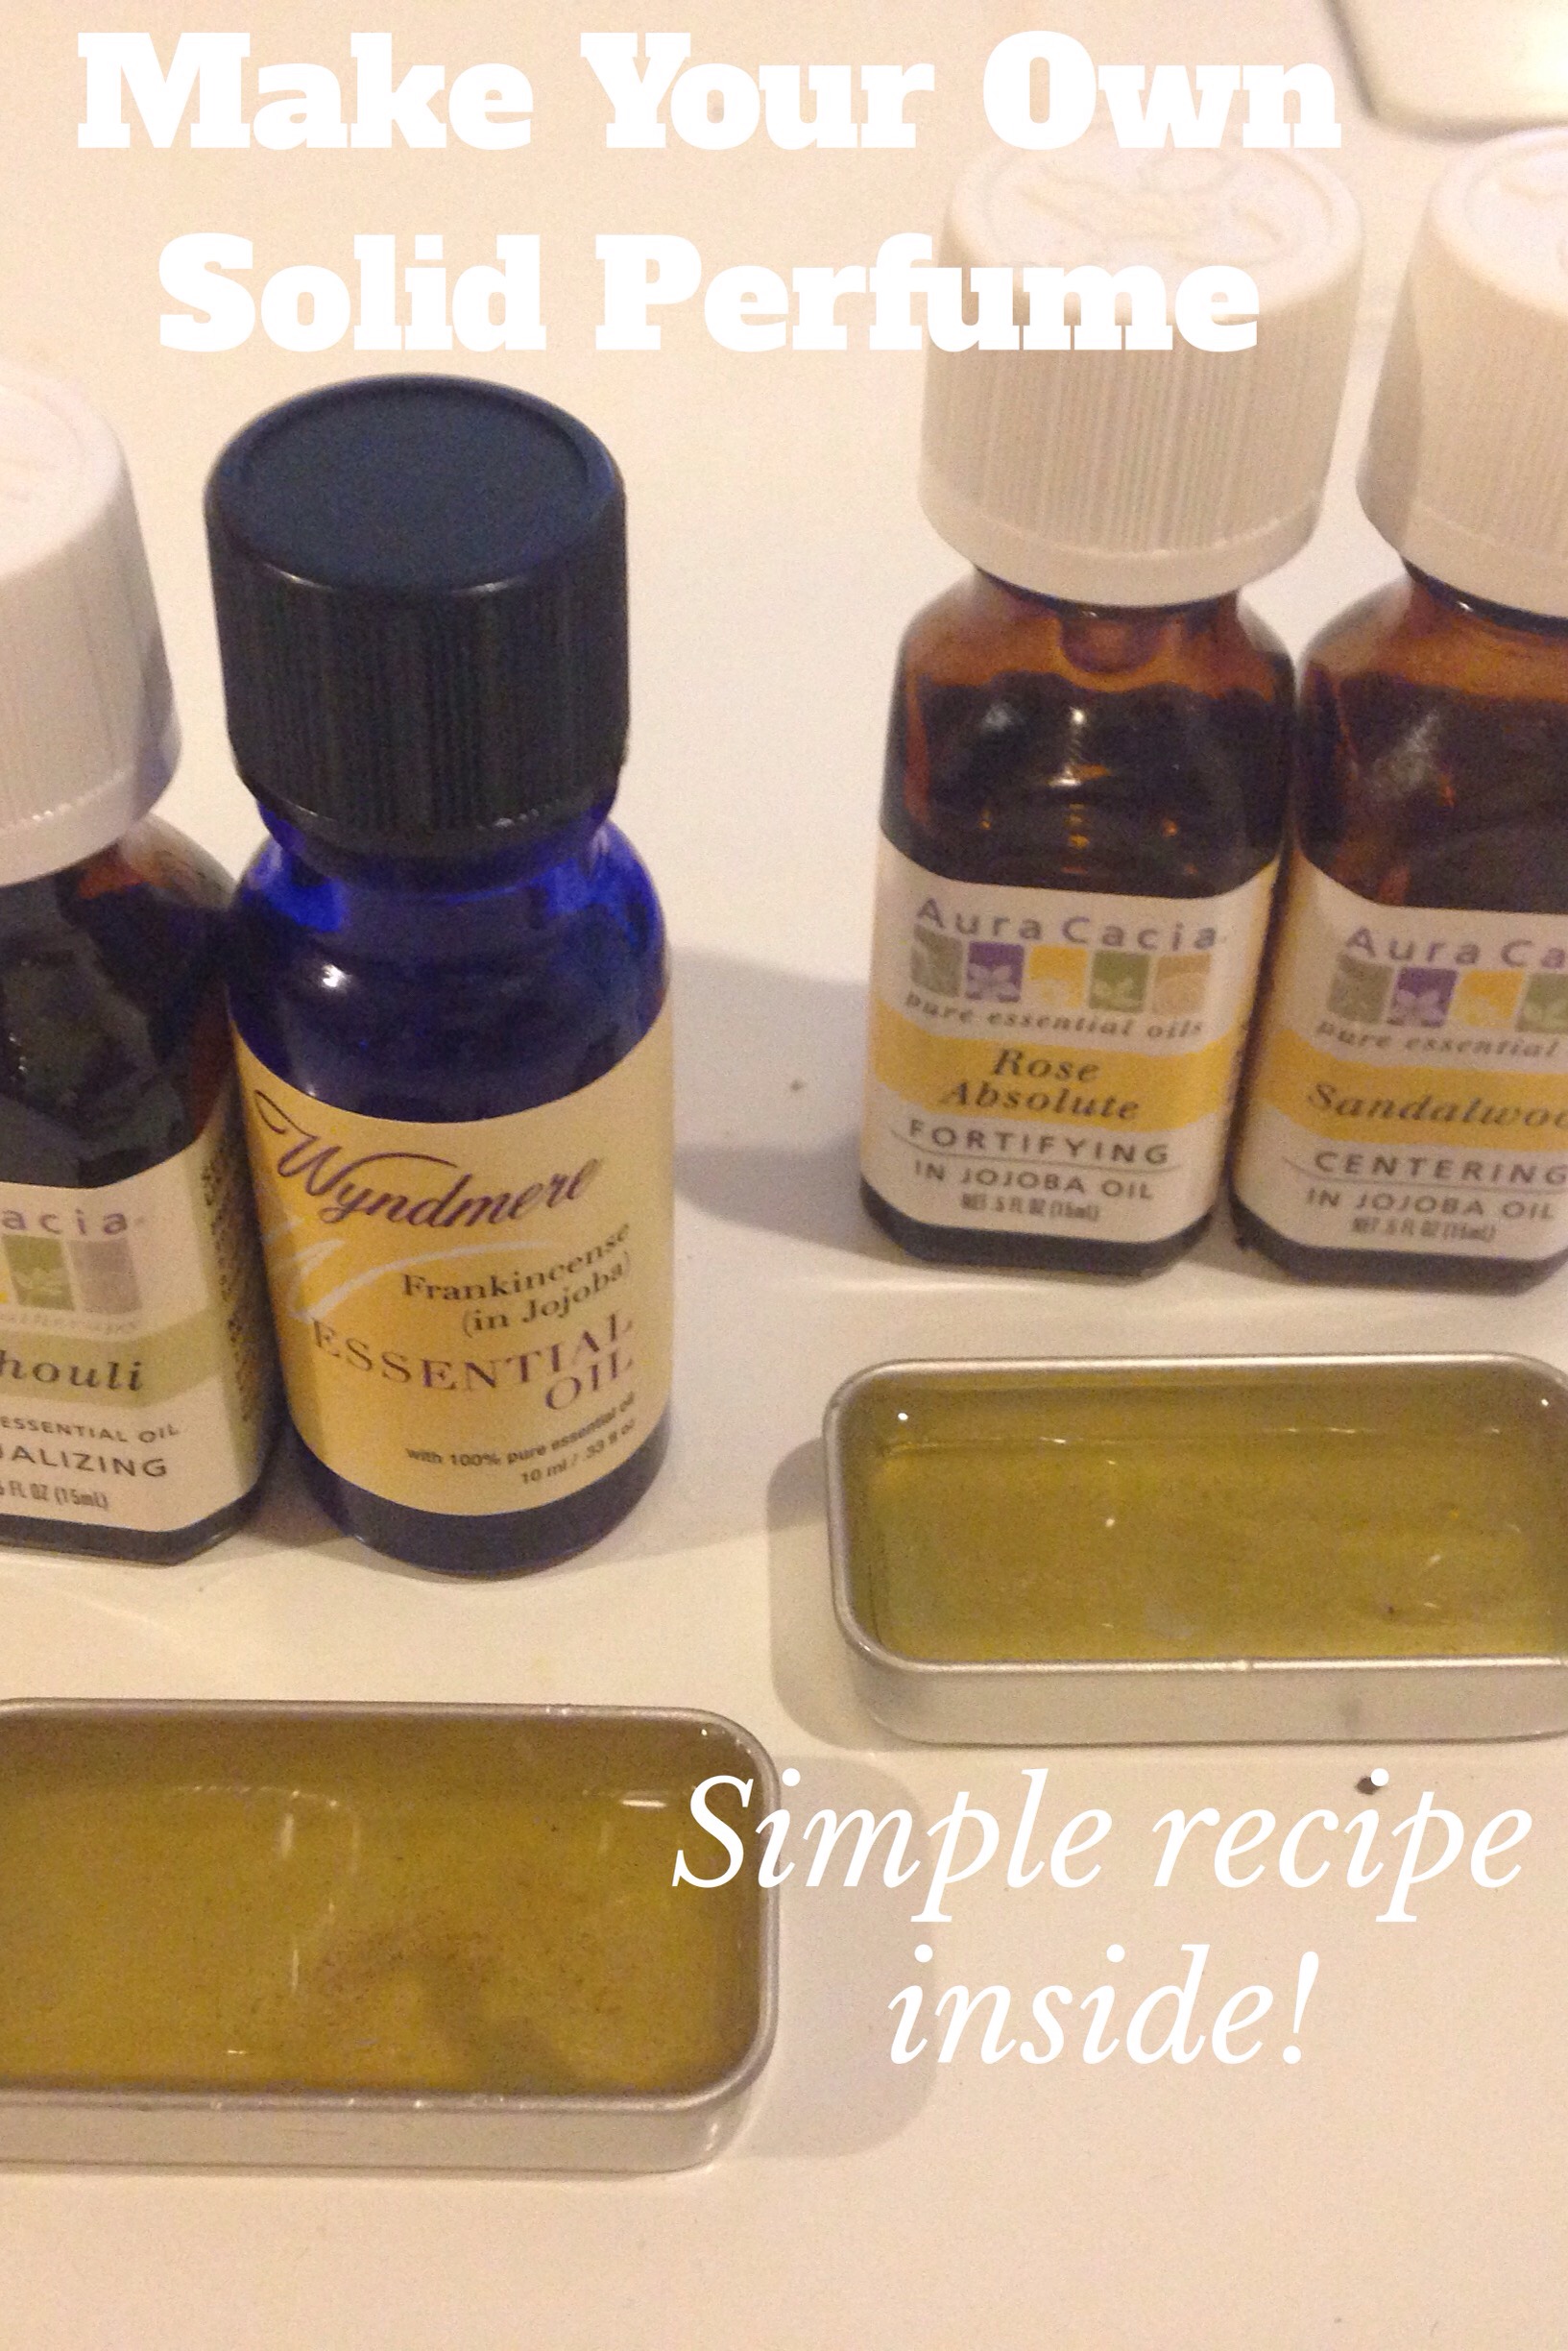
When I make my products, I prefer to use carnauba wax and beeswax although there are many forms of wax safe for cosmetic use.

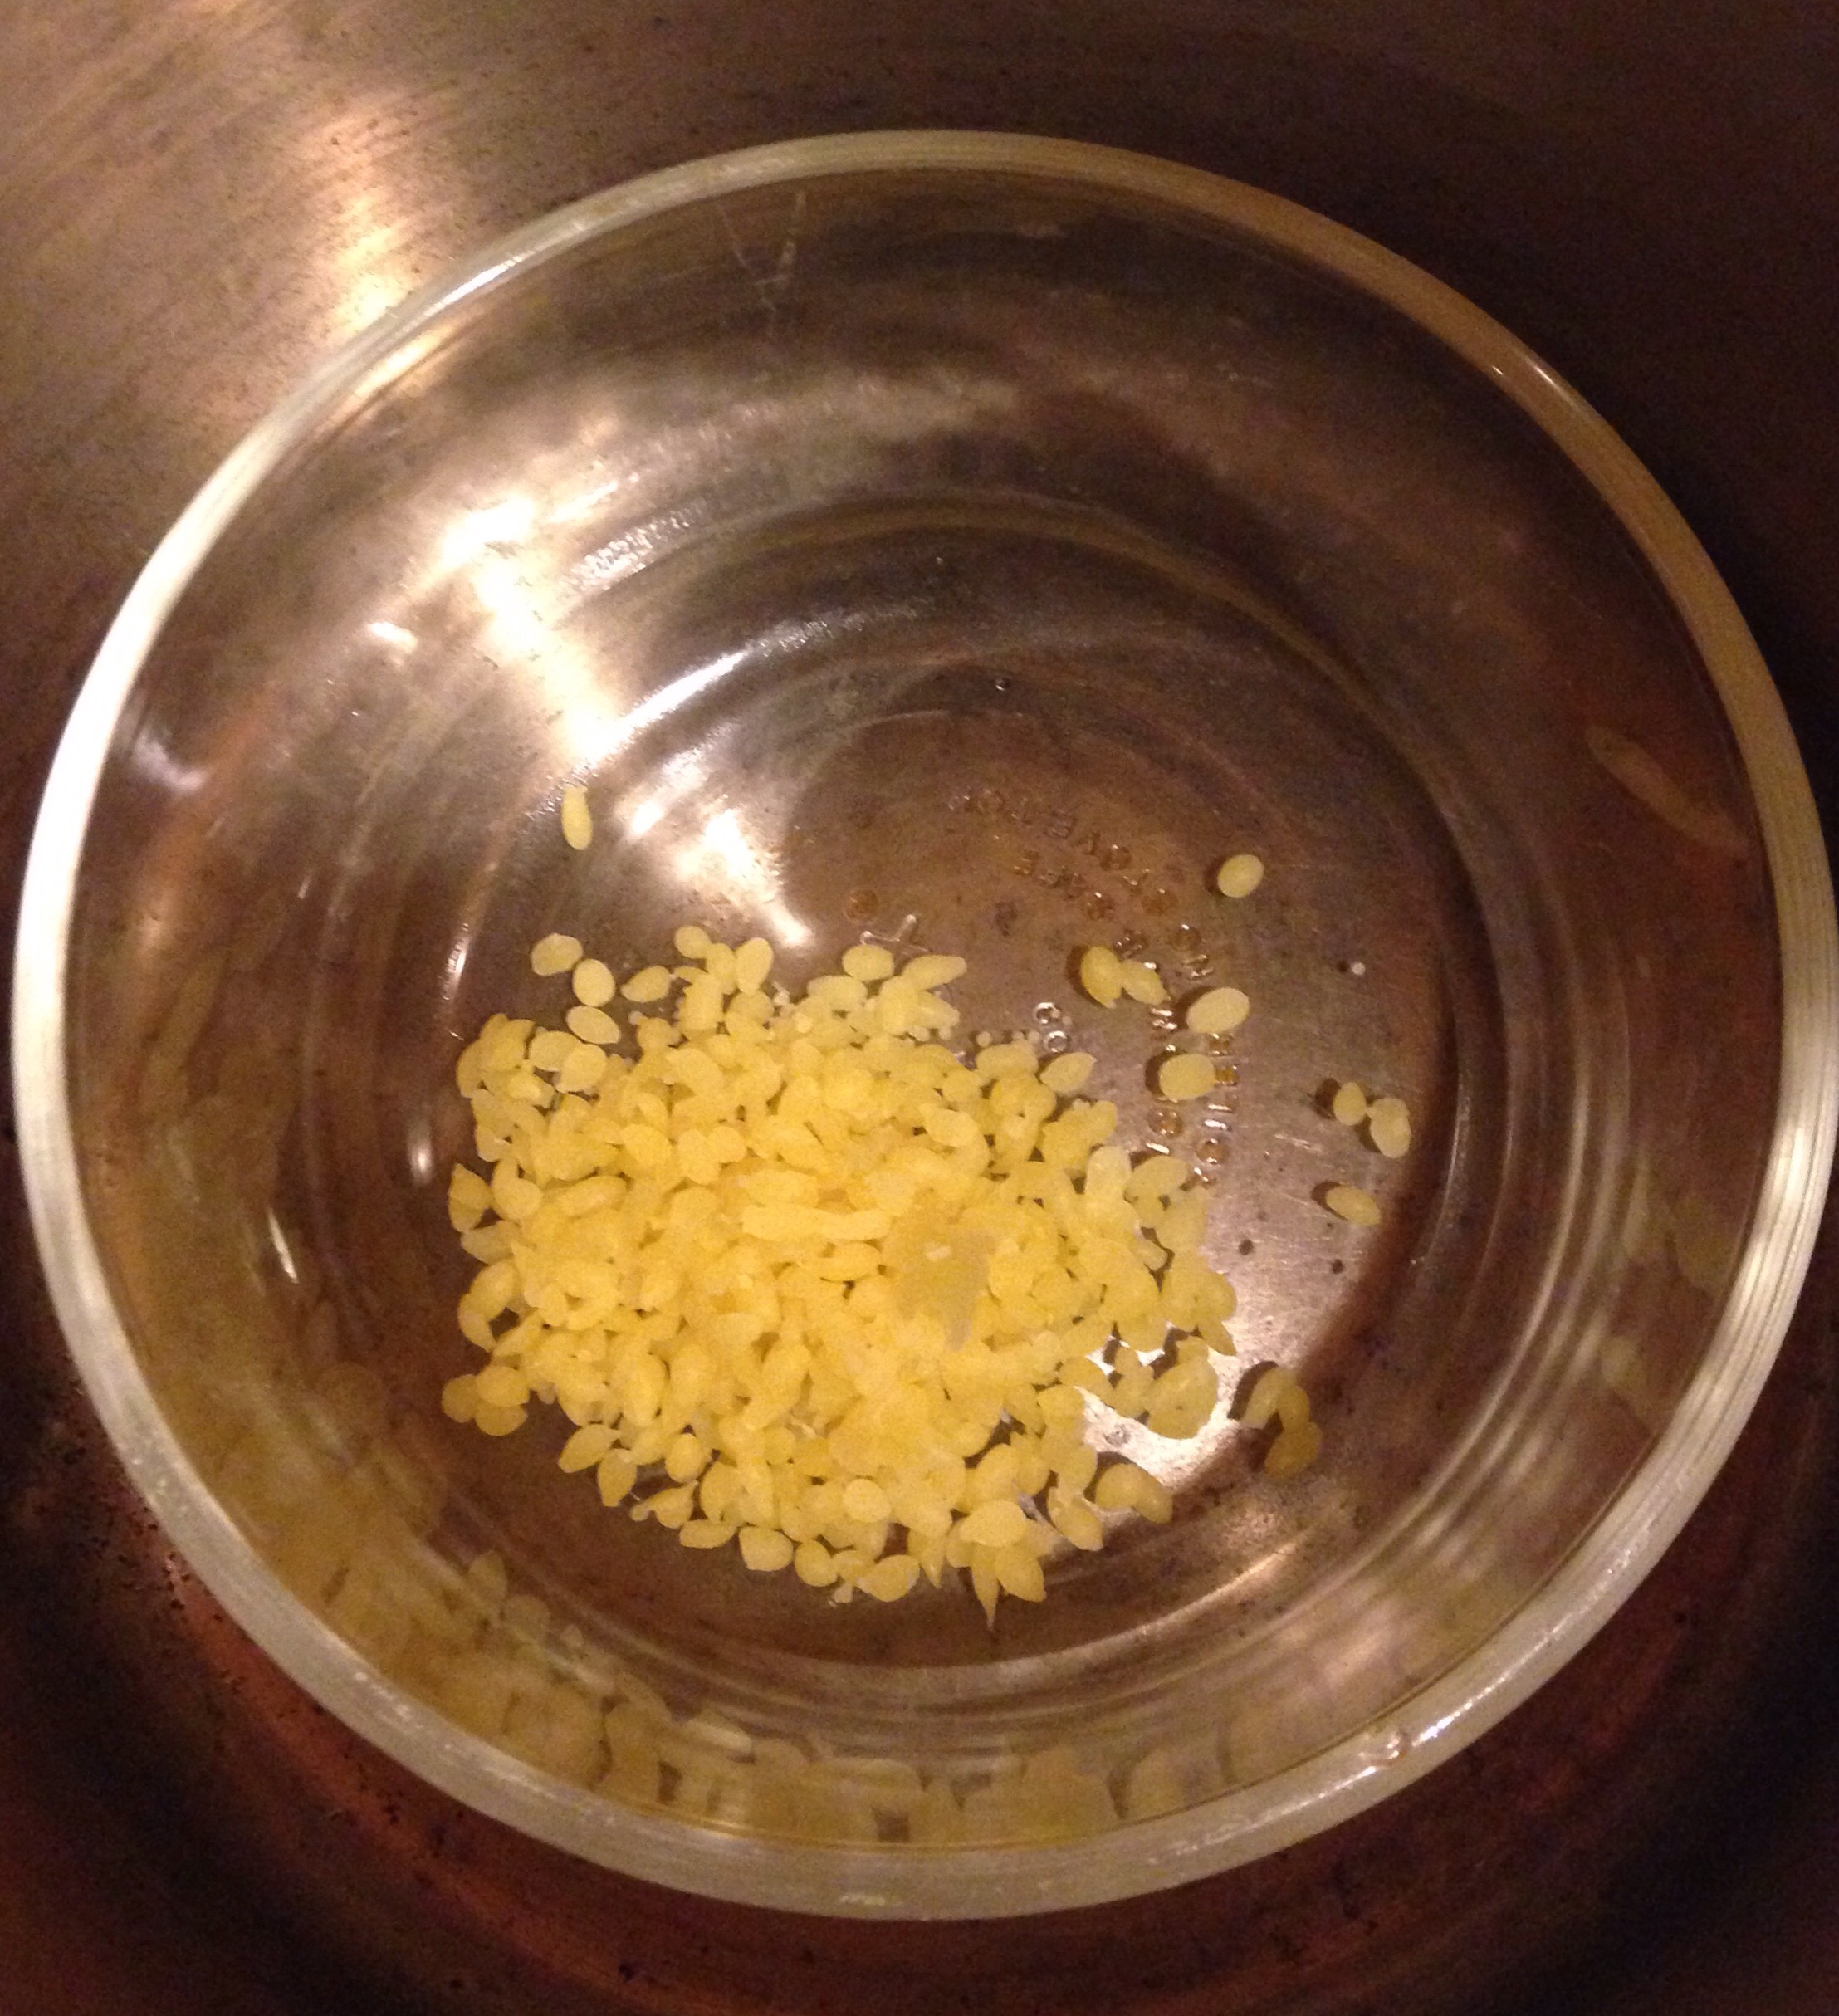
Wax can be purchased in many forms from large solid bars to tiny pellets. I prefer to buy pellets whenever possible because they're easy to measure and melt.

If you don't have pellets, grating a large bar of wax and measuring the portions can be extremely labor intensive. Pellets are definitely easiest to work with though bars are usually cheaper.

How to Melt Wax to Make Bath and Beauty Products!

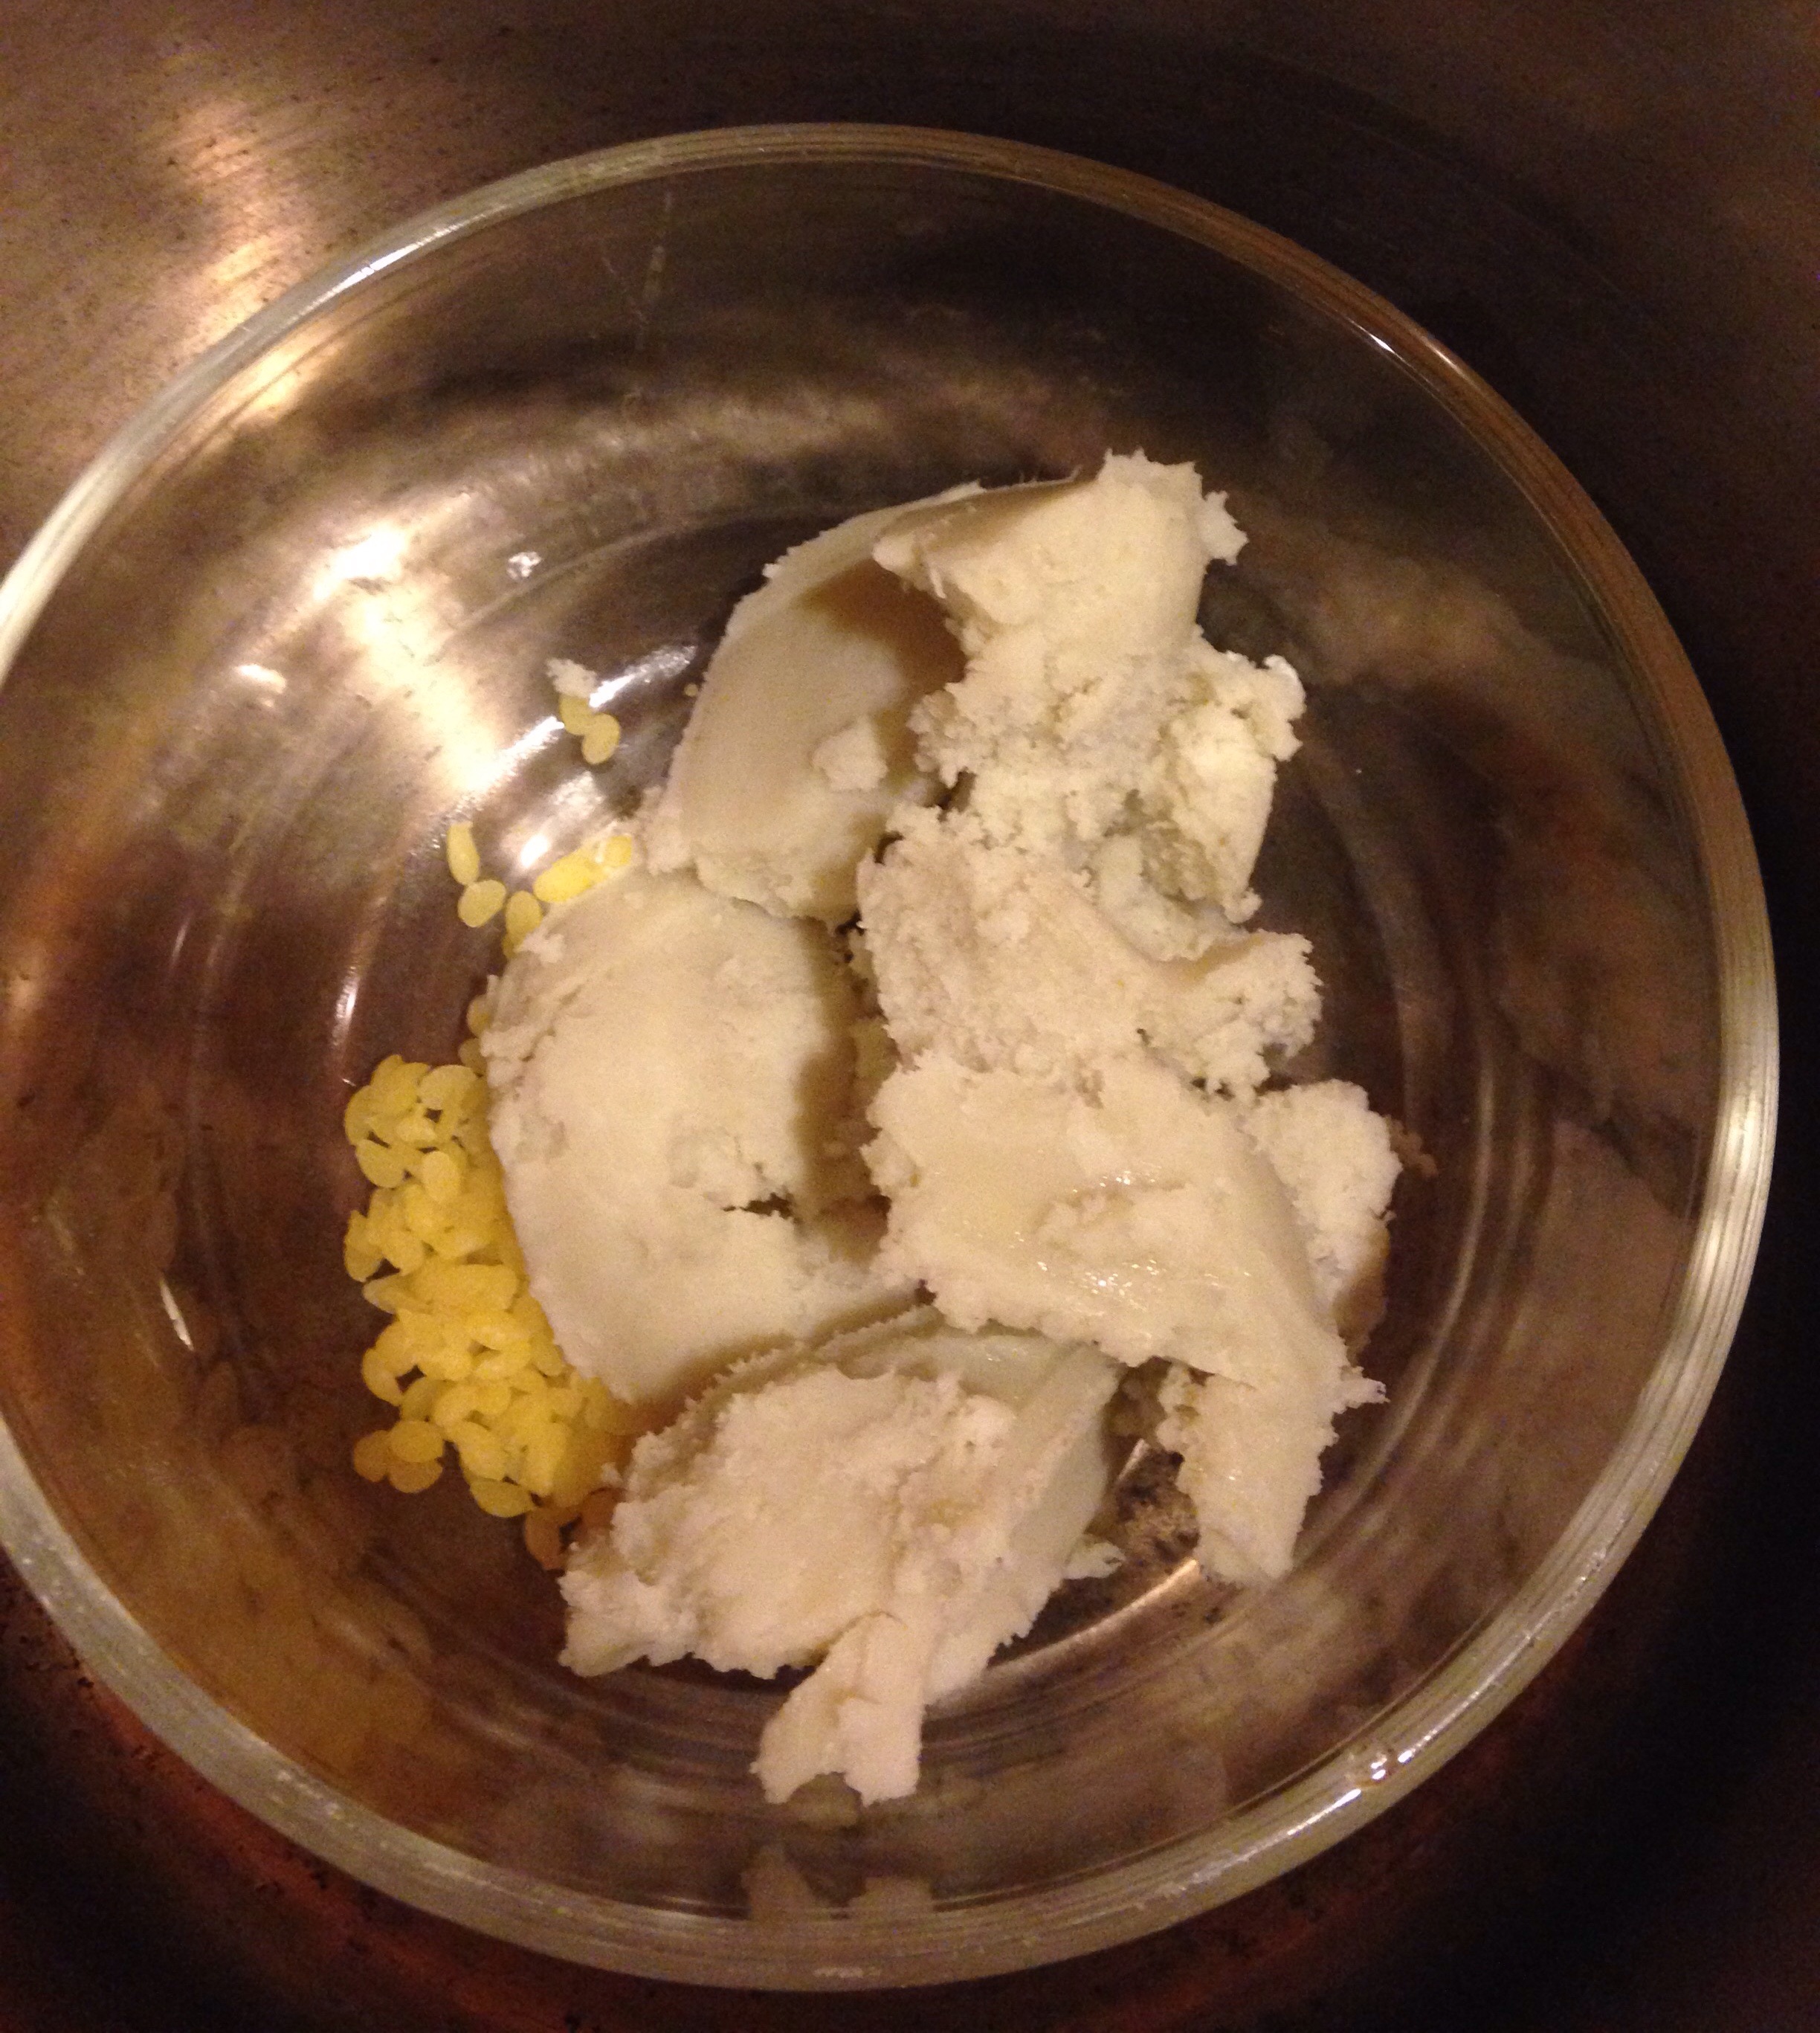
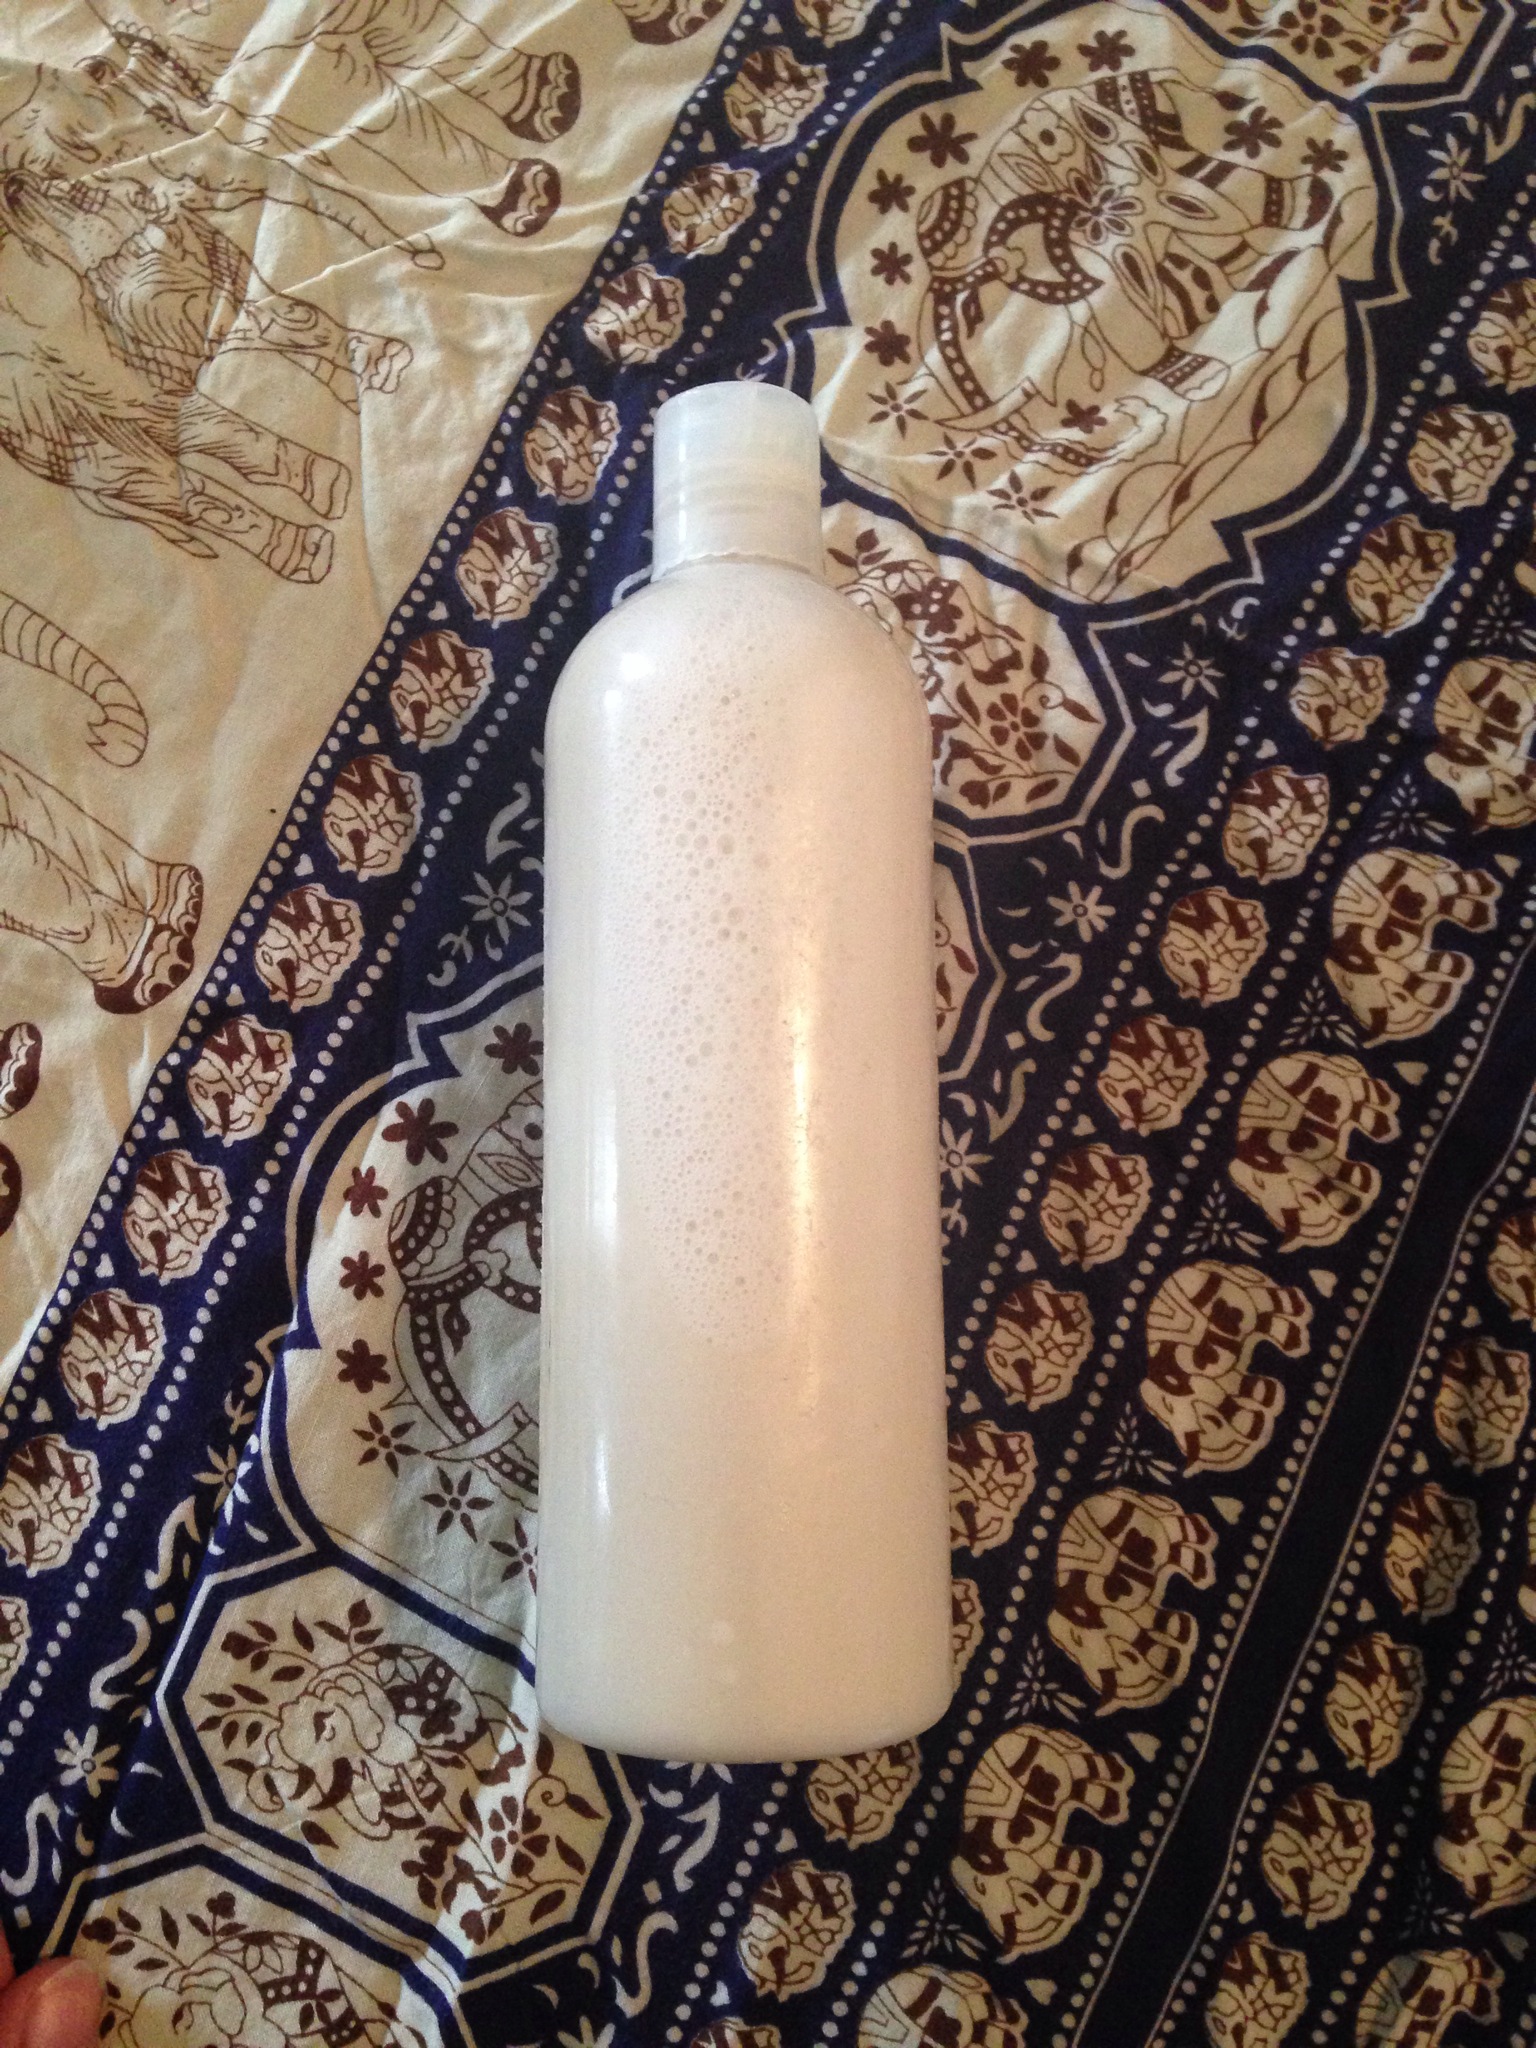
When you're melting wax, you want to place the pellets (or shavings from a block) into your oil base.

For the purposes of this post, I'm going to ask you to refer to my shea butter base. This could of course be any base your recipe calls for from olive oil to jojoba.

Steps Simplified:

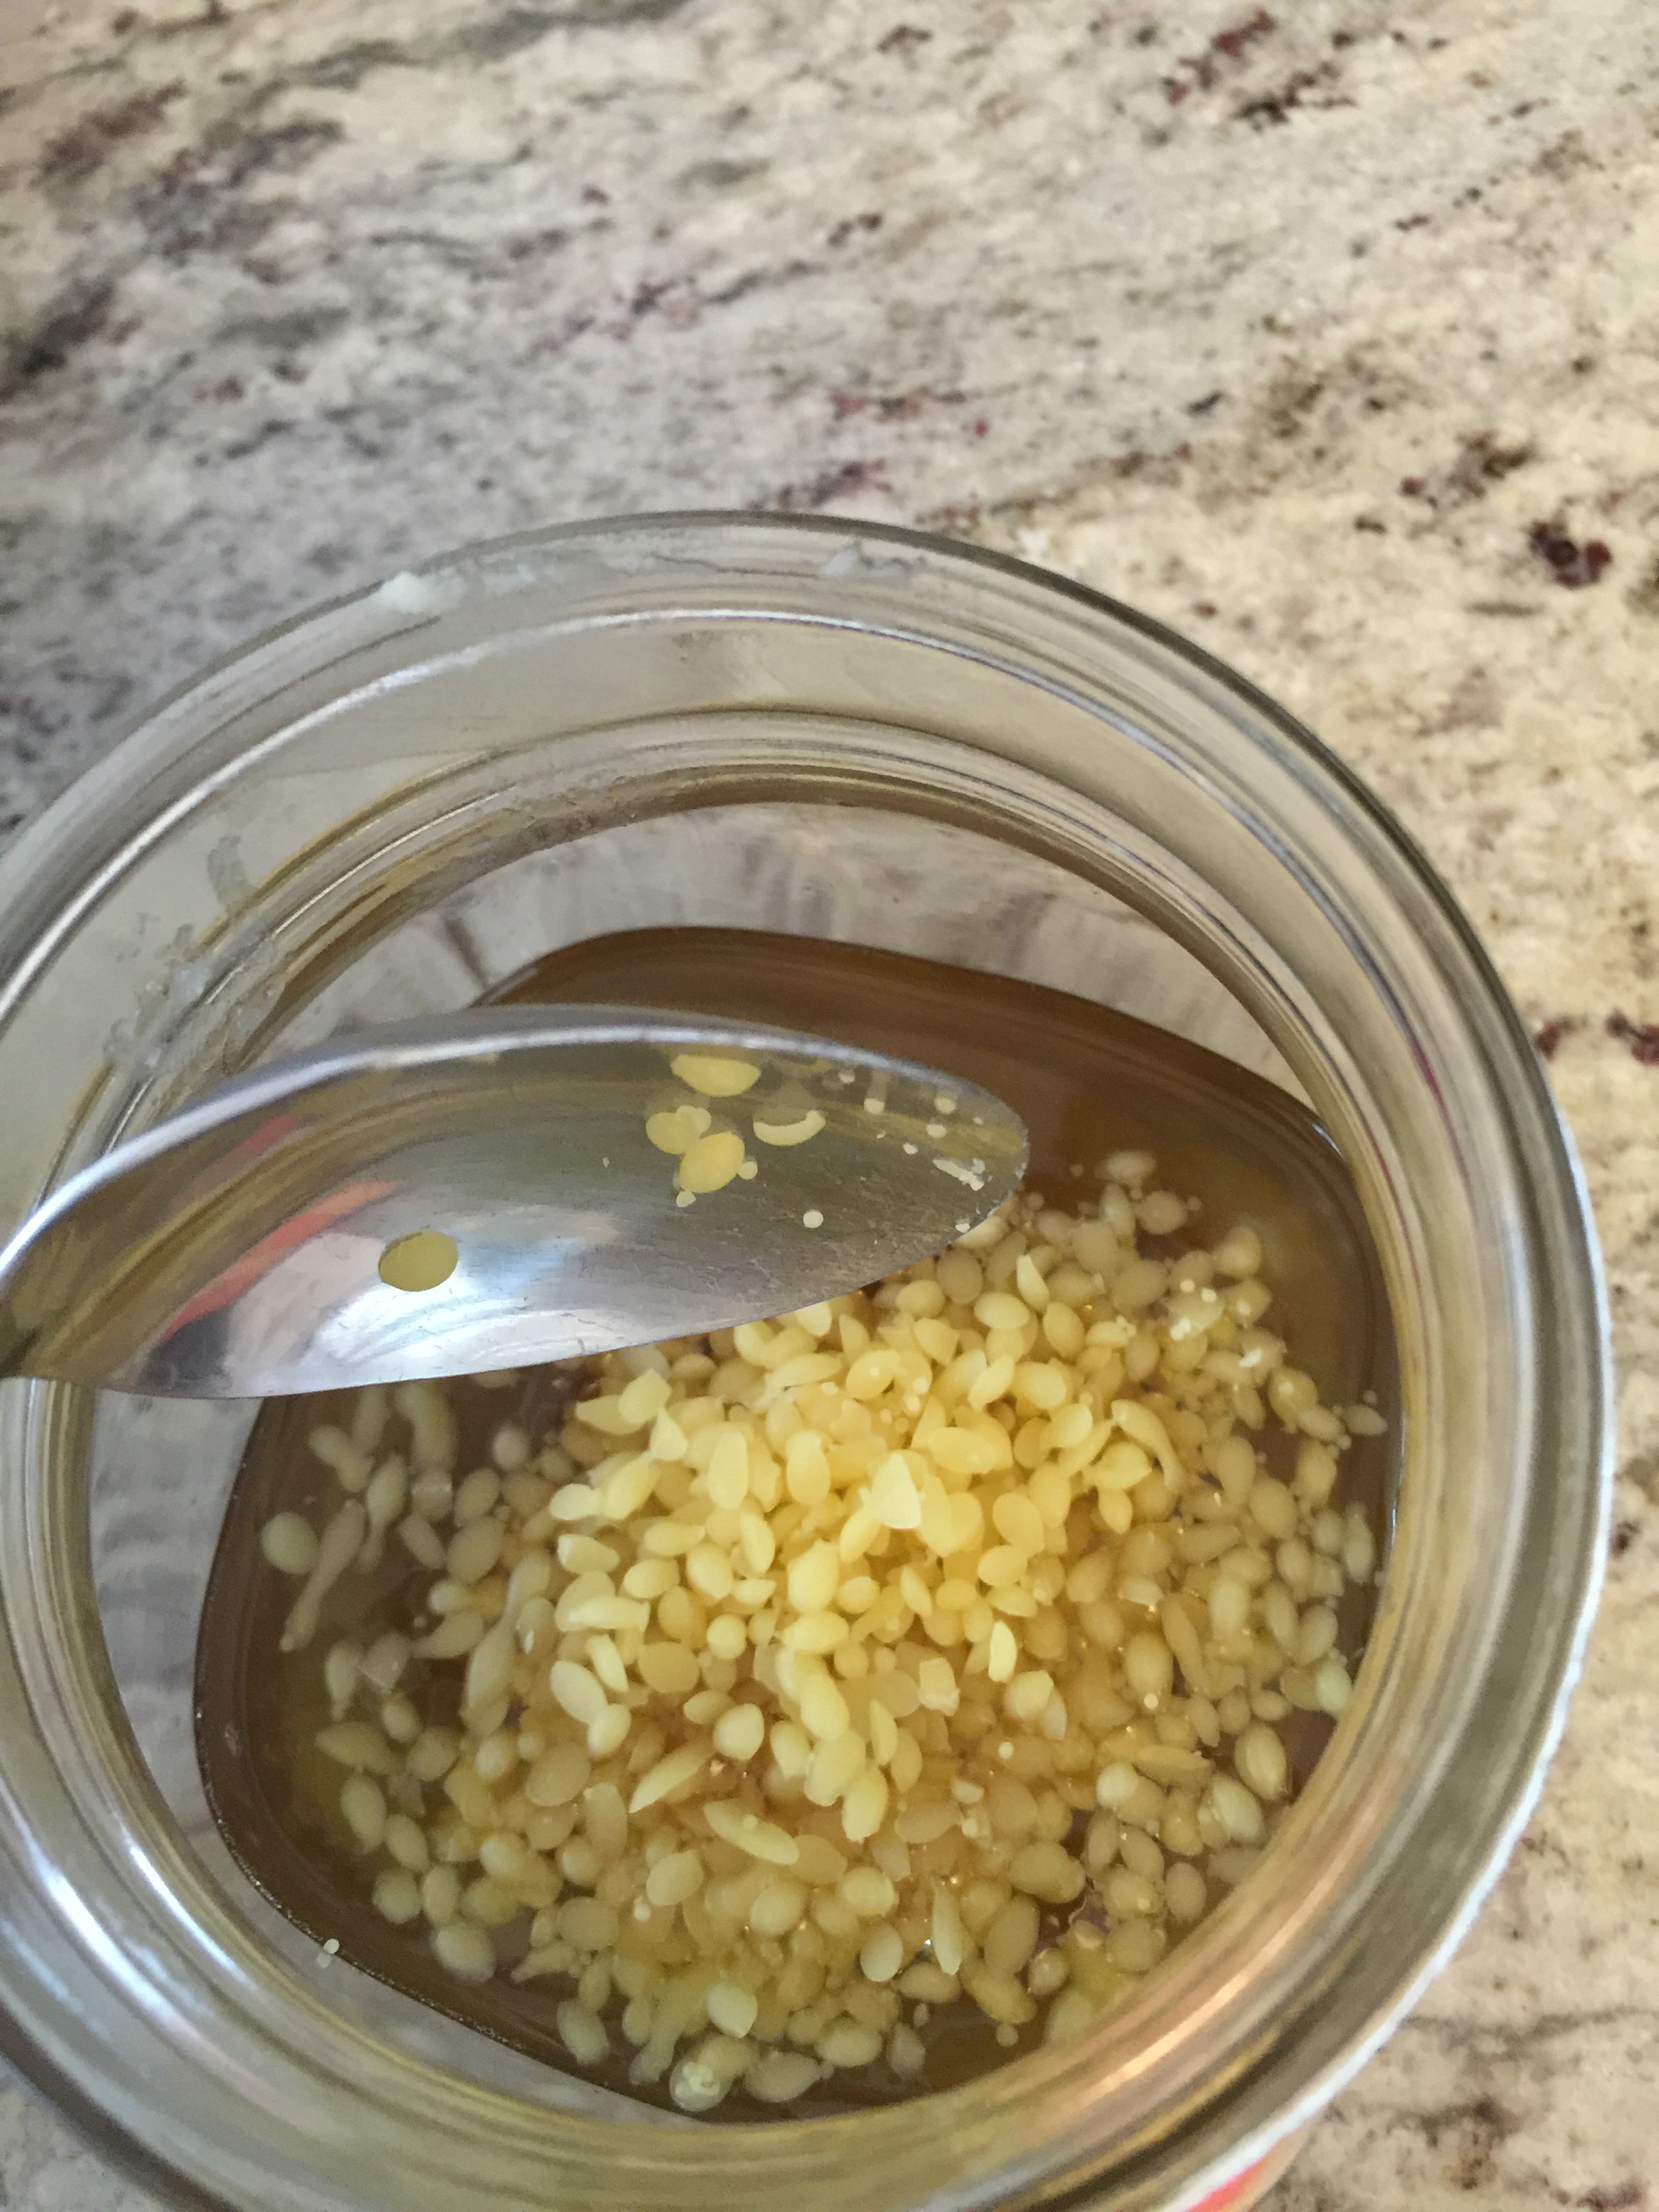
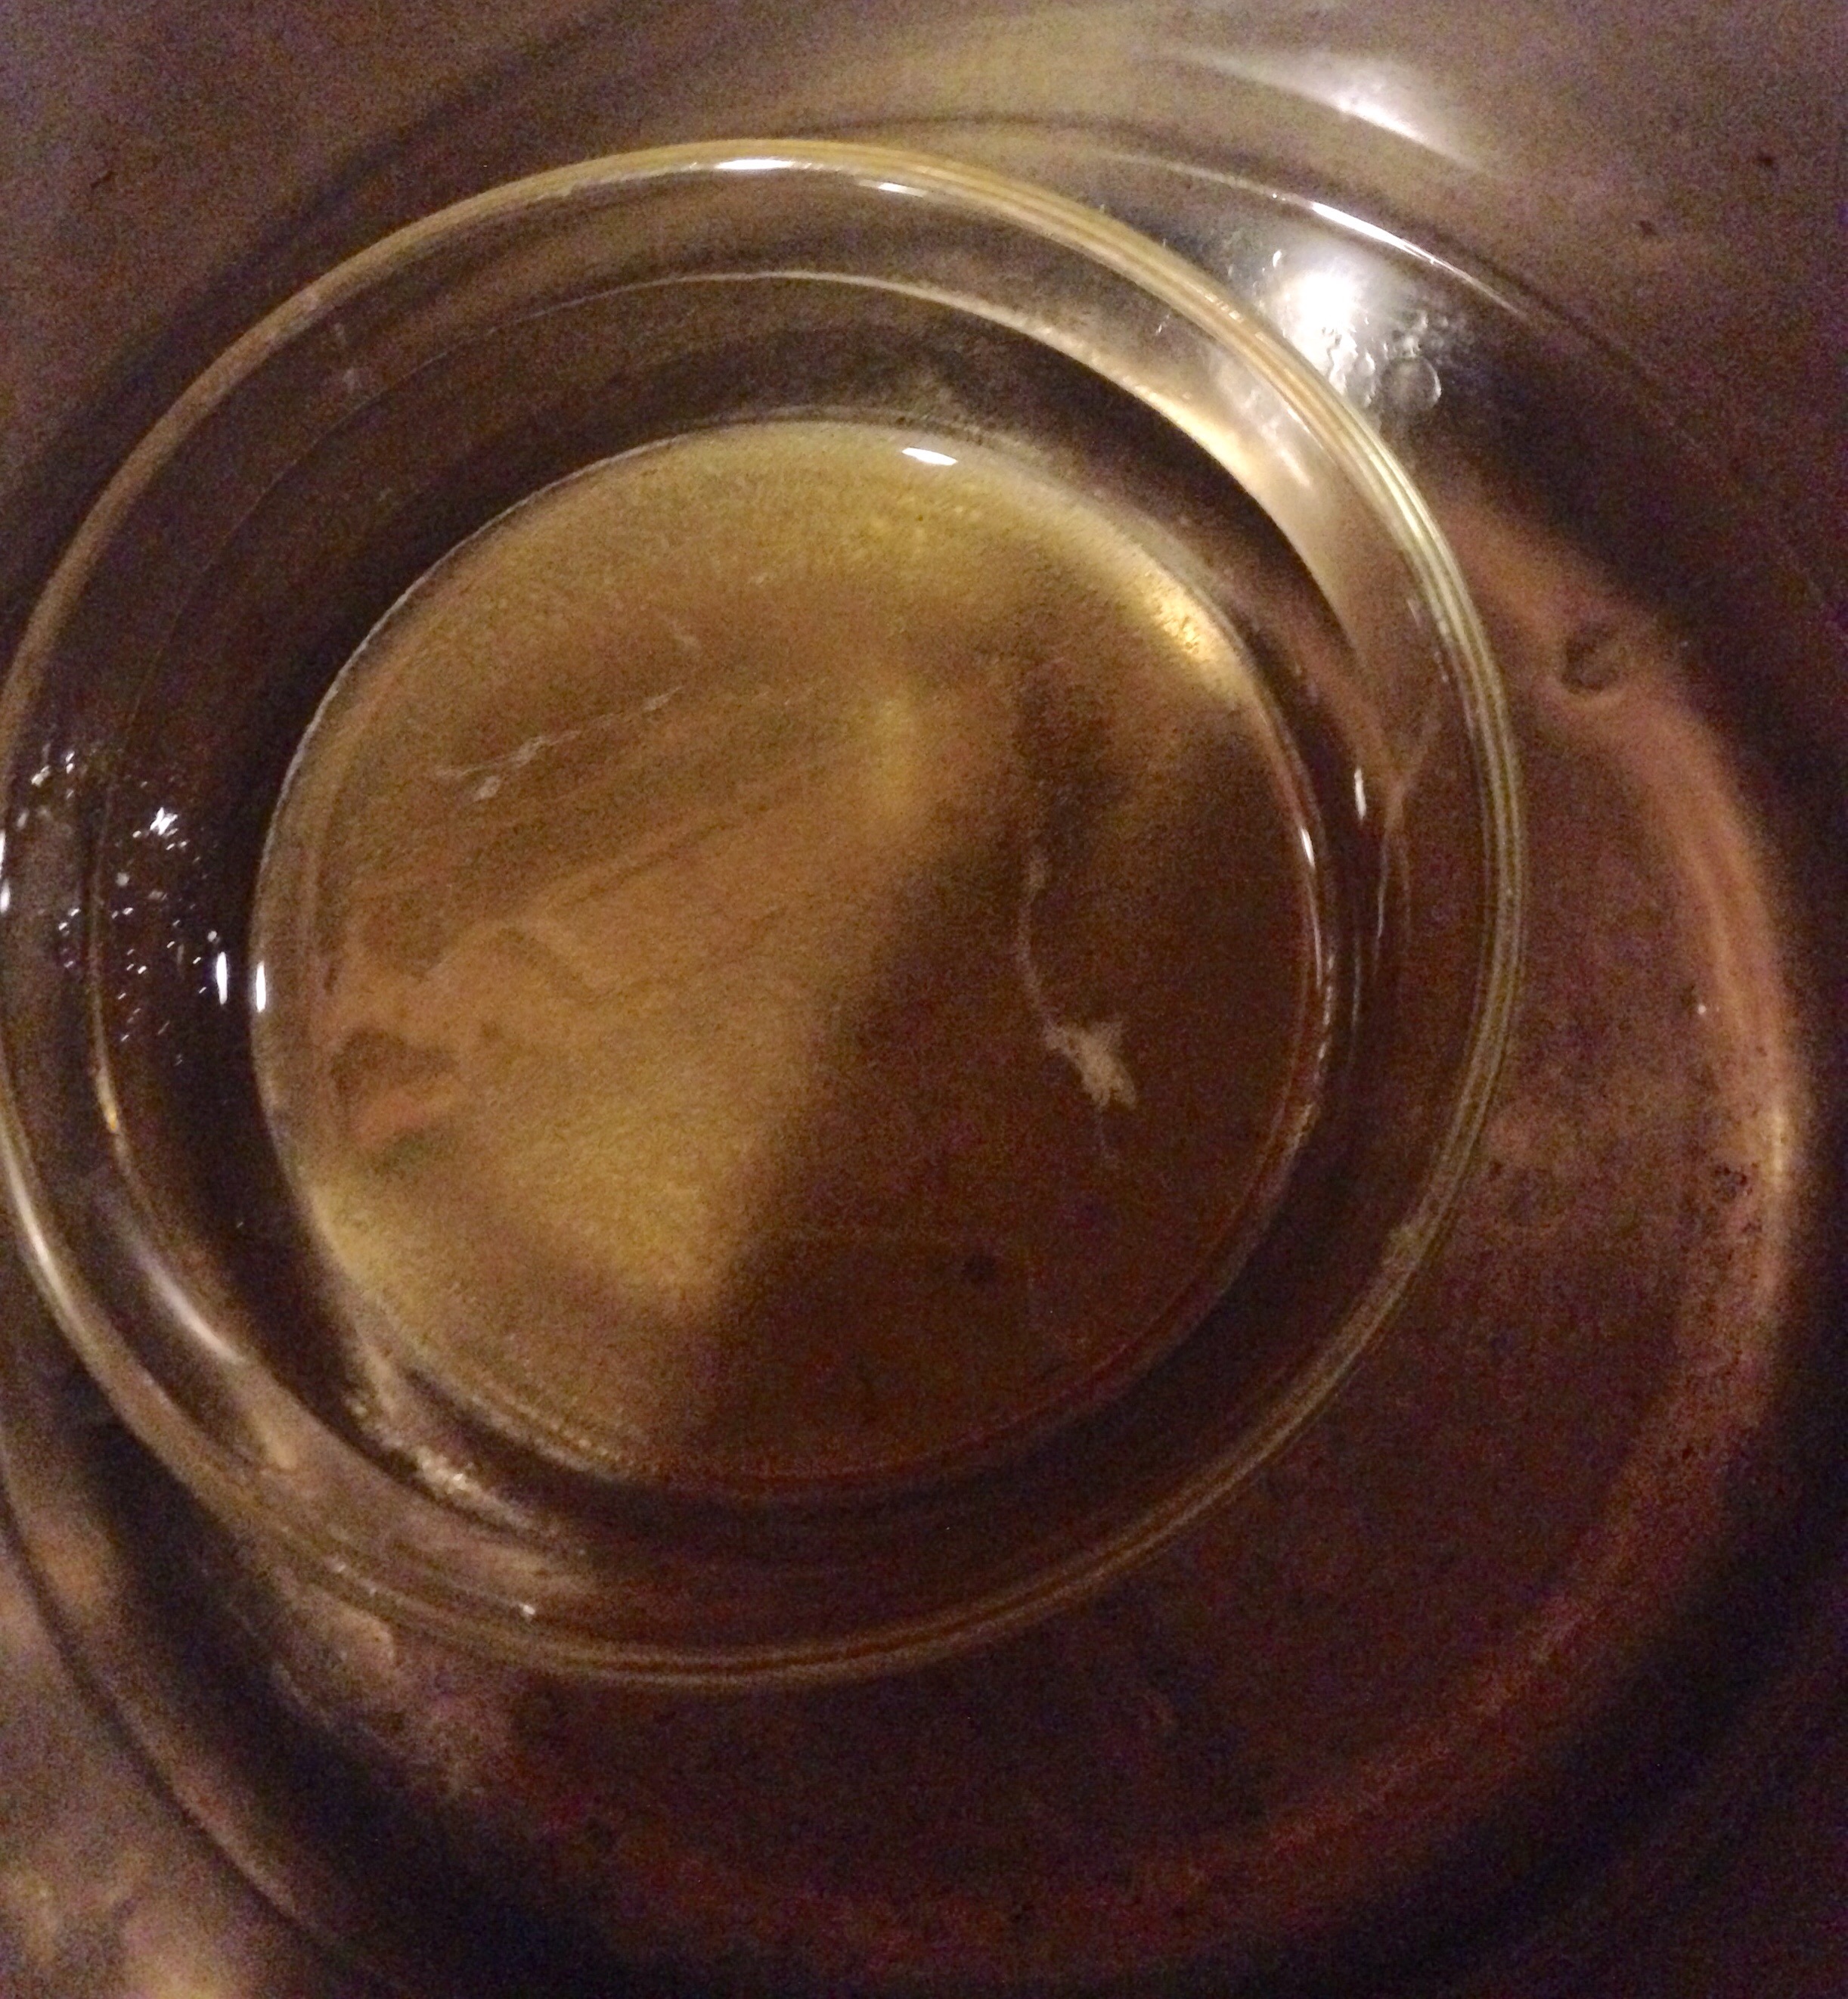
Once my oil base, in this case (shea butter) is melted, I'm ready to add my wax pellets. You want to do this while your oil is still hot even though it is no longer on the stove. (This step picks up exactly where the shea butter tutorial left off!)

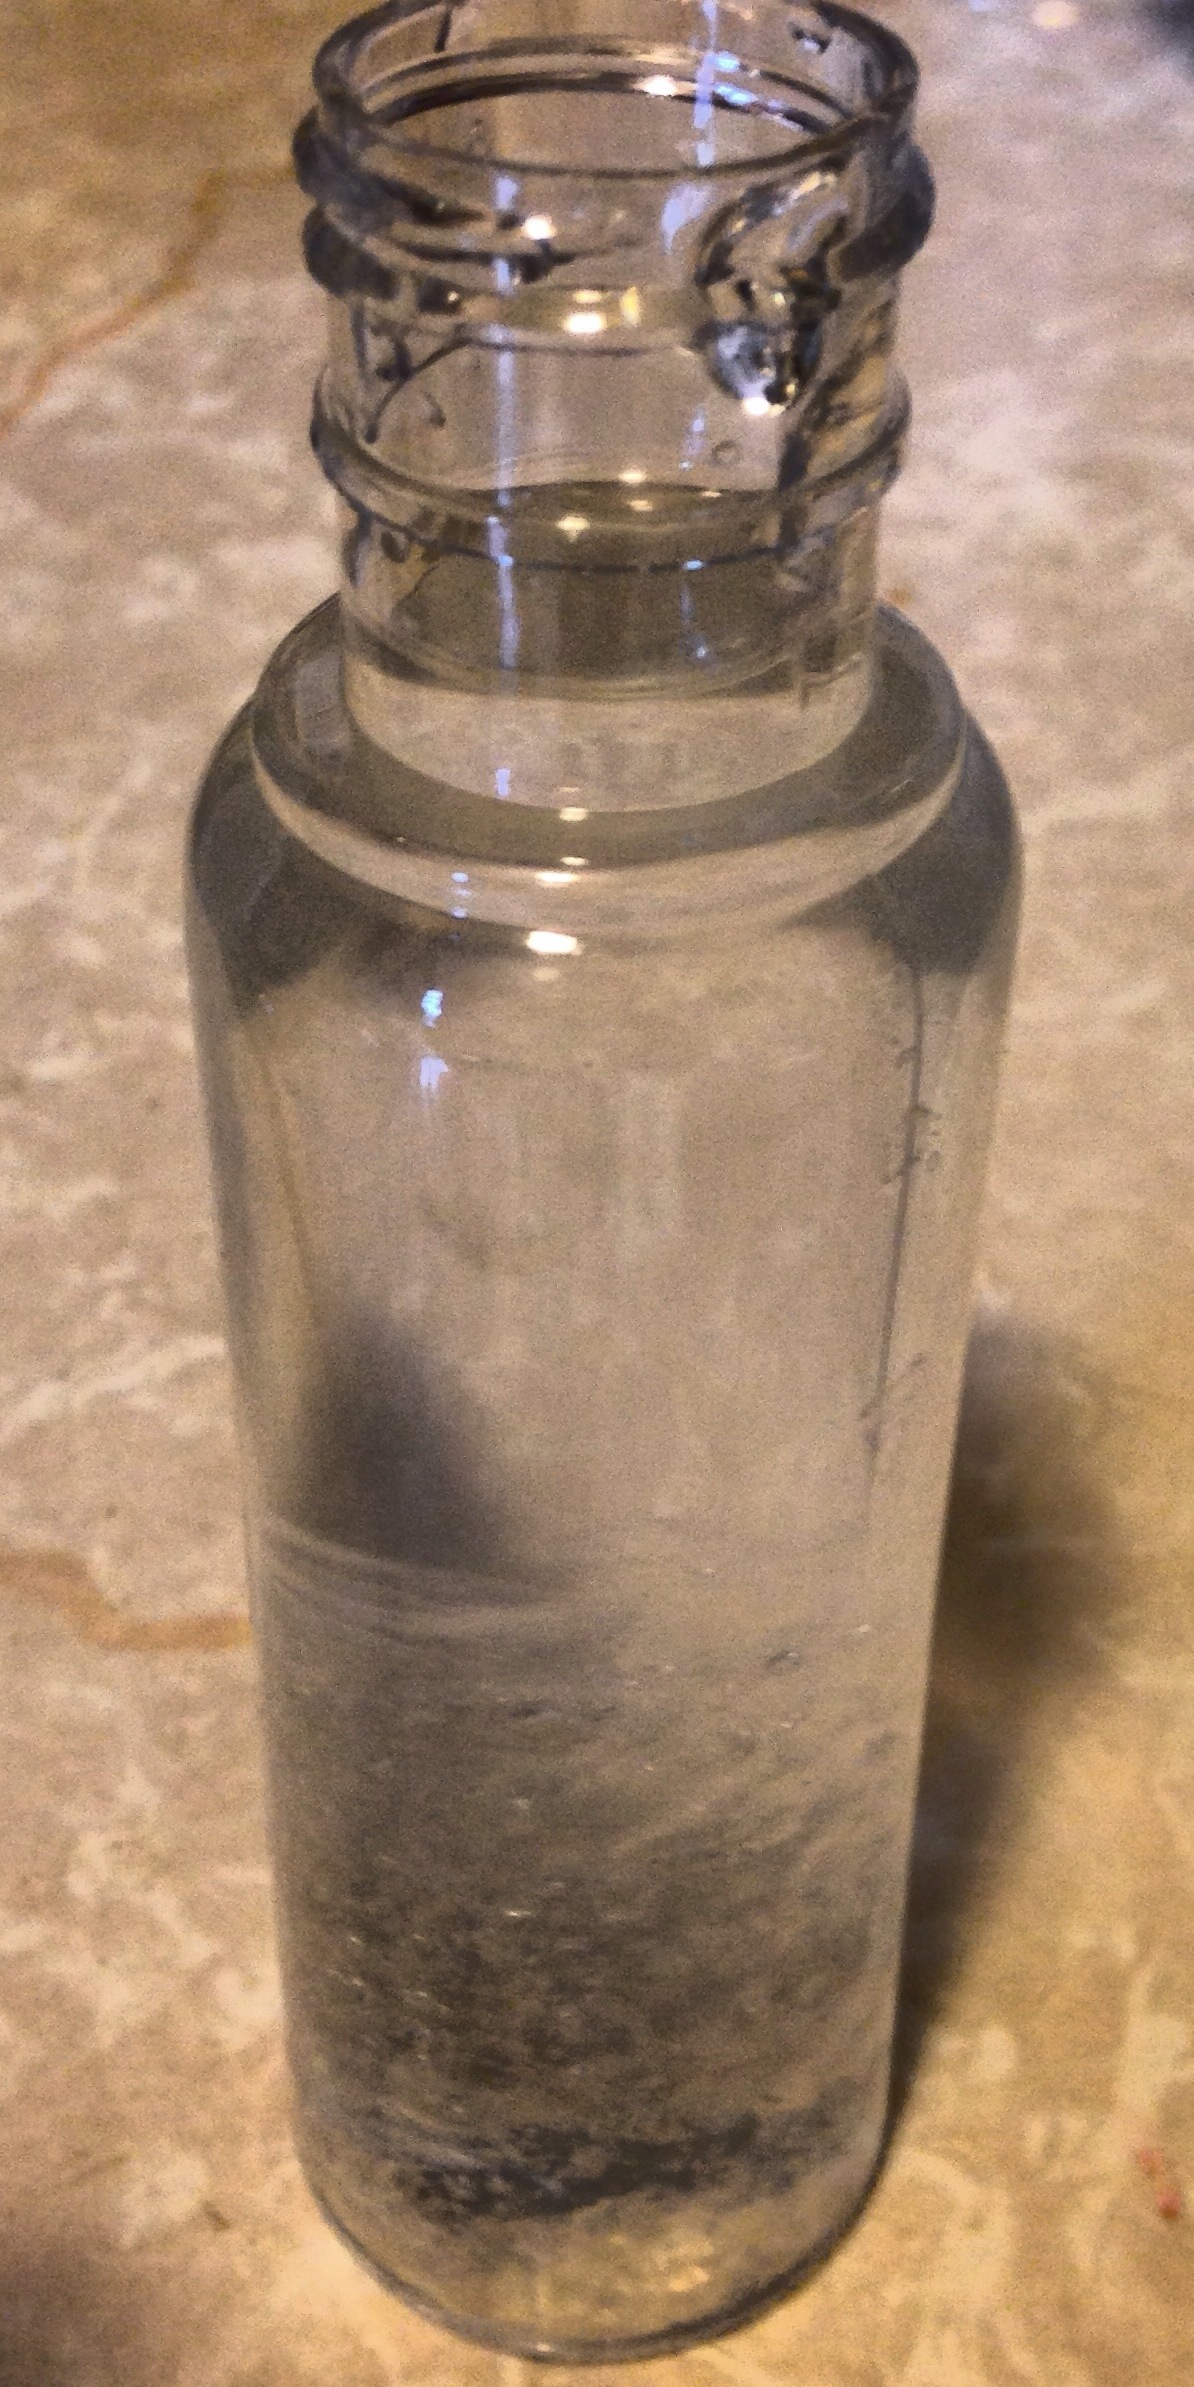
Depending on the needs of your recipe, add the pellets by the teaspoon, whisking briskly to encourage dissolving without clumping. If you don't whisk your wax, it can clump.

IMG_1952.JPG

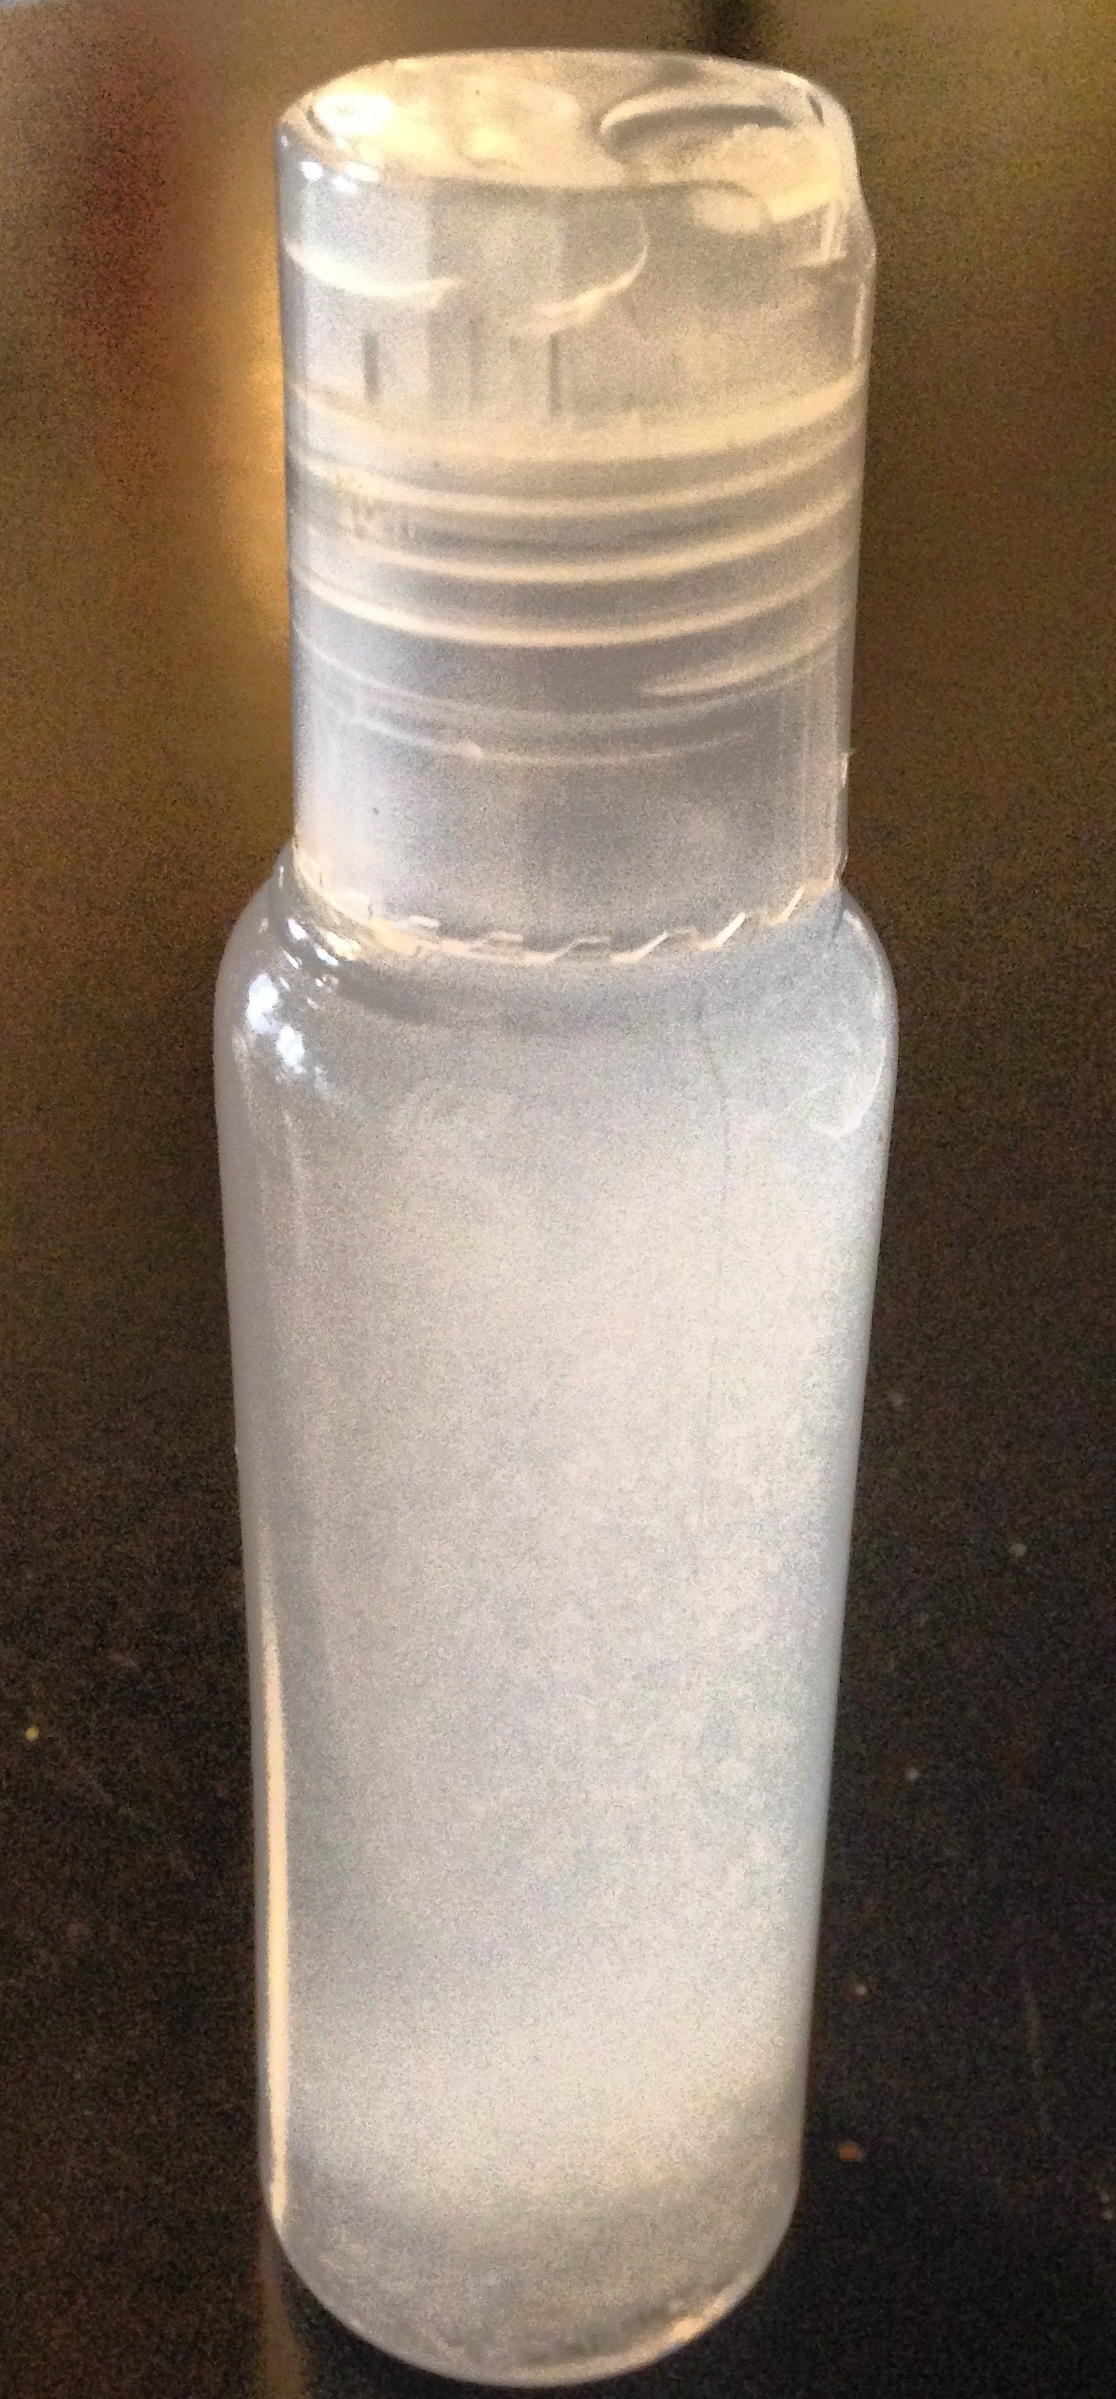
Once the first teaspoon has dissolved down to a cloud of foam, I add the next until I've added all I will need.

IMG_1953-0.jpg

Finally, I take a hand blender and blend the mixture on the highest speed. This ensures that my wax dissolves fully and results in a smooth texture for my balms and butters.
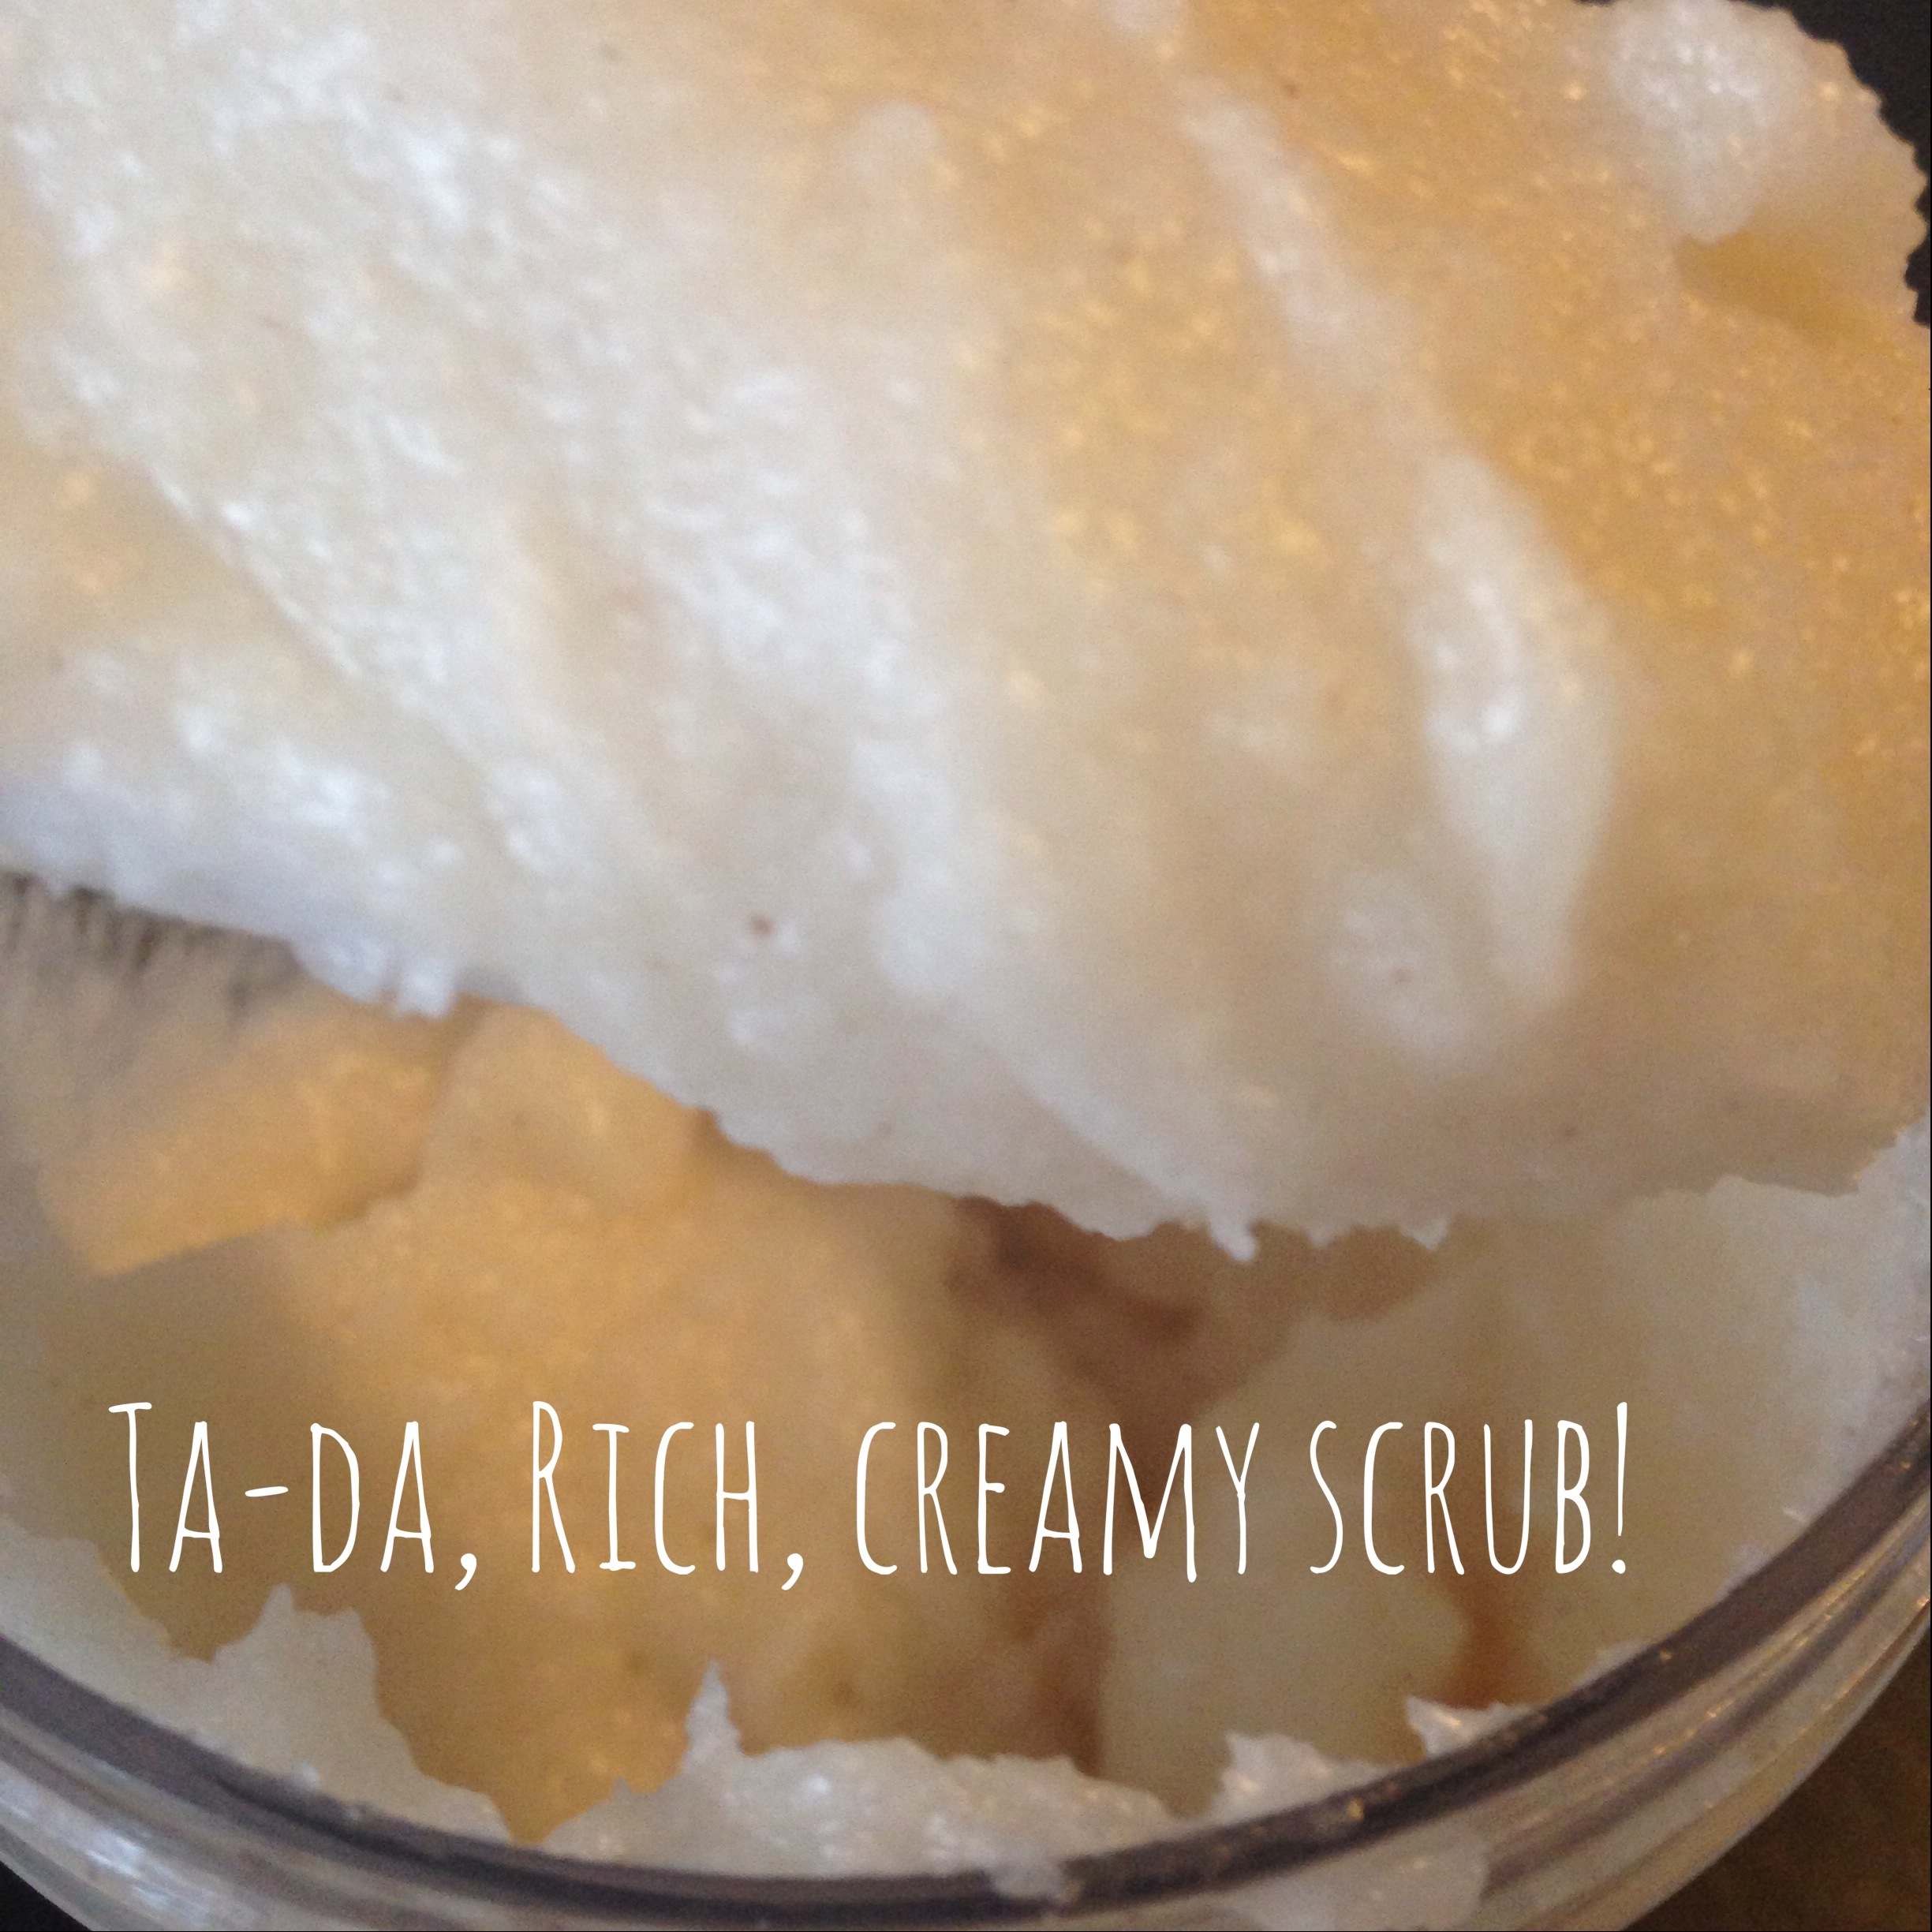
Ta-Da!

Practice makes perfect. Once you get the hang of it, you'll be able to melt wax in your sleep.

Have you ever made your own bath and beauty products?

For more DIY natural skin care ideas, check out my latest book Natural Beauty from the Outside In, where you’ll find 70 Ayurveda inspired hair and skin care recipes.

DIY Shea Based Shaving Cream

IMG_3321.jpg

Psst... I know a secret. I know a way to deep condition your skin, exfoliate and discourage ingrown hairs and razor bumps while you shave.

Are you ready?

IMG_3321.jpg

Shea Shaving Cream

This simple DIY Shea Based Shaving Cream is inexpensive and simple to make. It's suitable for all of your shaving needs, from face to legs and everywhere in between. Your skin will feel fresh, conditioned and soft after shaving.

It's so easy!

Here's what you'll need:

1/3 cup shea buter

1/3 cup olive oil

2 tablespoons jojoba oil

10 drops essential oil (whatever scent floats your boat)

1/4 teaspoon vitamin E

1 tablespoon baking soda

Directions:

Melt the shea butter and olive oil together over low heat in a double boiler. Once liquid, add the jojoba oil, vitamin E oil and essential oils.

Using a hand blender on a low setting, combine the ingredients and refrigerate until it just begins to set.

Remove from the refrigerator and sprinkle the baking soda over the top. Blend once more with the hand blender until it becomes the consistency of frosting.

Ta-da!

For more DIY natural skin care ideas, check out my latest book Natural Beauty from the Outside In, where you’ll find 70 Ayurveda inspired hair and skin care recipes.

Handmade Solid Perfume Recipe

Handmade Solid Perfume Recipe Once upon an evening, not so long ago, I found myself strolling the streets of Lisbon. The sun, reflected amber off of the colorful Moorish tiles. My sandaled feet clicked atop the ancient cobblestone streets. In the distance, at the bottom of the hill, dimly lit, amber bottles lining every surface, our destination, the perfumaria.

For an hour, we swished, splashed and sampled the various flower essences and herbal extracts, narrowing our favorites down to six, then four, then two- the perfect blend.

SONY DSC

Carefully, behind what resembled a bar, the proprietress measured and blended our custom fragrances. Swirling, tilting the contents from one beautiful bottle to the next.

Impatient, I spritzed myself on the crumbling sidewalk. The evening came to life, an intoxicating chorus of orange blossom and rose.

In my Brooklyn kitchen, hunched over the stove, bottles of essential oils poking out from within apothecary shelves, a tub of shea butter set to a slow melt, steam warming my face, I'm reminded of that day.

The memories that make our lives, if we look, can be found hiding in fragrance- my grandmother's white rosebush, clove-sweet potato pie and the spice plantations of Zanzibar, vanilla-the distinct smell of my kindergarten classroom...

I take pleasure in blending and formulating beautiful, evocative smells. With a sensitive nose, I'm often turned off by synthetic fragrances which is why blending essential oils into perfume oils and sticks is so appealing to me. It's so natural. When you make your own perfume, you control the intensity, the high notes and low notes, the memories you wish to capture- it's an art.

Today's lotion stick recipe is unbelievably simple and effective. I find the fragrance from essential oils preserved in shea butter tends to last longer than when diluted in oil.

I'll start with the recipe (designed to fill a 1/2 oz. tub), then I'll suggest some essential oil blends.

Handmade Solid Perfume Recipe

IMG_3097.JPG

Solid Perfume Recipe:

1 teaspoon shea butter (per 1/2 oz.)

Essential oils of your choice (I use between 20-30 drops of essential oil, depending on how strong the oils I'm using are. Trust your nose.)

IMG_3085.JPG

IMG_3086.JPG

IMG_3096.JPG

The following blends work well, but be creative- sky's the limit:

rose/sadalwood

jasmine/lemon

frankincense/patchouli

bergamot/ylang ylang

lavender/rosemary

For more DIY natural skin care ideas, check out my latest book Natural Beauty from the Outside In, where you’ll find 70 Ayurveda inspired hair and skin care recipes.

Shea Butter Lotion Bars Recipe

IMG_2974.jpg

Shea Butter Lotion Bars Recipe I've been hand making shea based body butters for years. I've got a go to whipped recipe, a basic body butter recipe and a thick intensely moisturizing salve recipe. These butters are the basis of my product line and I use them every day.

While I am deeply in love with my concoctions, which I house protectively in glass bottles (plastic can leach chemicals into my products), my husband, a touring musician who is constantly on the go, grew tired of lugging dainty breakable glass bottles around. He wanted something that wouldn't break if manhandled by a customs official, that would also be comparable in purity and quality. This is how my lotion bars were born.

With only three ingredients, shea butter lotion bars are simple to make and even simpler to carry around (they wrap easily in waxed or parchment paper tied with string or sealed with a piece of tape).

IMG_2975.JPG

With the ease of a bar of soap, shea butter lotion bars glide over your skin, leaving you silky, smooth and moisturized.

These may become a new favorite of mine. They're too luxurious and simple not to love.

IMG_2974.jpg

IMG_2974.JPG

Shea Butter Lotion Bars Recipe

Here's what you need:

2 tablespoons shea butter

2 tablespoons olive oil

2 tablespoons beeswax

Here's what to do:

Melt the shea butter and beeswax together in a double boiler or in a glass jar placed inside a pot filled 1/4 of the way with boiling water.

Once a liquid is formed, remove from heat and add the olive oil. Whisk together until blended throughout.

Pour into a soap mold. If you don't have a soap mold, a small glass container will work as will an ice cube tray (mini bars).

Cool in the refrigerator to set for 30 minutes before use.

For best results, use right after your shower. Feel free to add your favorite essential oils for added aromatherapy benefits. Store in a cool dry space.

For more DIY natural skin care ideas, check out my latest book Natural Beauty from the Outside In, where you’ll find 70 Ayurveda inspired hair and skin care recipes.

Shea Butter Natural Moisturizing Hair Pomade for Curly Hair: A Curl Cream Like No Other!

I am the happy owner of a head full of tight coil curls.

I know there are a slew of numerical designations in the natural curly hair world for specific curl type- I just don't know mine.

Numbers, smumbers, if I've learned one thing over the years about curly hair care, it's that moisture (and I'm talking the right type of moisture) will make or break you!

With curly hair, if you don't plan to moisturize, you're planning to fail! Curls are delicate. They dry and frizz very easily if moisture isn't sealed into the shaft. Curly hair requires a deeply penetrating moisturizer with the right amount of weight (enough give for bounce, enough girth to control).

There are a ton of wonderful moisturizing products on the market, full of very effective synthetic ingredients, but you deserve better. Synthetic dyes, chemicals, fragrances, preservatives and silicone are not good for you.

There are so many organic oils and combinations of oils (natural enough to be both ingested and applied topically to a newborn) that work miracles on curly hair, you don't need to go synthetic, or break the bank. When it comes to curly hair, you do have options. For the next few weeks, I'm going to post a series of organic/all natural recipes  for curly hair care.

Today I'm going to share a shea based moisturizing pomade recipe that will give thick curly hair the moisture it needs to thrive.

This recipe is 100% natural and 100% moisturizing. It works well on a variety of textures from loosely curled waves to tight kinky curls. The peppermint gives your scalp a satisfying tingle, smells great and the castor keeps locks soft and moist without a greasy feel.

Shea Butter Natural Moisturizing Hair Pomade for Curly Hair: A Curl Cream Like No Other!

IMG_2660

Here's what you'll need:

1/2 cup shea butter

1/2 cup castor oil

1/8 cup jojoba oil

10 drops lavender essential oil

10 drops peppermint essential oil

Melt your shea butter in a double boiler, in the microwave or in a glass pyrex bowl placed inside a pot filled 1/4 way with boiling water.

Once a liquid is formed, add your shea butter, castor oil, jojoba oil and essential oils to your jar. Affix the lid securely and shake vigorously to blend. This recipe will fill an 8 oz. jar.

Place your jar in the fridge for thirty minutes to set before storing at room temperature.

It's that easy!

Remember to apply the pomade from root to tip, concentrating the heaviest bits towards the ends. When your done, use the tips of your fingers to give yourself a tingly scalp massage.

Now look at your gorgeous self in the mirror. Seize the day!  Love your curls!

Not ready to make a batch? You can order a jar HERE!

*This post is shared at Healthy, Happy, Green & Natural Party Hop

For more DIY natural skin care ideas, check out my latest book Natural Beauty from the Outside In, where you’ll find 70 Ayurveda inspired hair and skin care recipes.

Shea Butter Moisturizing Body Scrub Recipe

IMG_2686.jpg

We have the driest heat inside our house in Brooklyn. I've never experienced anything like it. My hands seem to have aged twenty five years this winter alone.

I wake up for water multiple times in the middle of the night.

My hair is like straw.

Luckily, this super moisturizing shea based scrub is slowly reviving me.

DIY shea butter sugar scrub

I'm a huge fan of scrubs. It's so rejuvenating to slough away dead dry layers, making way for a softer, newer self. It's like emerging new every time you step from the shower.

I have a scrub recipe that I love, but my trusted go-to coconut scrub was no match for this dry winter (apparently the coldest winter in 200 years according to this morning's news).

Well, I guess the good news is that it's almost over.

Perhaps the even better news is I've discovered a recipe for a deeply moisture rich scrub that will convince your skin that spring has sprung. Even if there are feet of accumulated snow outside.

Shea Butter Moisturizing Body Scrub Recipe-

1/4 cup shea butter

1/4 cup jojoba oil

3/4 cup brown or white sugar

1/2 teaspoon vitamin E

10 drops ylang ylang

Melt the shea butter in a double boiler or by placing a pyrex glass jar inside a pot filled 1/4 way with boiling water.

Once your shea butter is melted, place it in the container you will store your scrub in and add the jojoba oil, vitamin E, sugar and ylang ylang.

Stir until blended.

Place in the refrigerator for thirty minutes to set and then store in your shower.

This mixture will fill an 8oz jar and will last for a year.

IMG_2611.JPG

The formula is gentle enough for daily use!


A Shea Butter Cuticle Cream Recipe

This is perhaps one of the simplest shea butter recipes out there.  While great for the cuticles, you can use this salve in many ways from extra thick hand lotion to a replacement for Vicks Vapor Rub, to a scalp treatment for dandruff. My favorite use this time of year is as a cuticle cream. Dry chapped winter hands are no fun, but unruly cuticles and hangnails are the difference between no fun and misery.

I keep a tin of this cream near the kitchen sink for use after washing dishes and I keep a tin in my purse so I can rub my fingers down before I slip on my gloves. Moisturizing beneath gloves is like magic, the heat from the gloves is like a heating cap, promoting deep moisturization resulting in silky skin.

This two ingredient shea butter cuticle cream recipe can be executed in five minutes!

Here's what you'll need:

1 teaspoon shea butter

5 drops eucalyptus essential oil

Here's what to do:

Melt your shea butter in a double boiler (or pyrex bowl placed inside a pot of boiling water).

Once a liquid has been formed, add five drops of the eucalyptus oil to your melted shea butter. Stir and pour into a 1/2 oz. metal tin.

You can cool and set your cuticle cream by placing it in the refrigerator for twenty minutes.


How to Make Deodorant using Shea and Lavender

I'm on a shea butter kick. I'm doing research for a project that will keep me busy for the next six weeks or so. To stock up my arsenal until my 30 pound bulk shipment arrives, I walked 10 blocks, over icy city streets and purchased a ten pound tub, which I laboriously carried back home (sans incident I'd like to brag). Having hunted and gathered, the games have begun!

How to Make Deodorant using Shea and Lavender

The first thing I made today was deodorant. My husband has been complaining about the powdered deodorant that I usually make because it's messy when he carries it in his gym bag. Since I promised an alternative, I had to deliver. I found some old travel sized deodorant tubes lying around, emptied them out and made my own- completely organic, all natural, aromatic shea based deodorant. It was so EASY! I did the whole thing while balancing my seven month old on my left hip.

IMG_2555.JPG

This is a great deodorant for people with sensitive skin. It also works well if you've just shaved your arm pits and you don't want to experience that uncomfortable burning sensation that can accompany store bought chemical deodorants.

As a breastfeeding mama, I love this shea and lavender deodorant formula because I know my little guy isn't ingesting any harsh chemicals. Remember- what you put on your skin gets absorbed and can end up in your blood stream.

Here's my recipe:

1 teaspoon beeswax

5 teaspoons shea butter

2 teaspoons bentonite clay

15 drops lavender essential oil

10 drops cinnamon essential oil

1 teaspoon baking soda

1 teaspoon vitamin E

In a double boiler (or pyrex bowl inside a pot) melt your beeswax and shea together until a liquid is formed.

Add the vitamin E oil to the liquid and blend.

Add the bentonite clay and baking soda and mix. Note, when using bentonite clay, you don't want to use a metal spoon because metal reacts with the healing properties of bentonite. Use a wooden or plastic spoon.

IMG_2545.JPG

Add in your essential oils and mix until the liquid froths a bit and thickens.

Pour into empty deodorant tubes and VOILA!

IMG_2546.JPG


You can let the deodorant set in the refrigerator for an hour before introducing it to a room temperature environment, or you can set it out overnight at room temperature.

IMG_2551.JPG

It is that easy!

This recipe will fill about two tubes. One for home and one for the gym!

DIY Moisturizing Shampoo (Great for curly hair!)

IMG_1060.JPG

DIY Moisturizing Shampoo (Great for curly hair!)There is something so empowering about taking matters into your own hands and creating a product or outcome that you love.   I don’t know about you, but I’ve had the hardest time finding a shampoo suits me.

Shampoos are usually too drying for my frizz happy curly hair and I rarely enjoy the perfume smell or the way they feel (I love a good scalp tingle).

That was until I decided to make my own.

After trial after trial and (I’ll admit it) error after error, I found a recipe I love.

All natural and pleasingly free of sulfates, parabens, synthetic fragrances and dyes, this shampoo is light, moisture rich and refreshes the scalp with an invigorating tingle.

In the mood to experiment?

Try this fantastically fabulous DIY Moisturizing Shampoo!

Here’s what you’ll need:

IMG_1059.JPG

½ cup coconut milk

½ cup castile soap base (liquid black soap works well too, but I prefer Dr. Bronner’s Unscented baby-mild)

1 tablespoon coconut oil

1 tablespoon jojoba oil

½ teaspoon vitamin E oil

10 drops peppermint essential oil

20 drops tea tree essential oil

Here’s what to do:

In a plastic pump bottle, combine your ingredients and give the bottle a good swirl.

Place your bottle in your shower and enjoy the next time you wash your hair.

It is that simple. Just as nature intended!

For more DIY natural skin care ideas, check out my latest book Natural Beauty from the Outside In, where you’ll find 70 Ayurveda inspired hair and skin care recipes.

DIY Antiseptic for Minor Cuts and Abrasions

IMG_0283.JPG My almost three year old is becoming very adventurous but his sense of danger and coordination have not quite caught up with his sense of independence, the result- endless scrapes and "boo-boos."

For his minor scrapes and cuts, I make my own antiseptic. Antiseptic is extremely easy and inexpensive to make and you don't have to worry about errant chemicals and additives.

To make your own antiseptic, you'll need: a one ounce glass jar, witch hazel and tea tree essential oil.

I like to use this rose and aloe infused witch hazel, but the regular one will work just fine too. If you like infused witch hazel, the lavender witch hazel is fabulous as well.

I start by placing twenty five drops of tea tree essential oil in my one ounce jar.

I am now ready to add my witch hazel, which I pour up to the top.

I cap the jar and shake vigorously until all contents are blended and my mixture is a bit whitish.

I like to use a jar with a dropper because it is easiest for me to drop the antiseptic directly on the cut or onto a cotton ball.

A note about the ingredients- both tea tree essential oil and witch hazel are natural cleansing agents being by nature antibacterial, antiviral, anti-inflammatory and antiseptic. Your cuts and abrasions with this duo are in very good hands.

As with most antiseptics, there is a slight sting upon contact. My little guy remains impervious to this, so it's not too bad.

Oh, and the smell (the rose blended with the tea tree) is quite lovely.

Now that you have this recipe, don't hold back. Teach yourself to roller blade, take on that home improvement project, take up woodworking, because you now have a simple and natural way to clean minor wounds and scrapes, just in case.

DIY Hand Sanitizer: Clean hands on the go without the harsh chemicals!

IMG_4318.jpg

DIY Hand Sanitizer: Clean hands on the go without the harsh chemicals! The idea of hand sanitizer is fantastic. No water, no soap, clean hands with a squeeze and ta-da, you're ready to go.

The reality of store bought hand sanitizer is not as fantastic. Yes, you'll have germ free hands, which is the main idea, but the chemicals used to kill those germs also kill the good bacteria and lead to the development of uber-resistant bacteria that eventually will be impossible to kill- yuck!

So what is a person on the go to do?

Make your own hand sanitizer, without the harsh chemicals.

DIY hand sanitizer is extremely easy and quick to whip up and will leave your hands clean and refreshed without the use of harsh chemicals like triclosan and triclocarban (scary endocrine disruptors that can lead to hormonal changes and disturb your thyroid function).

So here it is, for your hand sanitizing pleasure, a quick, easy way to sanitize your hands.

My recipe for a DIY Hand Sanitizer: Clean hands on the go without the harsh chemicals!

Here's what you need to do:

In a bottle of your choice combine 60% rubbing (Isopropyl) alcohol and 40% aloe gel.

20140726-172944.jpg Shake this mixture vigorously to mix the aloe and alcohol.

Add ten to twenty drops of tea-tree essential oil and 5-10 drops of peppermint essential oil.

20140726-172933.jpg

Shake again and ta-da!

This blend is light, refreshing, and not at all sticky. Store in a cool dry place for best results.

Note: You will most likely have to shake before each use.

Making this sanitizer couldn't be easier and is a great product to pop into your purse or your child's backpack.

DIY Lavender Talc-Free Powder

DIY Lavender Scented Talc-Free Powder So, I was sitting around the apartment on partial bed rest, wondering what to do with myself when it hit me- BABY POWDER!

I'd been researching various talc-free brands to buy for the little guy, when I was like, wait! What am I doing? I can make my own!

Out came my Ayurveda binder and this absolutely fabulous recipe was born!

Here's how to make a gentle talc-free lavender scented ultra silky baby powder-

You'll need: a jar (I used a 6 oz. mason jar but any size between 4-8 oz. will do well) corn starch french green clay lavender essential oil

Here's what to do (so easy!): In your jar combine 3/4 parts corn starch to 1/4 part french green clay.

Combine until uniformly blended (I screwed on the cap and gave the jar a good shake). Tap the lid to make sure that the powder has fallen into the jar, then unscrew and add ten drops of lavender essential oil.

Screw the top on again and give your powder a good shake. Tap the lid again to encourage your powder to fall into the jar, then open the lid.

Leave the lid off for an hour so that the powder can dry. Make sure the room is dry and not humid or you won't have great results.

While your top is off the jar. Take a hammer and nail and punch holes (a small circle in the center of the lid with holes close together is best) so your powder can flow freely when needed.

20140625-130304.jpg Ta da!

Note, this is not just for babies. In fact, I may need to make another batch for my little-one because I'm having so much fun using this silky lavender scented powder. This is perfect if you need to go outside on a humid sticky day.

Another note, never shake powder directly onto your baby. Yes, this powder is talc-free so you don't have to worry about your little one ingesting talc, but it is always best to sprinkle the powder on the diaper or onto your hand so that you can pat it onto your little person's parts as opposed to shaking the powder directly onto them where it will most certainly billow about and form a cloud for them to breathe in.

Enjoy :)


Lavender Deodorant Powder

Conventional deodorants can be harsh, irritating and can contain questionable chemicals (yikes- why am I putting aluminum near my lymph nodes?). Here's a recipe that is gentle and effective, perfect for those with sensitive skin, pregnant or nursing moms, adolescents, or those looking for a healthier chemical free alternative. 20140301-101155.jpg


Here's what you'll need:

1 Tablespoon Corn Starch

1 Tablespoon Bentonite Clay

2 Tablespoons Baking Soda

1 Teaspoon Dried Lavender Flowers (crushed to a fine powder)


This is what you should do: Combine your corn starch, lavender and baking soda in a wooden, glass or ceramic container (metal deactivates the properties of bentonite). Using a plastic or wooden spoon (not metal), add the bentonite clay. Make sure the mixture is fully blended. Store in a cool dry place and use as needed. I like to fill a muslin tea sachet with the deodorant powder, so that it can be applied easily. A powder puff, cotton balls or your fingers work just as well for application.

Now you have it, a simple deodorant that is gentle, effective, and free of harsh and irritating chemicals.

Coconut Sugar All Purpose Scrub

Coconut Sugar All Purpose Scrub: 20140125-121310.jpg

I have been OBSESSED with coconut oil lately.

I've been making facial cleansers, conditioning hair masks and you guessed it, scrubs.

Here's my favorite coconut sugar all purpose scrub recipe:

20140125-121243.jpg

1 Cup Organic Unrefined Coconut Oil

1 Cup Sugar (granulated or brown)

1 Tablespoon Baking Soda

1 Teaspoon Cinnamon

*2 Drops Sandalwood Essential Oil

*1 Drop Ylang Ylang Essential Oil

*Note- You can use other essential oils or choose to omit them altogether. I happen love the earthy sweet aroma of sandalwood and ylang ylang in a scrub.

**You will need a shatter proof container. I usually use glass, but if I'm making something for the shower, I steer clear of it. Soapy hands are unreliable and nobody wants to step on shards of glass in the shower- ouch!

Here's what you do:

20140125-120941.jpg


20140125-120928.jpg

20140125-120916.jpg 20140125-120907.jpg


20140125-120851.jpg


20140125-120840.jpg


20140125-120828.jpg

I use this scrub on both my body and face. It leaves your skin baby soft and smelling so good!