I love coconut oil... I use it in my cooking, on my hair, and now as a moisturizing cleanser! Here's my recipe for Coconut Oil Cleanser with Bentonite Clay.
Sojourner's Sojourns
Natural Beauty + Sojourns + Wellness


Shea Butter Beard Refresher
Finally, a DIY natural recipe just for the men out there.
Just as the hair on our head enjoys conditioner, the hair on one's face deserves some love too.
Woodsy and moisturizing, this DIY Beard Refresher will leave your facial locks soft and nourished.
Get ready to be nuzzled and snuggled. Don't be surprised if you're suddenly the life of the party.
Here's What to Do:
You'll need-
1/4 cup shea butter
1/8 cup sweet almond oil
1 tablespoon jojoba oil
5 drops cedarwood essential oil
5 drops sandalwood essential oil
3 drops vetiver essential oil
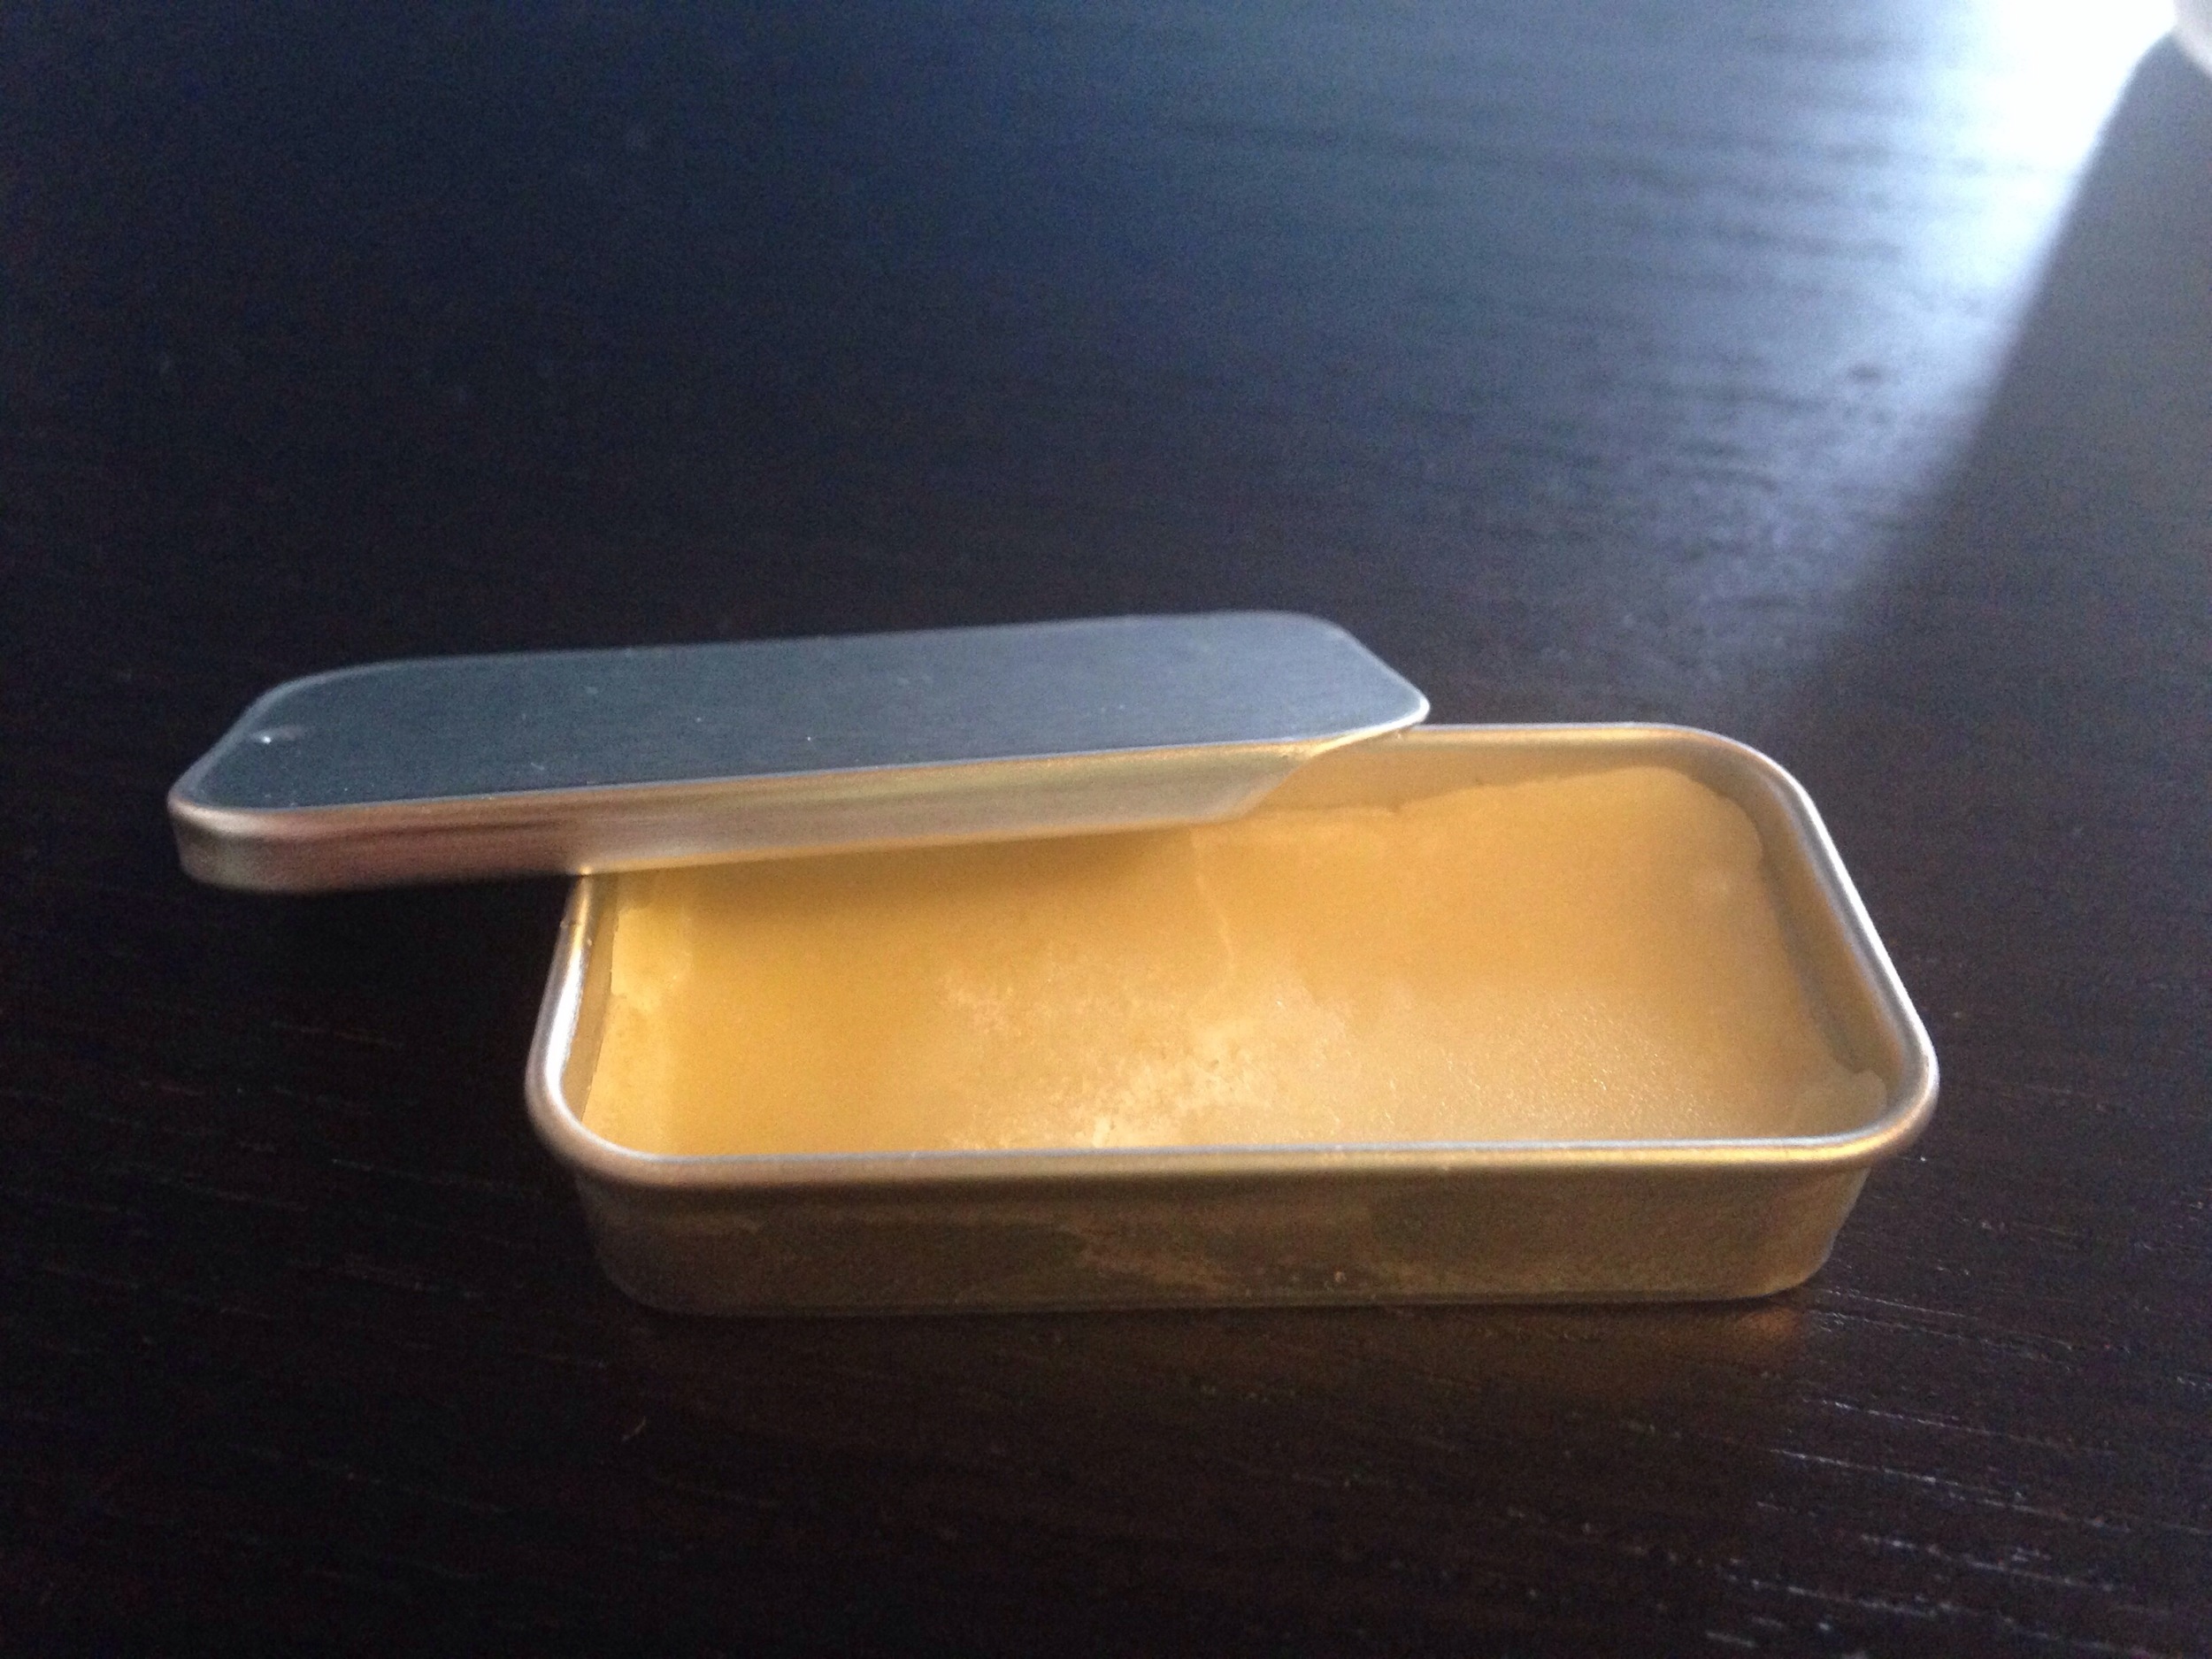
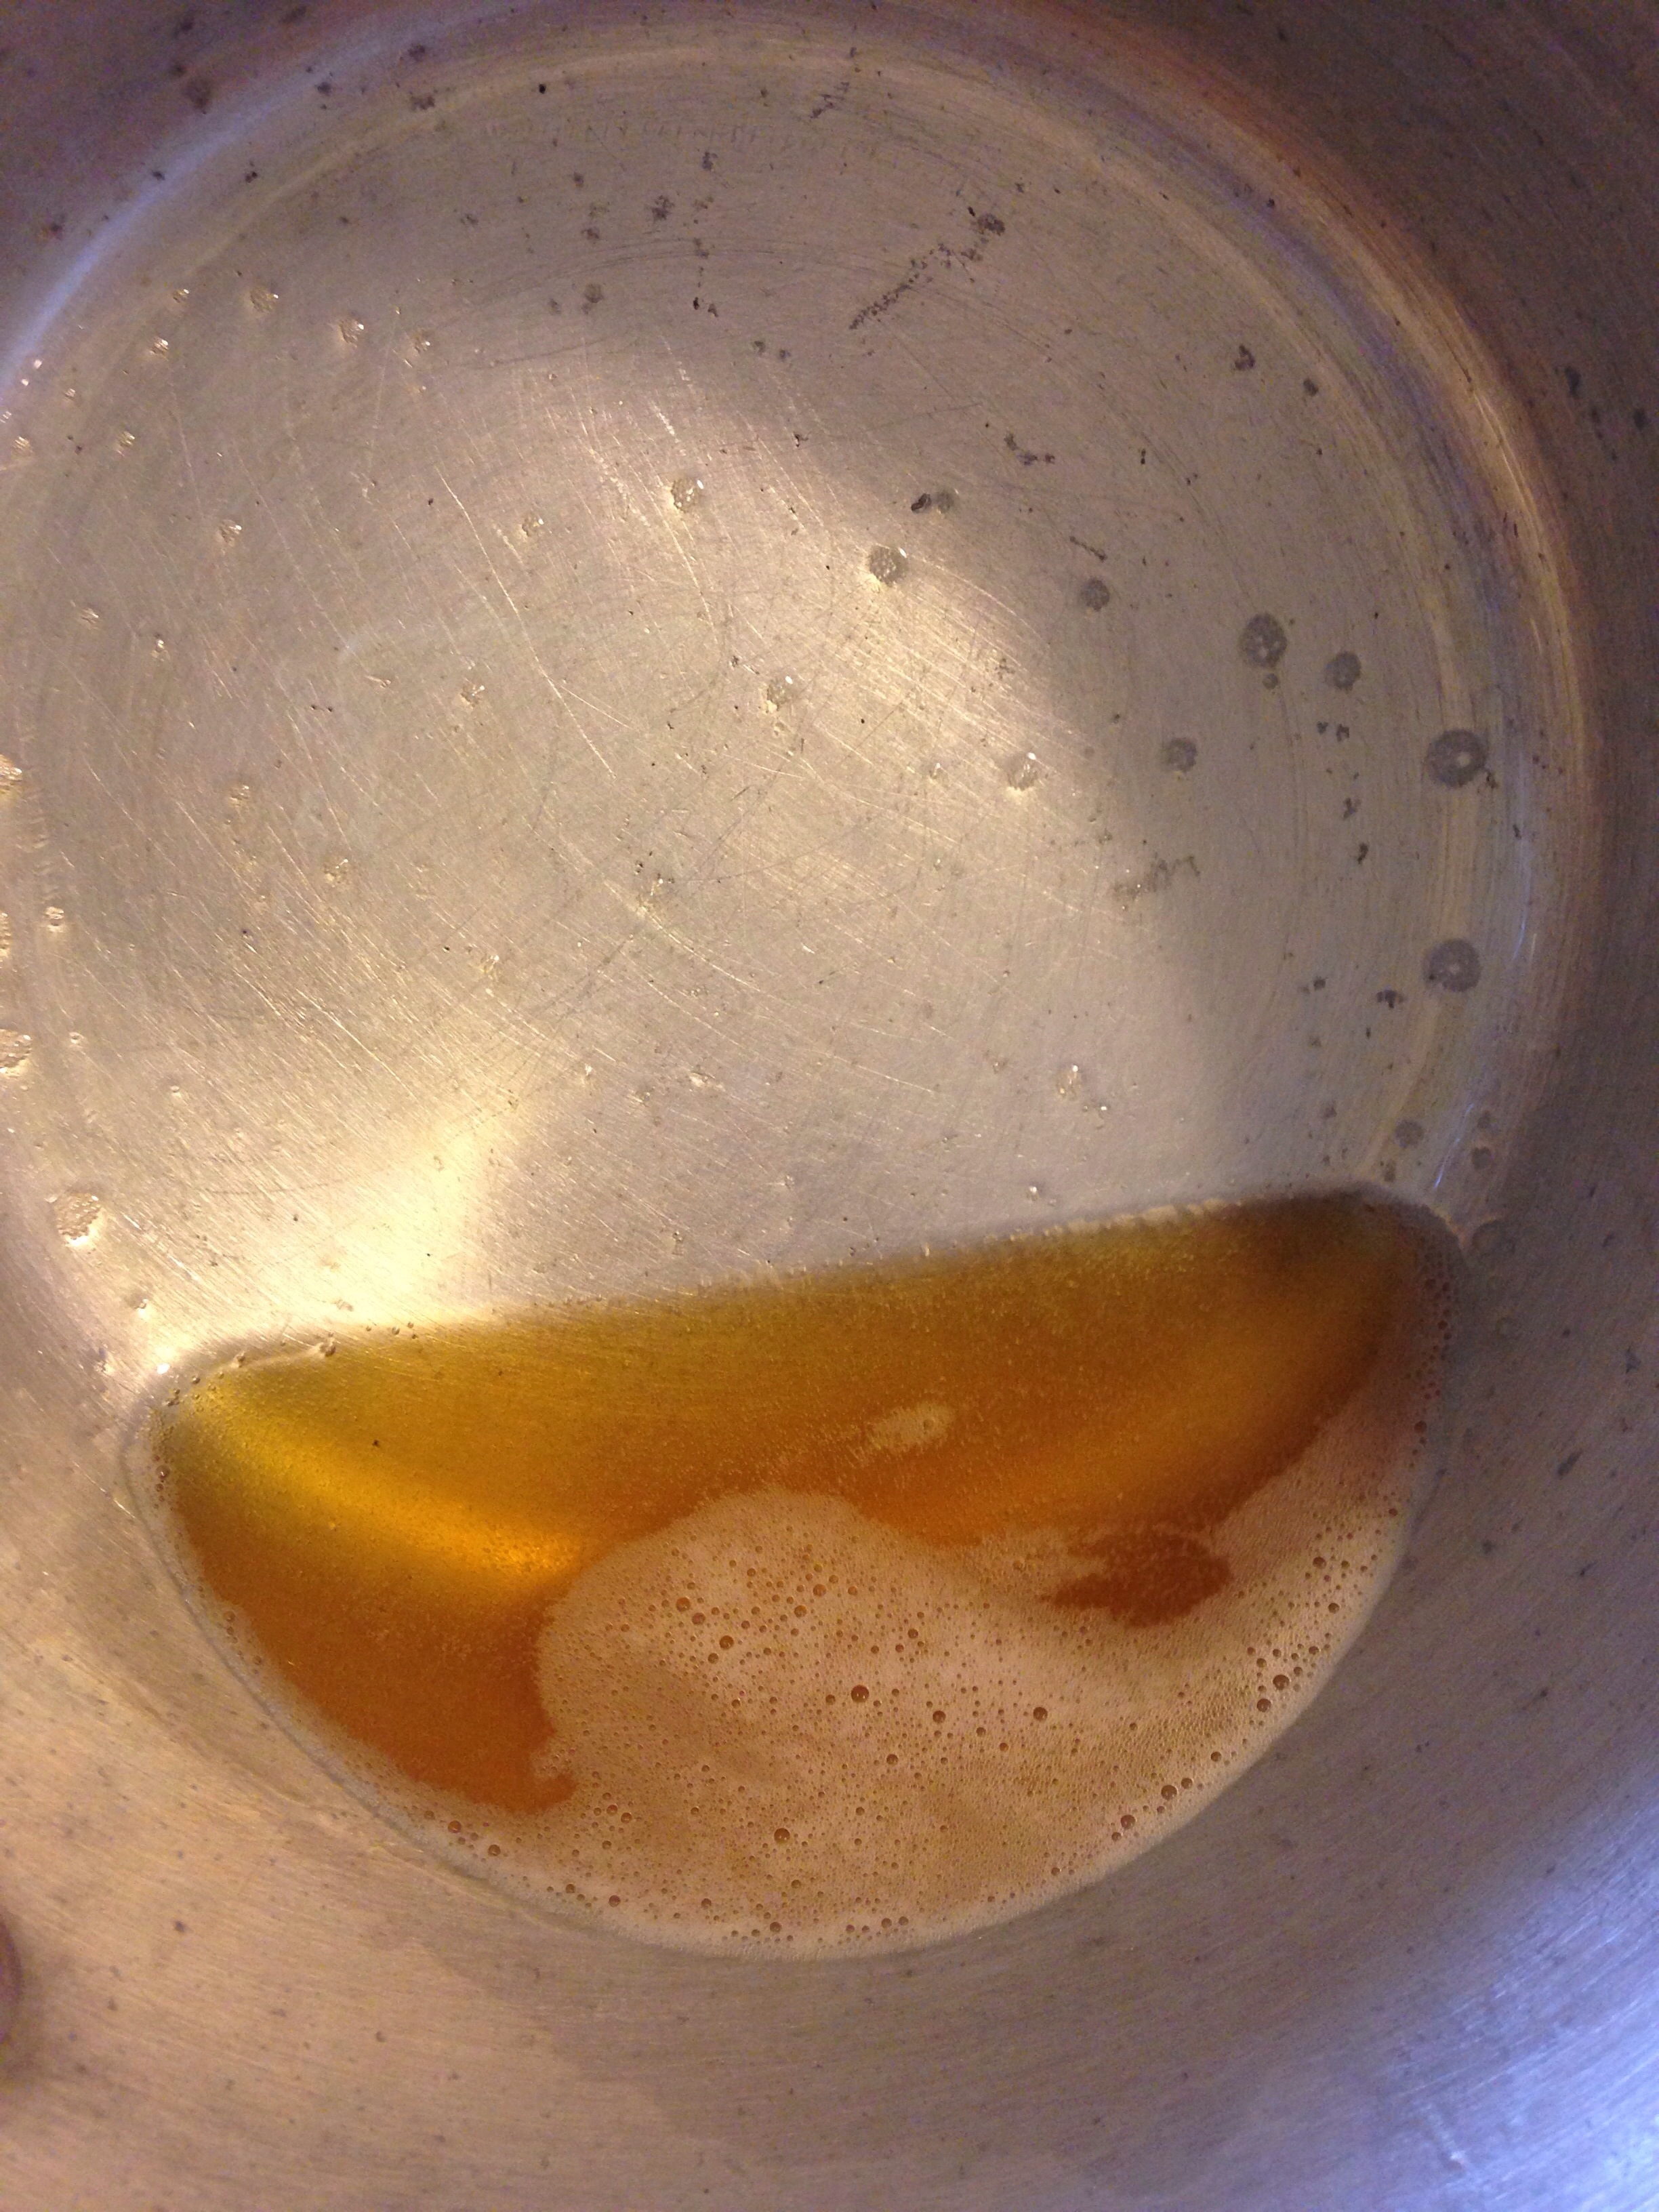
In a double boiler or in a pyrex glass placed into a pan filled with about an inch of boiling water, melt the shea butter to a liquid.
Combine the liquid shea butter, the jojoba oil, the sweet almond oil, and the drops of essential oil into your container. Fasten the top and shake vigorously until well blended.
Refrigerate for twenty minutes until set then return to room temperature.
A pea sized amount, rubbed on the palms and then smoothed over a beard will make the skin beneath silky smooth and will condition and lightly scent even the grungiest of beards.
This formula also helps protect against ingrown hairs- BONUS!
For more DIY natural skin care ideas, check out my latest book Natural Beauty from the Outside In, where you’ll find 70 Ayurveda inspired hair and skin care recipes.

The shea butter experiments have been going well! Over the last ten or so days, I've whipped up so many creamy and nutritive concoctions. Every day is starting to feel like a spa day. Today's recipe was inspired by my mother in law who has been asking for an all natural shea based face cream that she could use to counteract wrinkles and signs of age.
The truth is, this natural facial moisturizer for mature skin can really be used at any age, 25-105, as it's never too early to begin taking care of the delicate skin on your face and decollete.
Good Face Cream for Mature Skin: A Natural Shea Based Recipe

I love this formula and keep a little jar on my dresser. I use it every night before bed. The natural facial moisturizer for mature skin draws upon the powerful anti-aging properties in turmeric, sea buckthorn oil and frankincense. All of which have been used for thousands of years to combat signs of aging and wrinkling-the natural way!
If you'd like to whip up a batch to try, here's what you'll need:
1/2 cup shea butter
1/2 teaspoon sea buckthorn oil
1/8 teaspoon turmeric
35 drops of frankincense essential oil
Melt your shea butter in a double boiler over low heat or by using a pyrex glass container placed inside a pot filled 1/4 of the way with boiling water.
Once the shea has turned to a liquid, pour it into your container. Add the sea buckthorn oil, turmeric and frankincense.
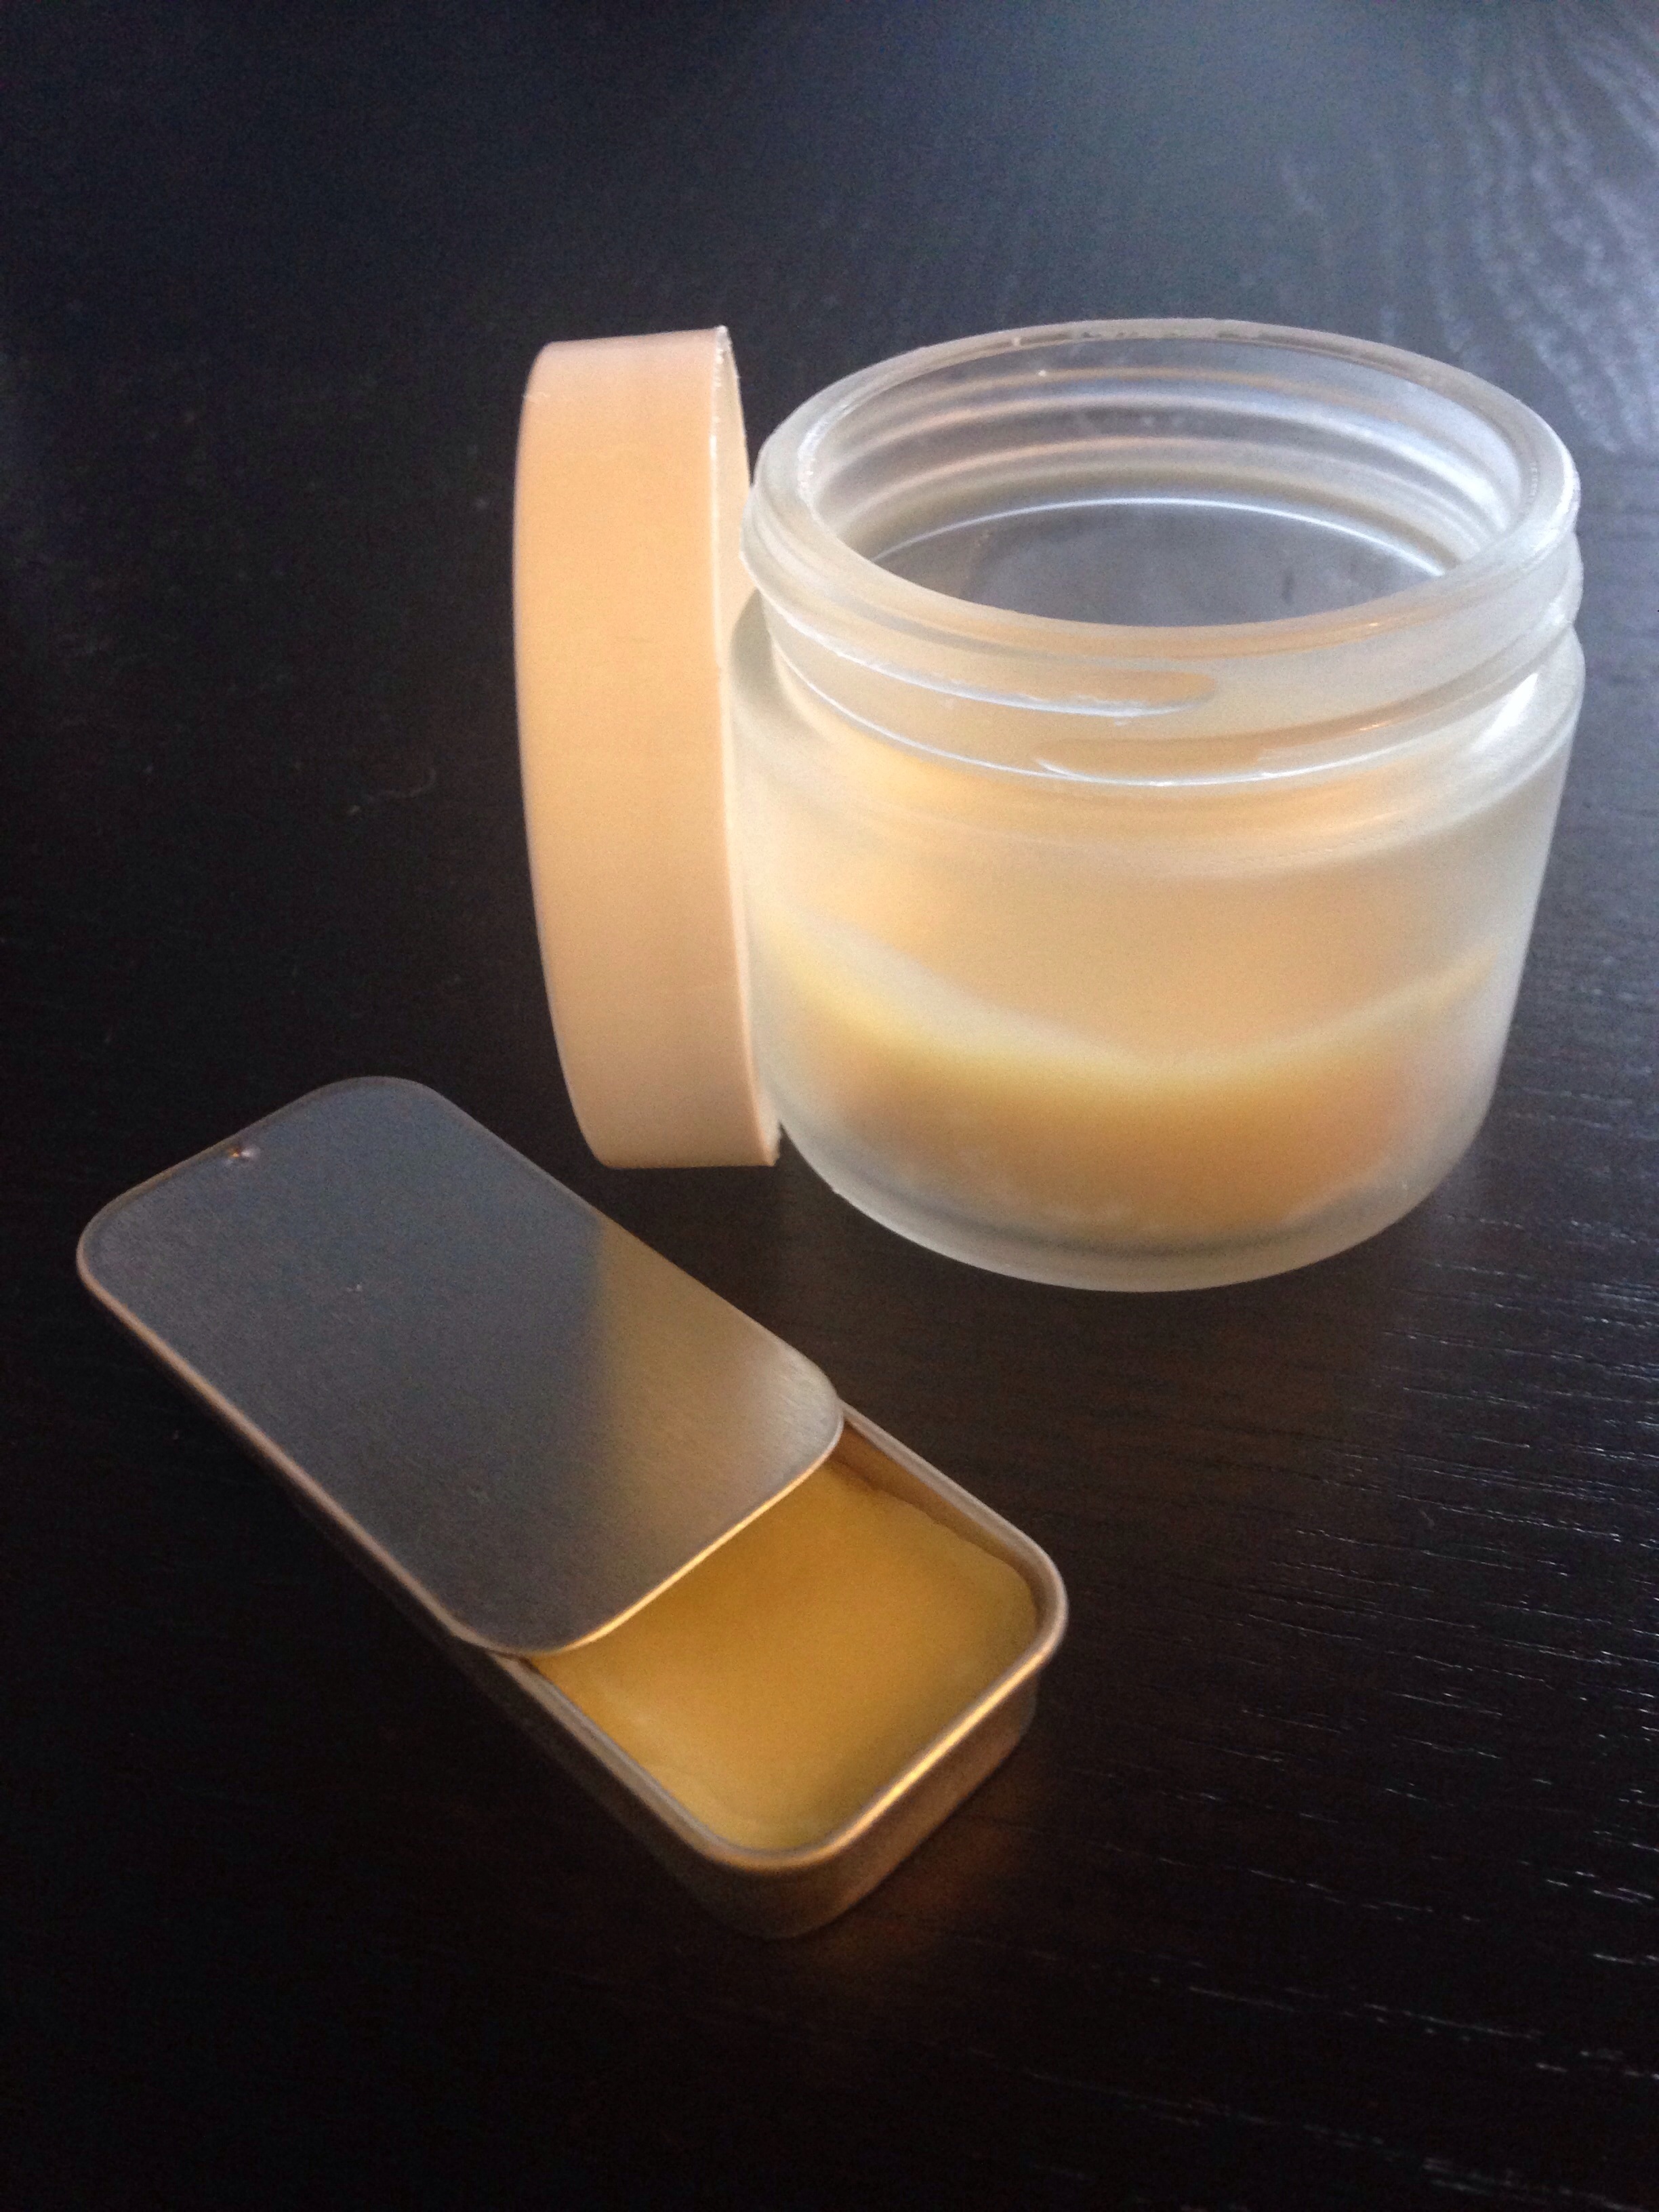
With the lid secured tightly, shake the mixture until the contents have blended thoroughly. It should be a light gold color.
Place your container in the refrigerator for thirty minutes to set, before returning it to a room temperature environment.
This recipe will fill a 4 oz. bottle.
*This formula is very concentrated- a little bit goes a long way. A pea sized amount is all you need for your face. Don't forget to use another pea sized scoop for your decollete (it will give your age away in an instant).
**Despite being thick in consistency, you do not need to worry about your pores getting clogged our break-outs. In fact, if you have acne prone skin, this formula will work in your favor when it comes to keeping break-outs at bay. Turmeric, sea buckthorn oil and shea butter are effective in the treatment of problem skin.
A few posts back, I extolled the many virtues of unrefined coconut oil as face wash. I seriously can’t get enough! My skin has been soft, my pores almost non-existent and I’ve been completely blemish free since I’ve been using this delicate, moisturizing treatment.
I love my coconut oil face wash dearly, but I must admit I miss textured exfoliation. Sure, by nature coconut oil facilitates gentle exfoliation as the coconut oil acts like a magnet to pull oil and dirt out of my pores, but the instant gratification of a textured scrub I miss.
A few days ago I began fiddling around in my herb cabinet and came up with this coconut oil based face wash recipe using lavender flowers and orange peel. It's pretty awesome!
If you’re a lover of gentle textured exfoliation, this recipe is for you.
I use orange peel, lavender flowers, bentonite clay and celtic sea salt to slough away dead skin cells. These ingredients are effective, yet not at all harsh. After a quick wash, you're left with glowing, soft, radiant skin.
Who doesn't want glowing, soft, radiant skin?
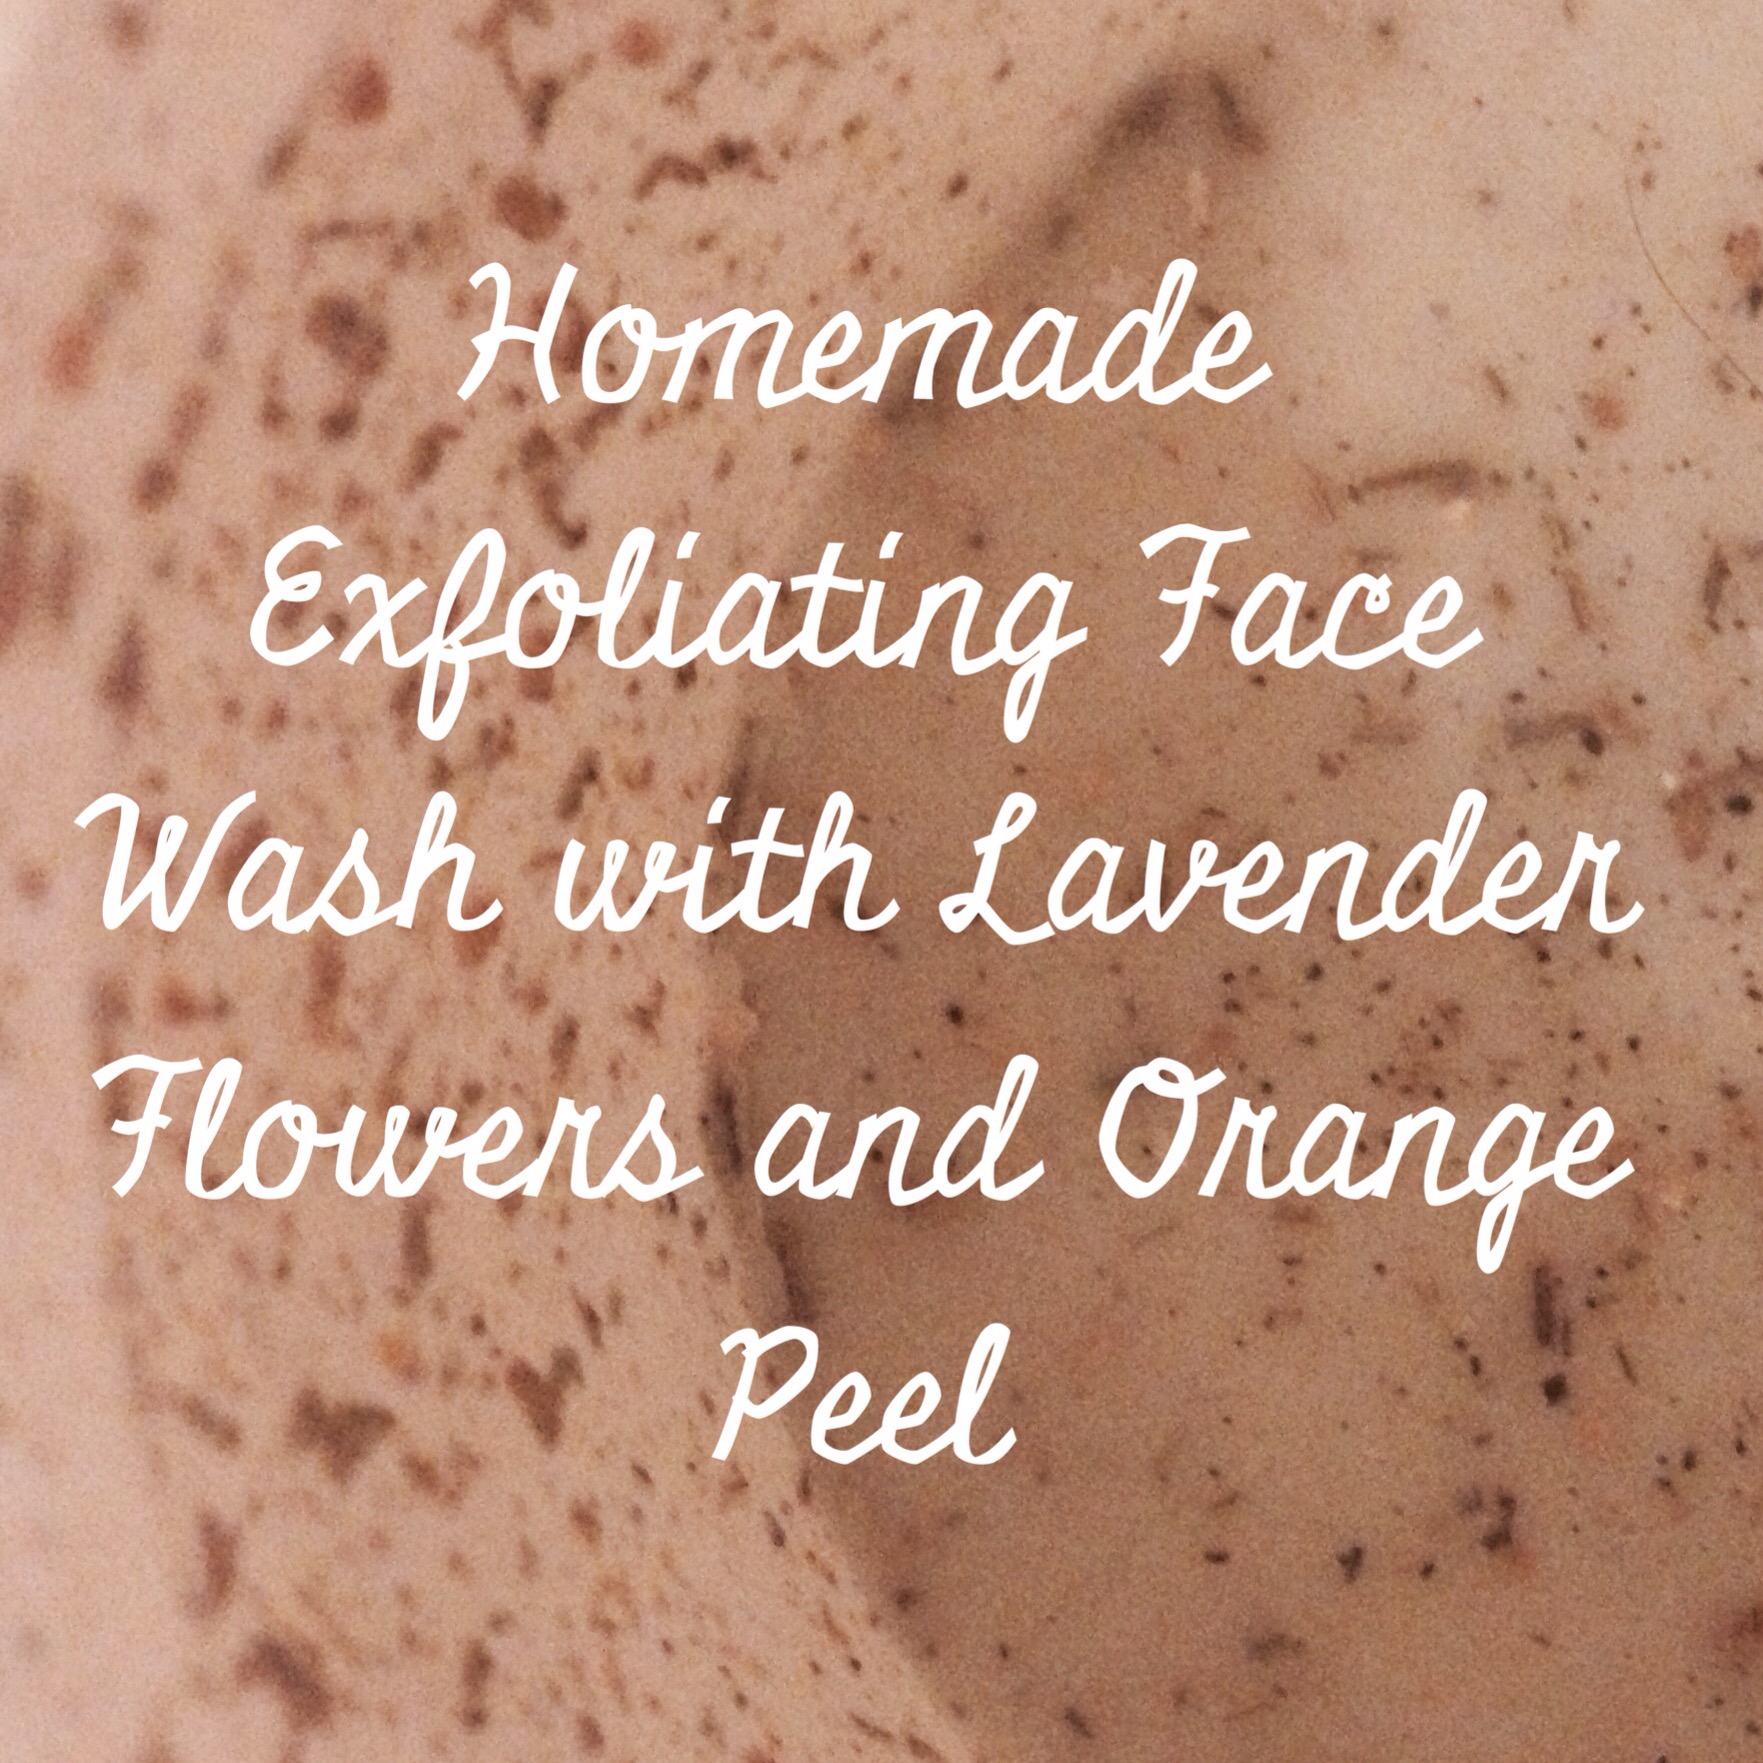
Homemade Exfoliating Face Wash
Here’s the formula:
1 cup melted unrefined coconut oil
2 teaspoons lavender flowers
1 teaspoon orange peel
1 teaspoon bentonite clay (don’t use metal to scoop or store)
1 teaspoon celtic sea salt
IMG_1494.JPG
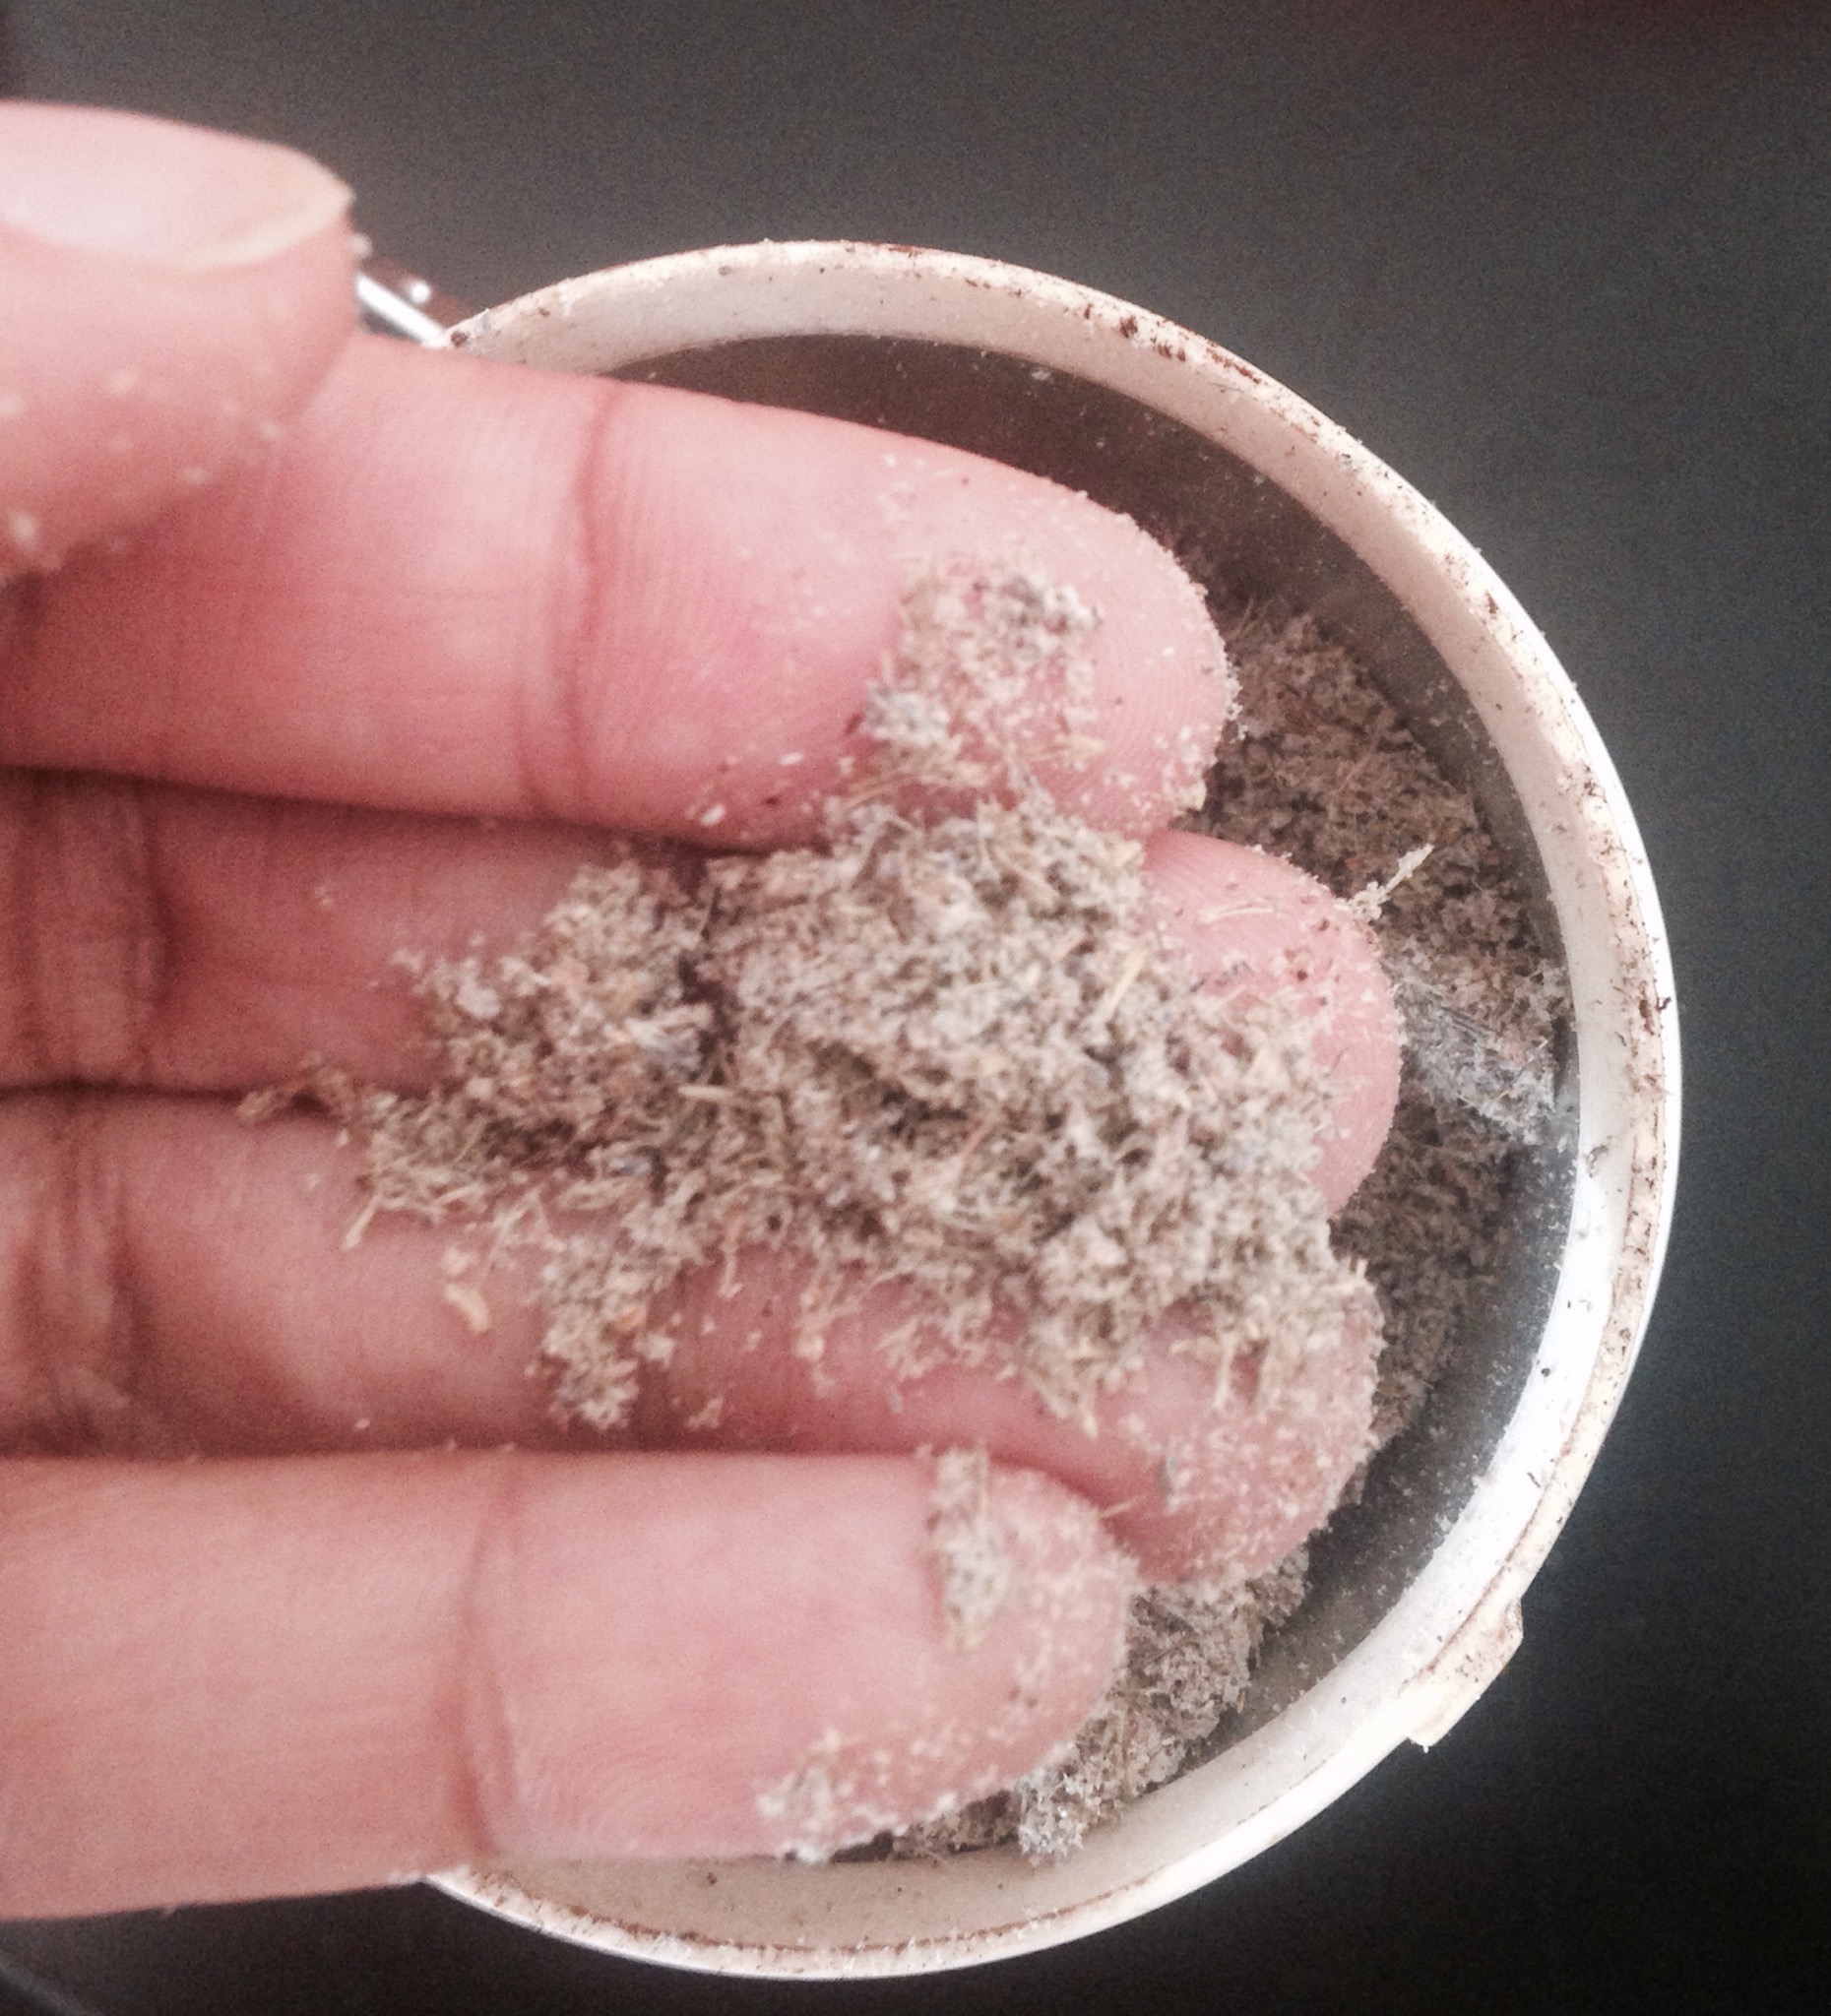
In a grinder, I ground my lavender and orange peel to a fine consistency. The smell is so amazing!
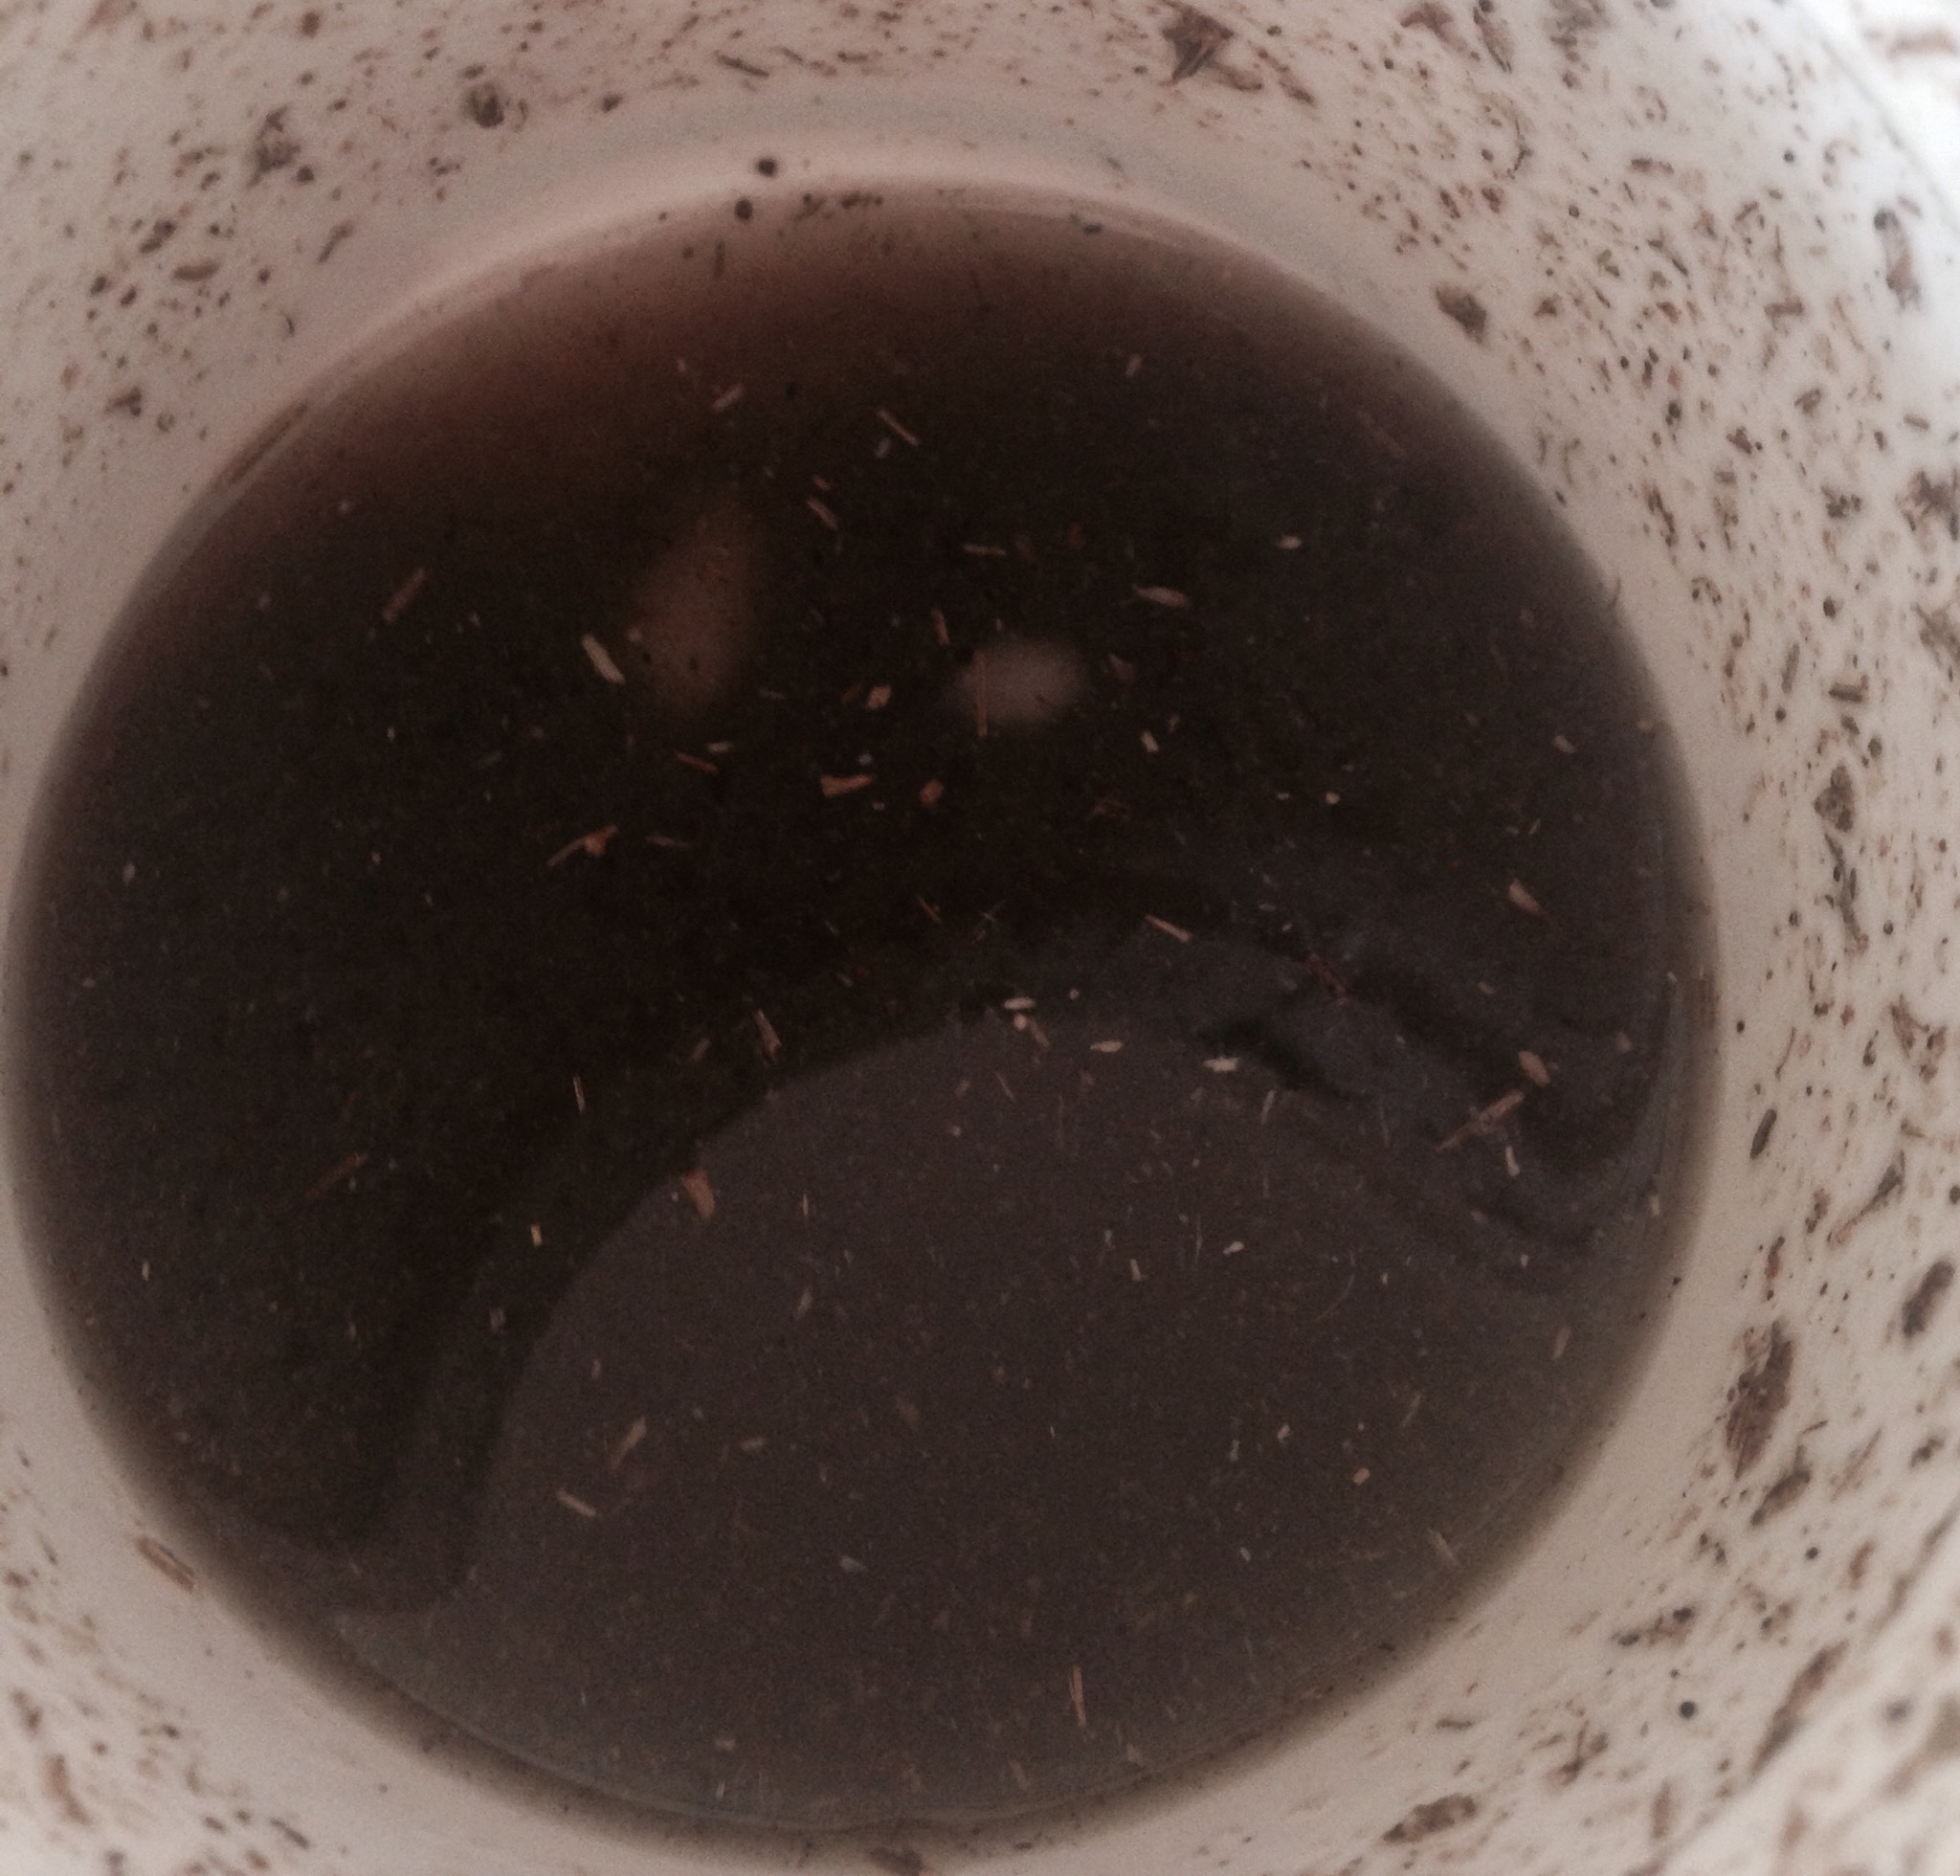
I added the orange peel and lavender along with the bentonite clay and sea salt directly into my melted coconut oil. I used a plastic container to avoid deactivating my bentonite with metal. I shook the oil with the exfoliants and set my container in the refrigerator for 30 minutes so that it would set.

IMG_1499.JPG
And that’s all folks!

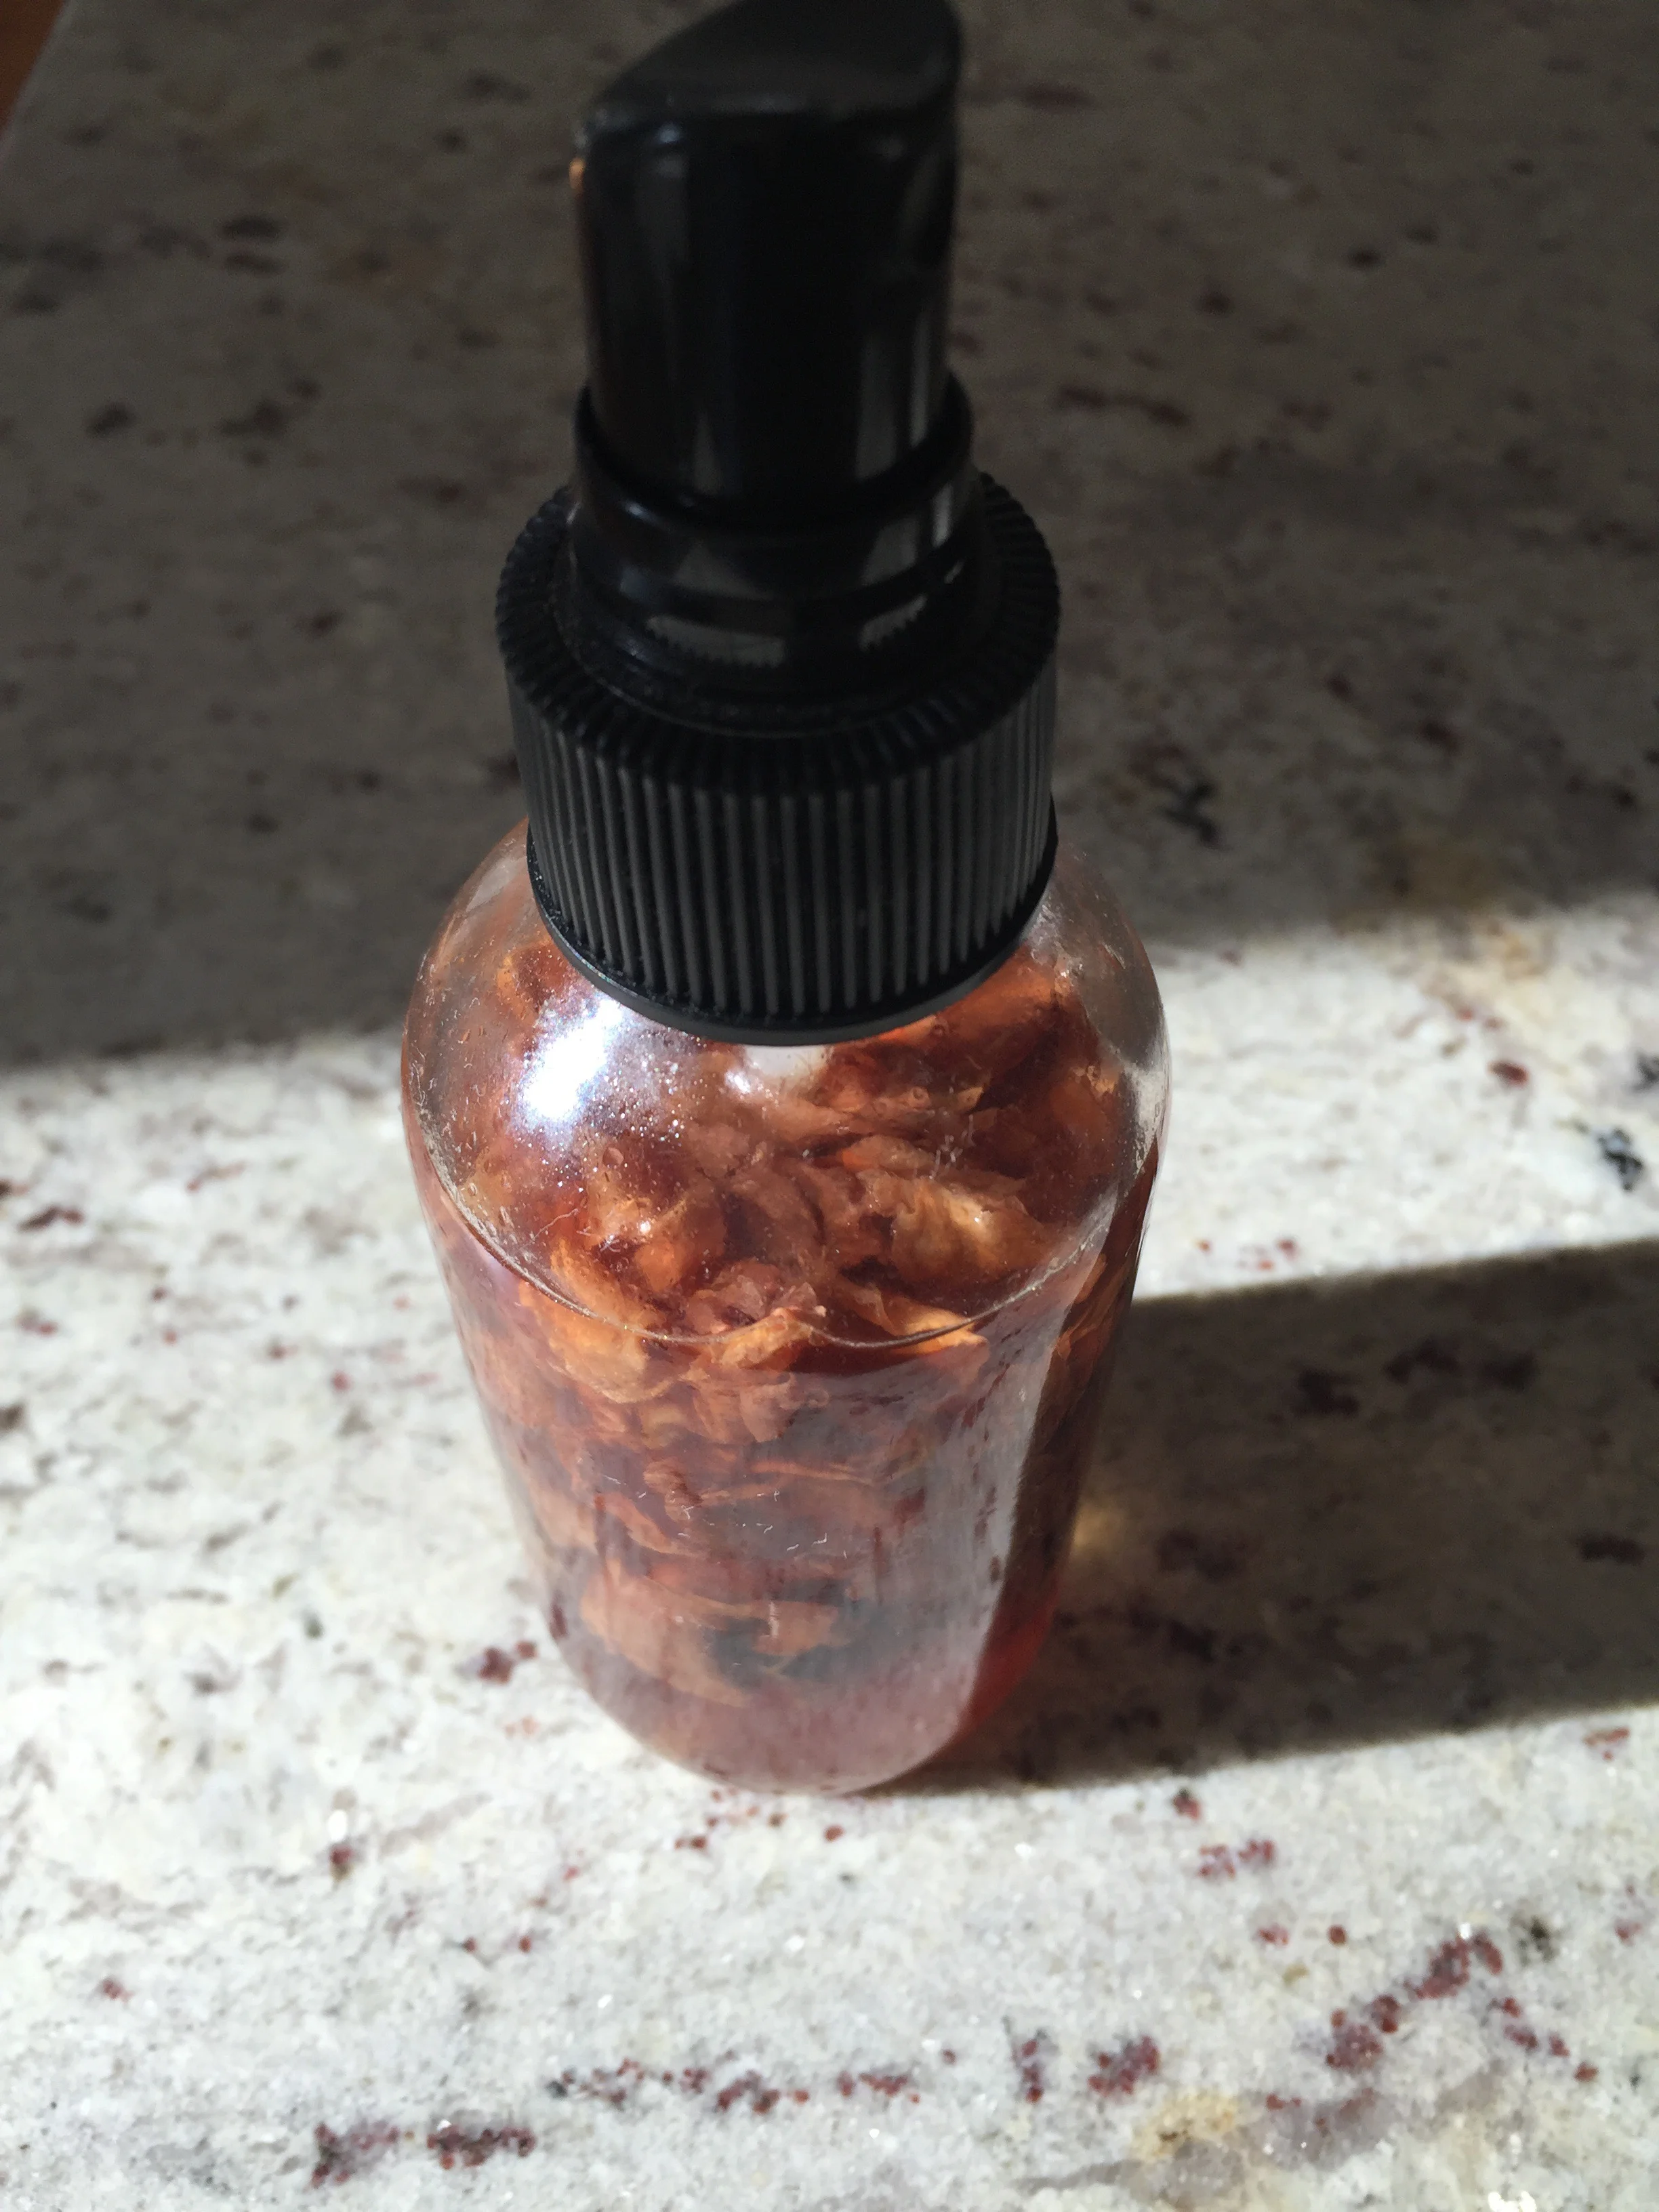
IMG_1501.JPG
The face wash, I keep right next to my sink. You don’t have to worry about the mixture going bad, as it will last for a very long time.
Happy Exfoliating!
For more DIY natural skin care ideas, check out my latest book Natural Beauty from the Outside In, where you’ll find 70 Ayurveda inspired hair and skin care recipes.
IMG_1060.JPG
DIY Moisturizing Shampoo (Great for curly hair!)There is something so empowering about taking matters into your own hands and creating a product or outcome that you love. I don’t know about you, but I’ve had the hardest time finding a shampoo suits me.
Shampoos are usually too drying for my frizz happy curly hair and I rarely enjoy the perfume smell or the way they feel (I love a good scalp tingle).
That was until I decided to make my own.
After trial after trial and (I’ll admit it) error after error, I found a recipe I love.
All natural and pleasingly free of sulfates, parabens, synthetic fragrances and dyes, this shampoo is light, moisture rich and refreshes the scalp with an invigorating tingle.
In the mood to experiment?
Try this fantastically fabulous DIY Moisturizing Shampoo!
Here’s what you’ll need:

IMG_1059.JPG
½ cup coconut milk
½ cup castile soap base (liquid black soap works well too, but I prefer Dr. Bronner’s Unscented baby-mild)
1 tablespoon coconut oil
1 tablespoon jojoba oil
½ teaspoon vitamin E oil
10 drops peppermint essential oil
20 drops tea tree essential oil
Here’s what to do:
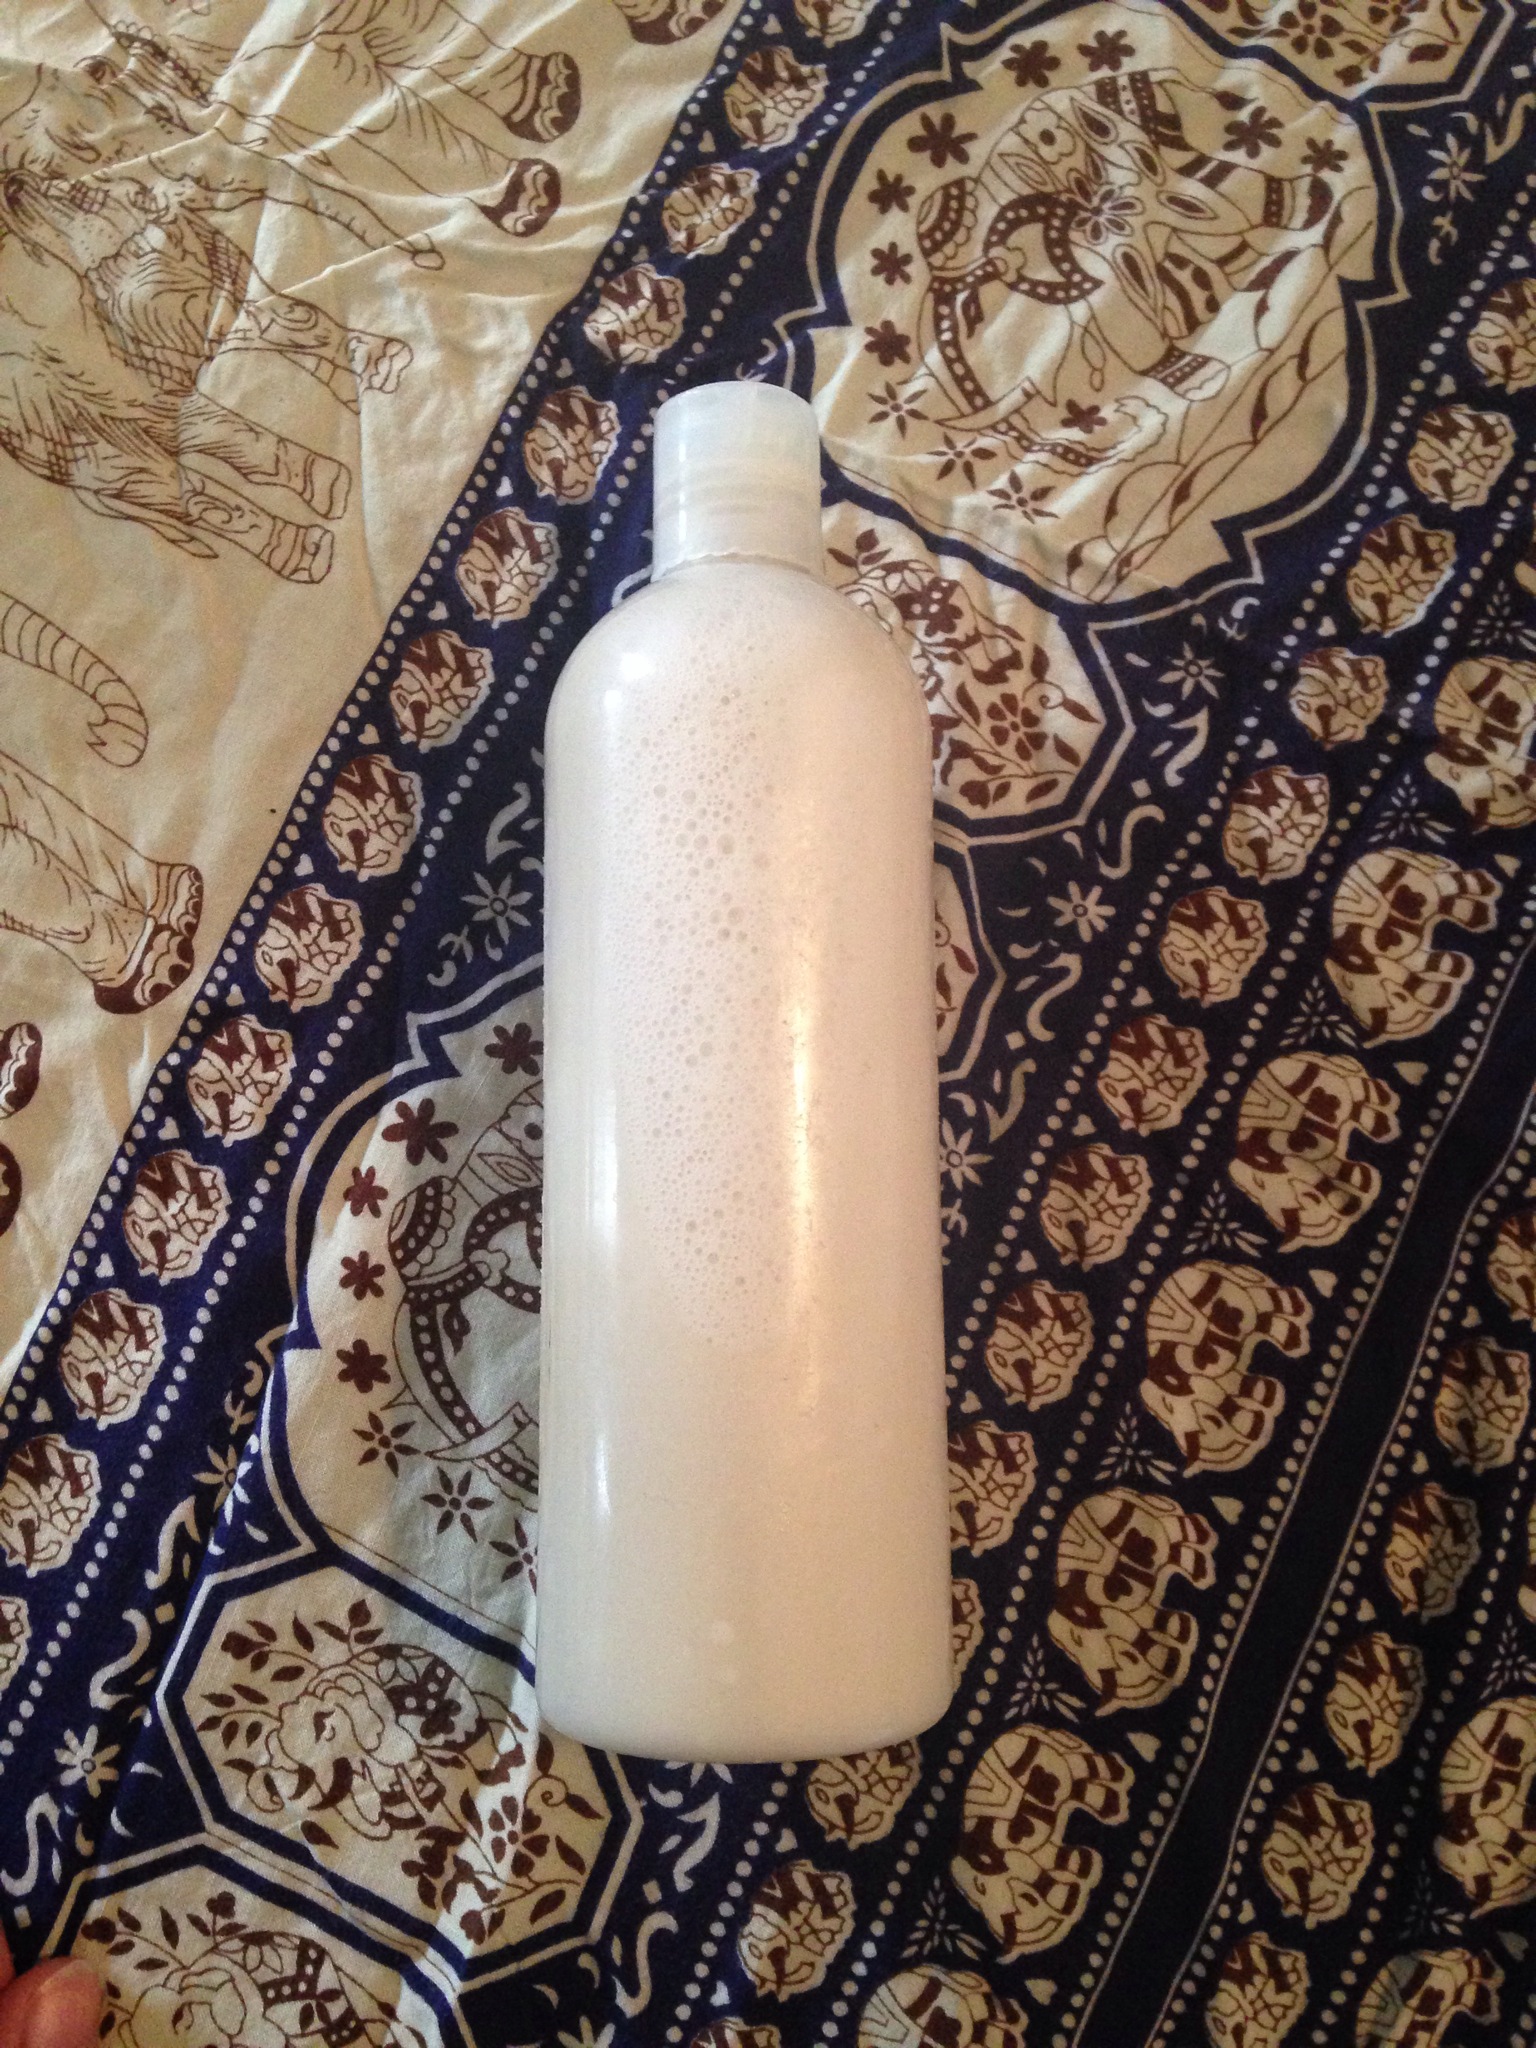
In a plastic pump bottle, combine your ingredients and give the bottle a good swirl.
Place your bottle in your shower and enjoy the next time you wash your hair.
It is that simple. Just as nature intended!
For more DIY natural skin care ideas, check out my latest book Natural Beauty from the Outside In, where you’ll find 70 Ayurveda inspired hair and skin care recipes.
DIY Tea Tree/Peppermint Mouthwash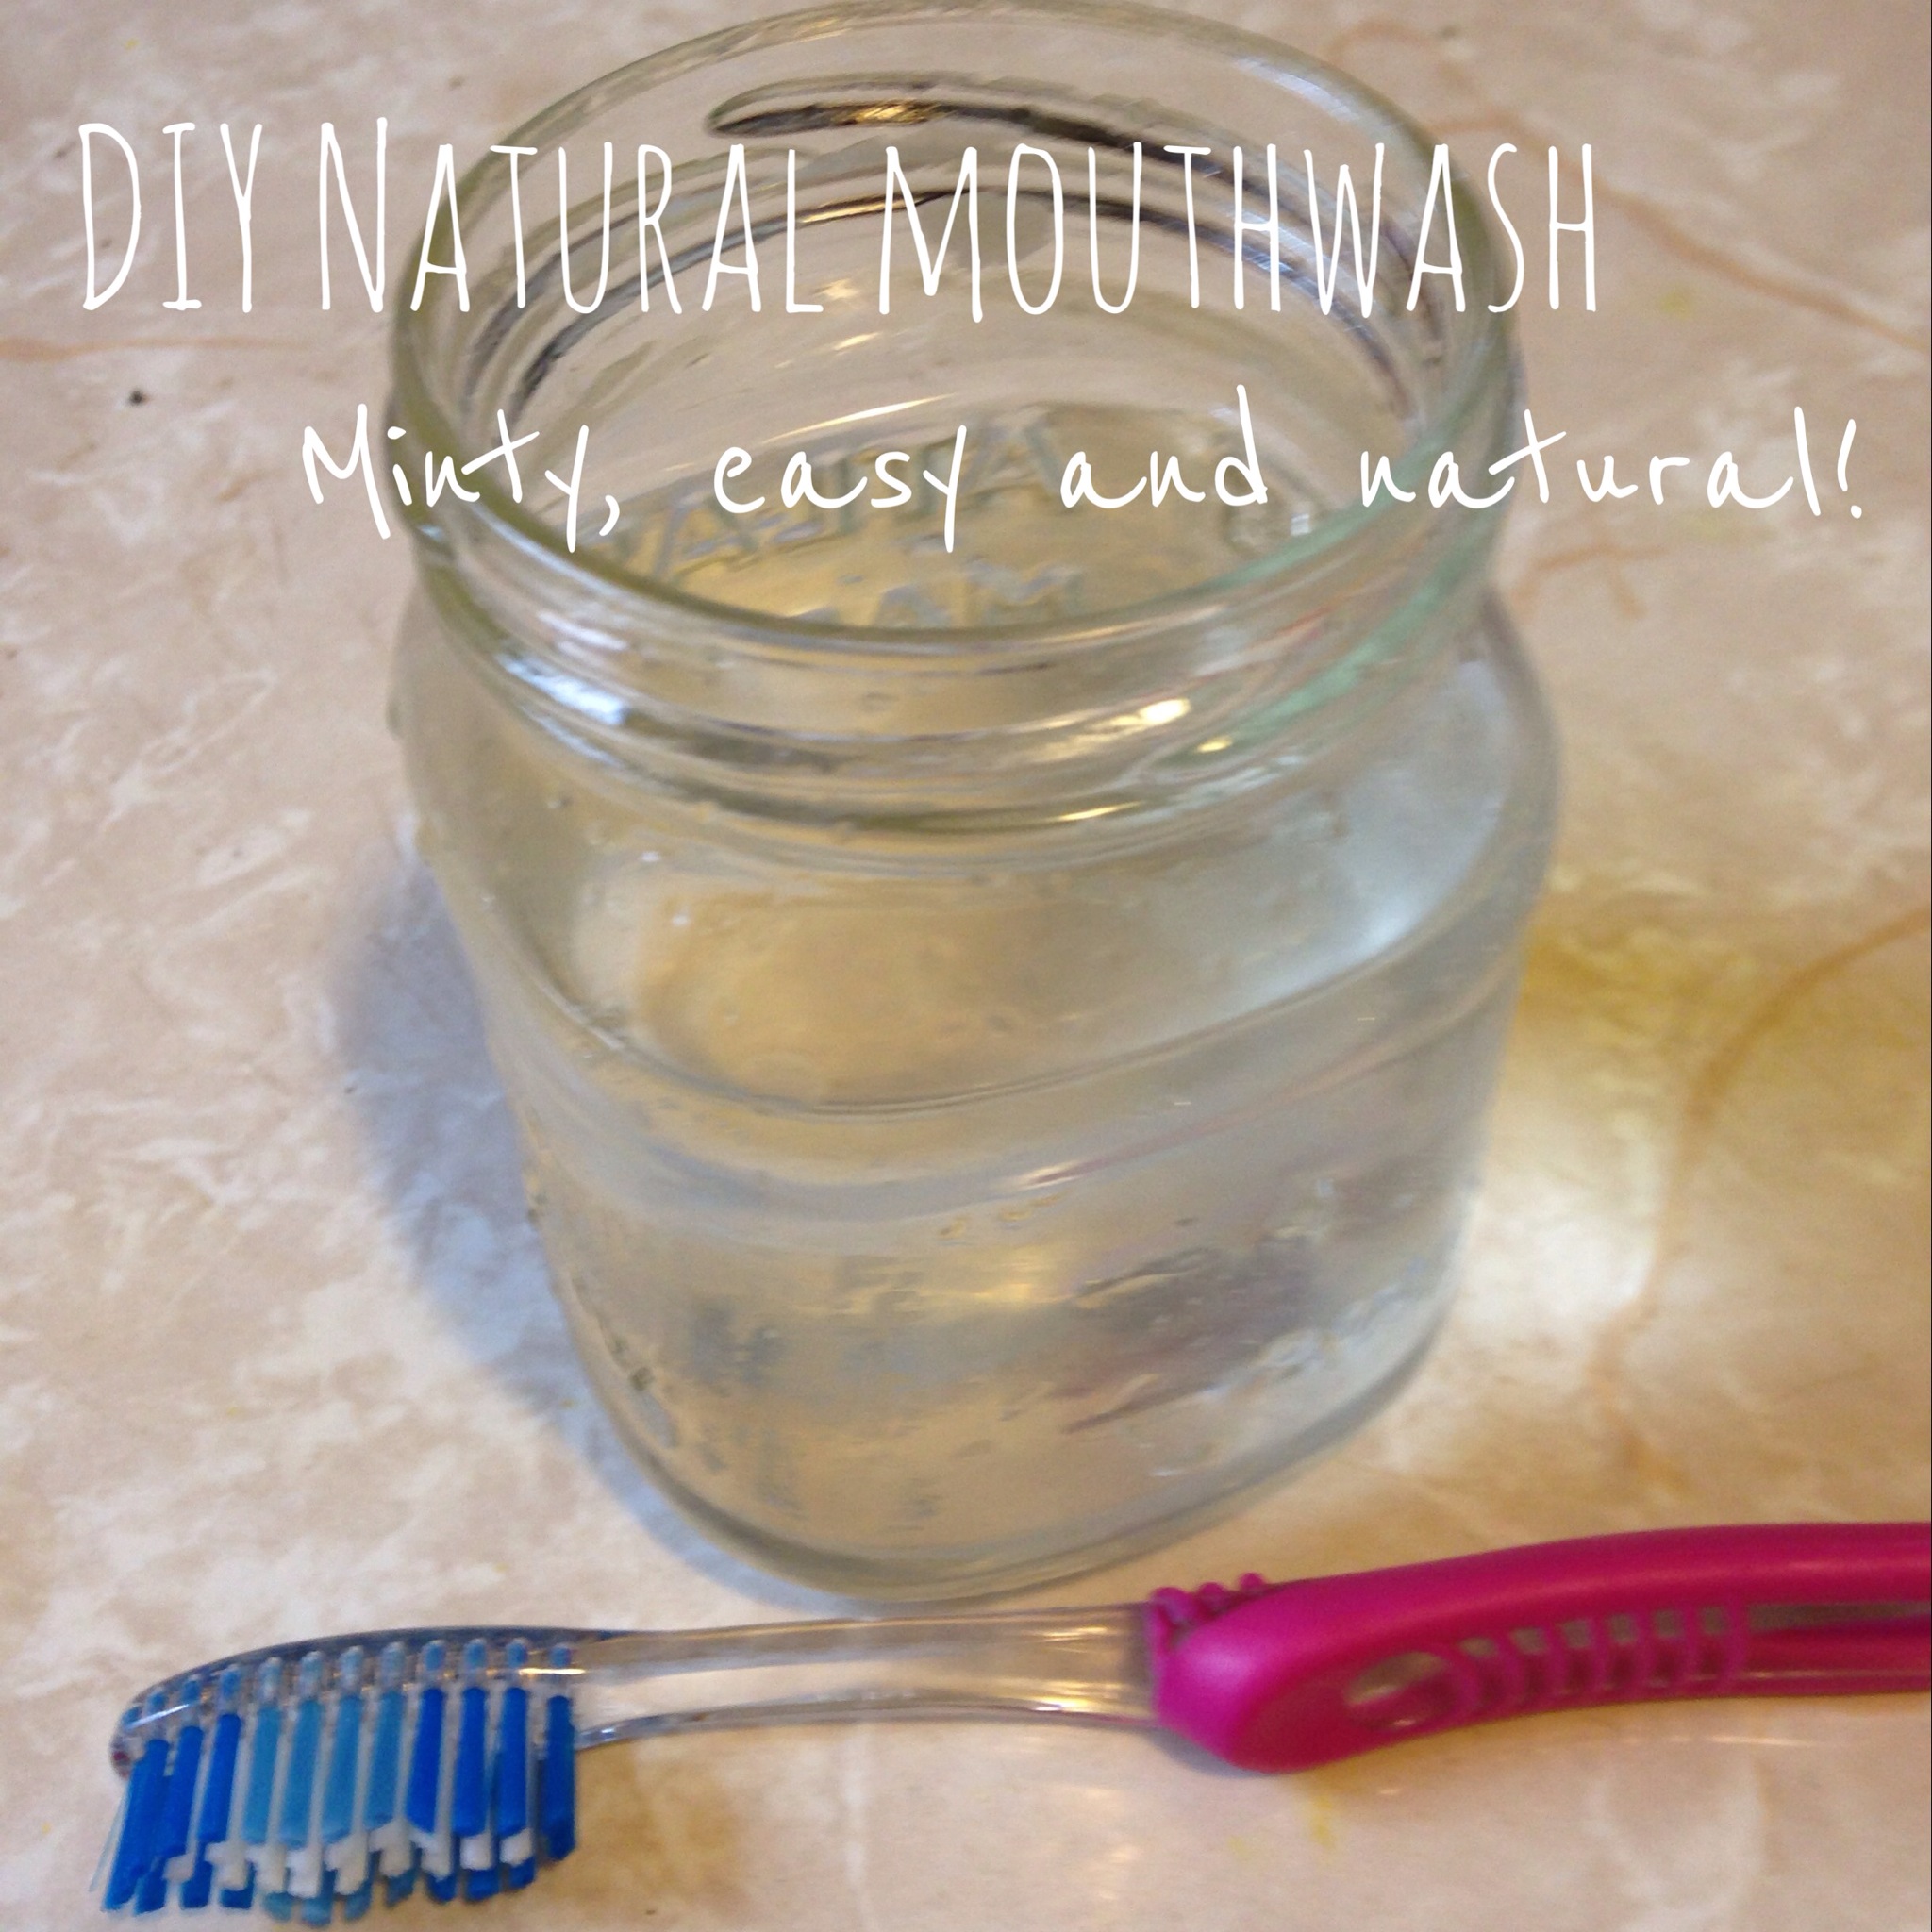
To be honest, mouthwash really isn’t my thing. I tend to gargle with it when I have a sore throat or tooth pain, but mouthwash for the sake of gargling daily is not a part of my regular regiment.
It is however, my husband’s thing. He’s lost without his mouthwash.
Completely disinterested in my numbing clove anti-septic mouthwash (which to be fair, is best gargled with a sore throat, tender gums or sore tooth due to its intense numbing and anti-septic properties) he wants one thing- a minty fresh experience. I concocted this naturally crisp and minty fresh mouthwash for him. It was a big hit. DIY Tea Tree/Peppermint Mouthwash!
If you’re a fan of a minty gargle with an anti-bacterial and anti-microbal punch, then this very simple, completely natural, and shockingly inexpensive, recipe is also, for you.
Here’s what you’ll need:
1 cup distilled water
1 teaspoon baking soda
20 drops tea tree essential oil
10 drops peppermint essential oil
Here’s what to do:
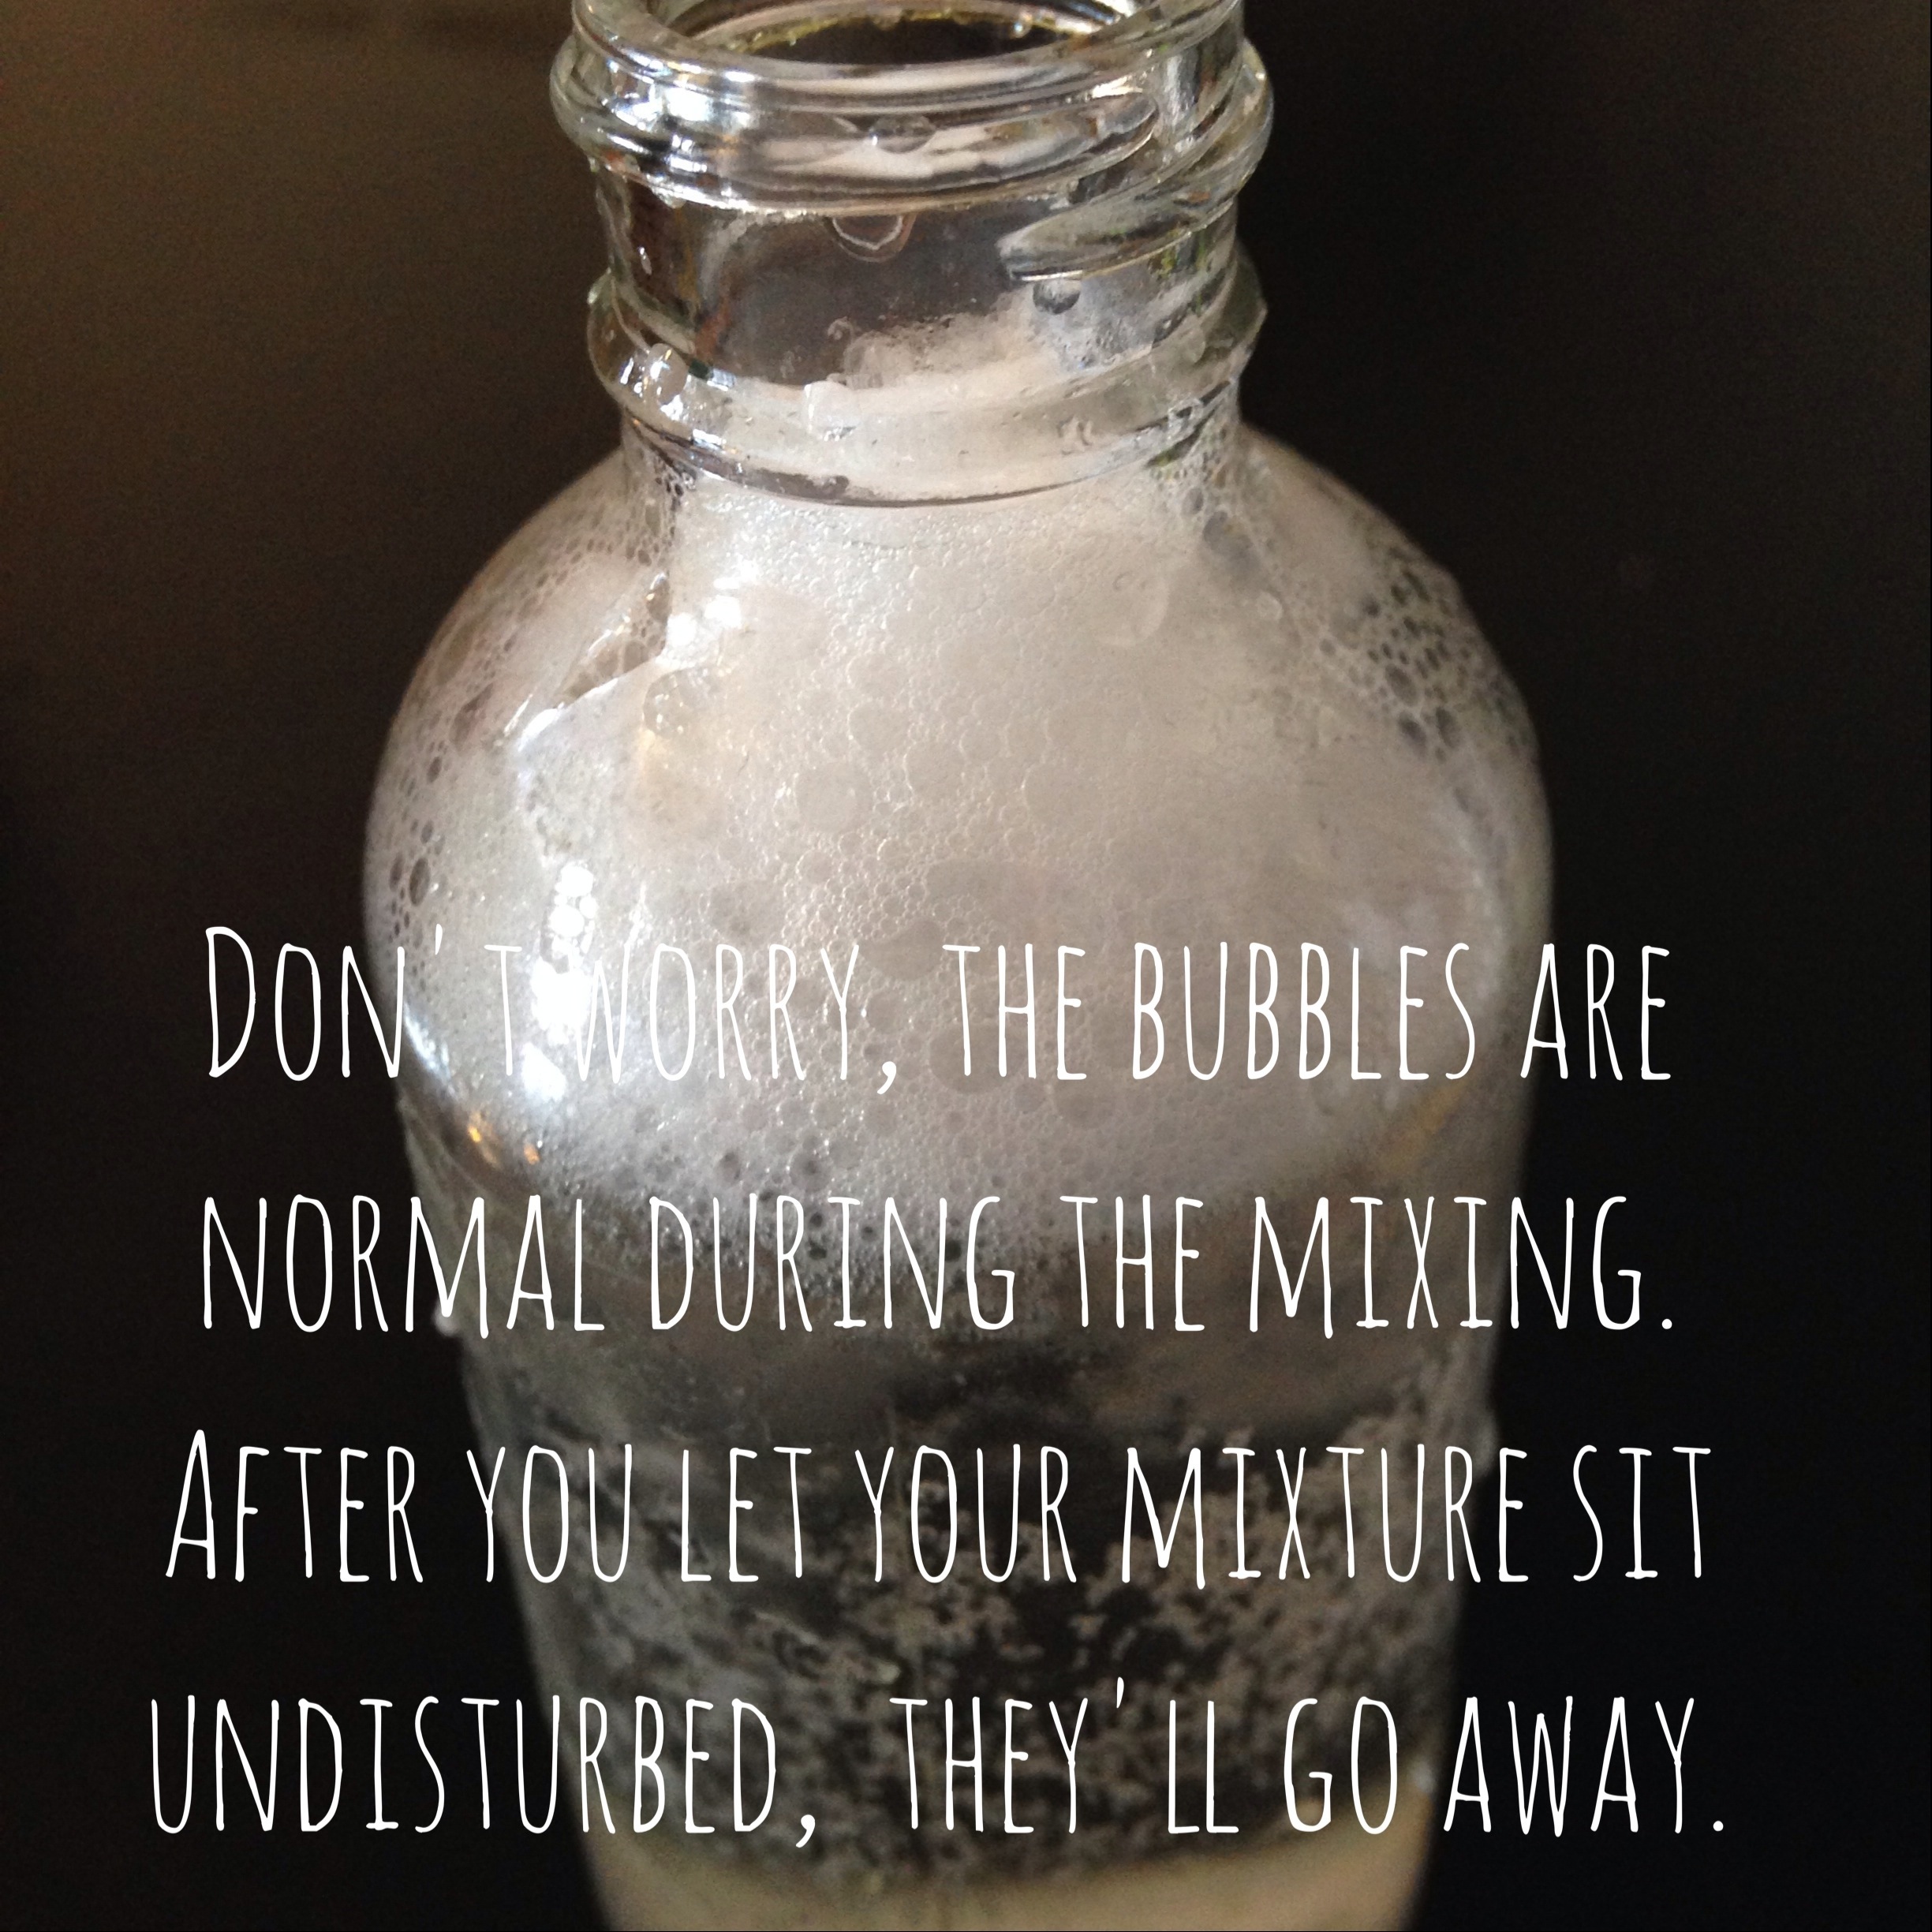
Combine your ingredients into a jar (mine is a recycled tomato sauce jar) and shake vigorously until the contents are combined (the water should go from cloudy to clear).

You can store this mouthwash on your bathroom counter for daily use.
Are you ready to make a DIY All Natural, Oil Absorbing Translucent Facial Powder?
A few weeks ago, I spent a pretty penny on a bottle of Bare Minerals liquid make-up. It looks amazing, so I'm not complaining, but when the saleswoman asked if I wanted to buy some translucent powder to set it, I gave her a confident "No!"
Liquid make-up, I have NO idea how to make. Translucent facial powder however, I do!
Translucent powder is so easy to make. It takes about four brisk steps. The result, is a silky, long lasting, oil absorbing powder that is as curative as it is fabulous.
DIY All Natural, Oil Absorbing Translucent Facial Powder
To make this powder, you'll need: cornstarch (2 teaspoons), cocoa powder (1 teaspoon), bentonite clay ( 2 teaspoons) and turmeric (1/8 teaspoon). Organic, high quality ingredients are always best!
Before I get into the steps, I'd like to wax poetic about the ingredients.
Bentonite Clay: An ancient healing clay, bentonite clay is made of aged volcanic ash. Very fine in texture, this powder has the ability to draw out toxins, chemicals and heavy metals from your skin. Bentonite clay carries a powerful negative electric charge. Once the clay combines with water (aka your perspiration) it gets to work, purifying and removing toxins. Never use a metal spoon to scoop or mix your bentonite clay because the metal with interfere with the healing electric charge.
Turmeric: Turmeric is an ancient healing spice. Used often in Ayurvedic preparations, turmeric contains powerful antioxidant and anti-inflammatory properties. Used externally for beautification in India and Thailand, turmeric fights blemishes, rashes and wrinkles.
Cocoa Powder: Not only does cocoa powder smell and taste delicious, it's full of antioxidants for rapid cellular regeneration. Cocoa also neutralizes harmful free radicals.
Cornstarch: Cornstarch is for more than cooking! This highly absorbent and light powder soothes skin while drawing out impurities.
Here's how to make your powder:


There you have it- all natural, oil absorbing, translucent facial powder!
This version is so much cheaper and is completely free of chemicals, metals and other synthetic products that are unfortunately found in many commercial make-up brands.
* You can find bentonite clay at most health food stores, or on Amazon.com or through Mountain Rose Herbs!

So I’m going to let you in on a little secret. It’s going to seem so easy, strange and counterintuitive, you’re probably not going to believe me.
But since I said I was going to let you in on this secret, I can’t turn back now, so here goes…
All you need to cleanse, detoxify and balance the natural ph of your beautiful face is apple cider vinegar and coconut oil.

WHAT?!?!
STOP! CRAZY! NOT DOING IT!
OFFICER, ARREST THIS WOMAN!!!!
I know, I know…
For most of us, myself included (at first), it sounds absurd. Wash with oil? Isn’t the purpose of washing to get rid of the oil? Apple Cider Vinegar smells funny, I don’t want that anywhere near my face!
I completely get it. I used to have oily, acne prone, sensitive skin and was absolutely not going to put oil on my face. But then I tried it. And it worked. And I haven’t looked back. Let me break it down for you…
Why Coconut Oil works:
-Antioxidant properties (smoothes out wrinkles)
-Antibacterial and antifungal (gently destroys all of the things you don’t want on your face like acne)
-Oil dissolves oil (the oil on your face that makes you feel swampy and gross is dissolved gently)
-Coconut oil, draws impurities out of the skin. It acts as a magnet for clogged pores, absorbing the dirt and oil that will disappear when you wipe it off.
-Moisturizing and gentle (gently moisturizes to the extent that it doesn’t strip your skin of oil which causes skin to overproduce; instead, coconut oil will cause you to naturally produce less oil and won’t leave you dry and raw).
-Celebrities with multi million dollar bank accounts and the ability to purchase the latest thousand dollar whale placenta fortified miracle cream, use it (hello Gwyneth and Giselle).
Why Apple Cider Vinegar works:
-Unblocks pores (so skin can breathe)
-Antiseptic and antibacterial (fights both acne and pollutants)
-Contains beta-carotene, which helps to fight free radicals (the result, that stunning youthful glow)
-Acidic in nature, it helps to restore the balance of our skin’s pH factor, since it has a pH very similar to what is ideal for healthy skin (traditional cleansers strip our acidic balance, leaving us prone to skin problems).
-Once again, celebrities with multi million dollar bank accounts and the ability to purchase the latest thousand dollar bat poop fortified miracle cream, use it (hello Scarlett).
Here’s what to do:
1) Get a small one ounce spray bottle and fill it with 1/2 way with raw organic apple cider vinegar and 1/2 way with distilled water
2) Take a small jar (4 ounces is great) and spoon it full with organic unrefined coconut oil

Here’s how to wash:
1) Wet your face with warm water
2) Spray your face with the apple cider vinegar (mind the eyes)
3) Scoop about a ½ teaspoon full of coconut oil and massage it in a circular motion over your face and neck
4) Wipe the oil away in the same circular motion with a warm, wet cloth
5) Pat or air dry
6) Smile at your dazzling image in the mirror and blow yourself a kiss. You look fabulous, you’re chemical free, and you’ve saved money with your new beauty regiment.
*Note how soft your skin is.
 It's lip balm time! DIY Lip Balm
This is a simple and natural lip balm recipe that is completely free of synthetic preservatives, fragrances and colors.
This recipe is trombonist approved ( yes- horn players need to revitalize their tired chops) and is also second grader approved (I used to teach my glittery lip gloss obsessed second graders to make this- it was a huge hit).
For this recipe to be successful, you simply need to follow the ratio that I will outline below. This being said, you can make as little or as much as needed. Vitamin E oil is used as a preservative. Your lip gloss will easily last a year or two.
Here's what you need:
Carnauba wax
Jojoba Oil
Vitamin E
Essential oils of your choice (I love the tingle of peppermint)
*Your ratio is three parts oil to one part wax!
Here's what to do:

 In a double boiler (if you haven't got one, no worries, simply place a smaller pot inside a larger one containing boiling water) add your one part carnauba wax (I used a tablespoon because I wanted a small batch) and your three parts jojoba oil.
Stir continuously until the wax is completely dissolved into the oil. Remove your pot from the heat and add your Vitamin E oil (a few drops to a teaspoon depending o the size of your batch).
Stir your mixture and set aside to cool for five minutes.
Add about ten drops of essential oil to a 3:1 ratio measured with tablespoons (you can use this to adjust for larger batches). I like the refreshing tingle of peppermint, but you can use whatever you like. Rosemary, lemon, fennel and eucalyptus essential oils are also lovely for the lips.
Saturday morning, my husband came home with a gruesome shiner. For the last two years, he's trained seriously in Krav Maga (an Israeli martial art). In the beginning, he'd come home with a bruise here and a sore spot there, but as he's moved up in belt rank, so have his injuries. This was by far the worst.
Nonchalantly, he strolled into the living room, looking like a victim in a slasher film. I was completely horrified. The left side of his face looked disfigured; but once I got past my shock, I sprang into Herbalist Florence Nightingale mode.
Not only did he have a black eye (well purple and maroon at that point to be accurate), but his entire eye was swollen shut and there was a bleeding scrape on the top of his eyelid.
He refused to let me photograph his misery for the purposes of my blog, but you get the picture.
As he settled onto our sofa and tuned into ESPN, I worked to devise a plan. My first objective was to cool the area and try to reduce the inflammation and swelling. He'd already iced the area to no avail, so I decided to pull out my cooling summertime face mist and a roll of cotton rounds. I sprayed the rounds with the cooling mixture and placed the sodden pads over his entire eye. I repeated this for about five minutes. The witch hazel and aloe cooled the area, while the lavender and witch hazel worked to clean the scrape on his eyelid.
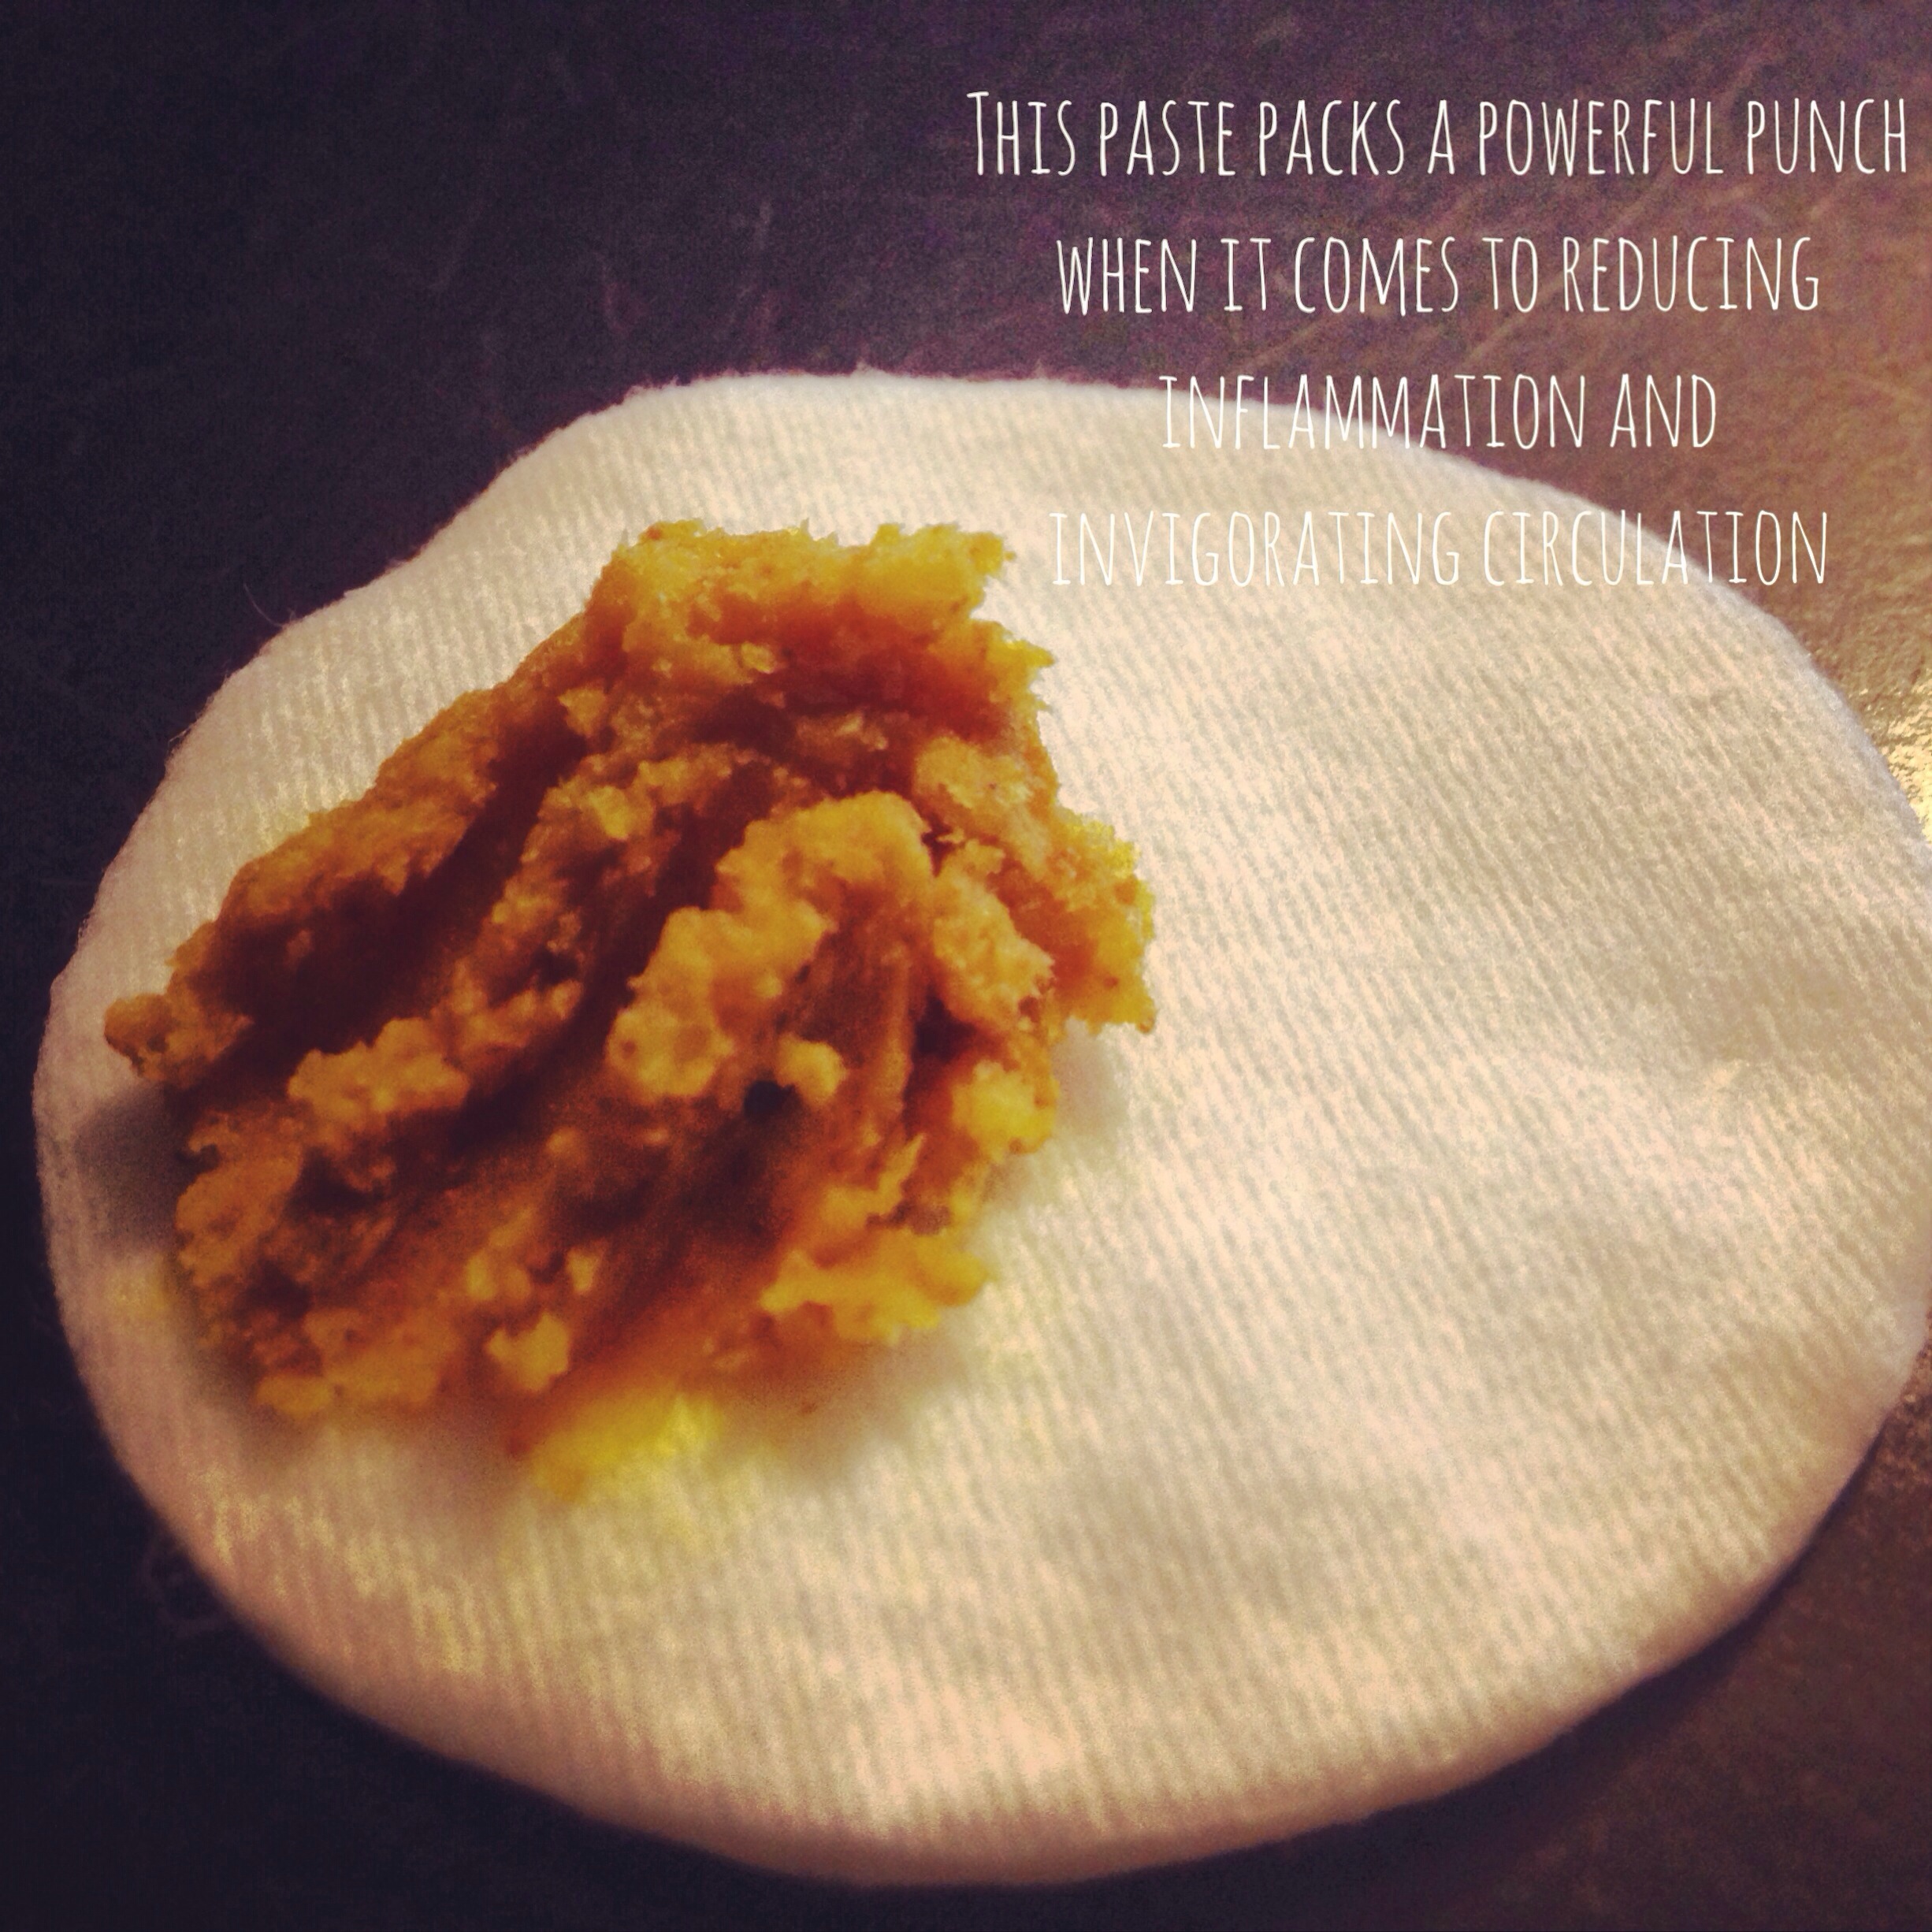
Next, I wanted to stimulate the blood flow to reduce the discoloration and inflammation.
I made a paste using 1 tablespoon shea butter, 1 teaspoon cayenne pepper and 1 teaspoon turmeric. After mixing the paste, I applied it liberally to the swollen puffy area beneath his eye (being very careful not to get any inside his eye). After five minutes, I rinsed the paste off and repeated my summer skin cooling mist application.
We began a cycle:
Two hours later, the swelling went down tremendously and he was able to open the eye 90% and his skin color began to return to normal.
It looks like Mr. Musician will be able to return to the stage again in no time. As for the gym, that's a completely different story.
This regimen works well for bruises and swelling of all types as long as you don't have broken skin (if you've got a scrape or cut, don't get the paste in it! It will burn).
 Boy oh boy, the heat is rising!
Don't get me wrong, after the crazy winter that hit basically every corner of the US, heat is a very good thing.
But, as a city dweller and resident of the swampy North East, the increased heat and humidity can be irritating to the skin.
Recently, I came home after an afternoon in the sun, wiped a tissue across my face to find a smudge of sooty debris- gotta love NYC!
Even if you're not in the city, sweat and humidity can leave your skin itchy, blotchy and inflamed.
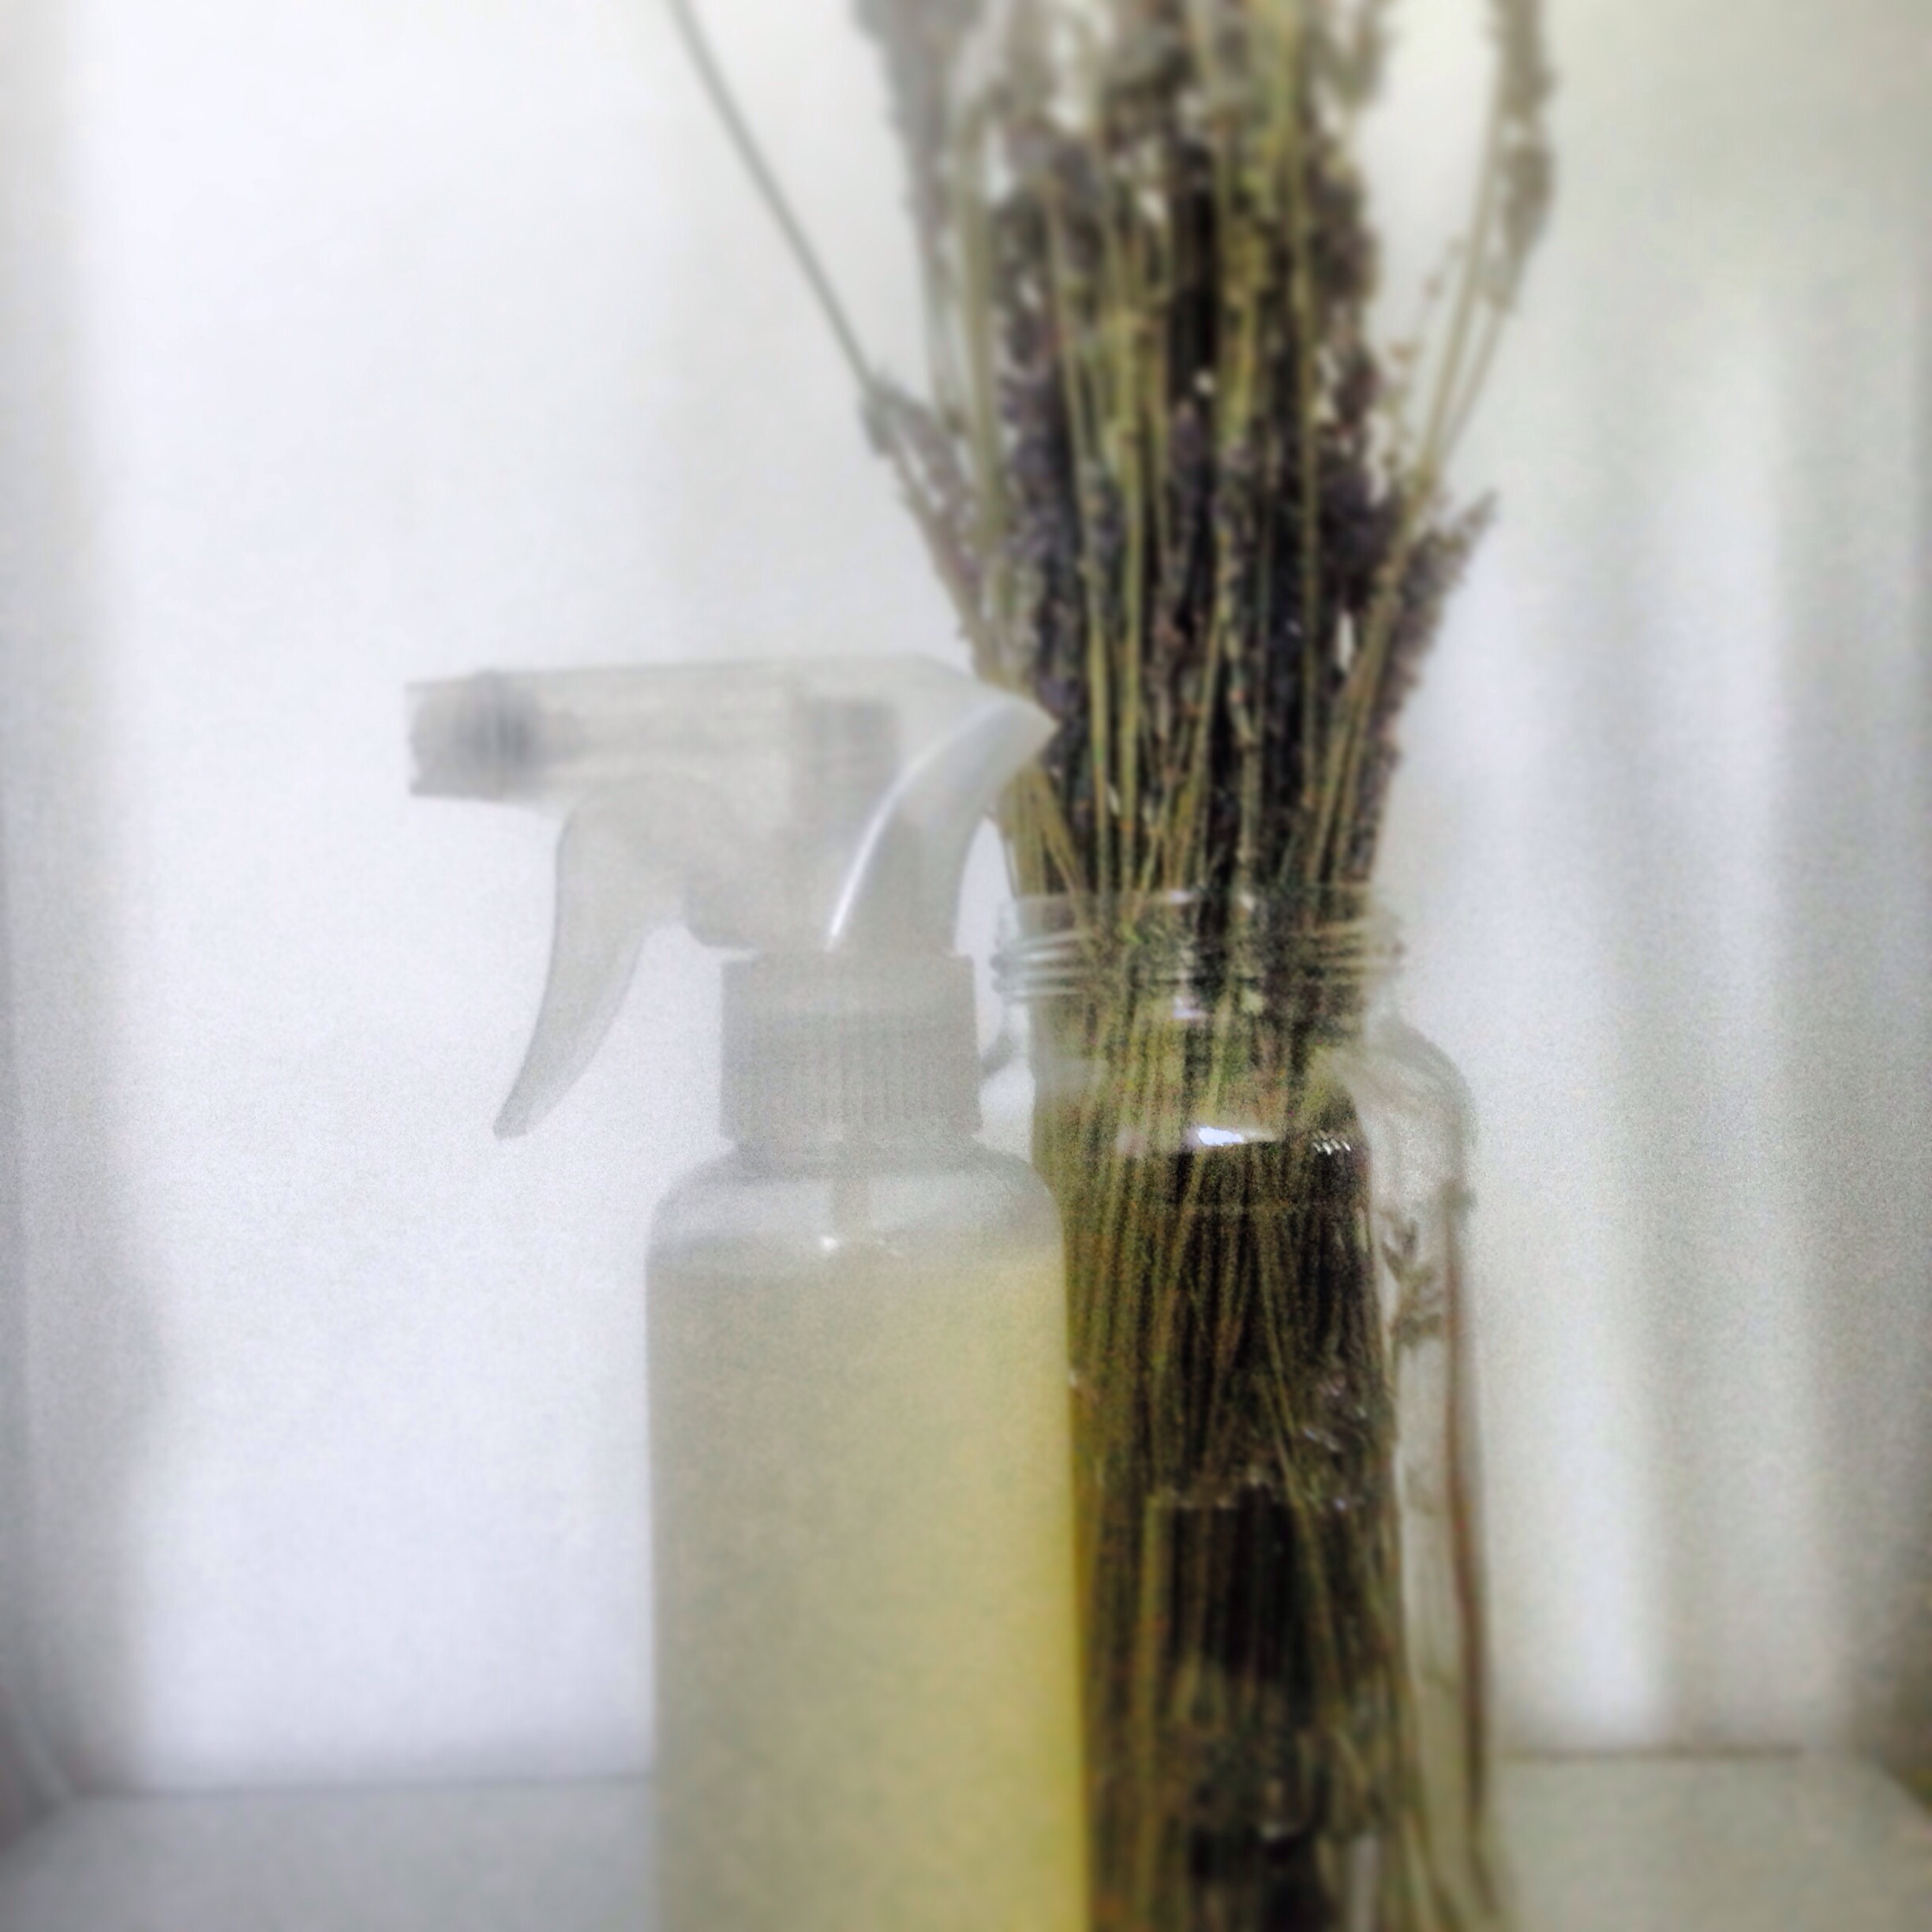
My cooling summertime face mist is one of my favorite ways to soothe and quickly revitalize sticky, hot skin. Not only does the mist calm inflammation and clean out your pores, but it's hydrating and cooling.
This Cooling Summertime Face Mist is a keeper!
I keep a batch in a spray bottle in my refrigerator and help my face to a squirt or two every time I come in from the heat. My two year old swears by this spray as well. He hovers by the refrigerator door once we enter the apartment chanting "spray, spray, spray!"
So here's how to make my cooling summertime face mist. It is extremely easy to put together and will last all summer long.
Steps:
In a sterilized spray bottle combine 1/4 portion of witch hazel with 1/4 portion of aloe juice. Gently shake the aloe juice and witch hazel together until combined. Add 1/2 portion of rosewater along with ten drops of vitamin E oil and five-ish drops of lavender essential oil. Shake your concoction gently and place in the refrigerator.
Step outside, go for a run, take a walk, go to work then when you come back home, go straight to your refrigerator (don't forget and let it disappear behind the leftovers), shake your spray bottle and mist away!
Spritz on your face and neck to combat a steamy summer day. The aromatherapy will calm frayed nerves and encourage relaxation.
*Note: If you have a sunburn, this spray works wonders to soothe the burning sensation!
Happy misting!
I love the refreshing feel of this DIY Floral Facial Toner! That little burst of cooling aromatherapy sets my morning and evening into ritualistic action. I know there's a lot of controversy over toner, whether it's necessary, what it's actual benefits are, but I still don't go a morning or evening without it. I love the soft dewy feel of my skin and swear my pores are tighter.
This is my go-to toner recipe. It's delicate and moisturizing and smells oh, so delectable.
Here's what you'll need:
1⁄2 part Rosewater
1⁄2 part Witch Hazel
5 Drops Lavender Essential Oil
Here's what you do:
Combine the rosewater and witch hazel into a (preferably glass) spray pump container. I eyeball my measurements based on the container I'm using.
 Add the essential oils and swirl to mix.
Shake before use and generously spritz your face, neck and chest after you wash your face in the morning and evening.
Add the essential oils and swirl to mix.
Shake before use and generously spritz your face, neck and chest after you wash your face in the morning and evening.
 During the summer months, I section off half of this mixture and place it in another spray bottle, which I keep in the refrigerator. After a long humid day, it feels wonderful to come home to this cooling and fragrant spritz.
Green Clay Detoxifying Facial Mask- Are you ready for some serious pampering?

This is the first facial mask that I ever learned to make and I'm still in love almost a decade later.
This mask sucks out toxins and soothes the skin, making it an ideal remedy for acne and blackheads.
Here's what you need:
1 tablespoon green clay powder
1/4 teaspoon of turmeric powder
1 teaspoon grapeseed oil
Plain full fat yogurt or rose water
Follow these steps:


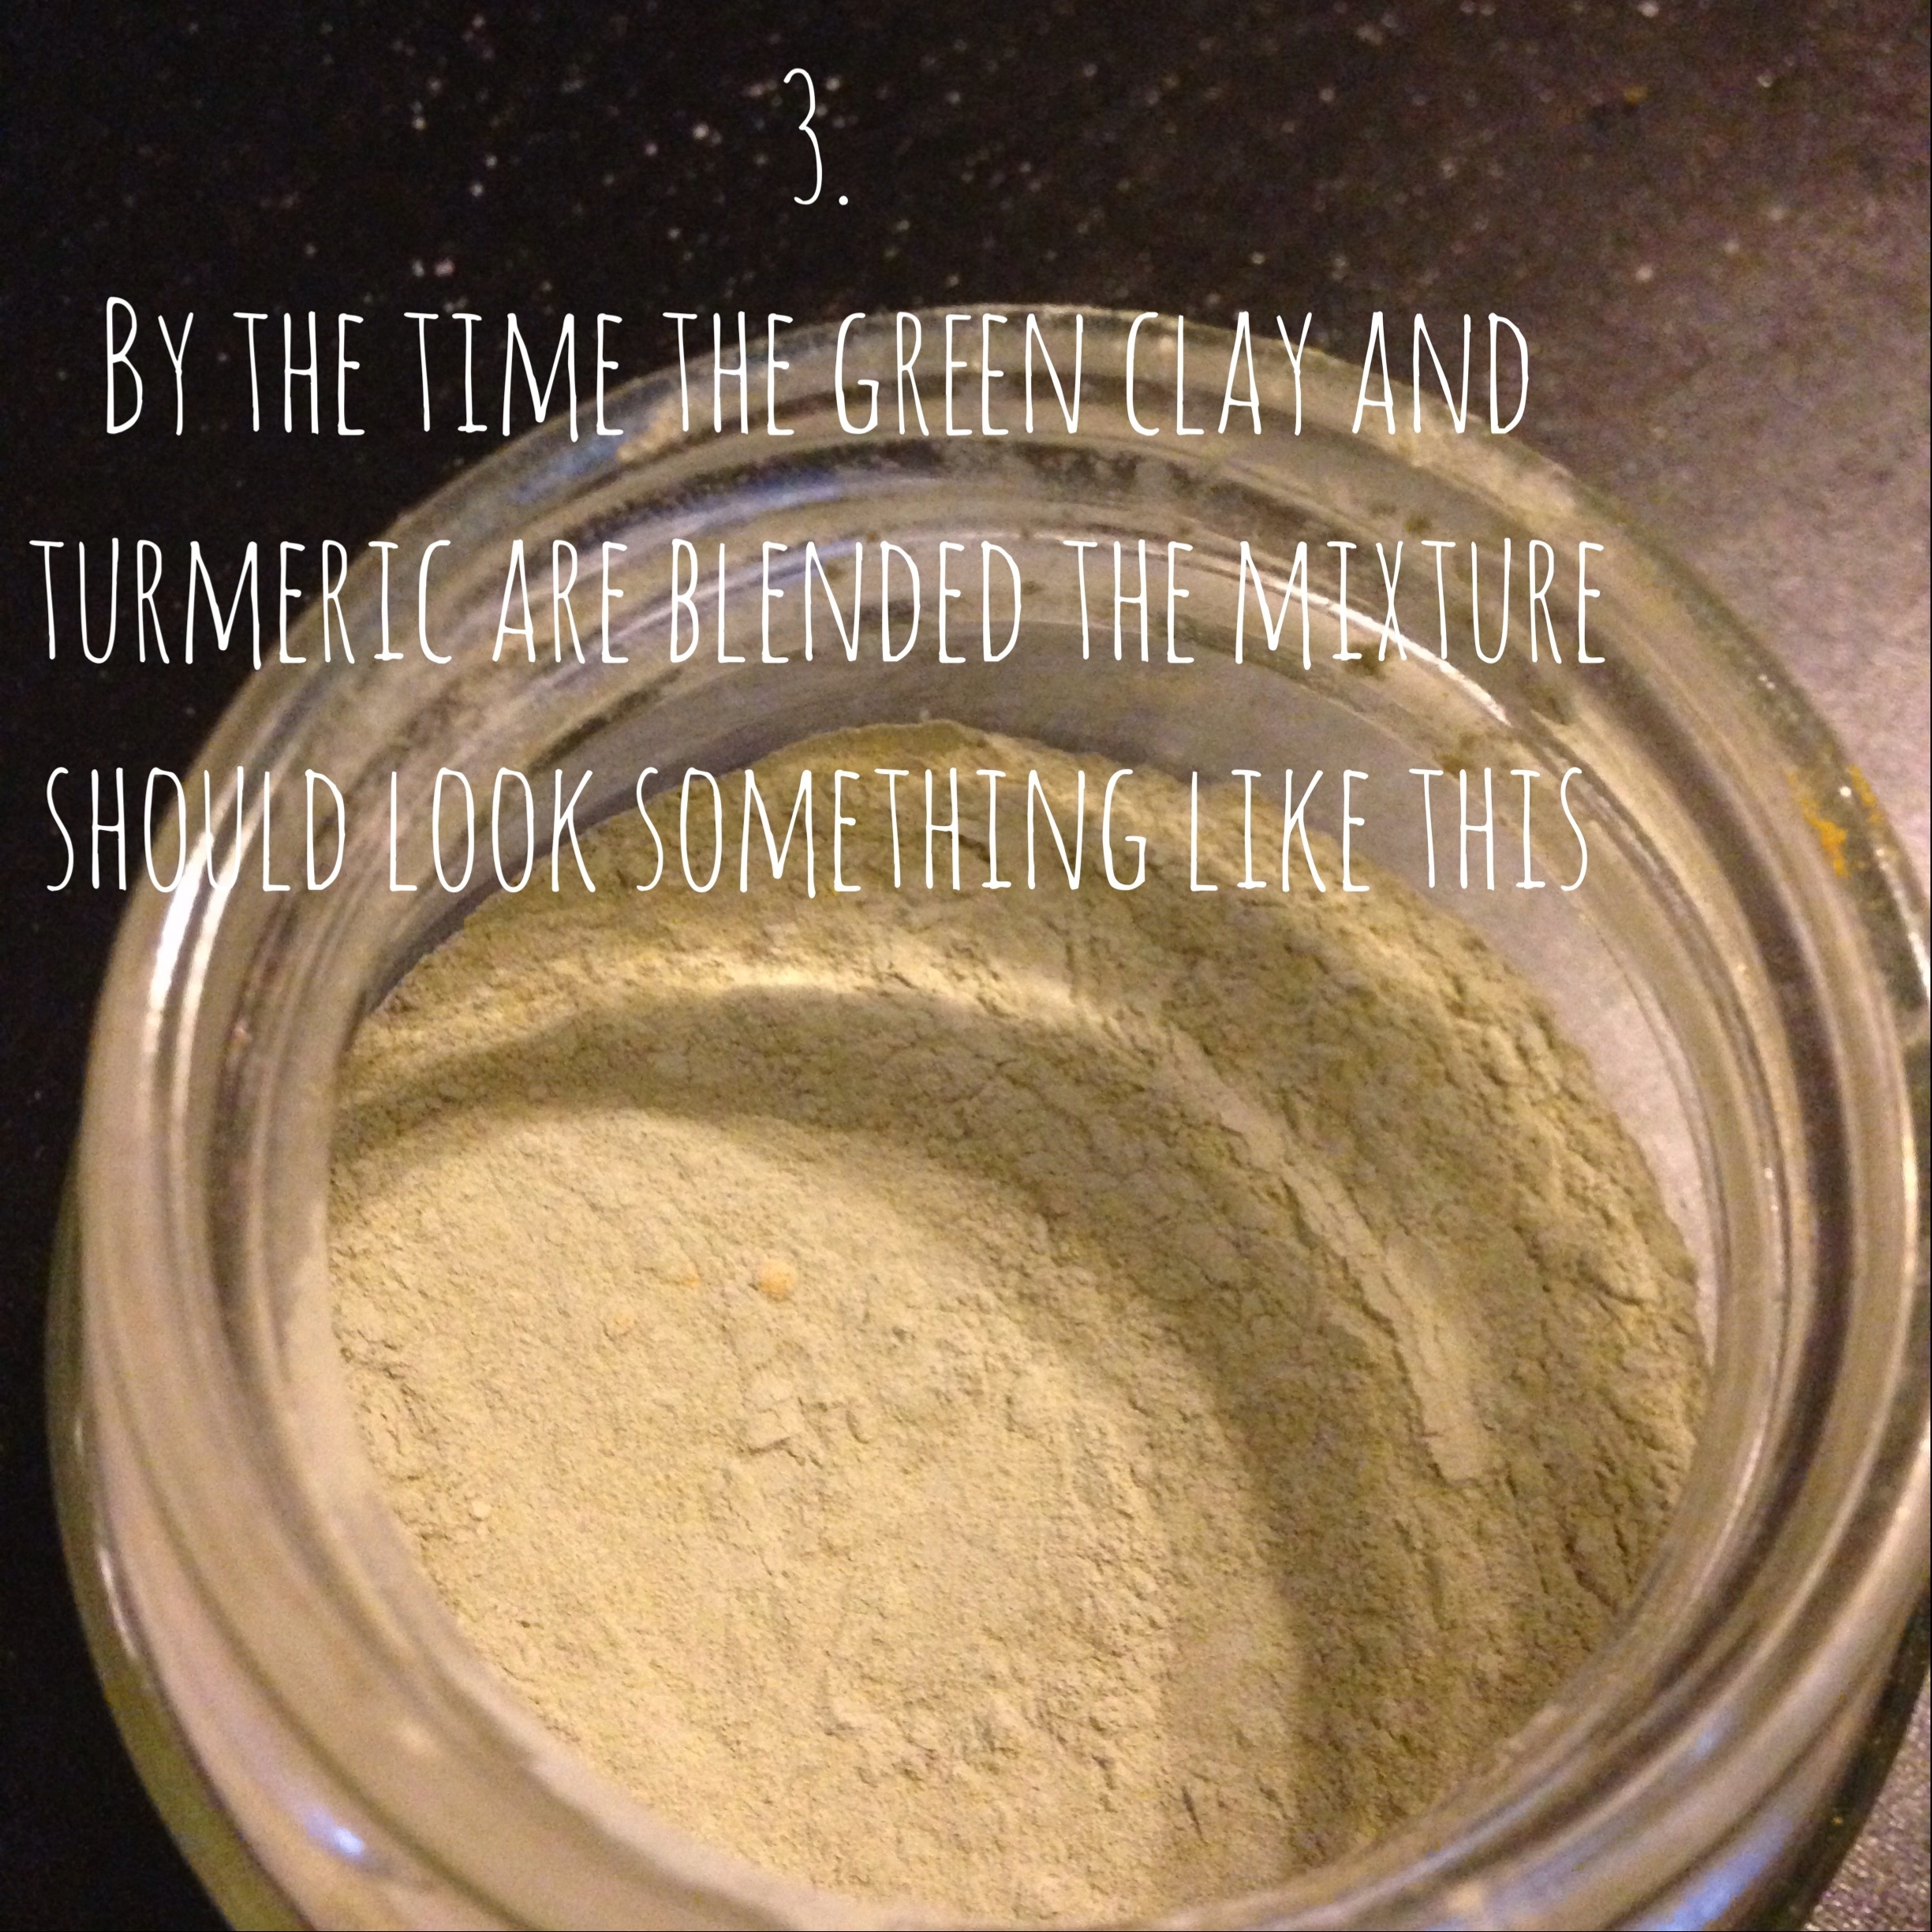
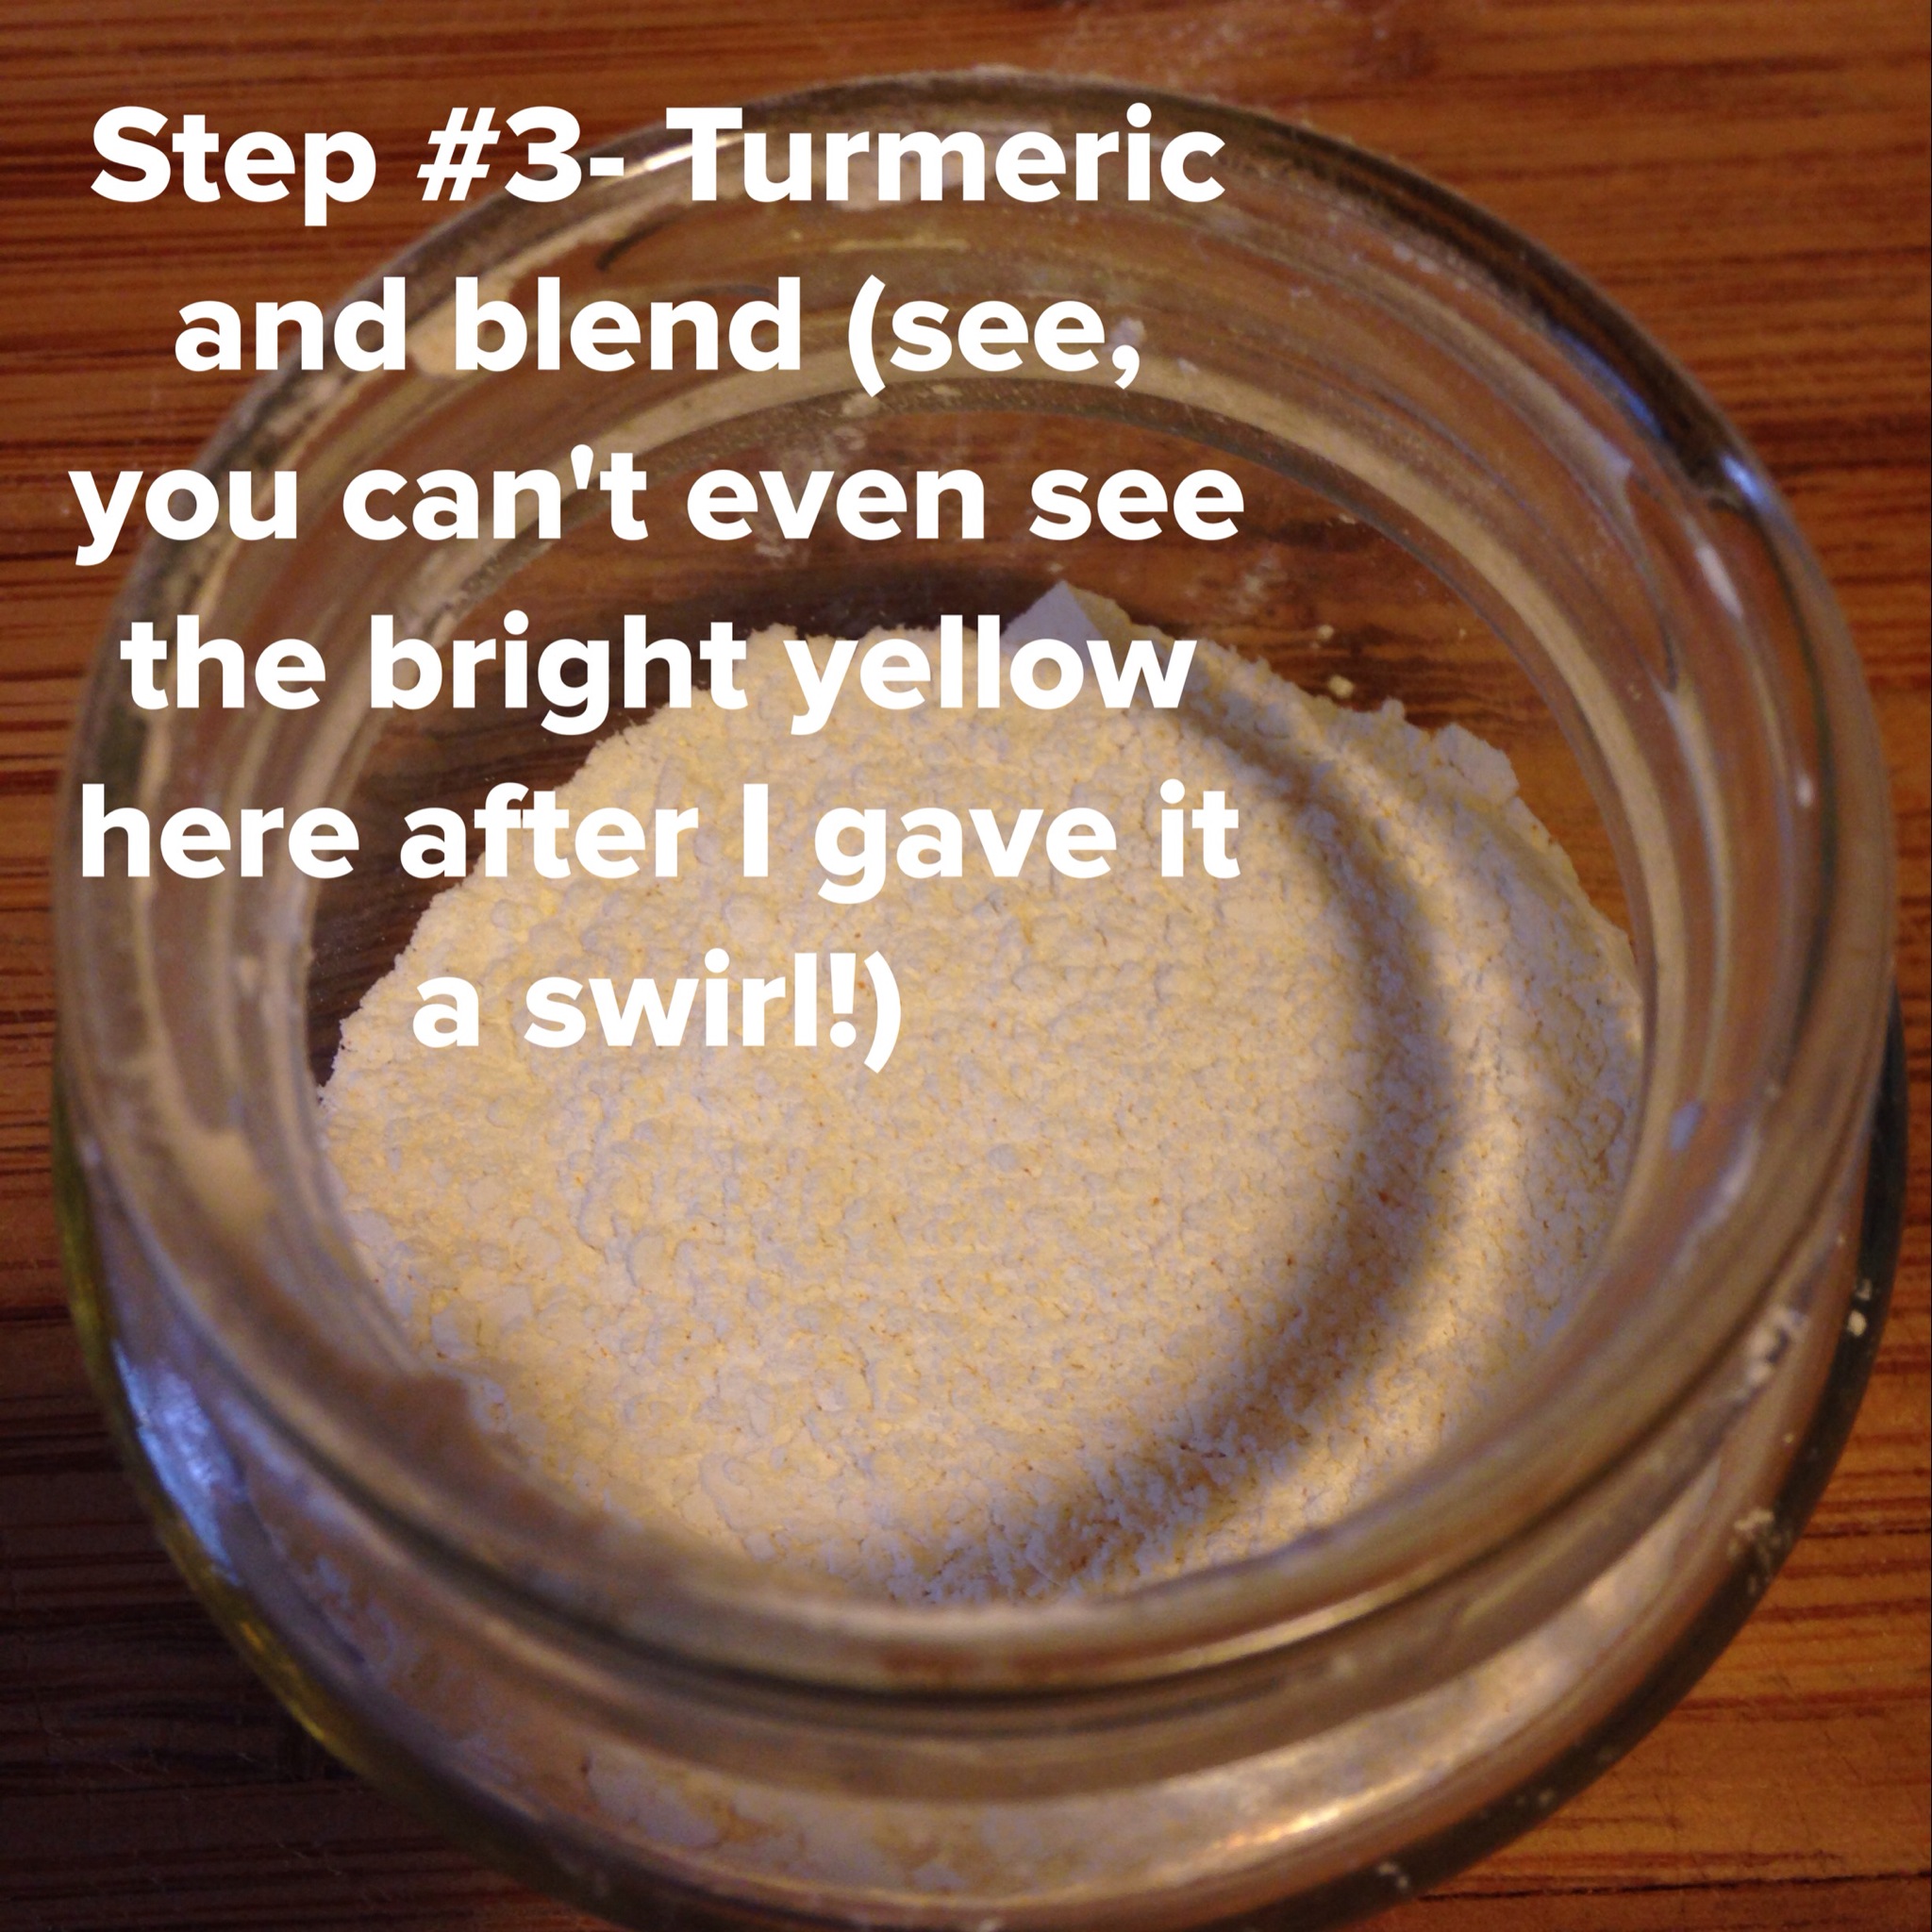
In a bowl, mix the green clay powder and turmeric together until blended.
Add the grapeseed oil followed by the yogurt or rosewater (enough to create a past-like texture).

Smooth the mixture over your face and wait for it to dry (usually 10-15 minutes).
Once dry, rinse with warm water and pat your face dry with a towel.
Now you're ready to take on the world!