Healthy

Hump Day Stress Buster Yoga Pose- Legs Up the Wall

Legs Up the Wall (Viparita Karani)

IMG_3347.JPG

Why You Need to Do It:

Because we live in stressful times my friend!

Legs up the wall, is one of the most calming restorative yoga poses out there. Are you ready for these benefits? Legs up the wall balances the nervous system, increases circulation, increases blood flow, cleanses the lymph nodes, aids in digestion, reduces stress, lowers the blood pressure, quiets the mind, relieves water retention, refreshes the internal organs and helps to calm anxiety. Long story short, this heart and hip opening yoga pose is AMAZING!

How to get in to it:

This pose can be practiced with no, minimal, or (for a super duper luxurious treat) many props. 

You might want to have the following items (props) on hand:

eye pillow

sand bag hand weights

bolster

strap

blankets

IMG_3348.JPG

If you're using props, your setup might look something like this. Props are optional, so you can use one or all of these. Place a bolster towards the base of your yoga mat, about an inch from the wall. Over your bolster, place a folded blanket. Fold another blanket and set it on your mat perpendicular to the bolster. Your setup should make the shape of the letter T. Place a yoga strap around the middle of your thighs.

Now to get into the pose....

Sit at the edge of your bolster bringing your shoulder and hip against the wall. Lower down to your elbows and fan your legs upwards. Your spine will run the length of the blanket. You may have to shimmy forwards a bit until you can feel the wall against your sits bones and the backs of your legs and heels. 

Allow your head to soften into the mat beneath you. Hold your arms out to the side, letting your hands grow heavy as you release your shoulder blades. 

To add finishing touches with the props, bend your legs and place a folded blanket on top of your feet to ground your hips. Use weighted sand bags in each hand for grounding and then set an eye pillow over your eyes to cancel out light. 

Let your blissful journey begin!

How Long to Hold?: 

If you are new to this pose, five minutes is a good place to start. The more you practice Legs Up the Wall, the more comfortable it will become. For those used to the pose 10-15 minutes is ideal. 

This is an excellent before bed pose. You also might try this after getting home from work before you settle into your life at home. 

IMG_3126.JPG

10 minutes of Legs Up the Wall a day will help keep the doctor away...

Is Legs Up the Wall pose a part of your yoga routine? Let me know how you feel about it in the comments below. 

For more on Restorative Yoga, check out Reclining Bound Angle Pose and 5 Restorative Yoga Poses for Relaxation!


3 Natural and Organic Ways to Keep Spiders and Centipedes OUT of Your Home!

image.jpg

I have a serious problem! 

Anyone who knows me, understands that I'm not exaggerating one bit when I say that I have a HUGE phobia of bugs- in particular spiders and (blech) centipedes. 

I probably need an intervention!
I've gotten into a minor traffic scrape because a bug flew in my car (it was HUGE! Downright Paleolithic, in my defense...) 

I've embarrassed myself countless times in public when caught off guard by a creepy crawly. 

And no horror has ever been more traumatic than my giant huntsman spider encounter in Mozambique!  

After living virtually bug free in New York City for the last 14-ish years, my bug phobia has returned full force since moving to the Maryland countryside earlier this year. 

I literally live in the middle of the woods. It's beautiful, it's serene, but creepy crawlers abound everywhere.  

A naturalista through and through, I refuse to resort to toxic chemical sprays. Instead, I've decided to fight back naturally and organically. I am on their turf after all. I don't want the creatures to die, I simply want to keep them OUTSIDE!!!!!!

If you also suffer from the occasional (or not so occasional) creepy crawler then here are three natural and organic ways to rid your home of spiders and centipedes and all of their little friends! 

1. Peppermint Essential Oil

image.jpg

Spiders and centipedes HATE the smell of peppermint! 

Not only is the smell enough to keep them away from your home, but coming into contact with the oil burns them. They will retreat immediately!

To apply, I use a dropper and apply peppermint essential oil directly to cracks in the floorboard, underneath the radiator and around windows. 

For soft surfaces, like the perimeter of my bed and the sofa (I take no chances) I mix a few drops of peppermint essential oil with water in a spray bottle and spritz the mixture where I need it. 

This works like a charm!


The peppermint leaves my house smelling cool and fresh and keeps spiders and centipedes OUT! When guests visit, they're always commenting on how good my house smells (if they only knew why....)

2. Eucalyptus Essential Oil

Similar to peppermint essential oil, spiders and centipedes can't stand the smell of eucalyptus (neither can mosquitoes or flies for that matter!) essential oil. 

I burn this oil in an essential oil steam diffuser. Eucalyptus smells so good and compliments the peppermint aroma coming from my floorboards. 

image.jpg

Eucalyptus makes me feel like I live in a spa. Not only is the fragrance calming but it has medicinal properties. Eucalyptus is antimicrobial, antibacterial, antispasmodic, anti-inflammatory, antiseptic,  and decongestant, which means it is a natural air purifier, kills airborne germs and is also beneficial to individuals with chronic bronchitis, asthma and allergies.  

In a nutshell, you can't go wrong with eucalyptus! EVER!


3. Cayenne Pepper

Cayenne pepper is extremely irritating to insects. Heck, it's irritating to humans if it gets in our eyes and mouth. 

Spiders and centipedes will go out of their way to avoid cayenne pepper which is why it is so effective when sprinkled outside around the periphery of a house and along exterior window ledges.  

IT REALLY WORKS!!!!

Let the bugs play outdoors so you can enjoy the indoors with this winning combination of natural and organic pest control.  

All of the above mentioned remedies are safe for humans, kids and pets (cats and dogs). 

Note: If you have pet rodents stay away from the peppermint and eucalyptus essential oils because the smell will upset them. Peppermint essential oil is actually effective in driving mice out of homes as well. 

For more tips and tricks for naturally repelling pests using essential oils see my post: 3 Ways to Use Essential Oils to Get Rid of Moths

For more DIY ideas, check out my latest book Natural Beauty from the Outside In, where you’ll find 70 Ayurveda inspired hair and skin care recipes.

Luscious Lemon Cake: A Gluten Free Delight!

Now that we're pretty certain my youngest son has a gluten allergy, I've begun the great search for easy and delicious gluten free recipes.

There are a ton of gluten free recipes out there. Some are good, some not so good. Many are complicated employing a seemingly odd and difficult to attain collection of ingredients designed to mimic the chemical reaction of baking with gluten flour.

image.jpg

I'm all about simple and clean baking. I need easy, quick recipes that I can rely on again and again.

I can't stand the aftertaste of xanthan gum and I'm not a fan of most gluten free flour blends.

Almond flour -I love!

I've been experimenting with recipes that call for almond flour and am slowly amassing a collection of favorites.

This lemon cake is one of them!


Moist, tantalizingly tart, and free of processed sugar, I feel good about giving my kids this dessert and I love the expression on people's shocked faces when I tell them they're eating a sugar free, gluten free cake- WHAT?!?

It's that good my friends!

Want to try my Luscious Lemon Cake? A true gluten free delight?


Here's what you'll need:

3 large lemons

3 large eggs

3 cups Almond Flour

1 cup pure maple syrup (I prefer Grade B)

1/3 cup olive oil

1 teaspoon baking powder

1 teaspoon lemon extract

image.jpg

Here's what to do:

Preheat your oven to 325 degrees.

To start, you'll need to thoroughly wash your lemons. If there's a waxy coating on the skin, try to get that off! Place your lemons in a pot of boiling water and bring to a boil then simmer covered for about 20 minutes.

Strain your lemons and set aside to cool.

In a small bowl, whisk your eggs together until fully combined. Add your lemon extract, the olive oil and the maple syrup. Set this bowl aside.

In a large bowl, mix your almond meal and baking powder together. Add to this mixture your wet ingredients from the small bowl.

Revisiting those lemons which should be cool by now. Slice them in half, doing your best to remove any seeds before placing the halves inside a blender.  Puree your lemons until you've got a lovely lemony puree.

Add your lemon puree to your mixing bowl.

Stir until everything is uniformly combined.

Grease a 9x9 circular baking pan. For consistency, I use more olive oil.

Bake at 325 degrees F for bout 60 minutes.

Allow to cool and set about thirty minutes before removing from the pan.

Adorn with powdered sugar and lemon slices or enjoy as is.

Either way, you'll love this lemony gluten free delight!

image.jpg

Add Coconut Oil to Your Coffee If You're In Need of a Boost!

If you're a lover of coconut, then you'll go crazy over this tip! 

Add coconut oil to your coffee if you're in need of a boost! 

Coconut oil in coffee? 

I first discovered coconut oil coffee when I was living in Brooklyn. Before hopping on the C train at Franklin Ave. I'd pop into Daily Press Cafe. One day, I noticed a coconut oil infused espresso on the menu, I gave it a try. The coconut oil gave my drink a smooth aromatic coconut flavor.  

The next day I tried the coconut oil coffee- I was hooked! 

Not only is coconut oil in coffee absolutely and undeniably yummy, it provides a bunch of health benefits and boosts! 

Adding a heaping teaspoon of organic unrefined coconut oil to your morning cup of coffee:

  •  Boosts metabolism  because the healthy fat from coconut oil is converted directly to fuel which also boosts energy!
  • Boosts the immune system. Coconut oil is naturally anti microbial protecting you from illnesses and germs. If you've been a reader for a while, you know how much I love to use coconut oil in the bath and body products I make, it's for this same reason!

You've got to give it a try! Add a heaping teaspoon of coconut oil to your next cup of coffee.

You may also want to try adding a pinch of cinnamon or a hint of vanilla extract- the results are blissful! 


image.jpg

Cheers! 

Pickled Beets! This Recipe is Simple and Unfailingly Delicious!

Picked Beets! This Recipe is Simple and Unfailingly Delicious! I promise you! Pickled Beets I I think beets are beautiful!

There's something so grounding and appealing about that deep purple bulbous base, the way the greens sprout lavishly, red veined and glossy, brandishing nutrients and vitality.

Beets are spring and renewal and rebirth and sunshine!

Beets my friends, are simply divine!

Beets are also ridiculously healthy!

Considered to be a super food, every inch of the beet is edible. The greens make a great salad or can be sauteed like spinach. When it comes to the beet itself... there's no end to its uses.

Beets are full of potassium, magnesium, fiber, iron, phosphorus, vitamins A, B and C.

Consuming beets regularly results in a natural liver and blood cleanse.

Beets were even considered to be a powerful aphrodisiac by the ancient Romans...(wink, wink....)

One of my favorite ways to eat beets is to pickle them!

Here's what you'll need:

Beets

Himalayan Sea Salt

Raw Honey

Here's what to do:

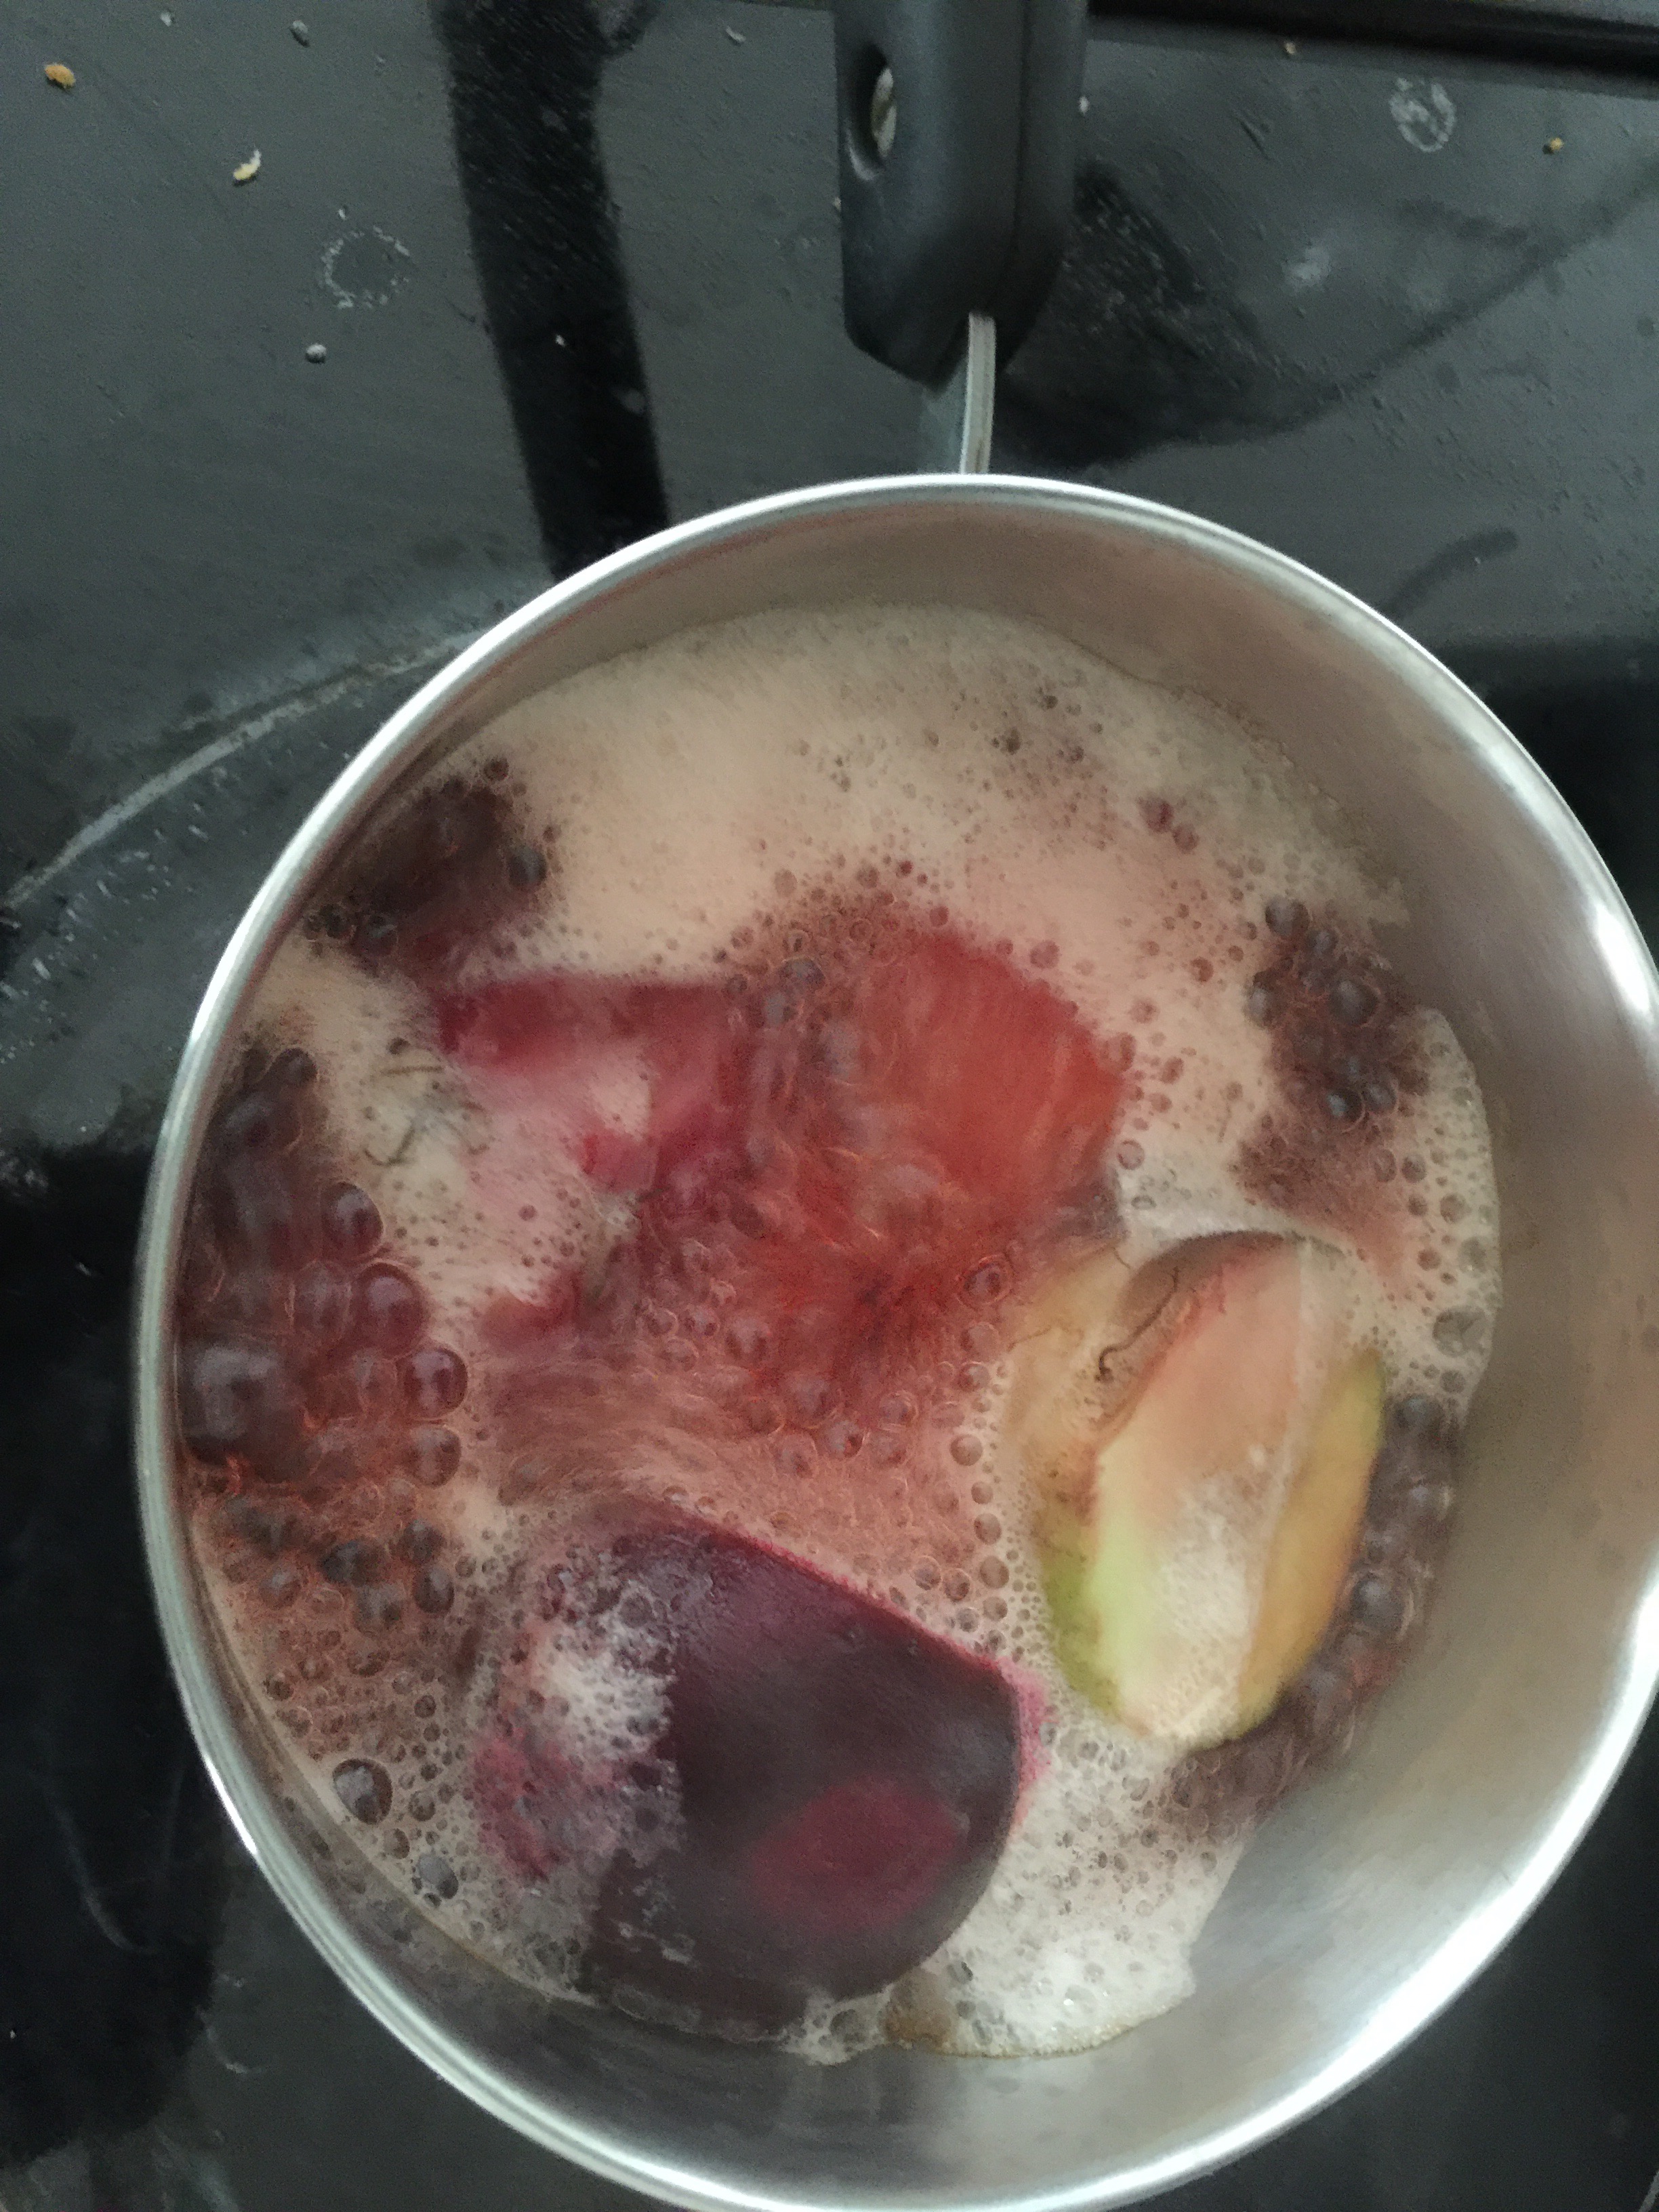
Place your beets in a pot of boiling water. Use as many beets as you think will fit inside your jar of choice. I usually use three beets to fill my 6 ounce mason jar.

After ten minutes, reduce your boil to a simmer. Simmer for fifteen minutes.

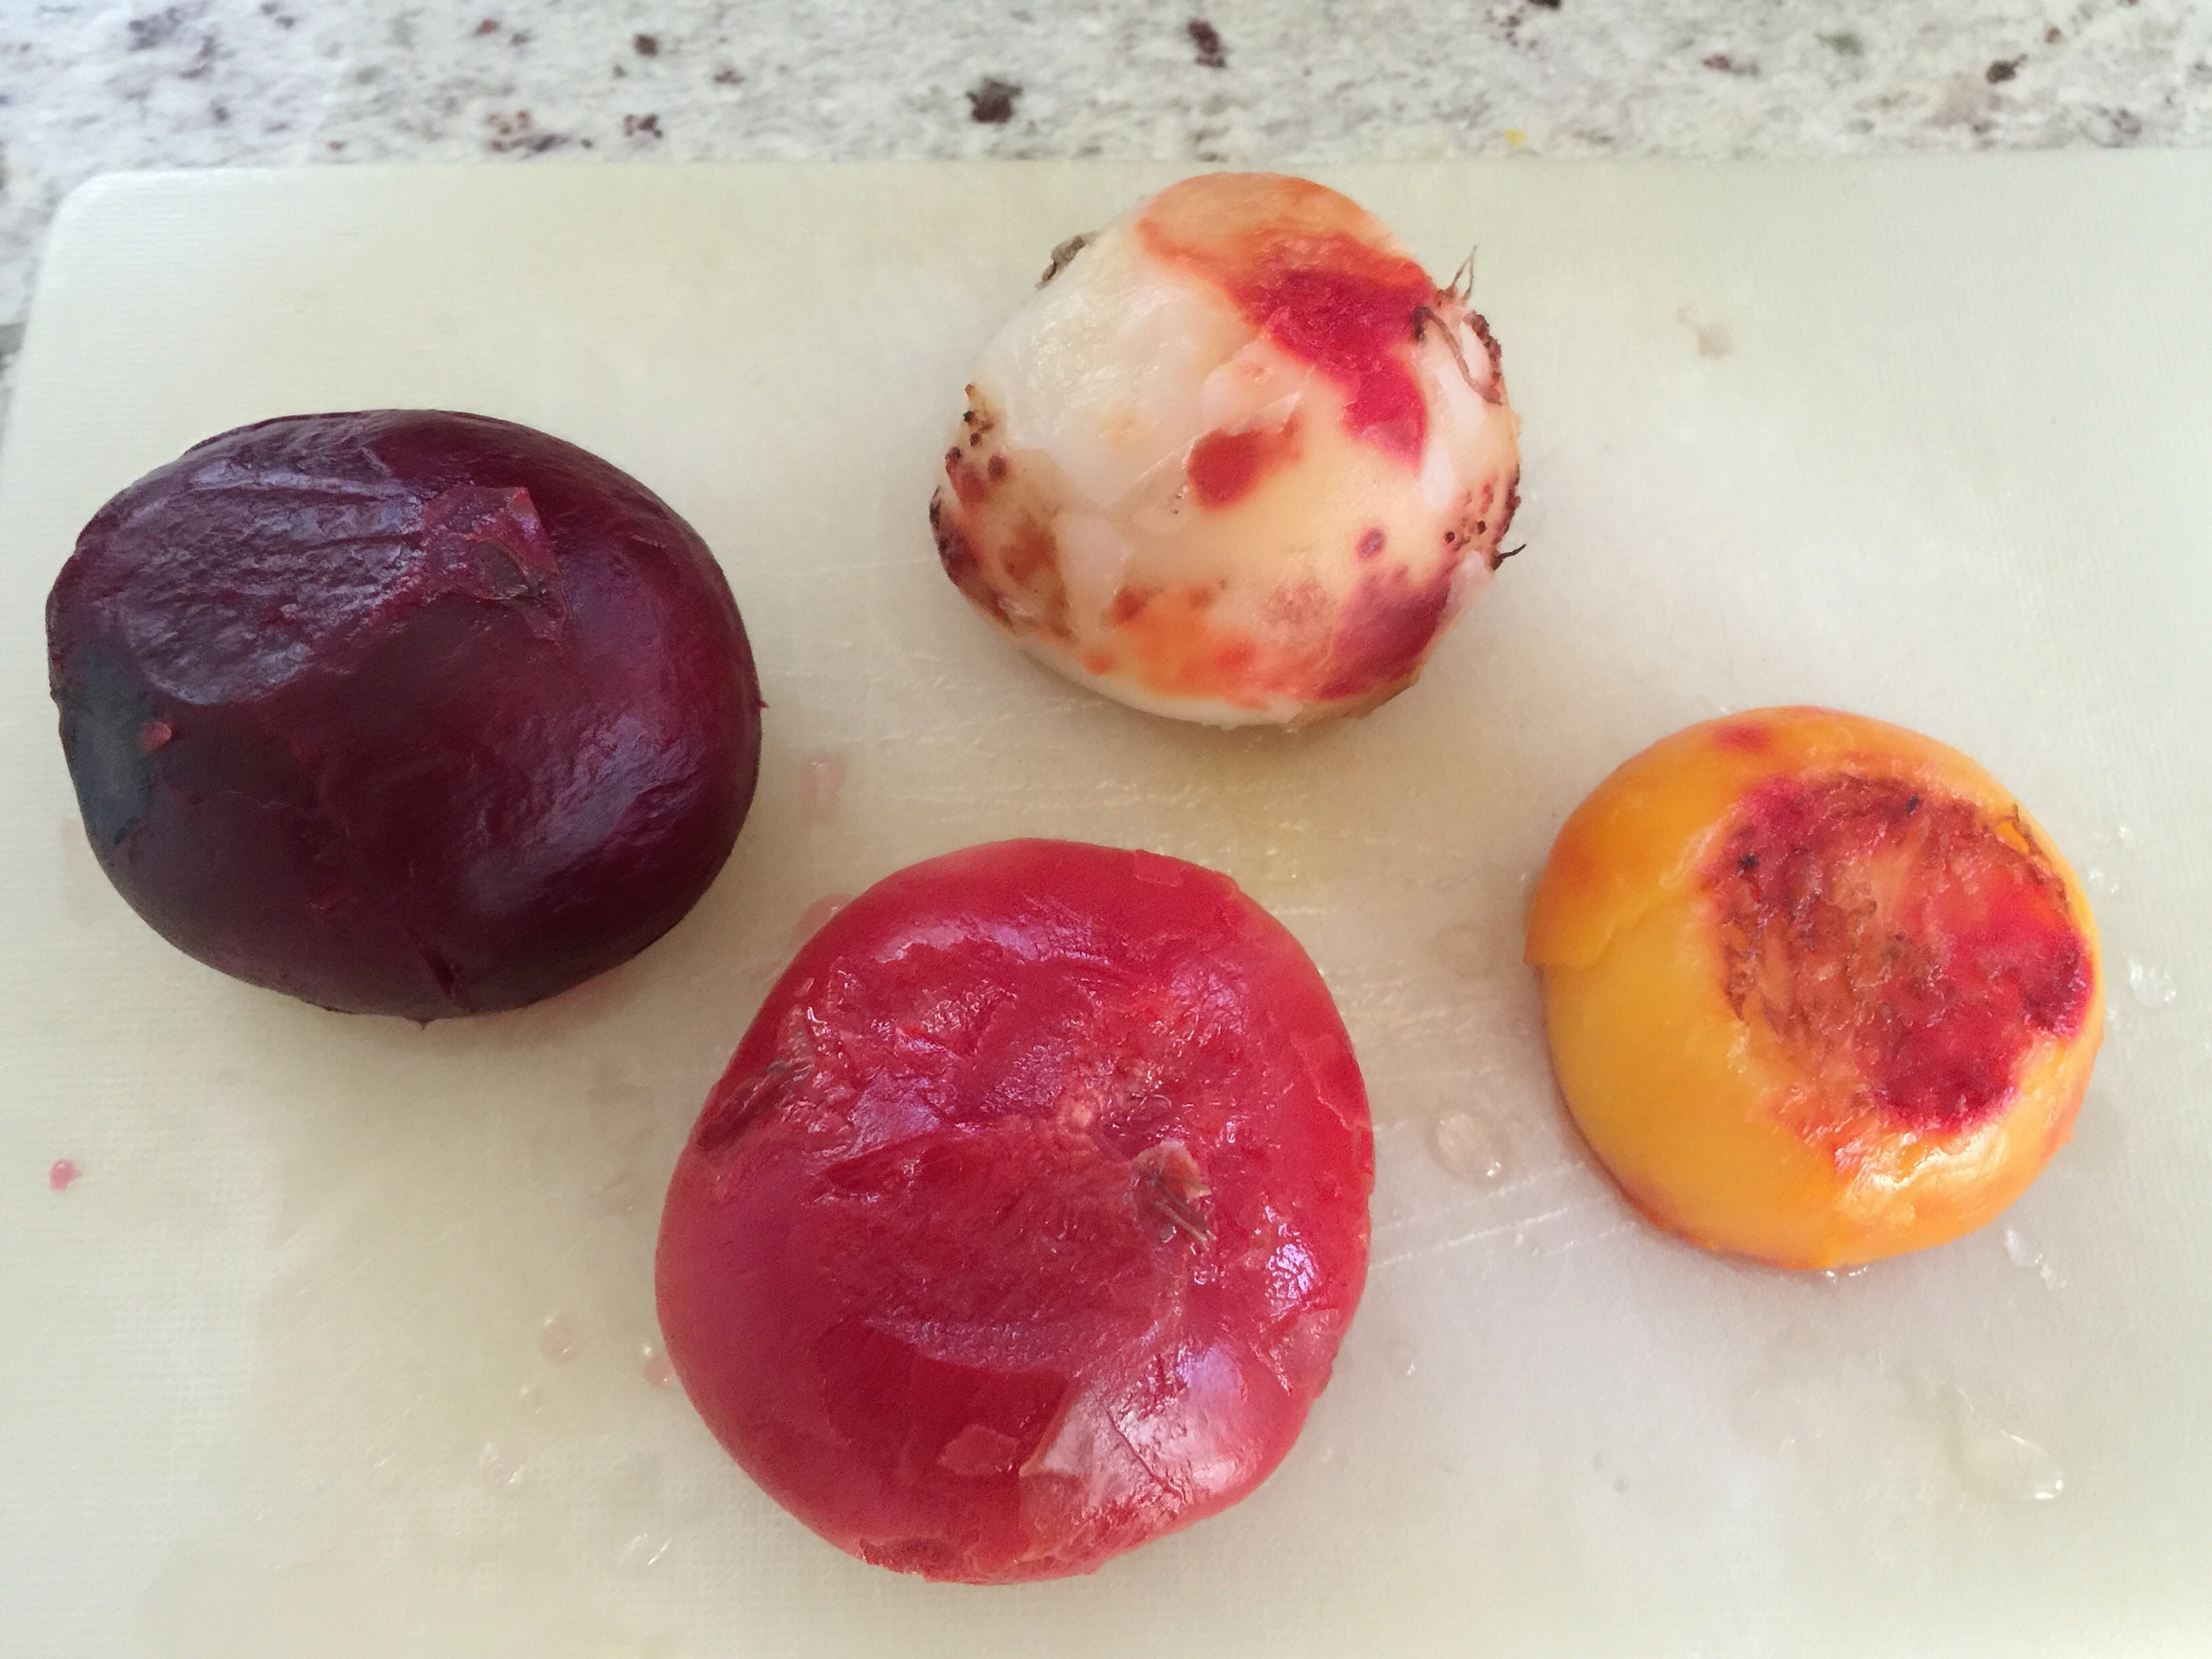
Rinse your beets in a bowl of ice cold water. The skin will rub off easily at this point.

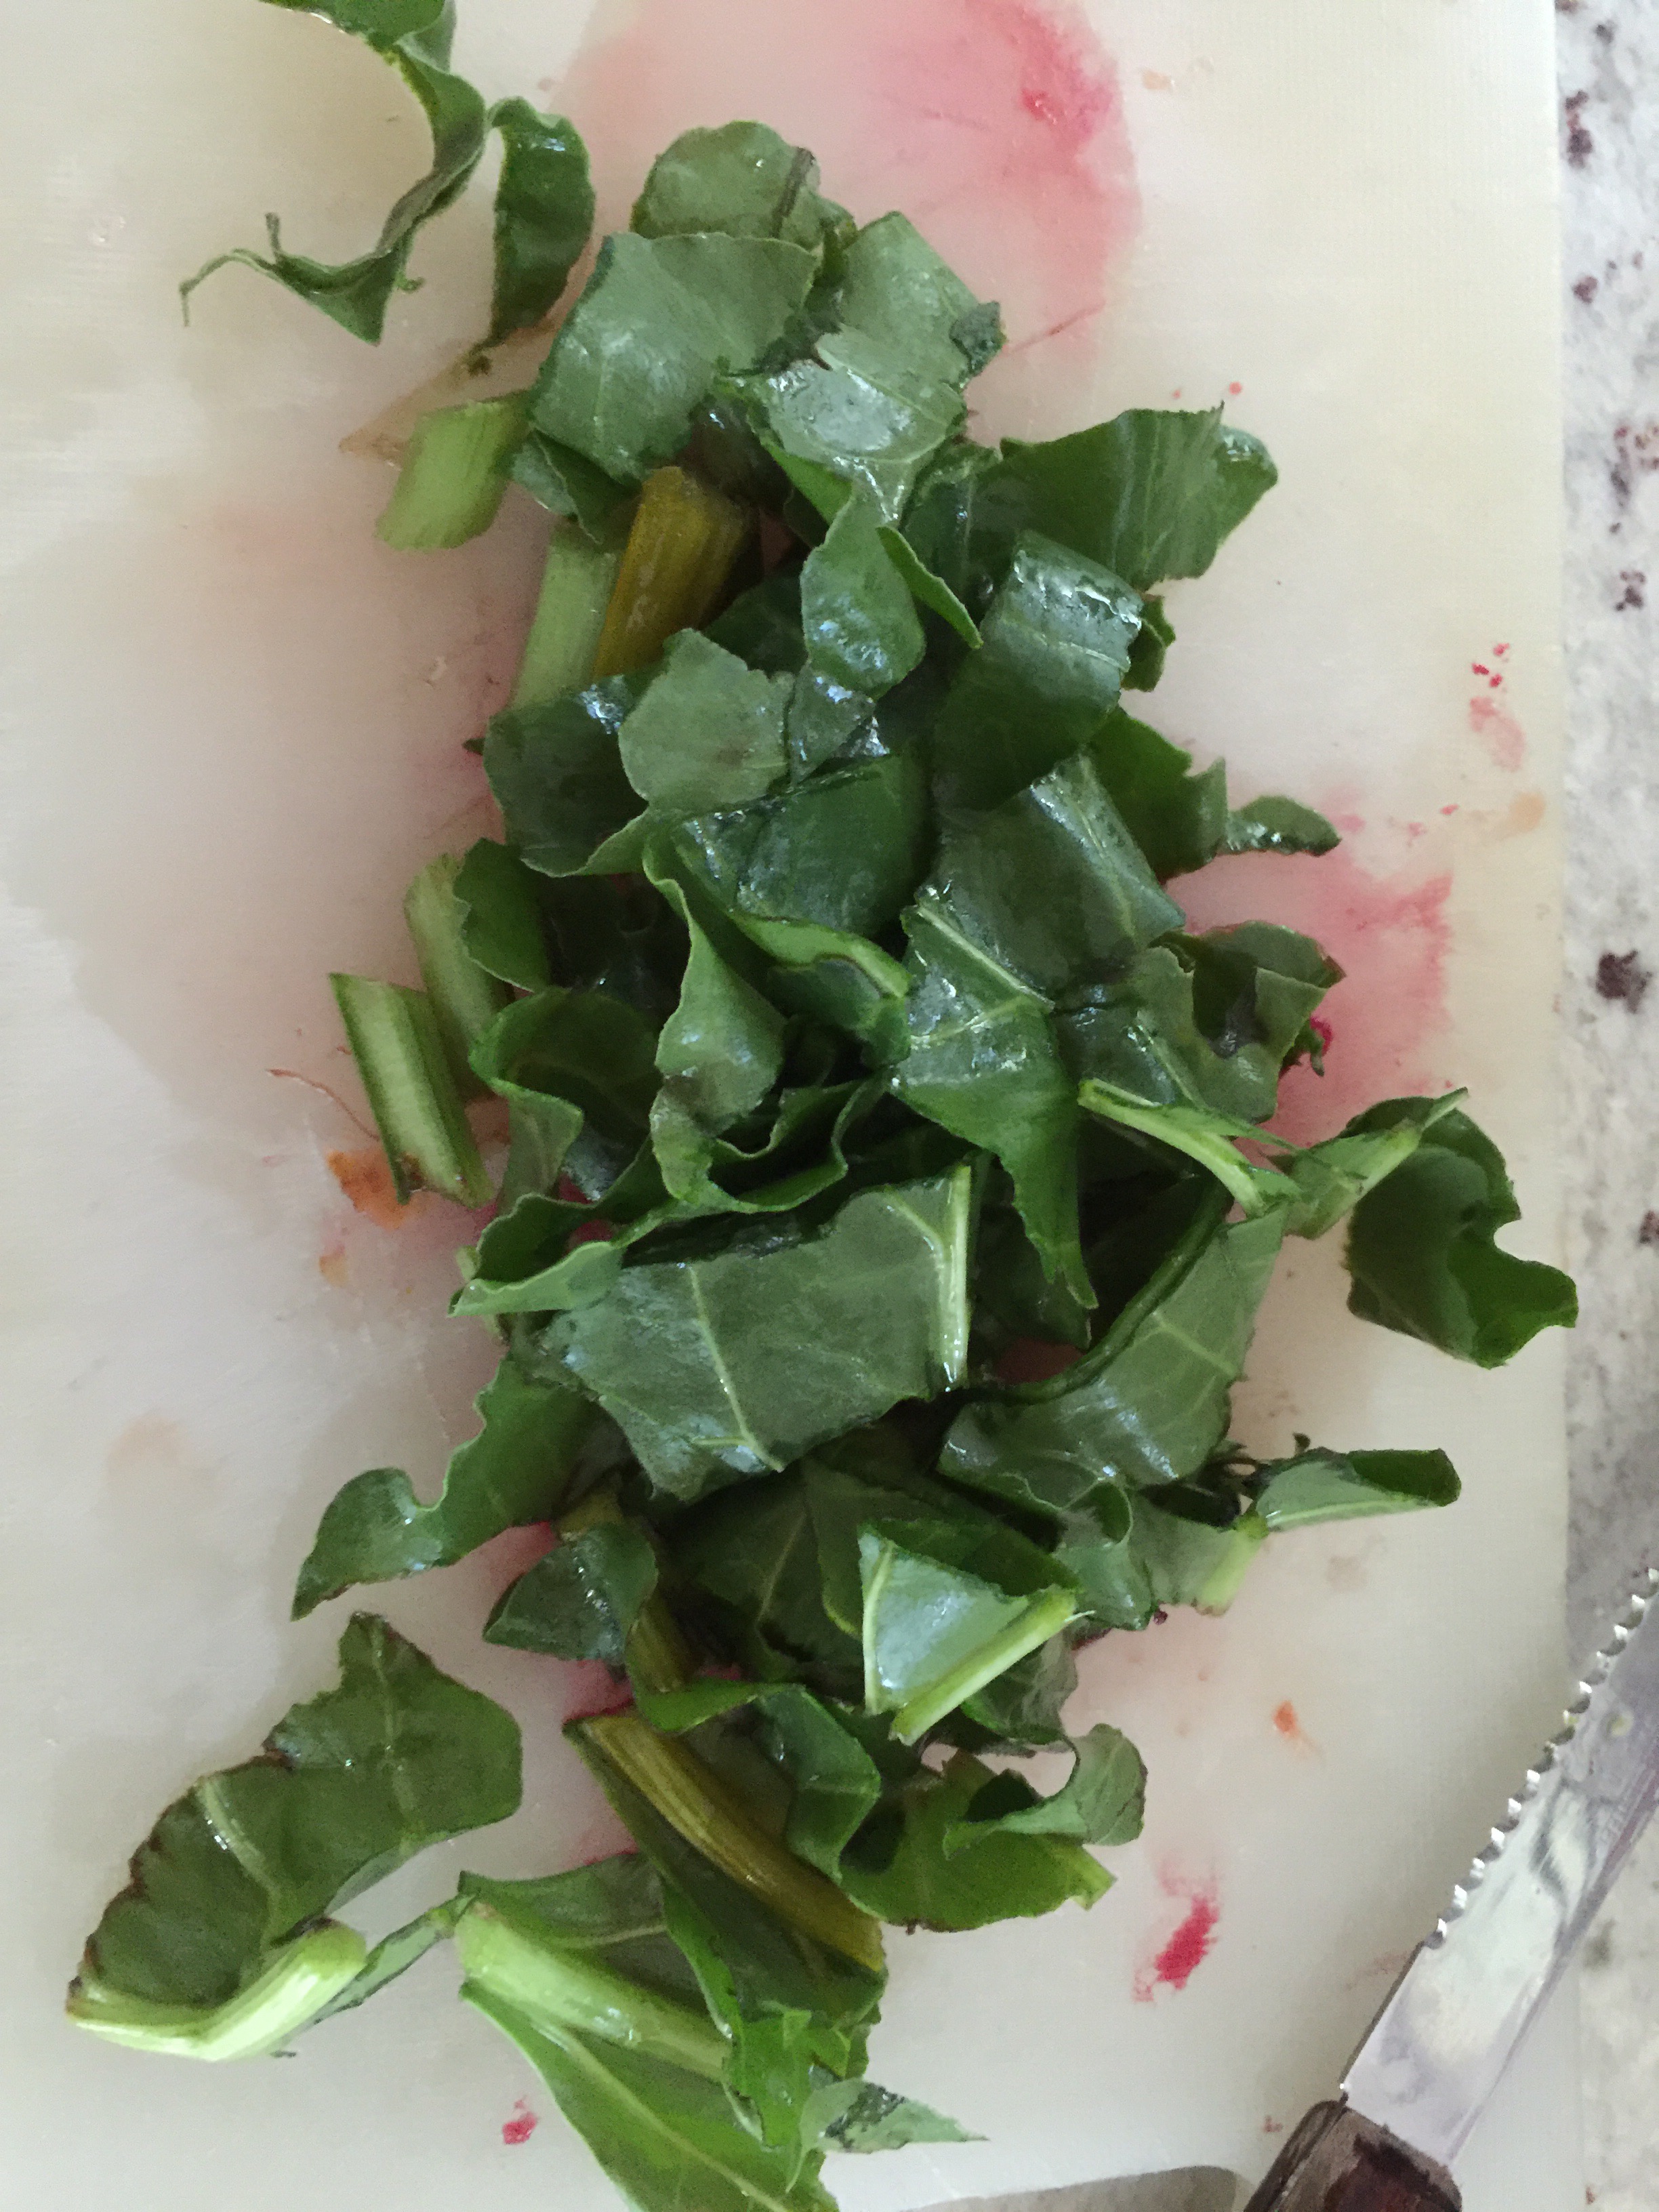
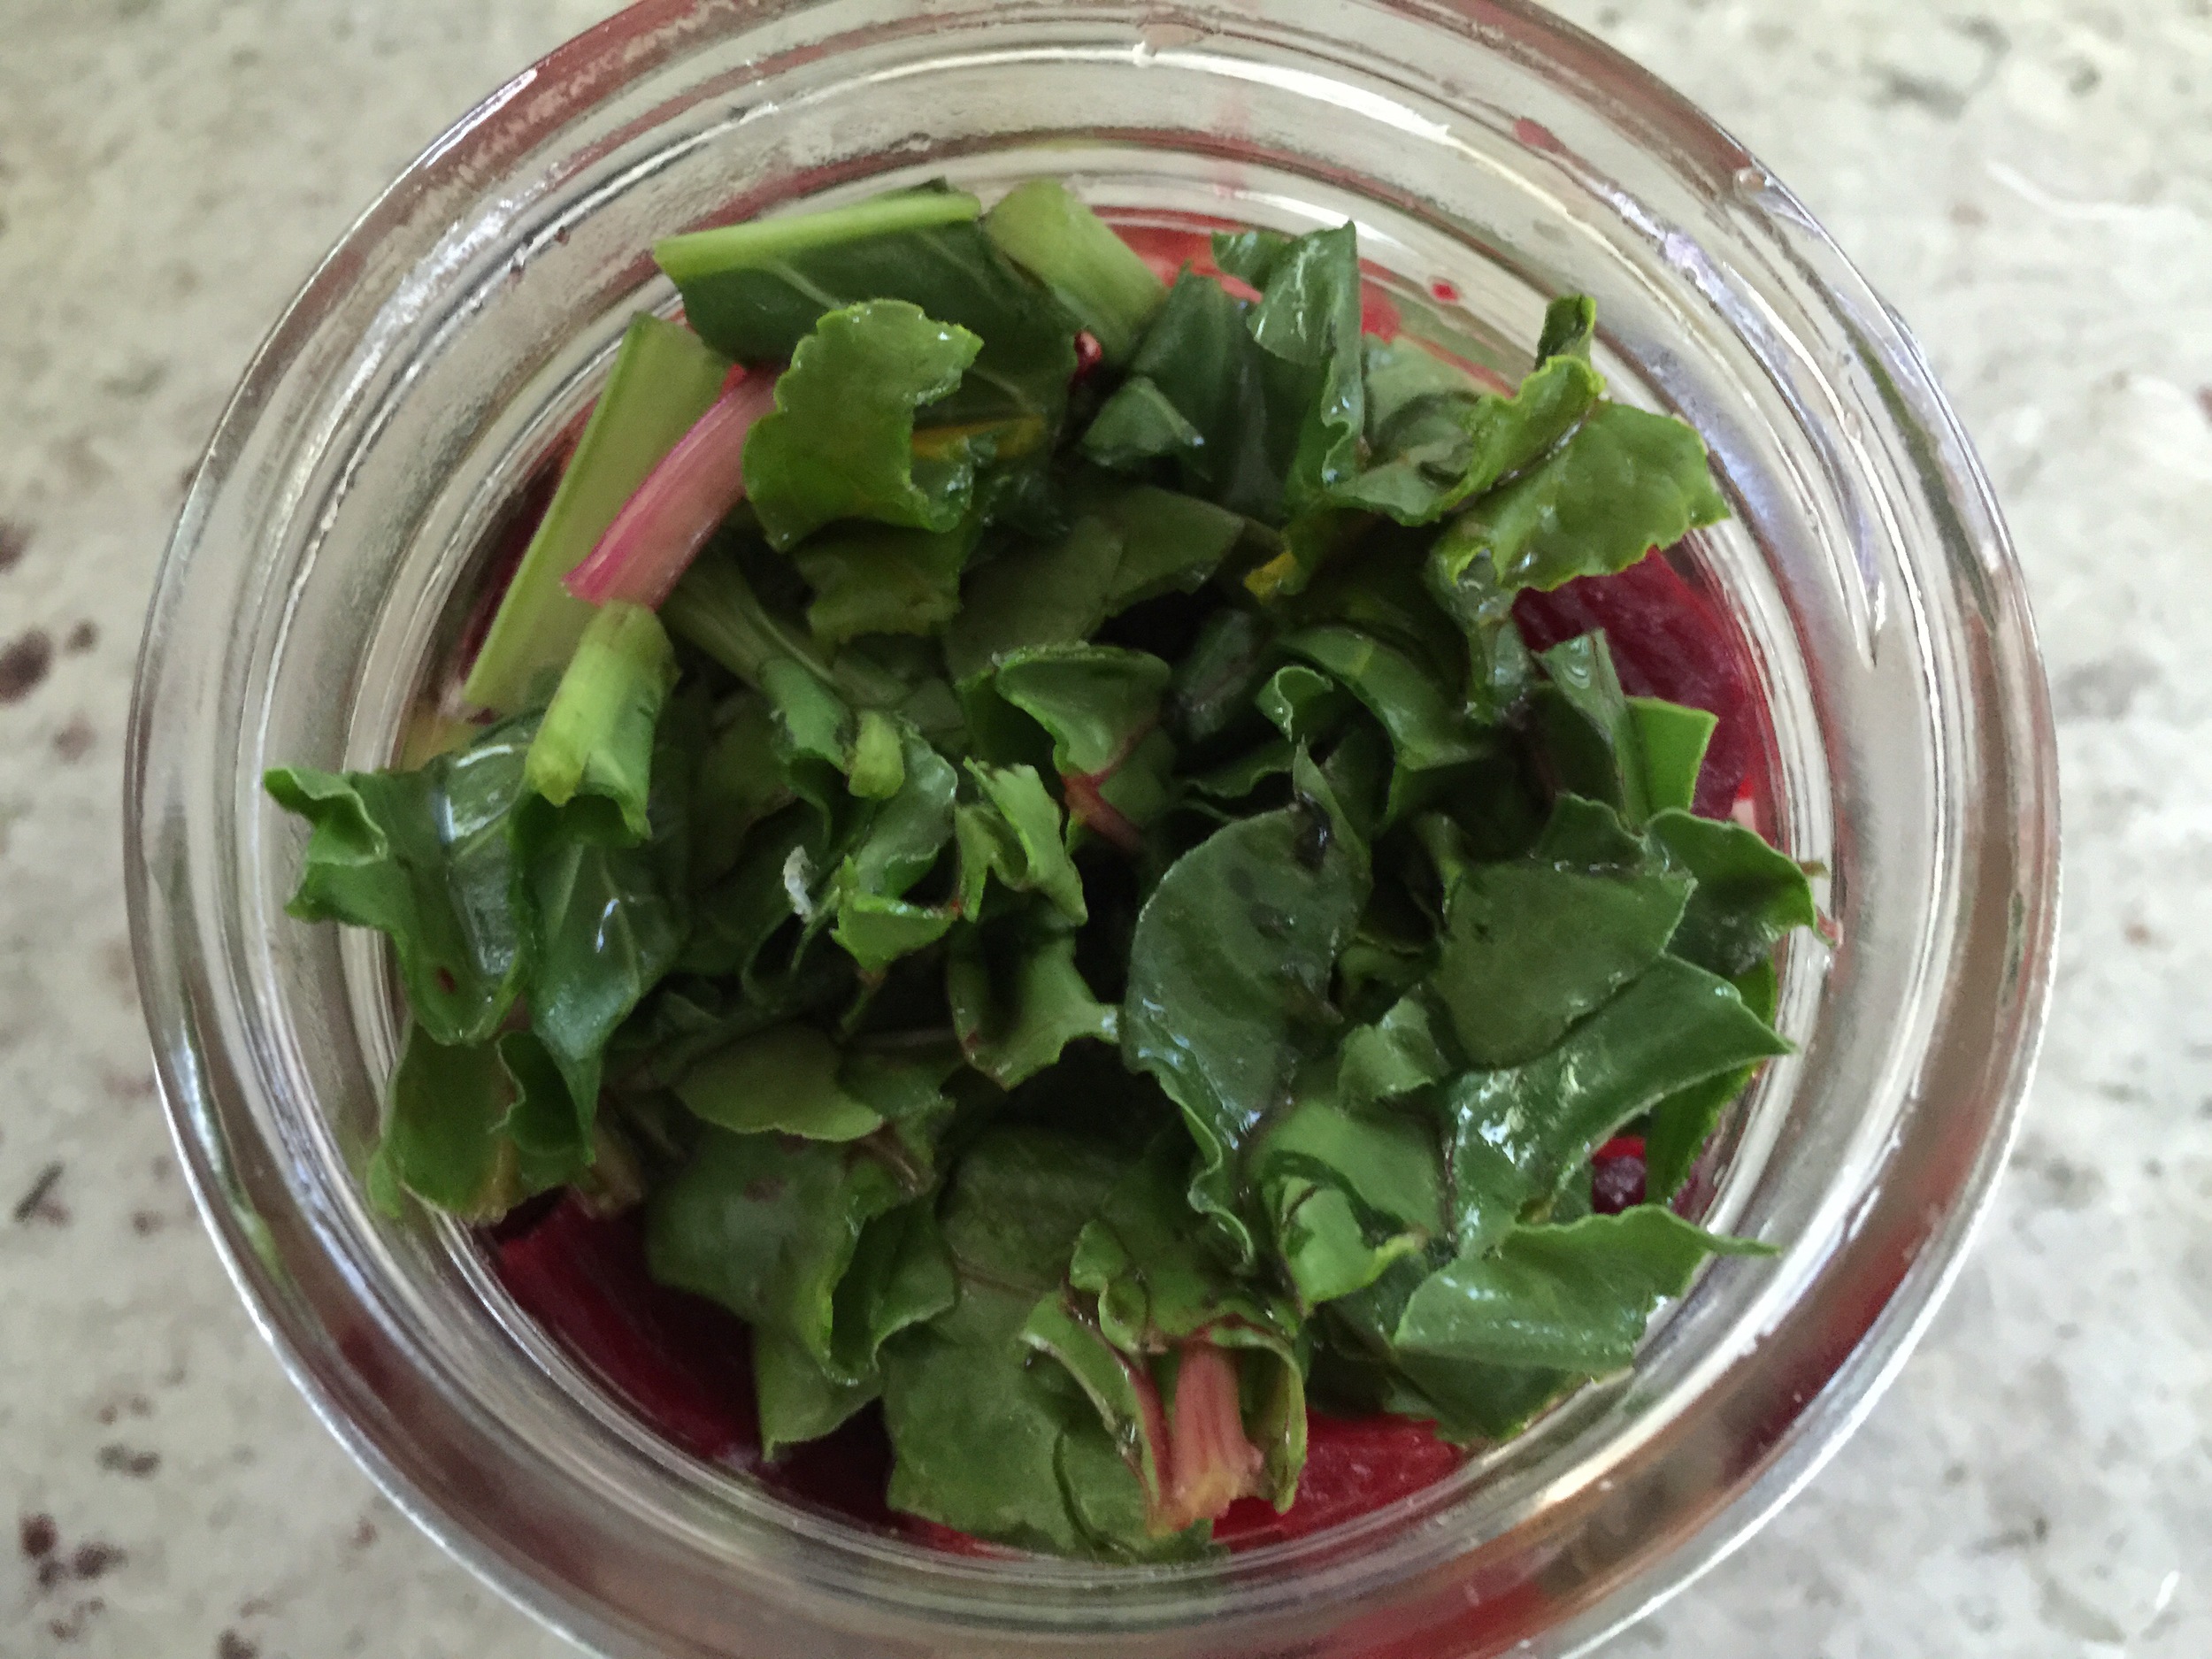
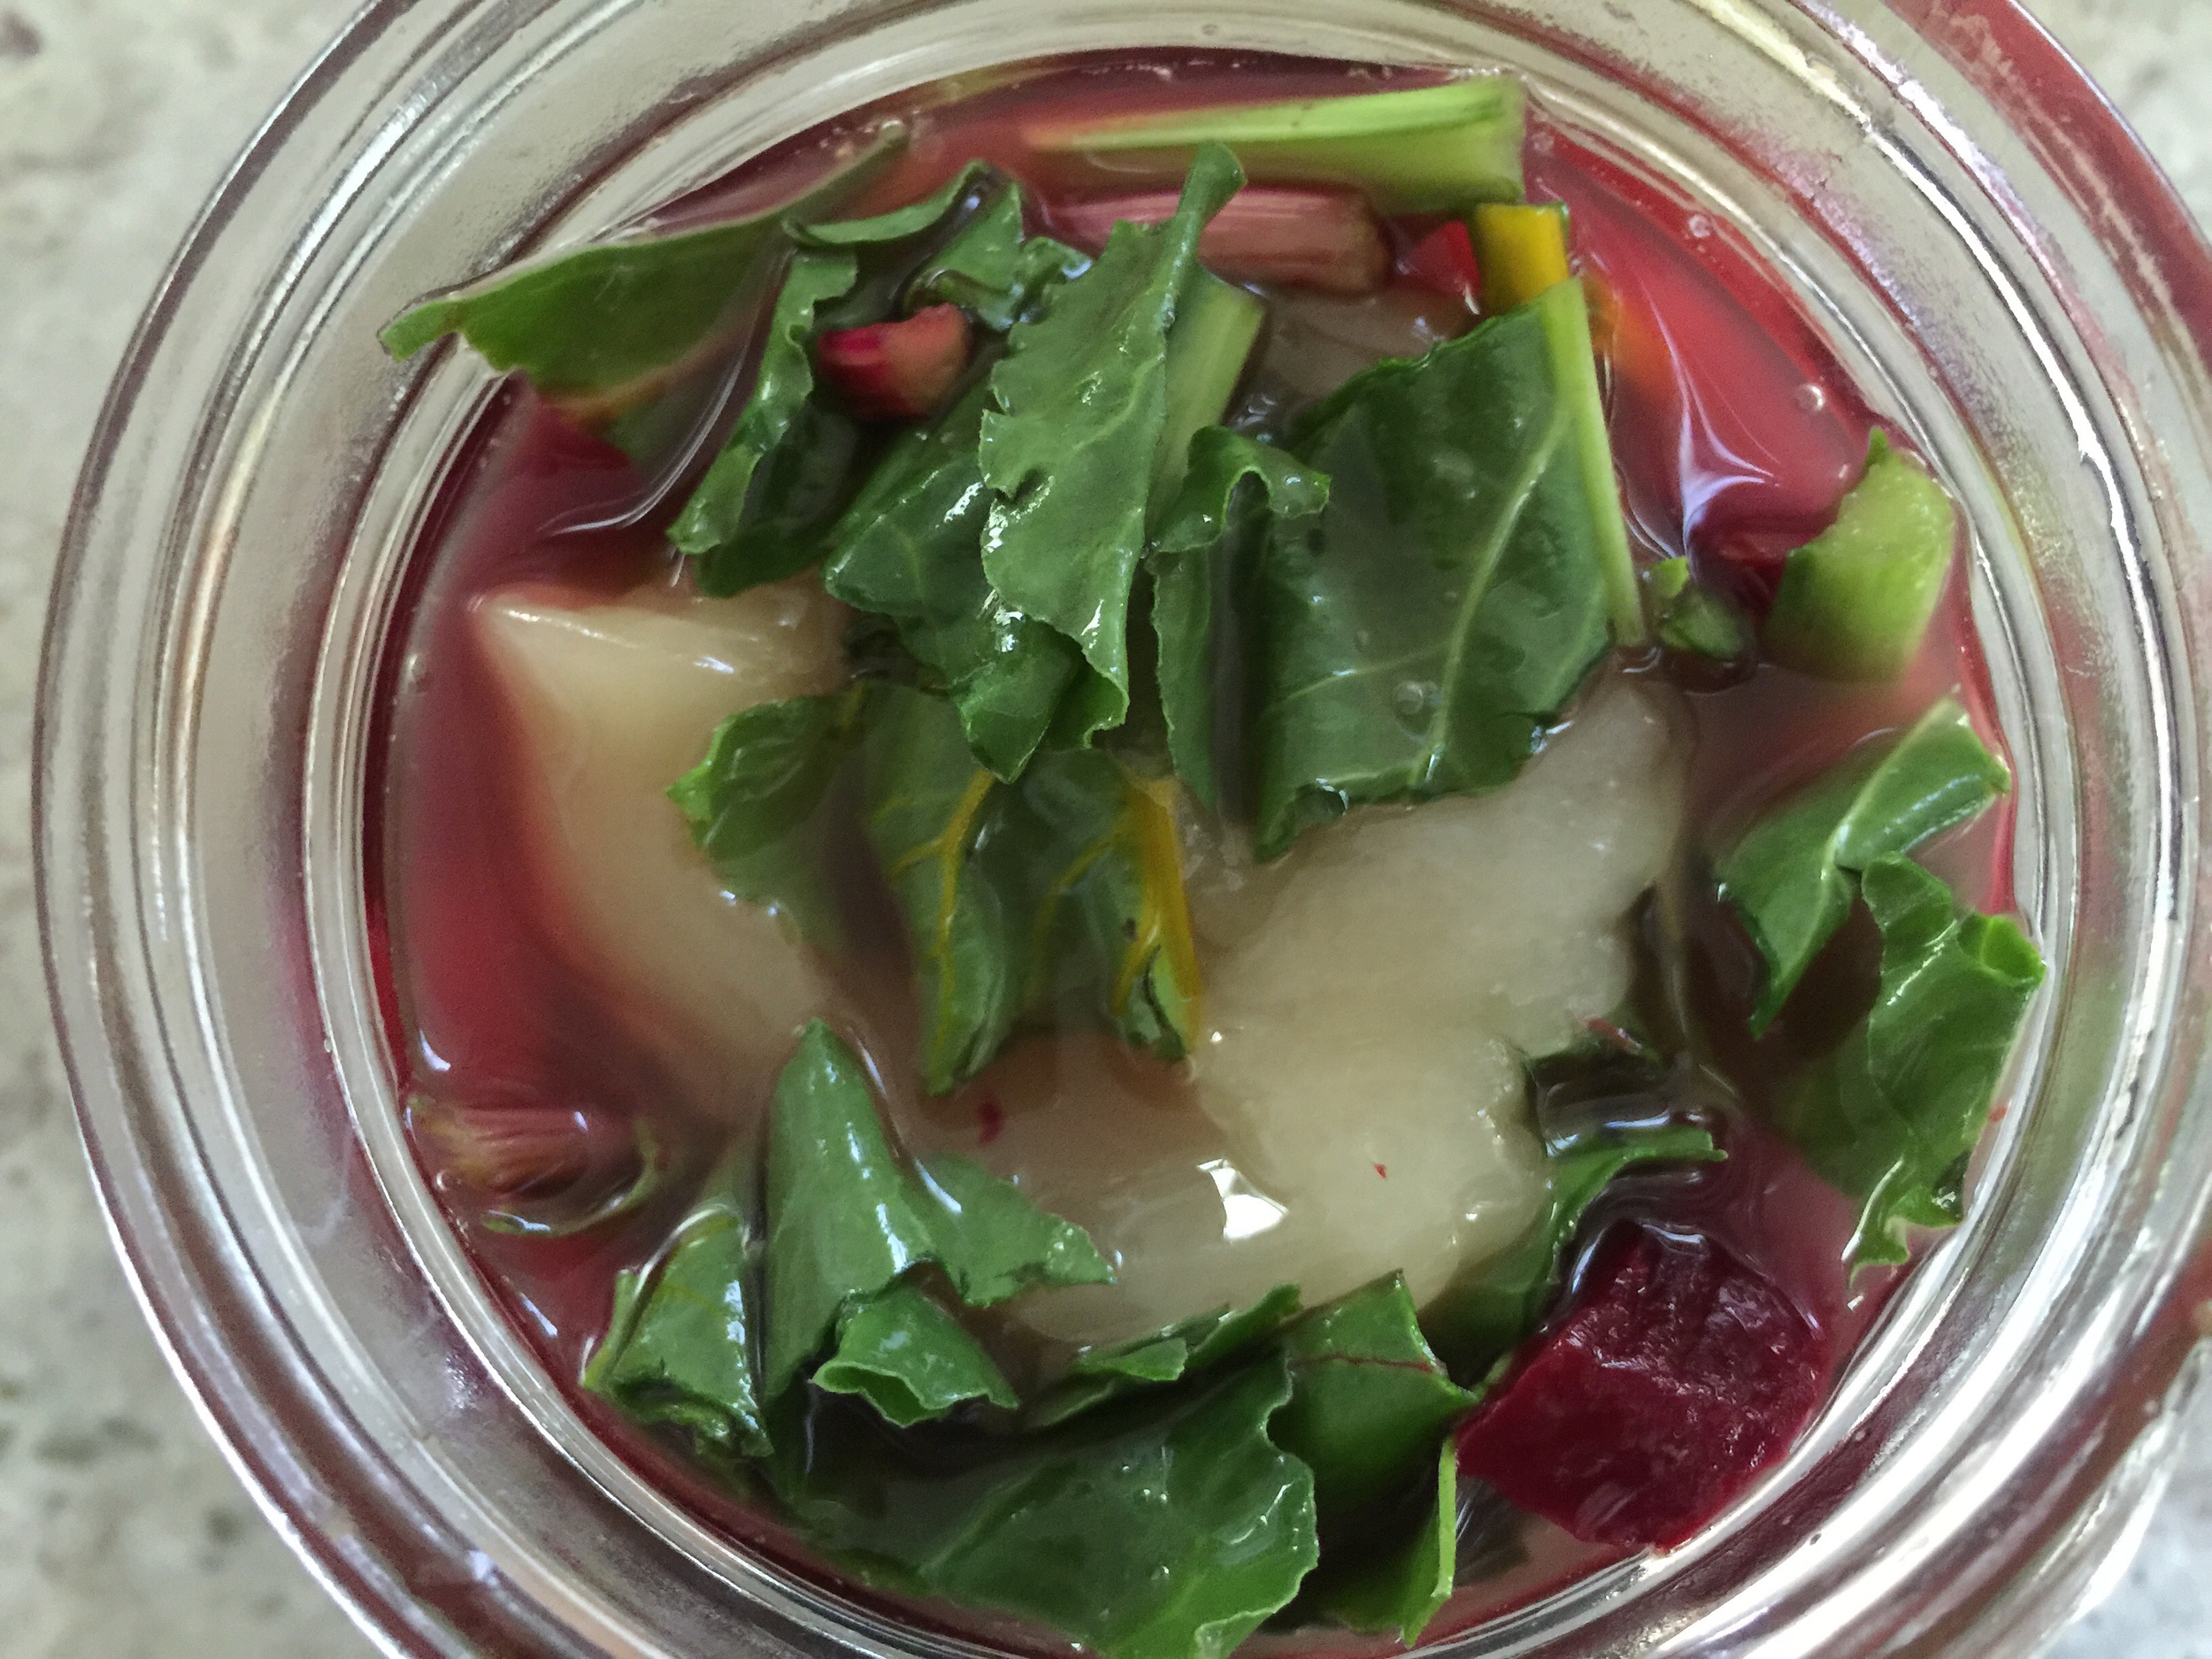
Once you've removed the skin, chop your beets into cubes. I always include some of the greens and the stalks.

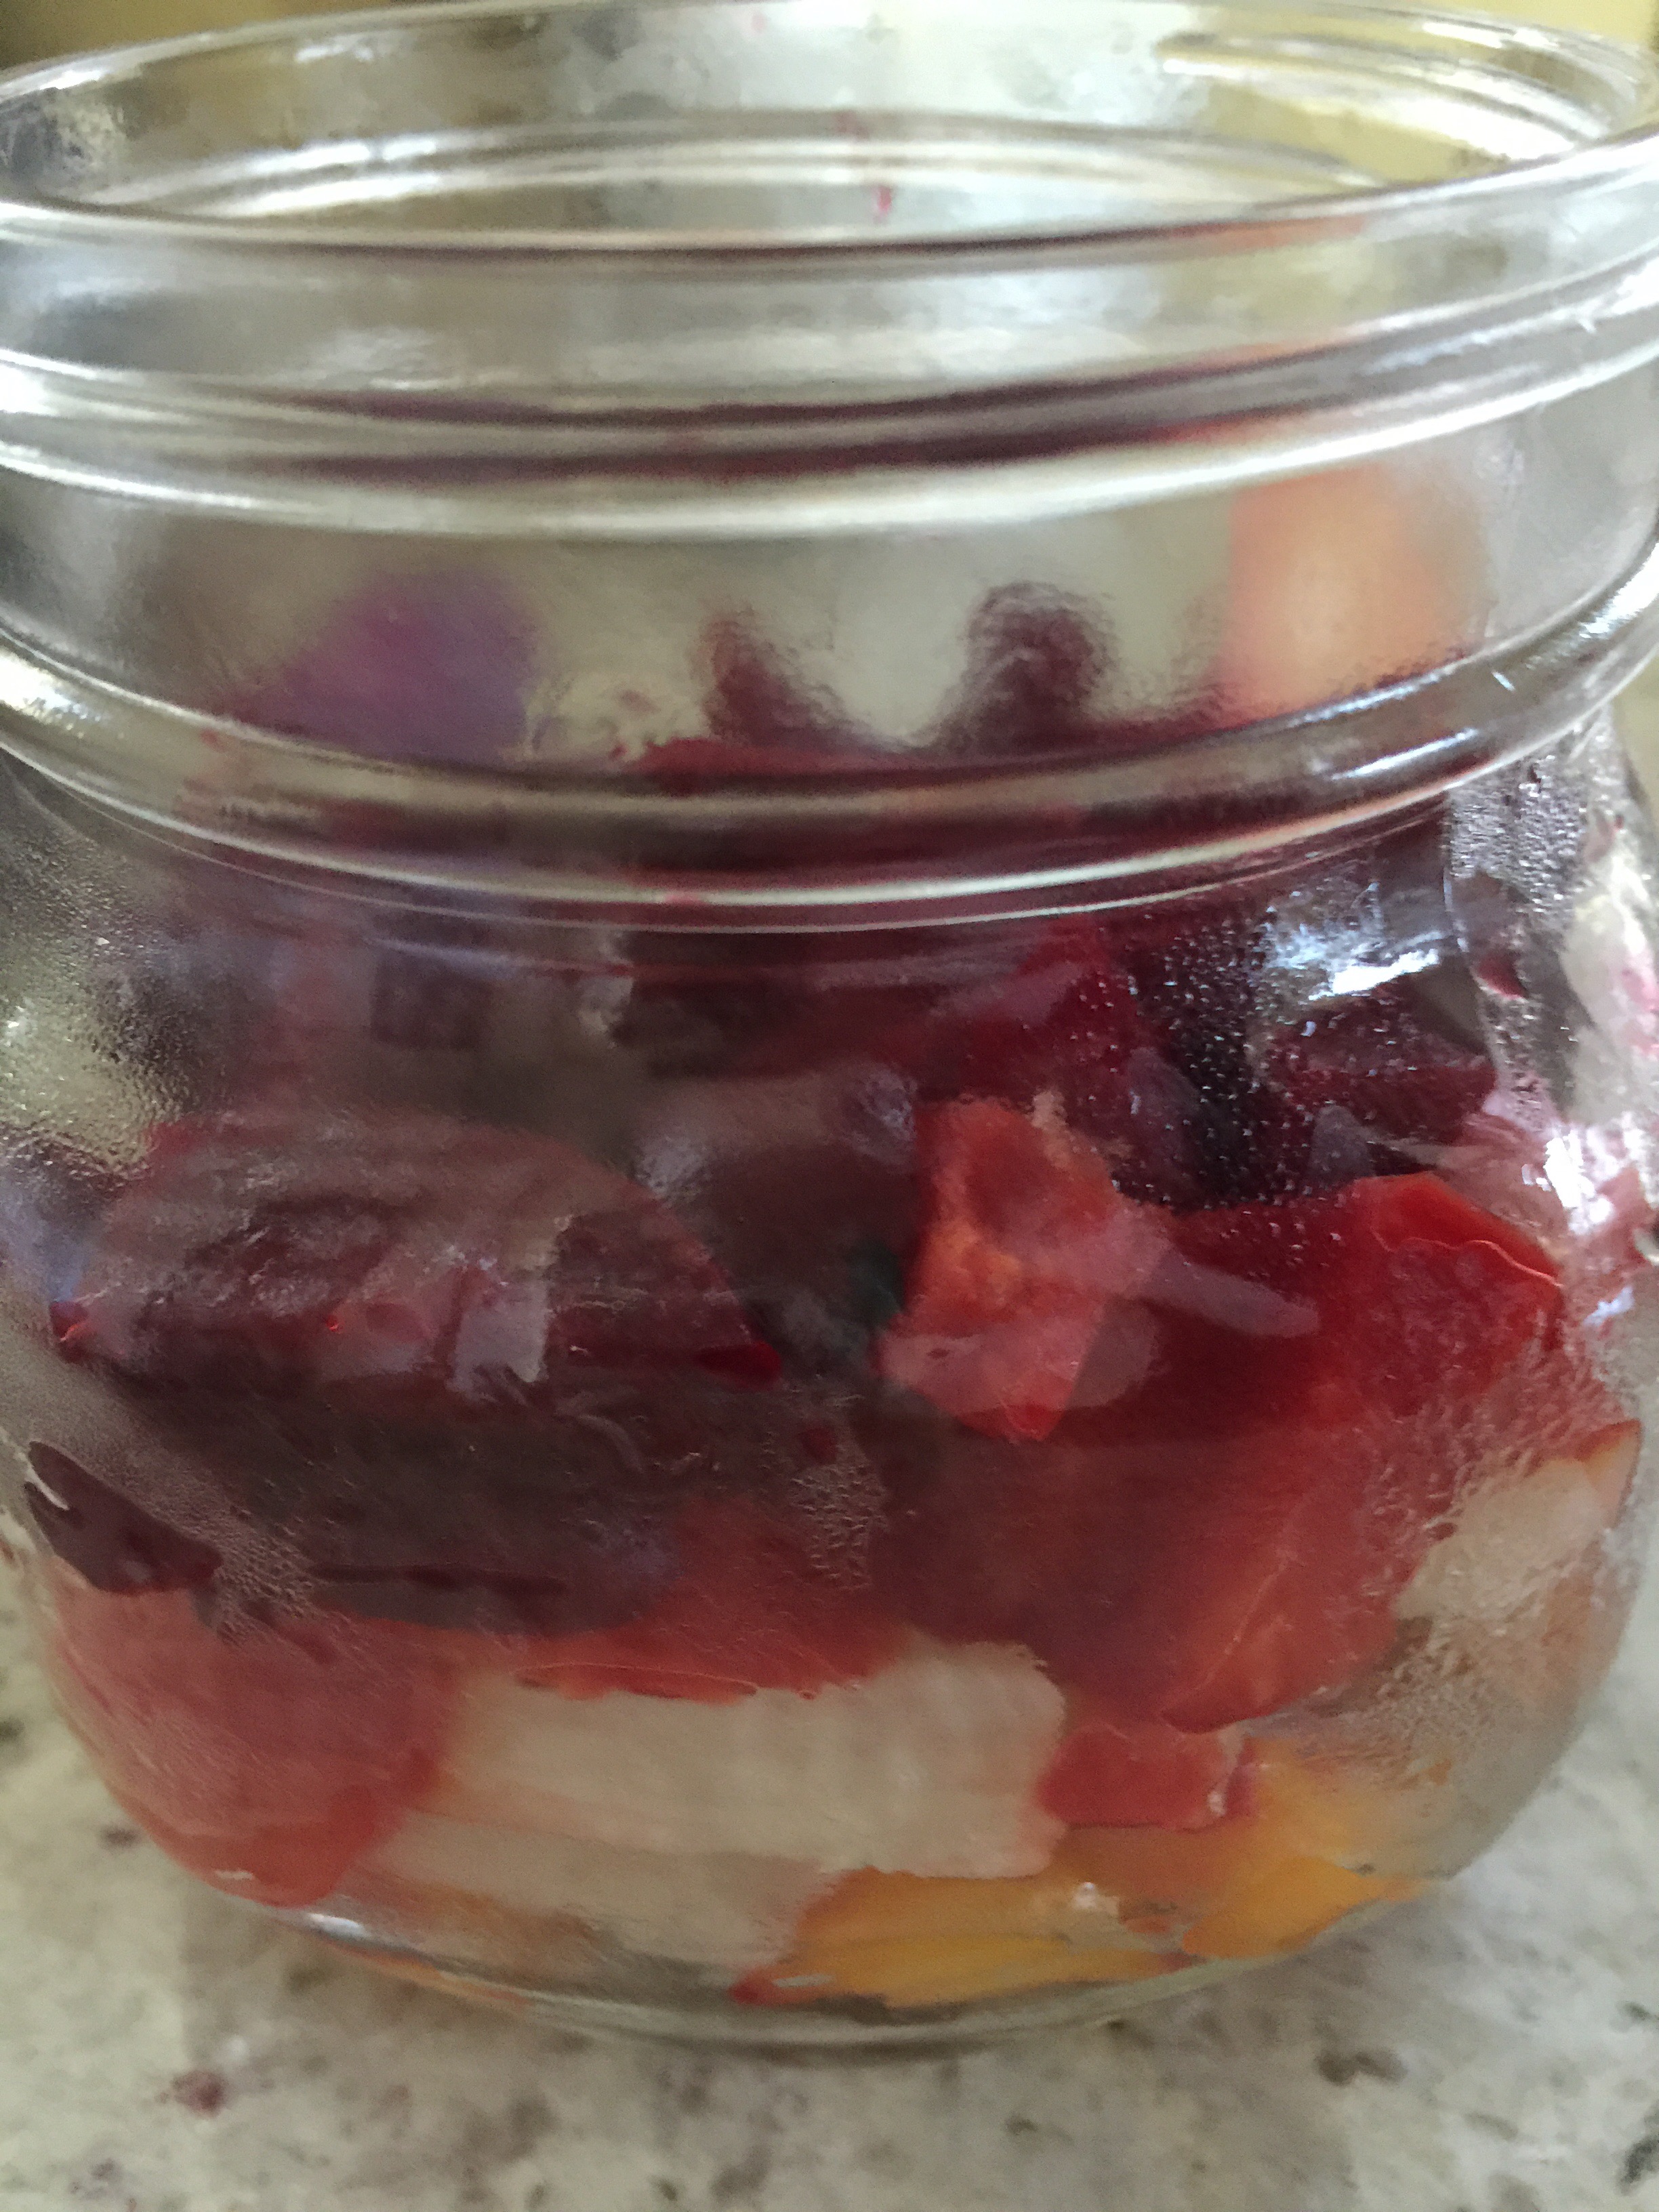
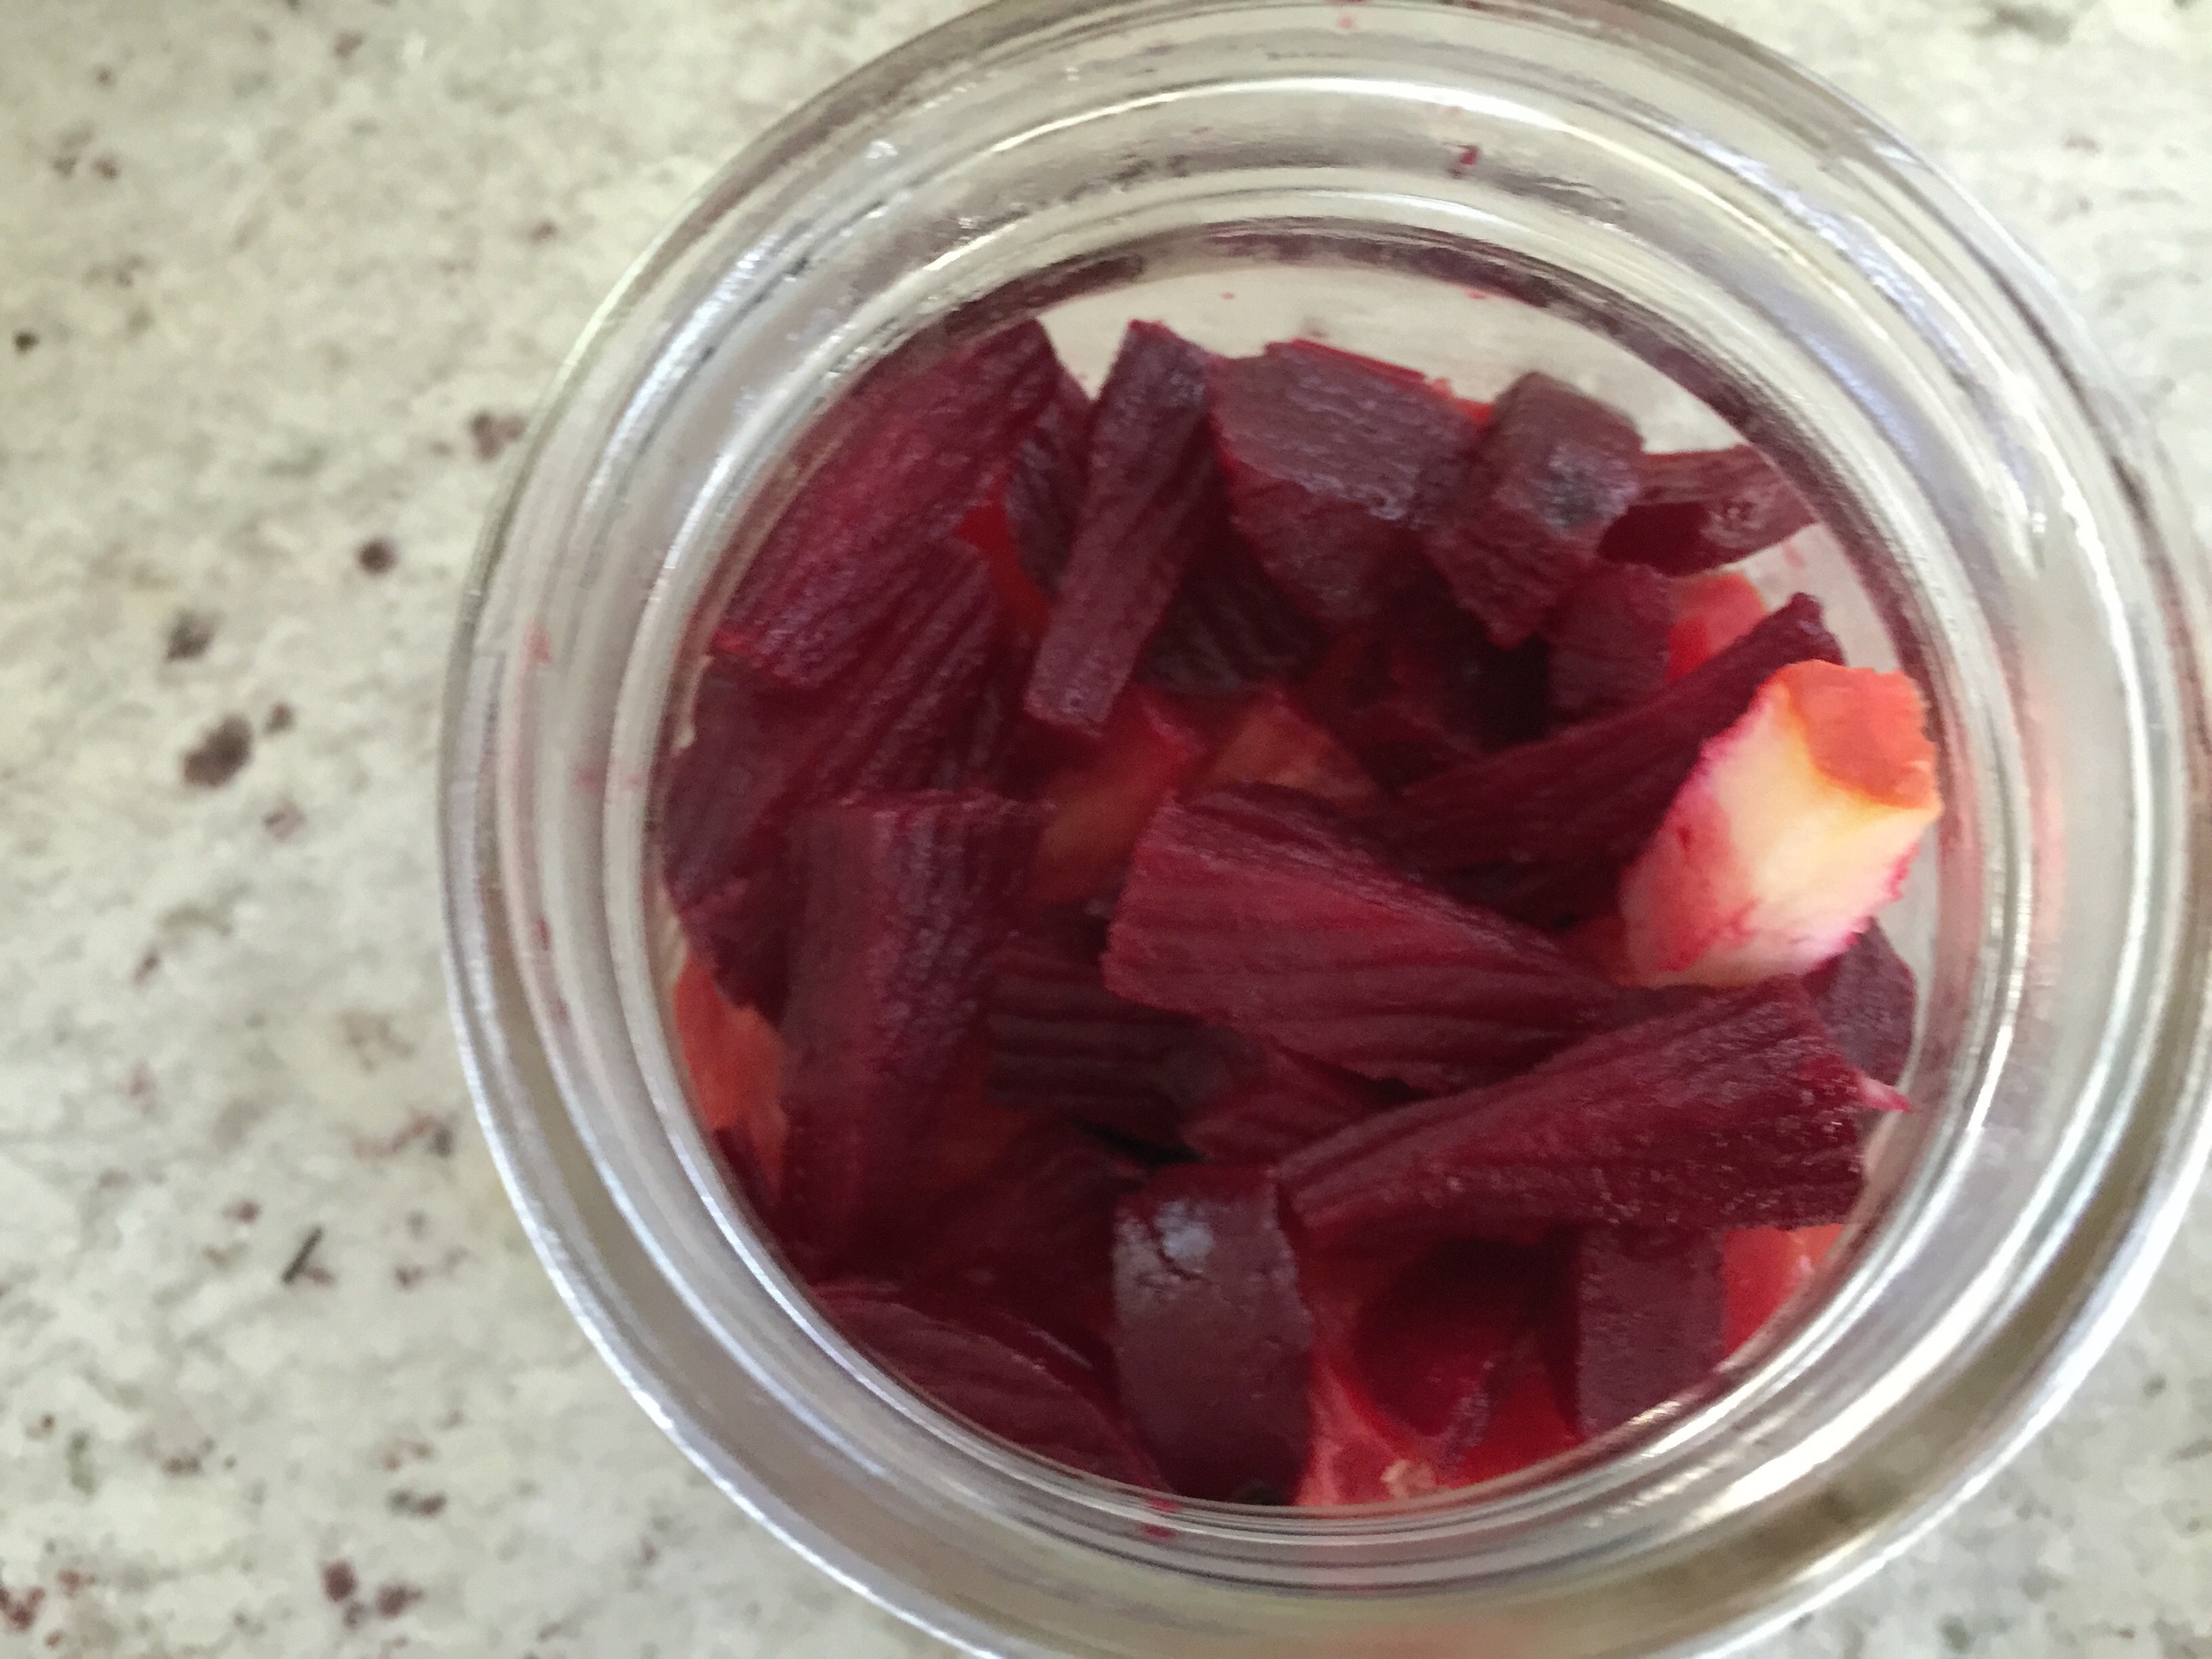
Place your beets into your mason jar or jars (depending upon how many batches you intend to make). You'll want to fill the glass about 75% to the top.

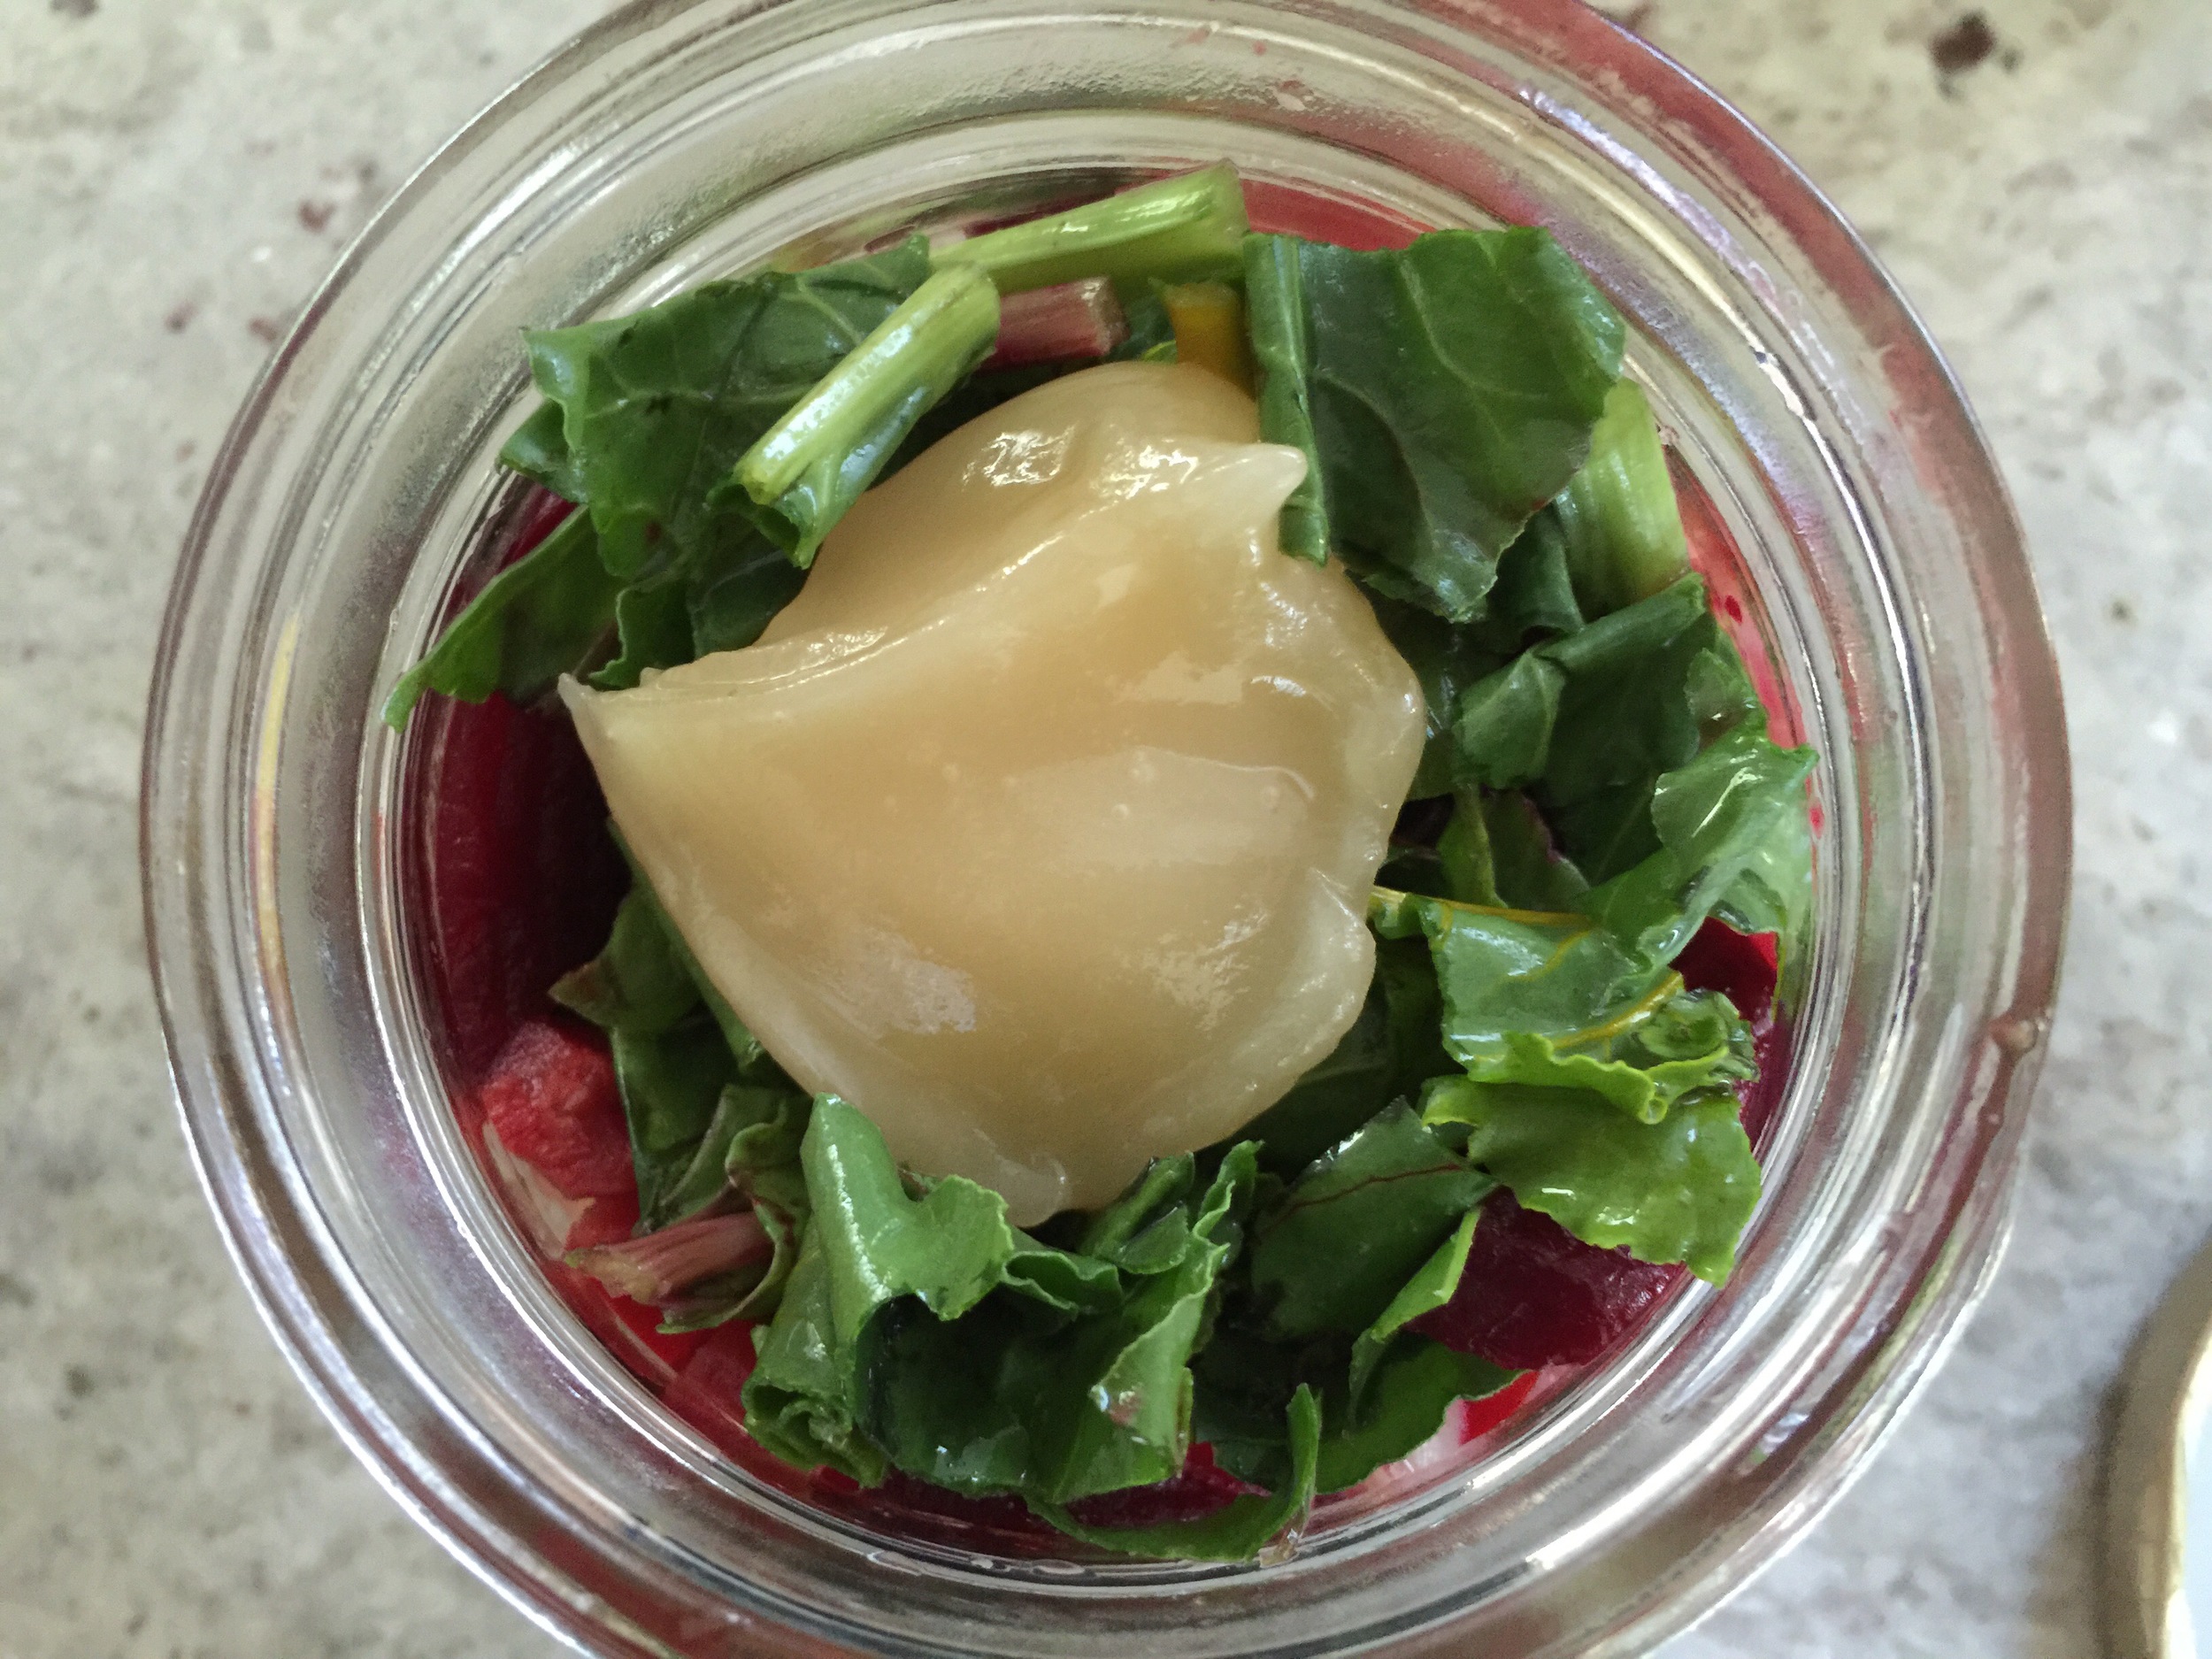
For a 6 ounce jar, I add 1/2 teaspoon of salt, and 1 teaspoon of raw honey before pouring my apple cider vinegar over the beets until I've reached the top of the jar. Affixing my metal lid and ring, I shake the beet concoction vigorously  to combine all of the ingredients and I store in the refrigerator.

The beets will last about ten days in the refrigerator.

Pickled beets go well with:

salad (makes a great topper)

hot dogs (pile on top like sauerkraut)

quinoa or rice

Pickled beets also make an amazing stand alone dish. Consume them prior to eating your meal to stimulate digestion. Think chutney or kimchi.

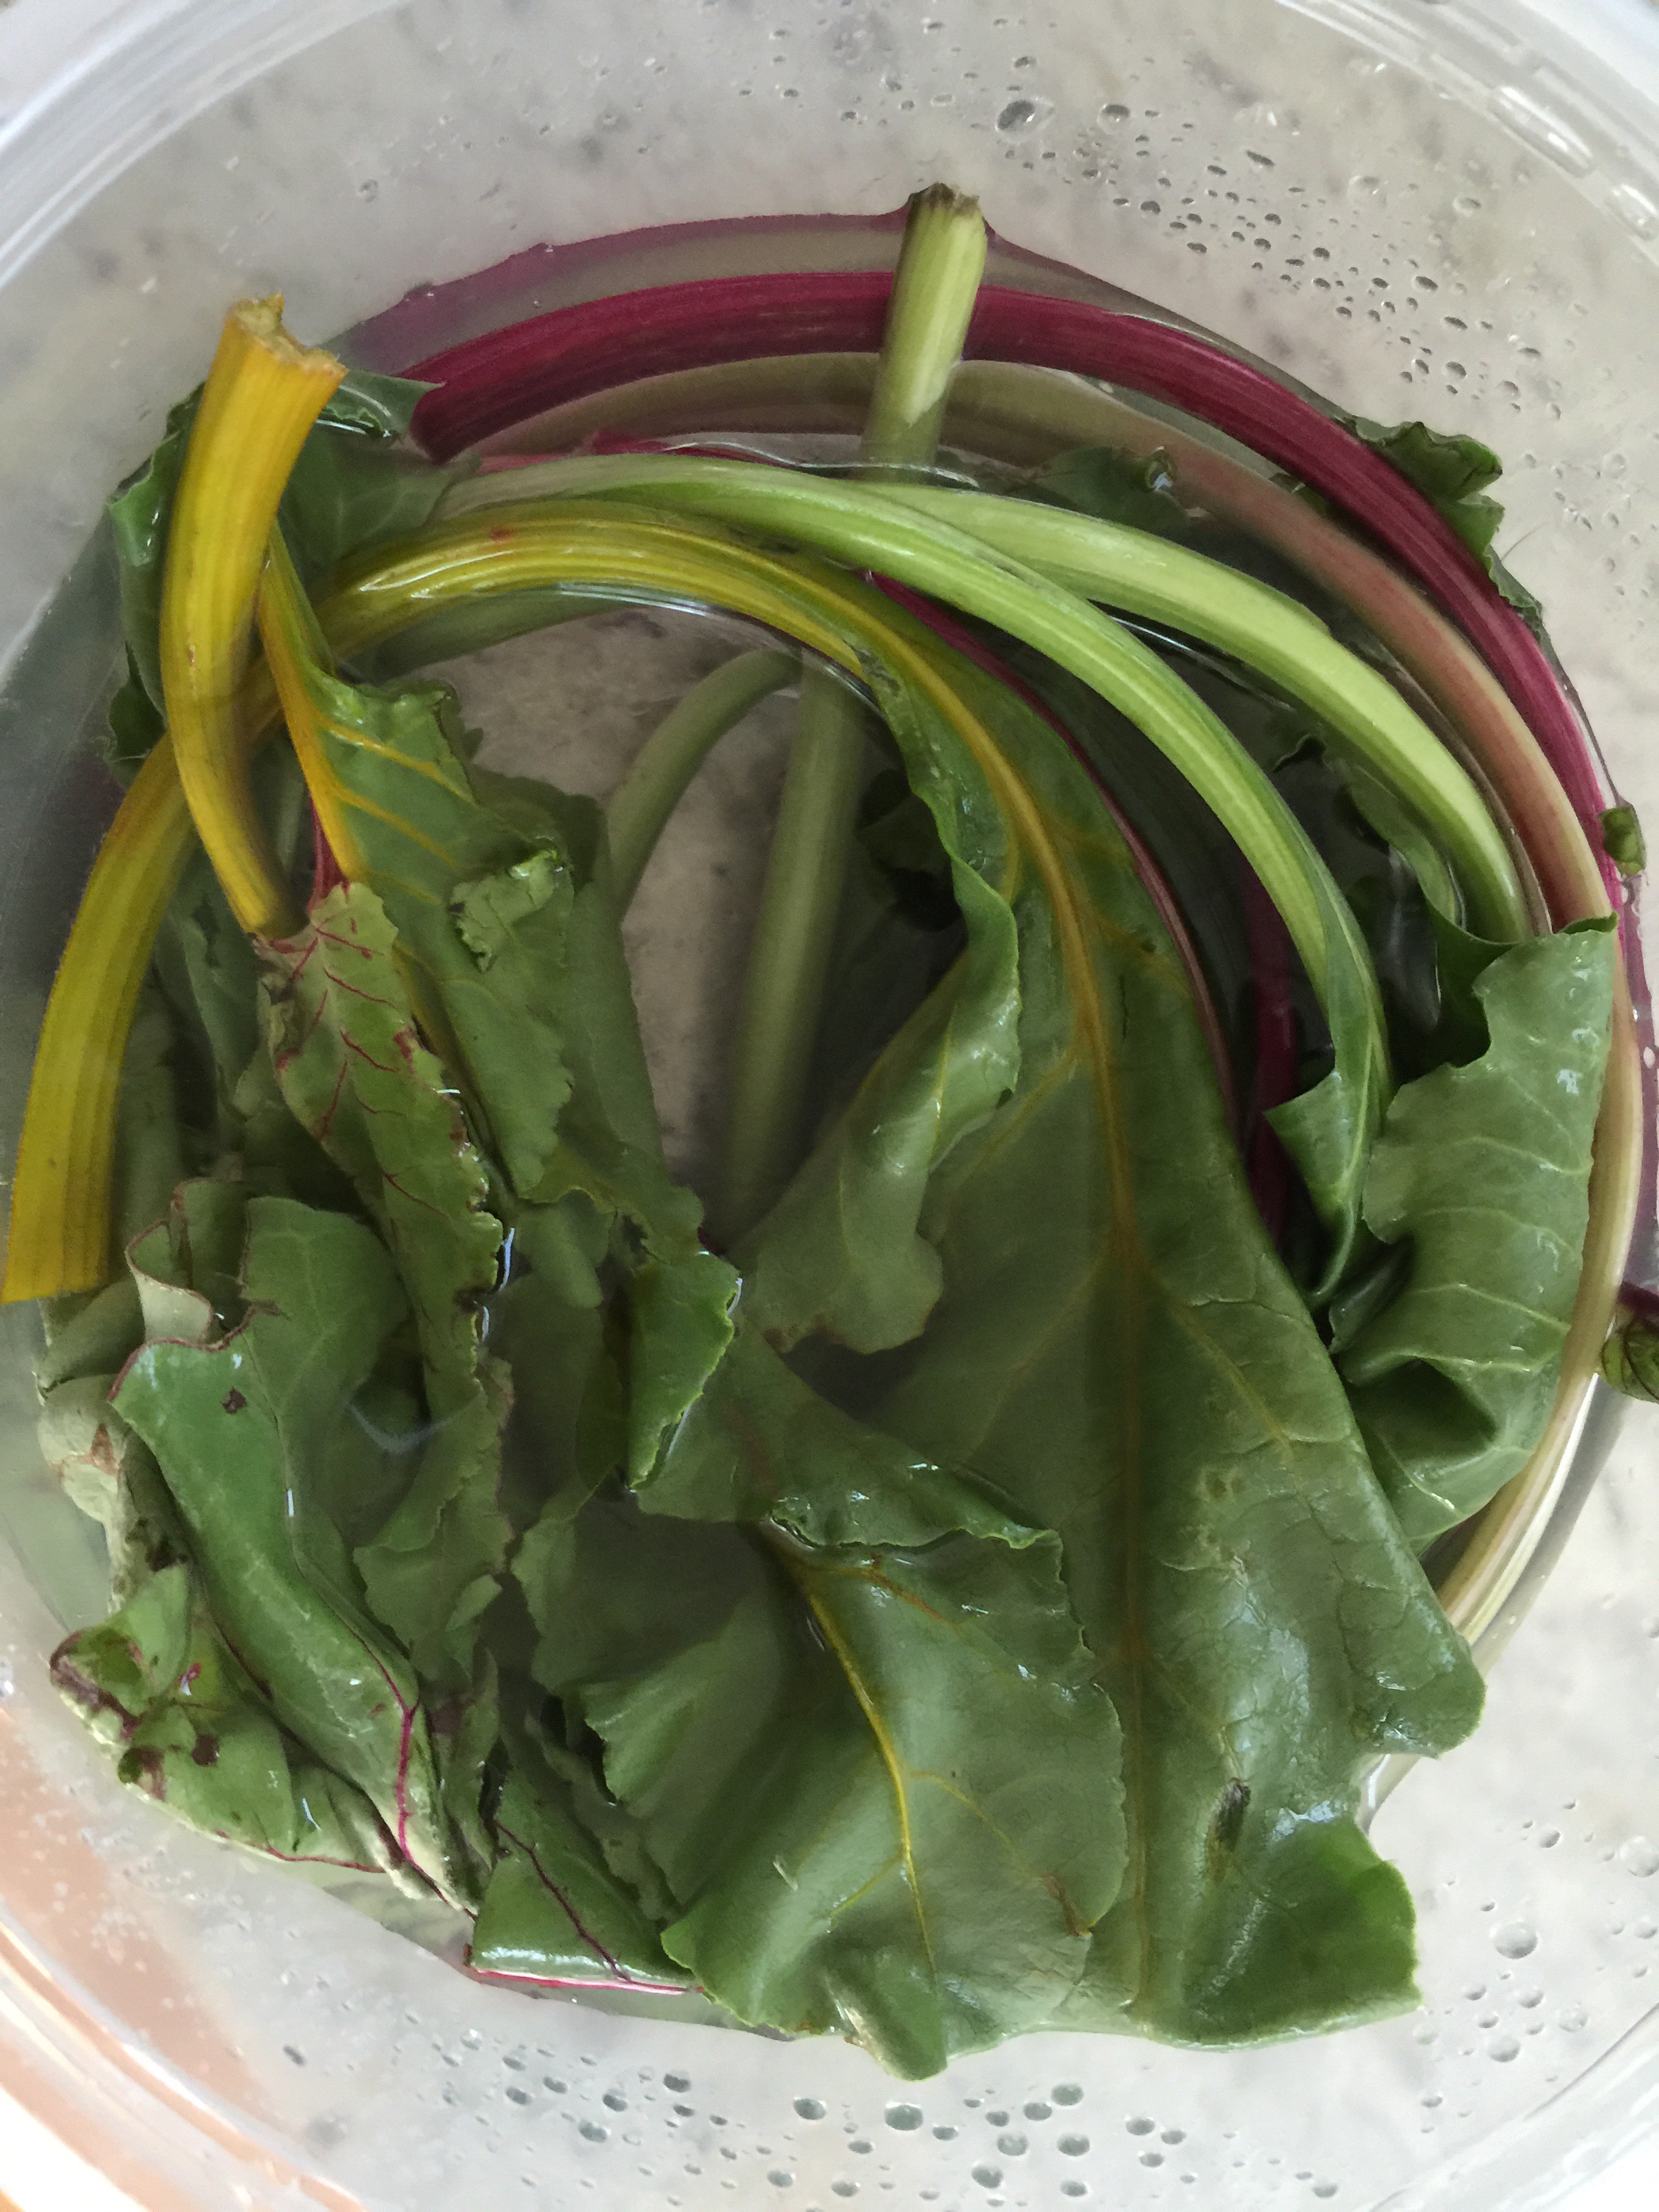
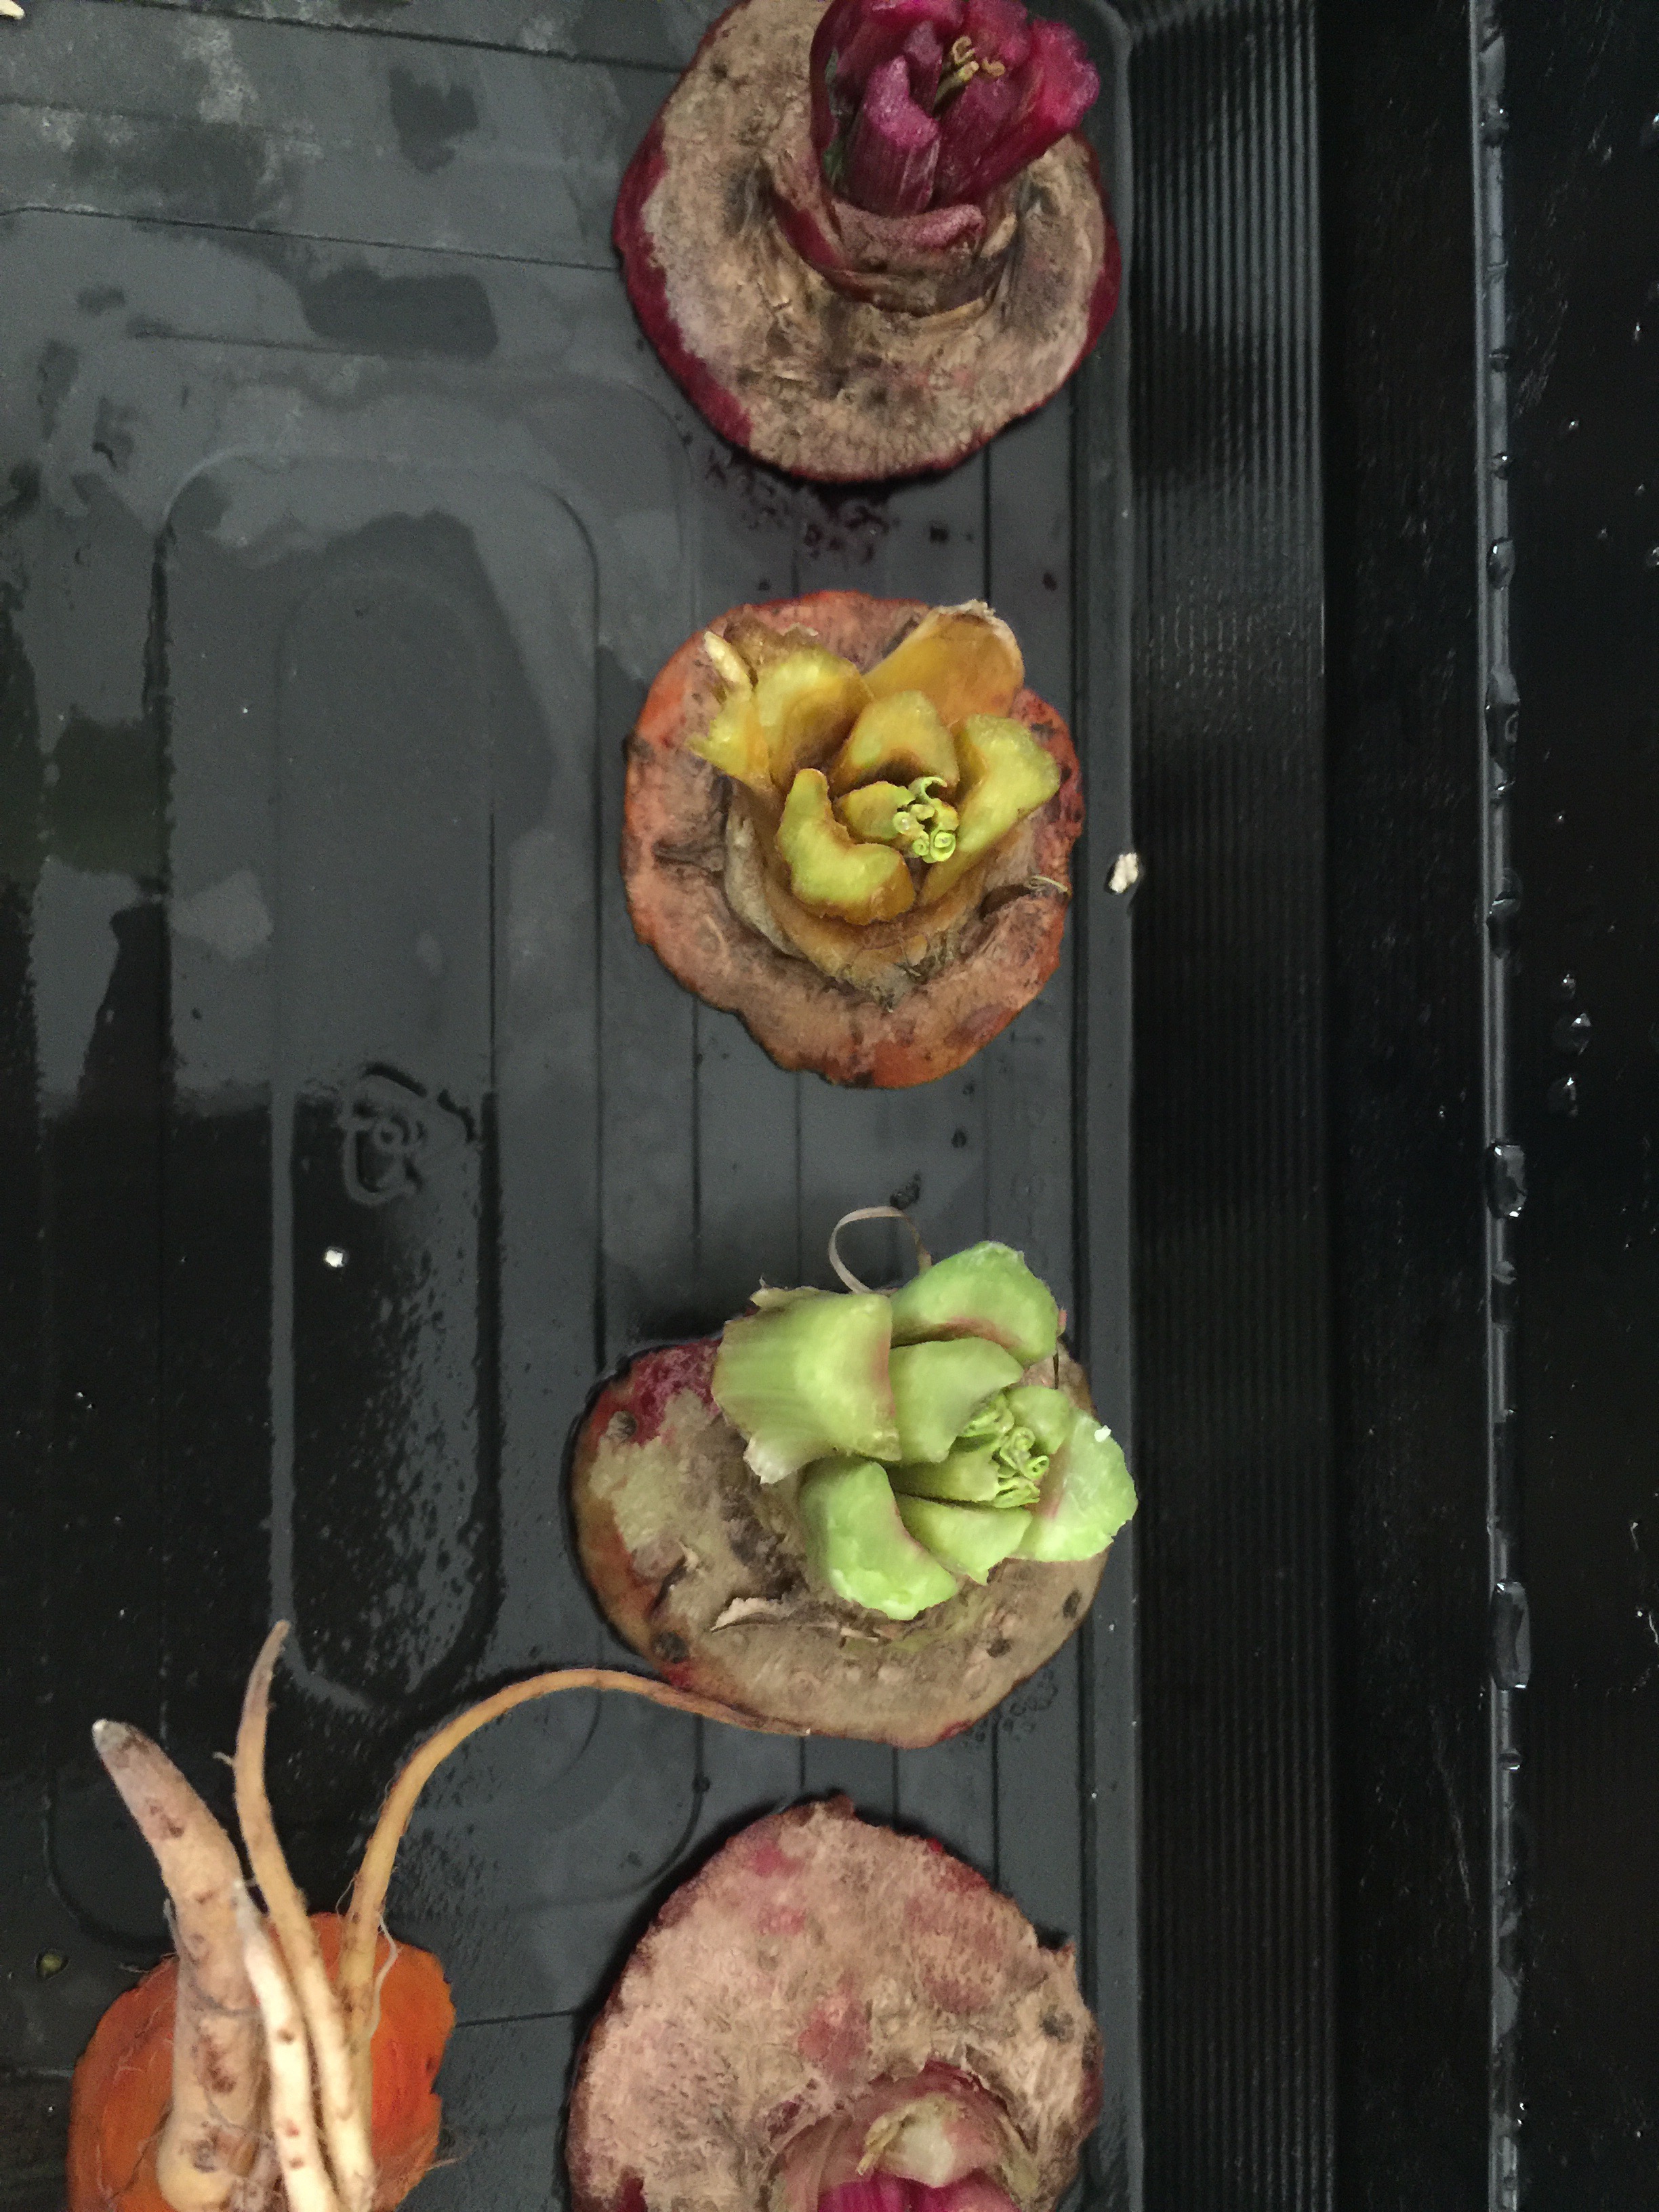
Don't throw away your beet tips!

growing beets

Place those tips in water and you can regrow the delicious stalks of greens for future salads. Or if you have a green thumb, you can plant the beet tip and grow some more beets!

See, beets really are gifts that keep on giving!

How do you like your beets?

Drink Your Nutrients With Ambronite!

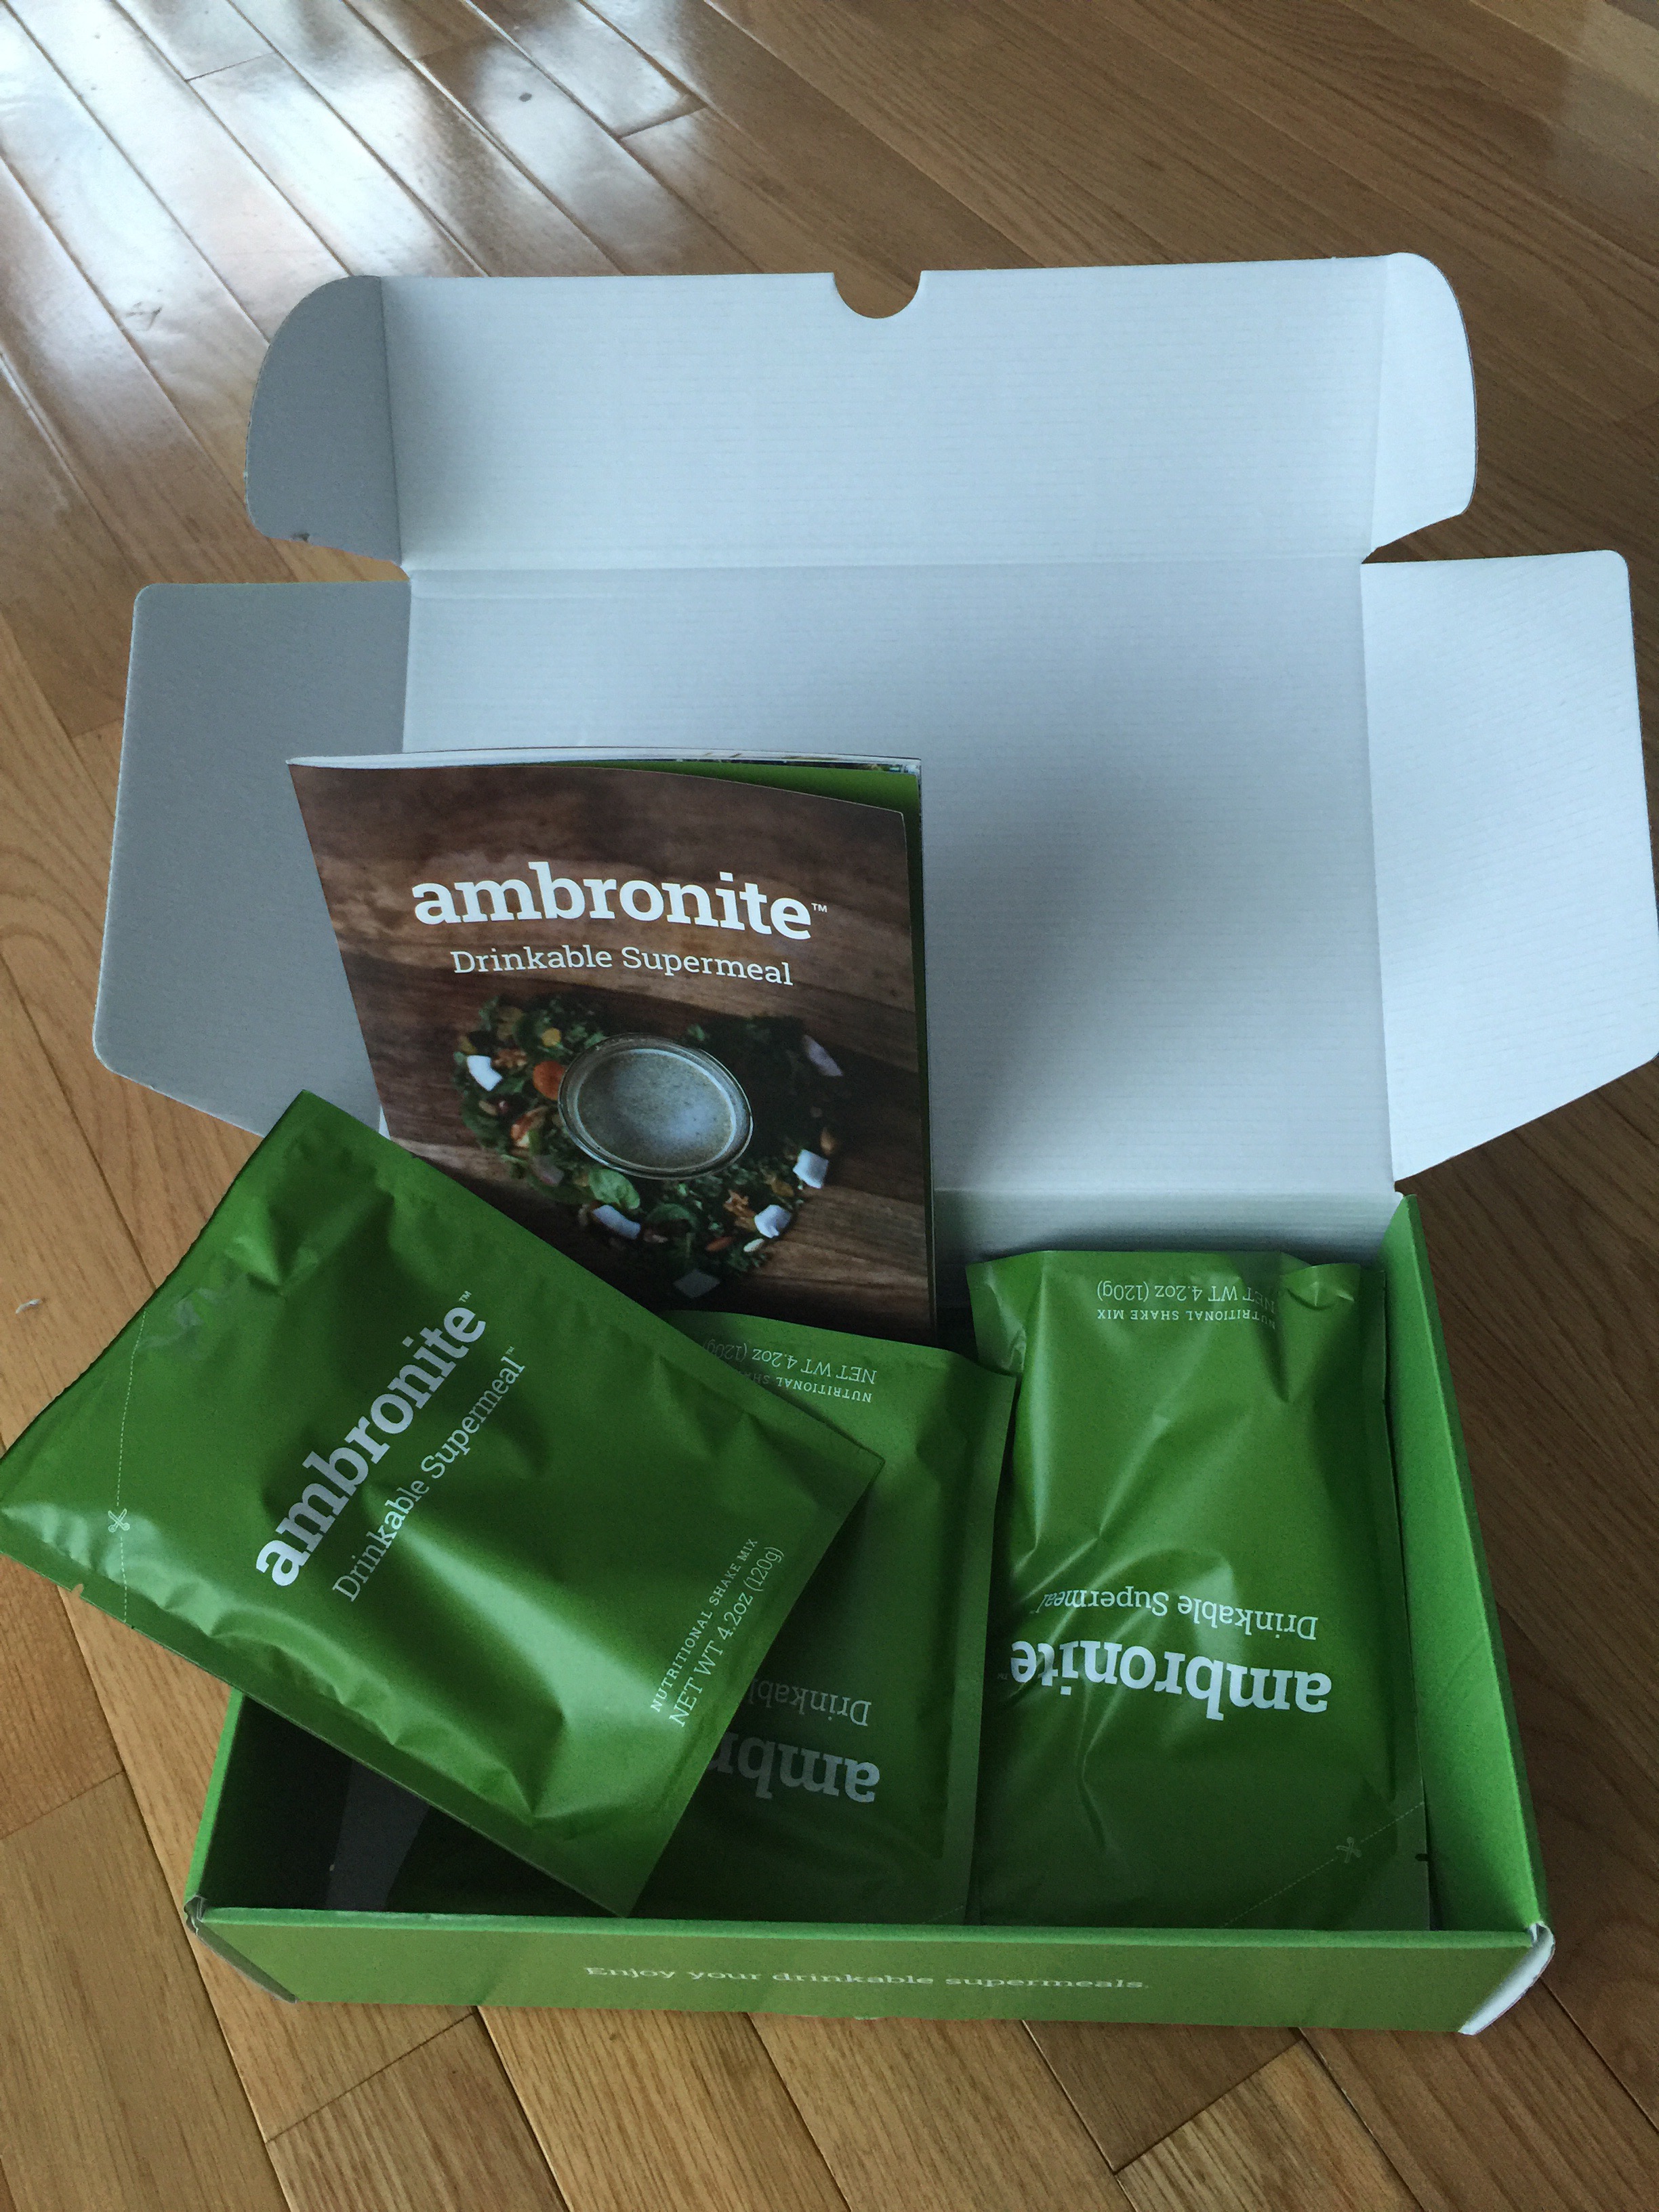
Disclosure: I was given a package of Ambronite in exchange for an honest review. All opinions as always are my own.

Recently I've been on a bit of a smoothie/juice kick.

I mean, can you blame me? Drinking your nutrients is such an easy and enjoyable way to make sure your day gets off on the right foot.

So you can imagine how excited I was when Ambronite contacted me to see if I would be interested in a sample of their new and improved Ambronite formula. I did a happy dance.

If you're a long time reader of my blog the name Ambronite may sound familiar. I wrote a review of the product last Spring.

I was a fan then and I'm still loving the super smooth, new and improved, Ambronite Drinkable Supermeal formula.

Billed as a drinkable supermeal, Ambronite just might be the finest nutrition supplement drink out there.

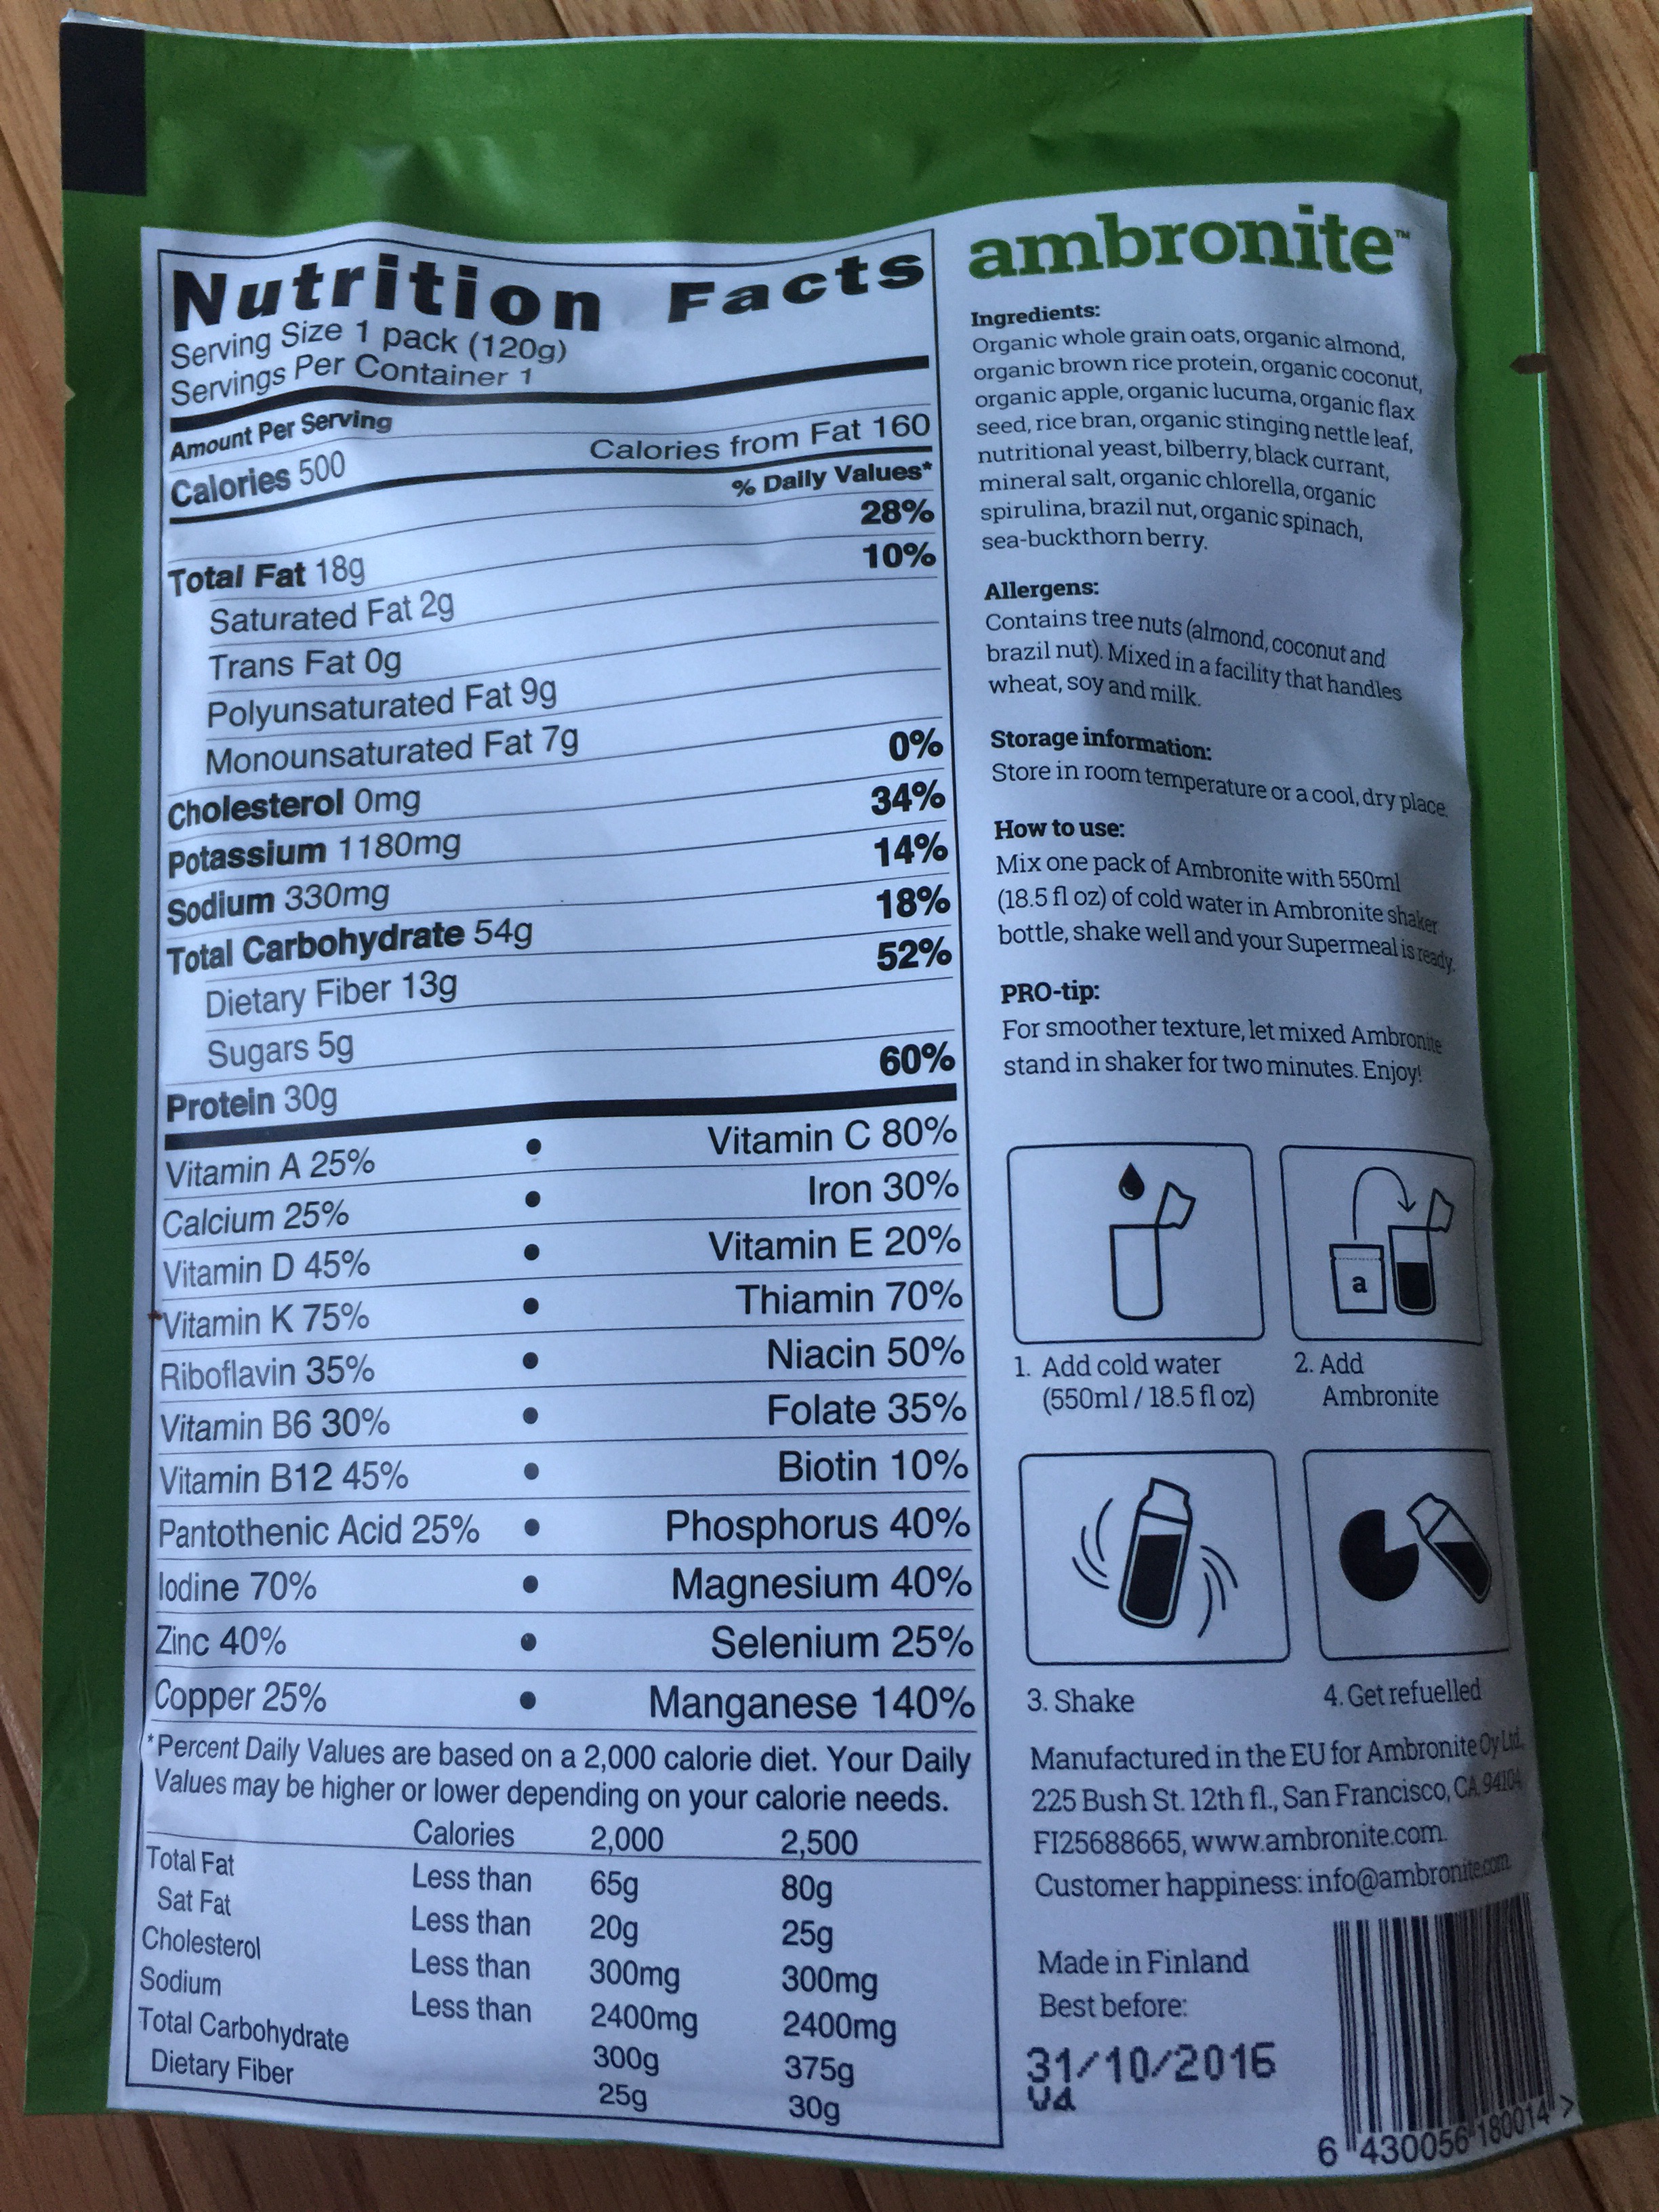
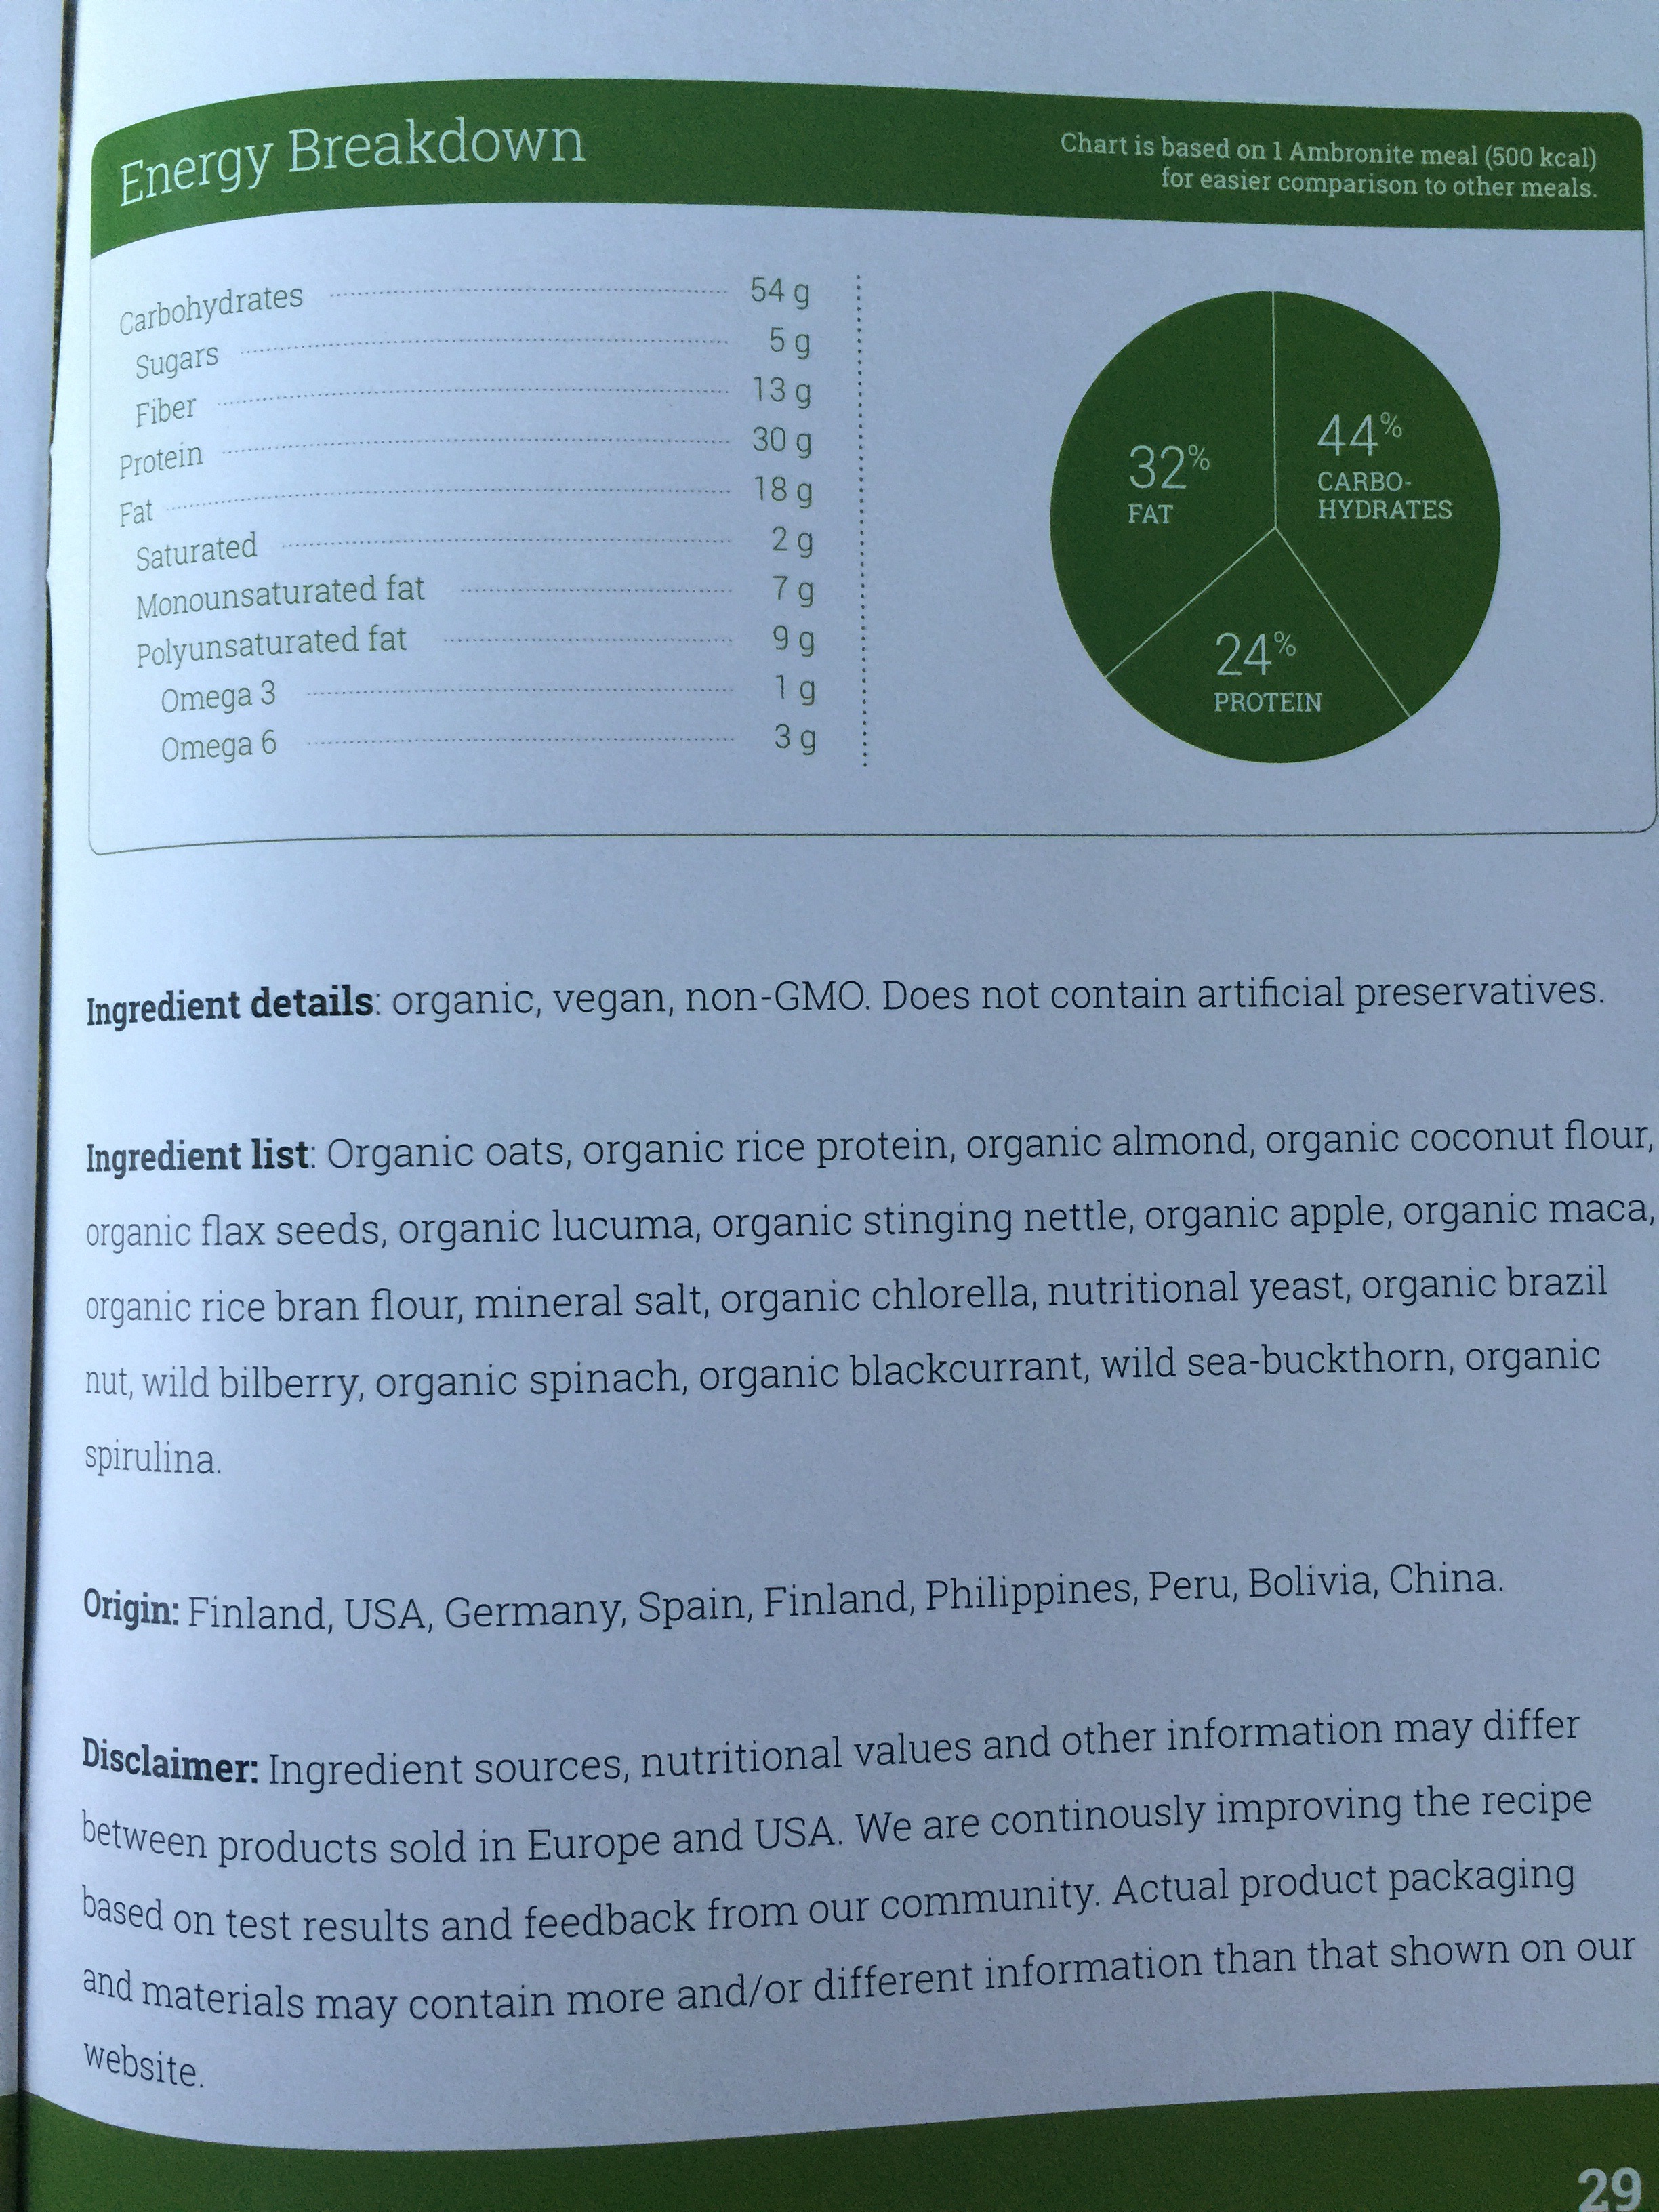
Ambronite, a powdered drink blend that contains all the nutrients necessary to fuel the body and mind for the day is organic, preservative free, non GMO, vegan and contains no sweeteners.

So what's in it?

Organic gluten-free oats for minerals, energy and B -group vitamins

Organic rice protein for amino acids, iron and Vitamin E

Flax Seeds for fiber, antioxidants and omega 3's

Almonds for essential fatty acids, protein, vitamin E, magnesium, calcium, copper, biotin and manganese

Lucuma for B vitamins, iron, calcium, phosphorus and beta carotene

Brazil Nuts for selenium, niacin, vitamin E and magnesium

Organic coconut flour for magnesium, potassium, zinc, iron and calcium

Apples for vitamin C, fiber, antioxidants, and phytonutrients

Stinging Nettle Leaf for calcium, vitamins A, C and K

Mineral Salt for potassium and iodine

Spinach for folate, iron, calcium and vitamins A and K

Spirulina for protein, amino acids, micronutrients, B vitamins, choline, and vitamins C, E and K

Rice Bran for vitamin E, protein, B Vitamins, selenium and coenzyme Q10

Chlorella for vitamins A, B1, B2, B6, B12, C, D, E, and K along with calcium, magnesium, iron, zinc, phosphorus, and iodine

Nutritional Yeast for B vitamins, magnesium, calcium, zinc and iron

Sea buckthorn for vitamin C, potassium, magnesium, calcium , phosphorus and vitamin K

Bilberrys for vitamins A and C, B vitamins, potassium, calcium, magnesium and antioxidants

Blackcurrants for vitamin C, B vitamins, magnesium, manganese, iron and calcium.

If this list of nutrients reads like a multivitamin, know that that's a good thing. It's always best to get your nutrients from food and Ambronite makes it easy!

Ambronite is packed full of everything you need for a full days worth of nutrients.

So who is Ambronite for?

-athletes

-soccer moms

-busy commuters

-travelers

- the elderly

- kids

-dieters

-immune compromised individuals

-pregnant and nursing moms Vegan friendly and gluten free as far as I can see, Ambronite is for almost everybody unless you have nut allergies!

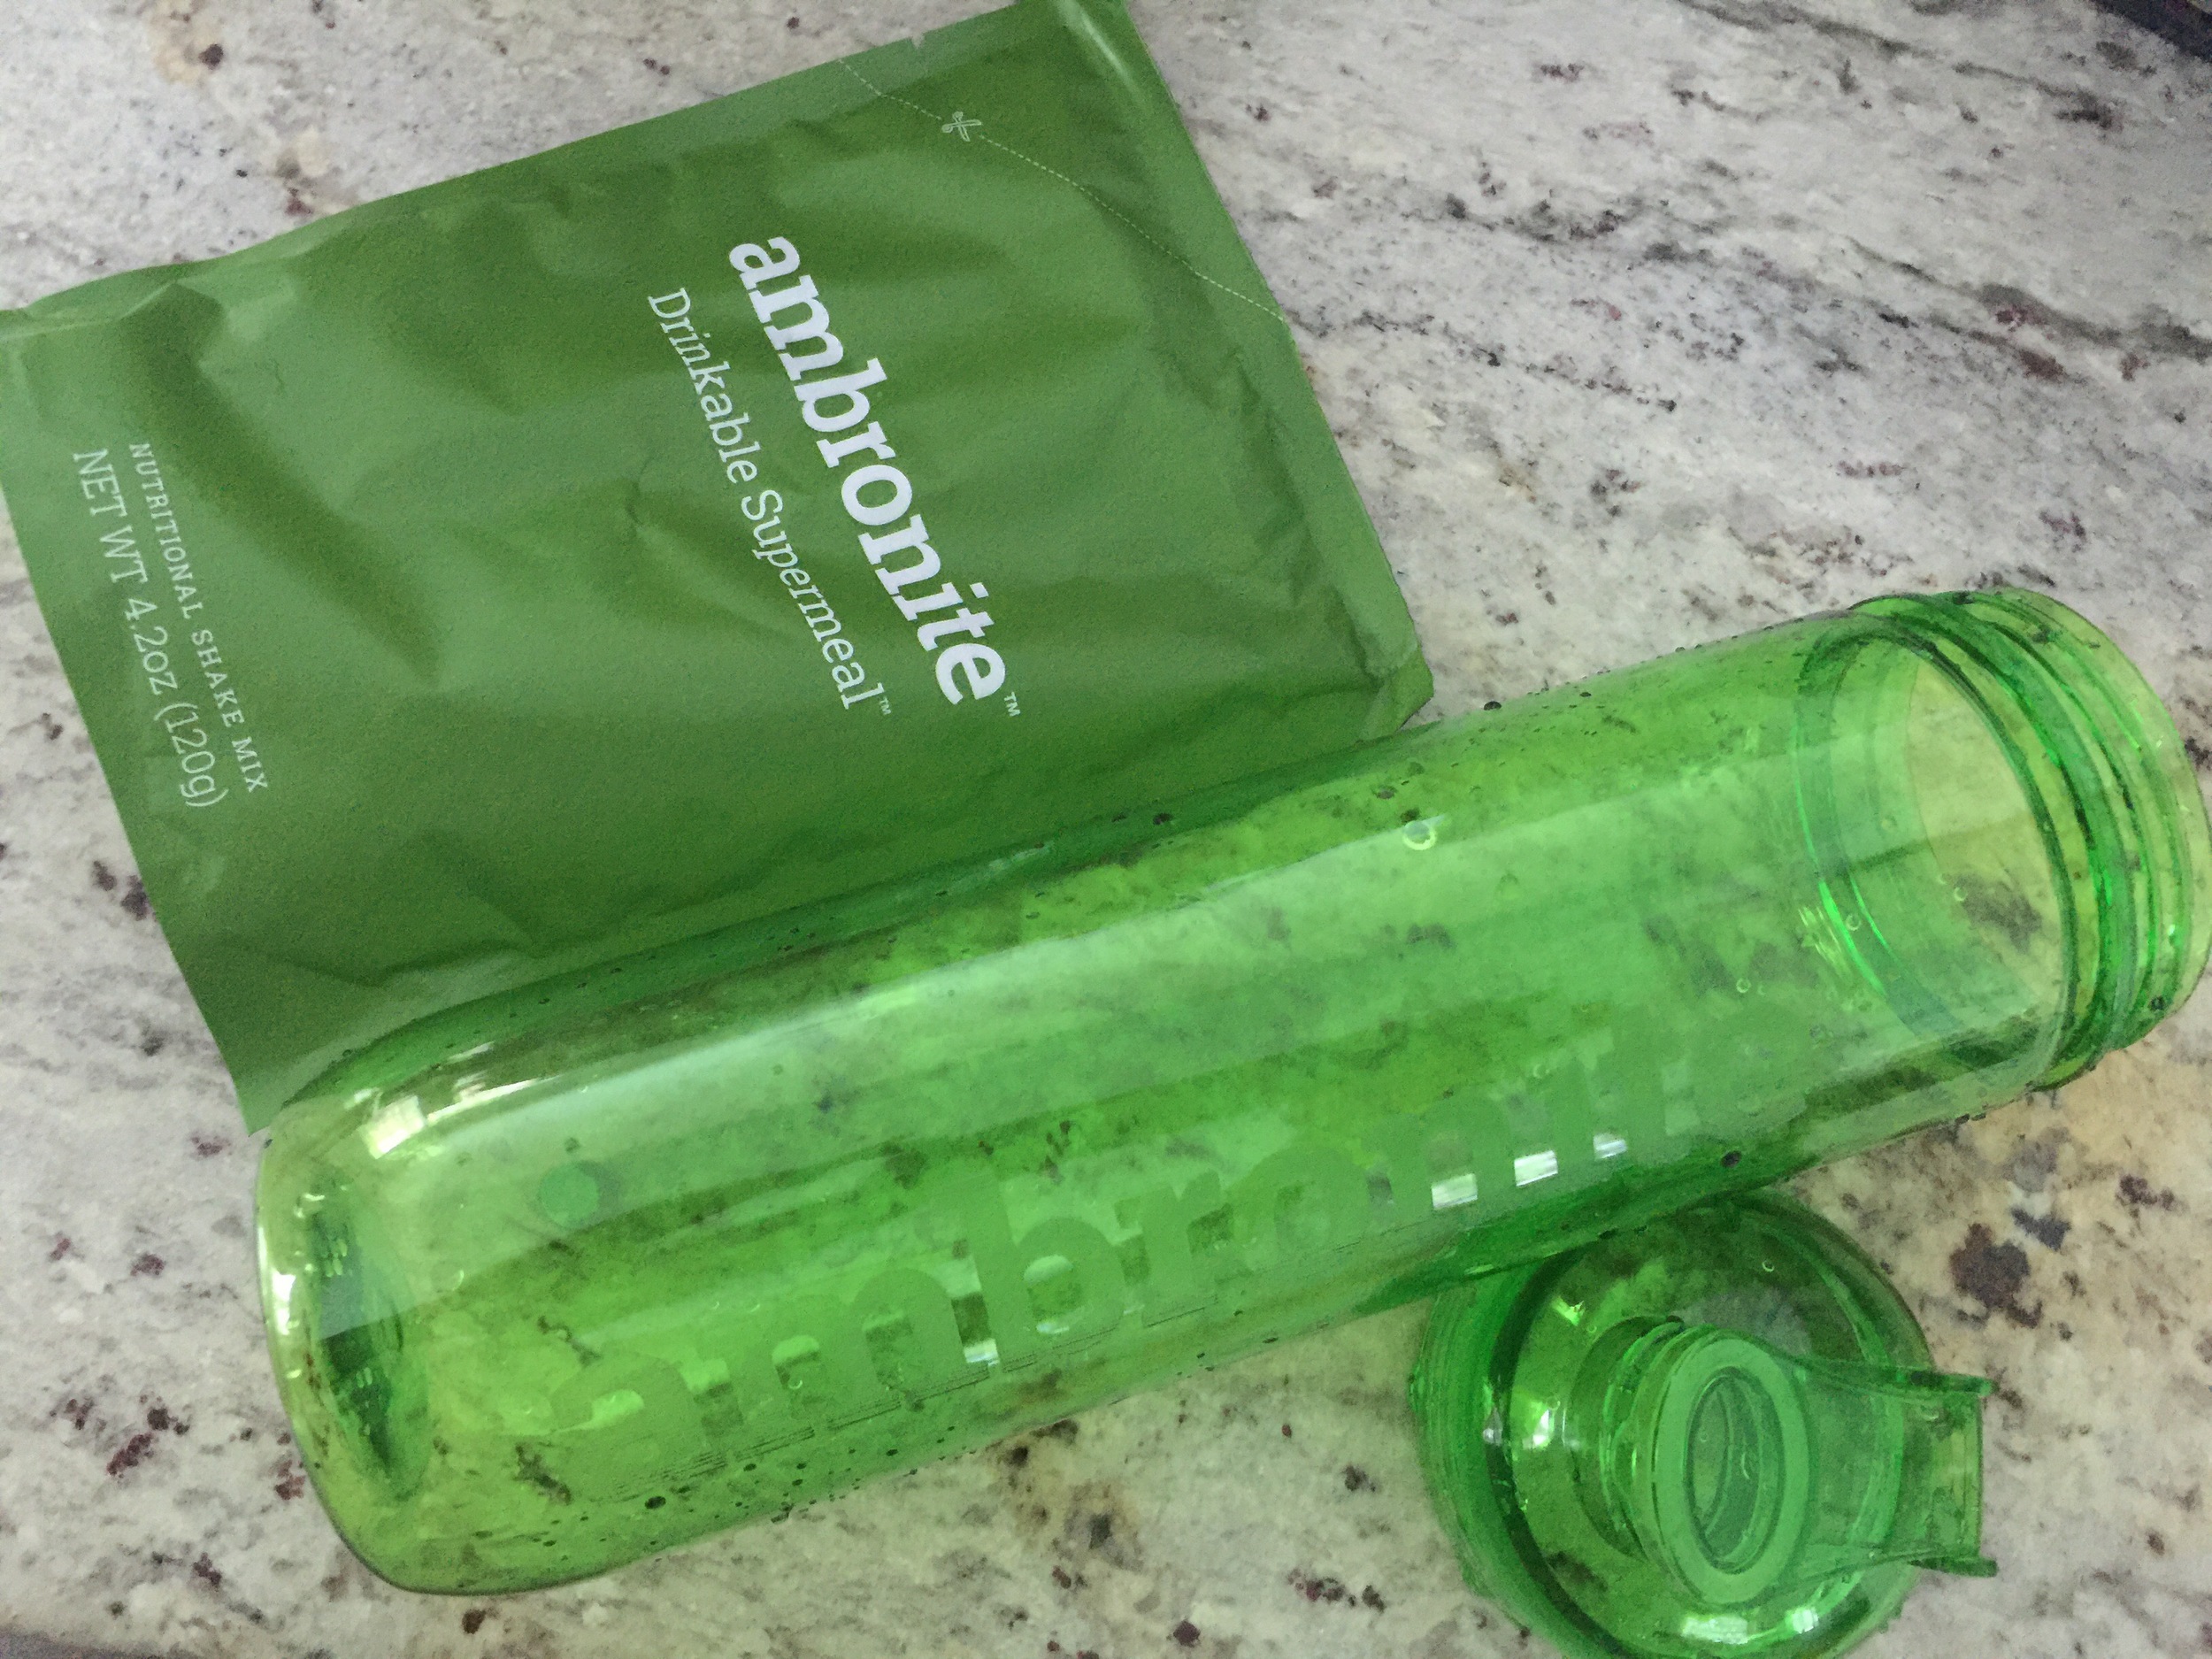
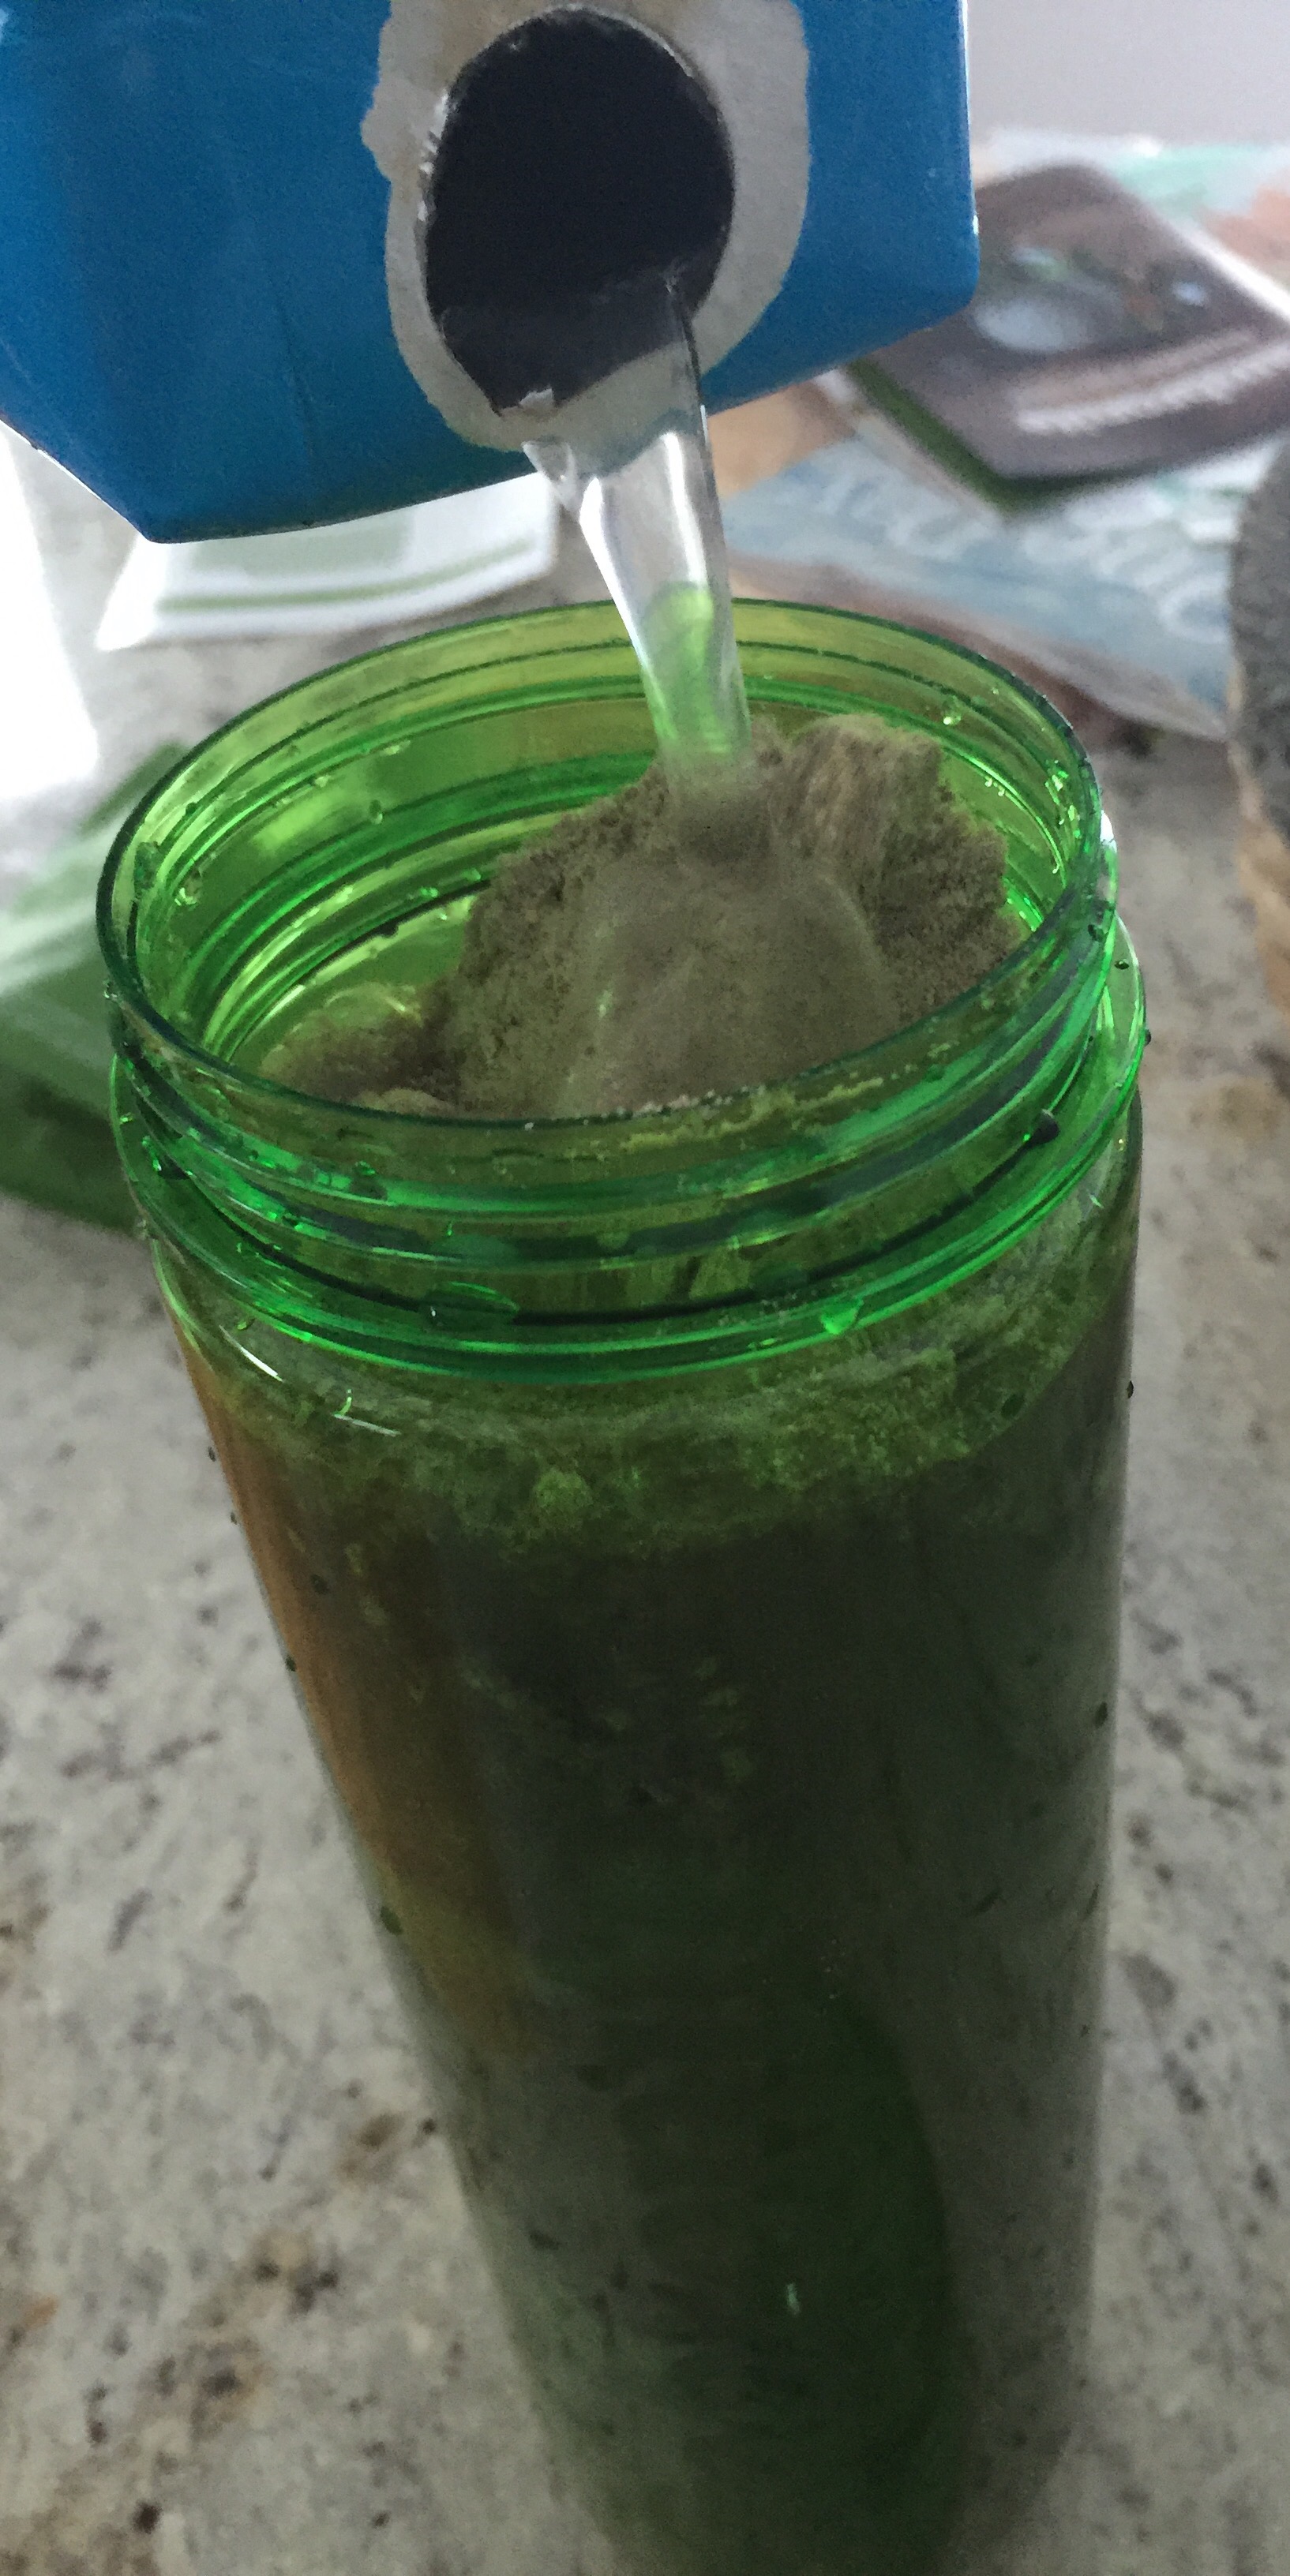
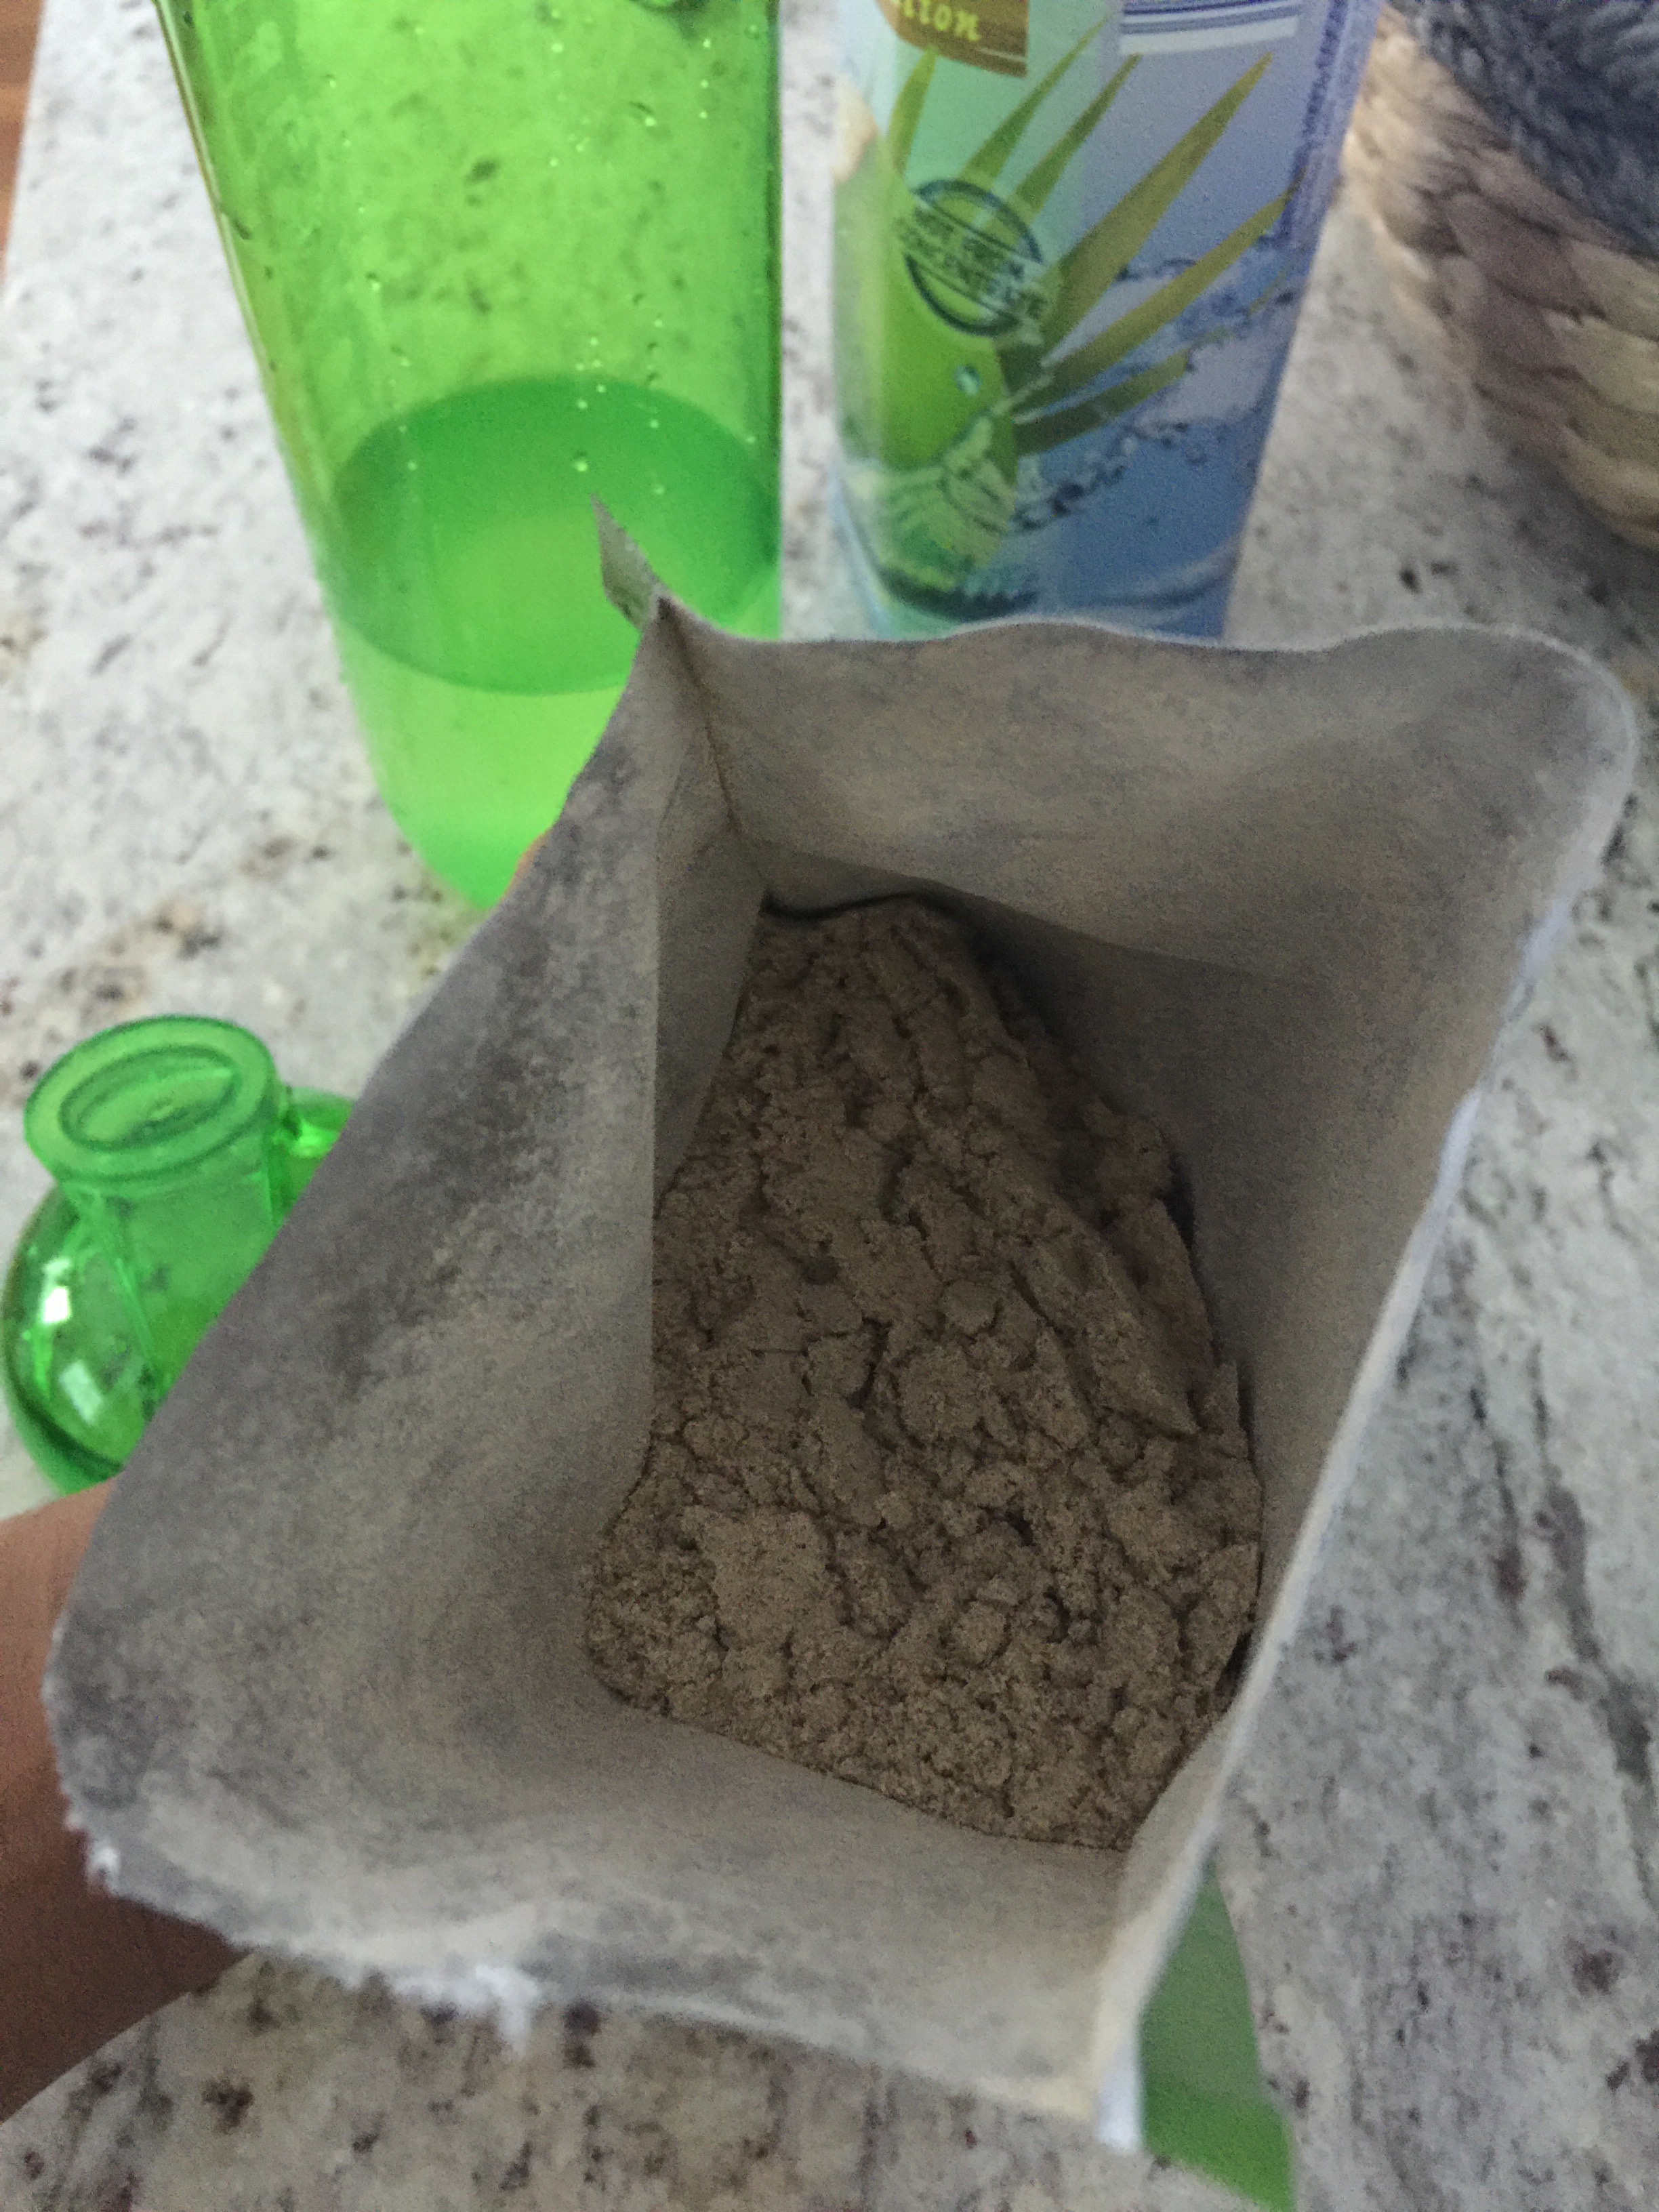
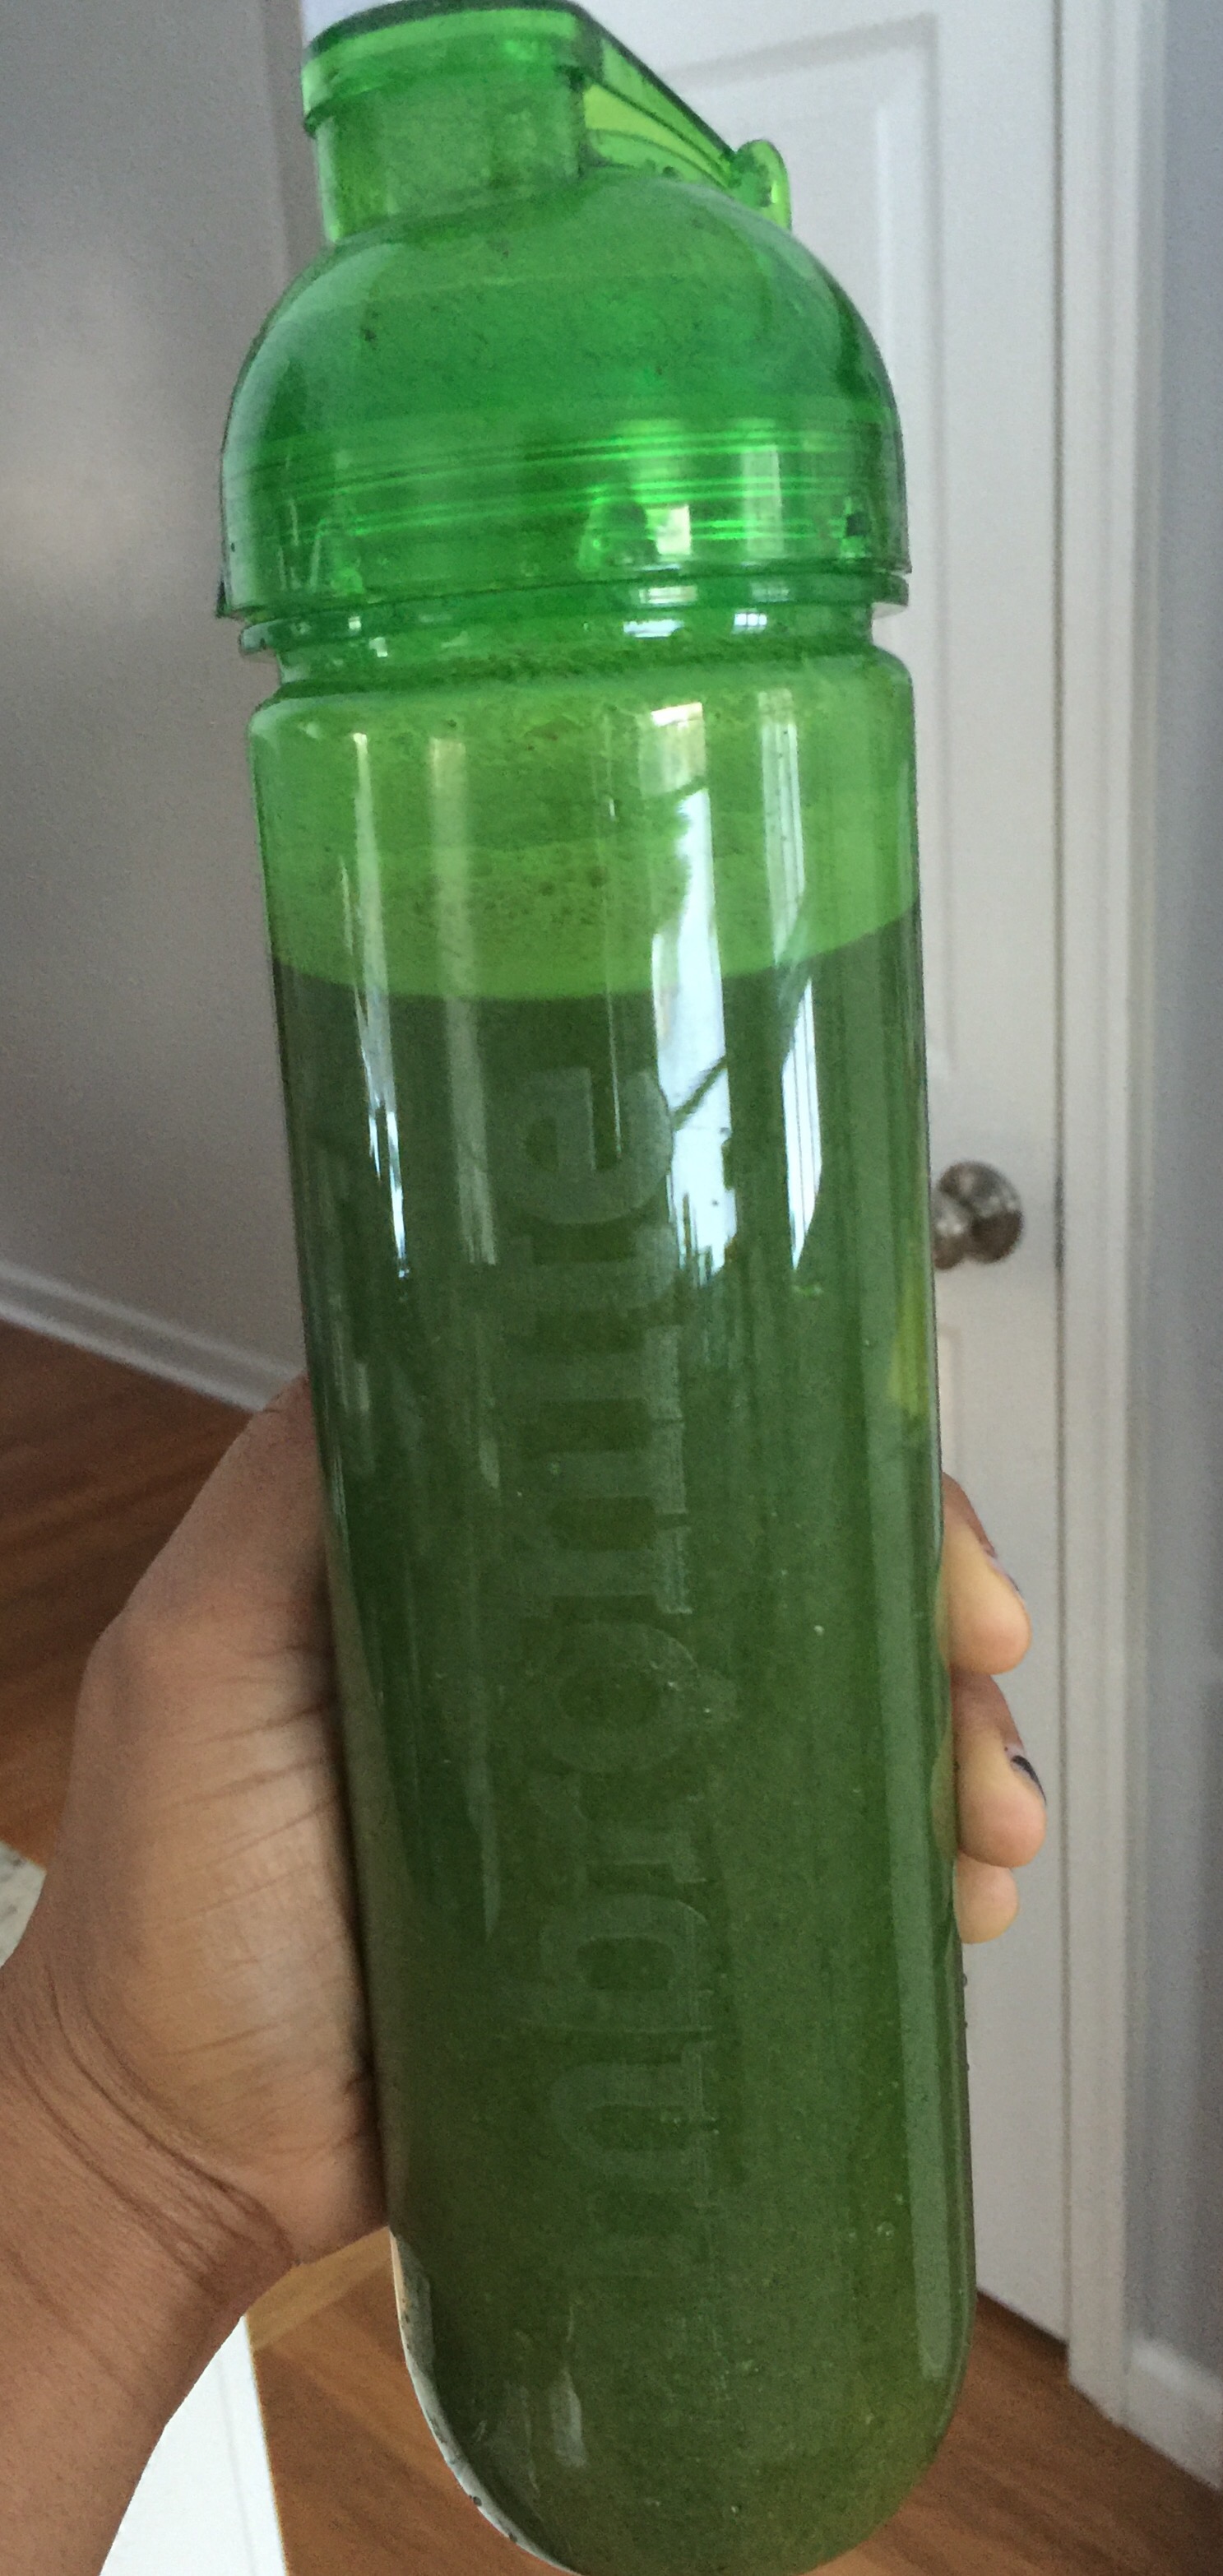
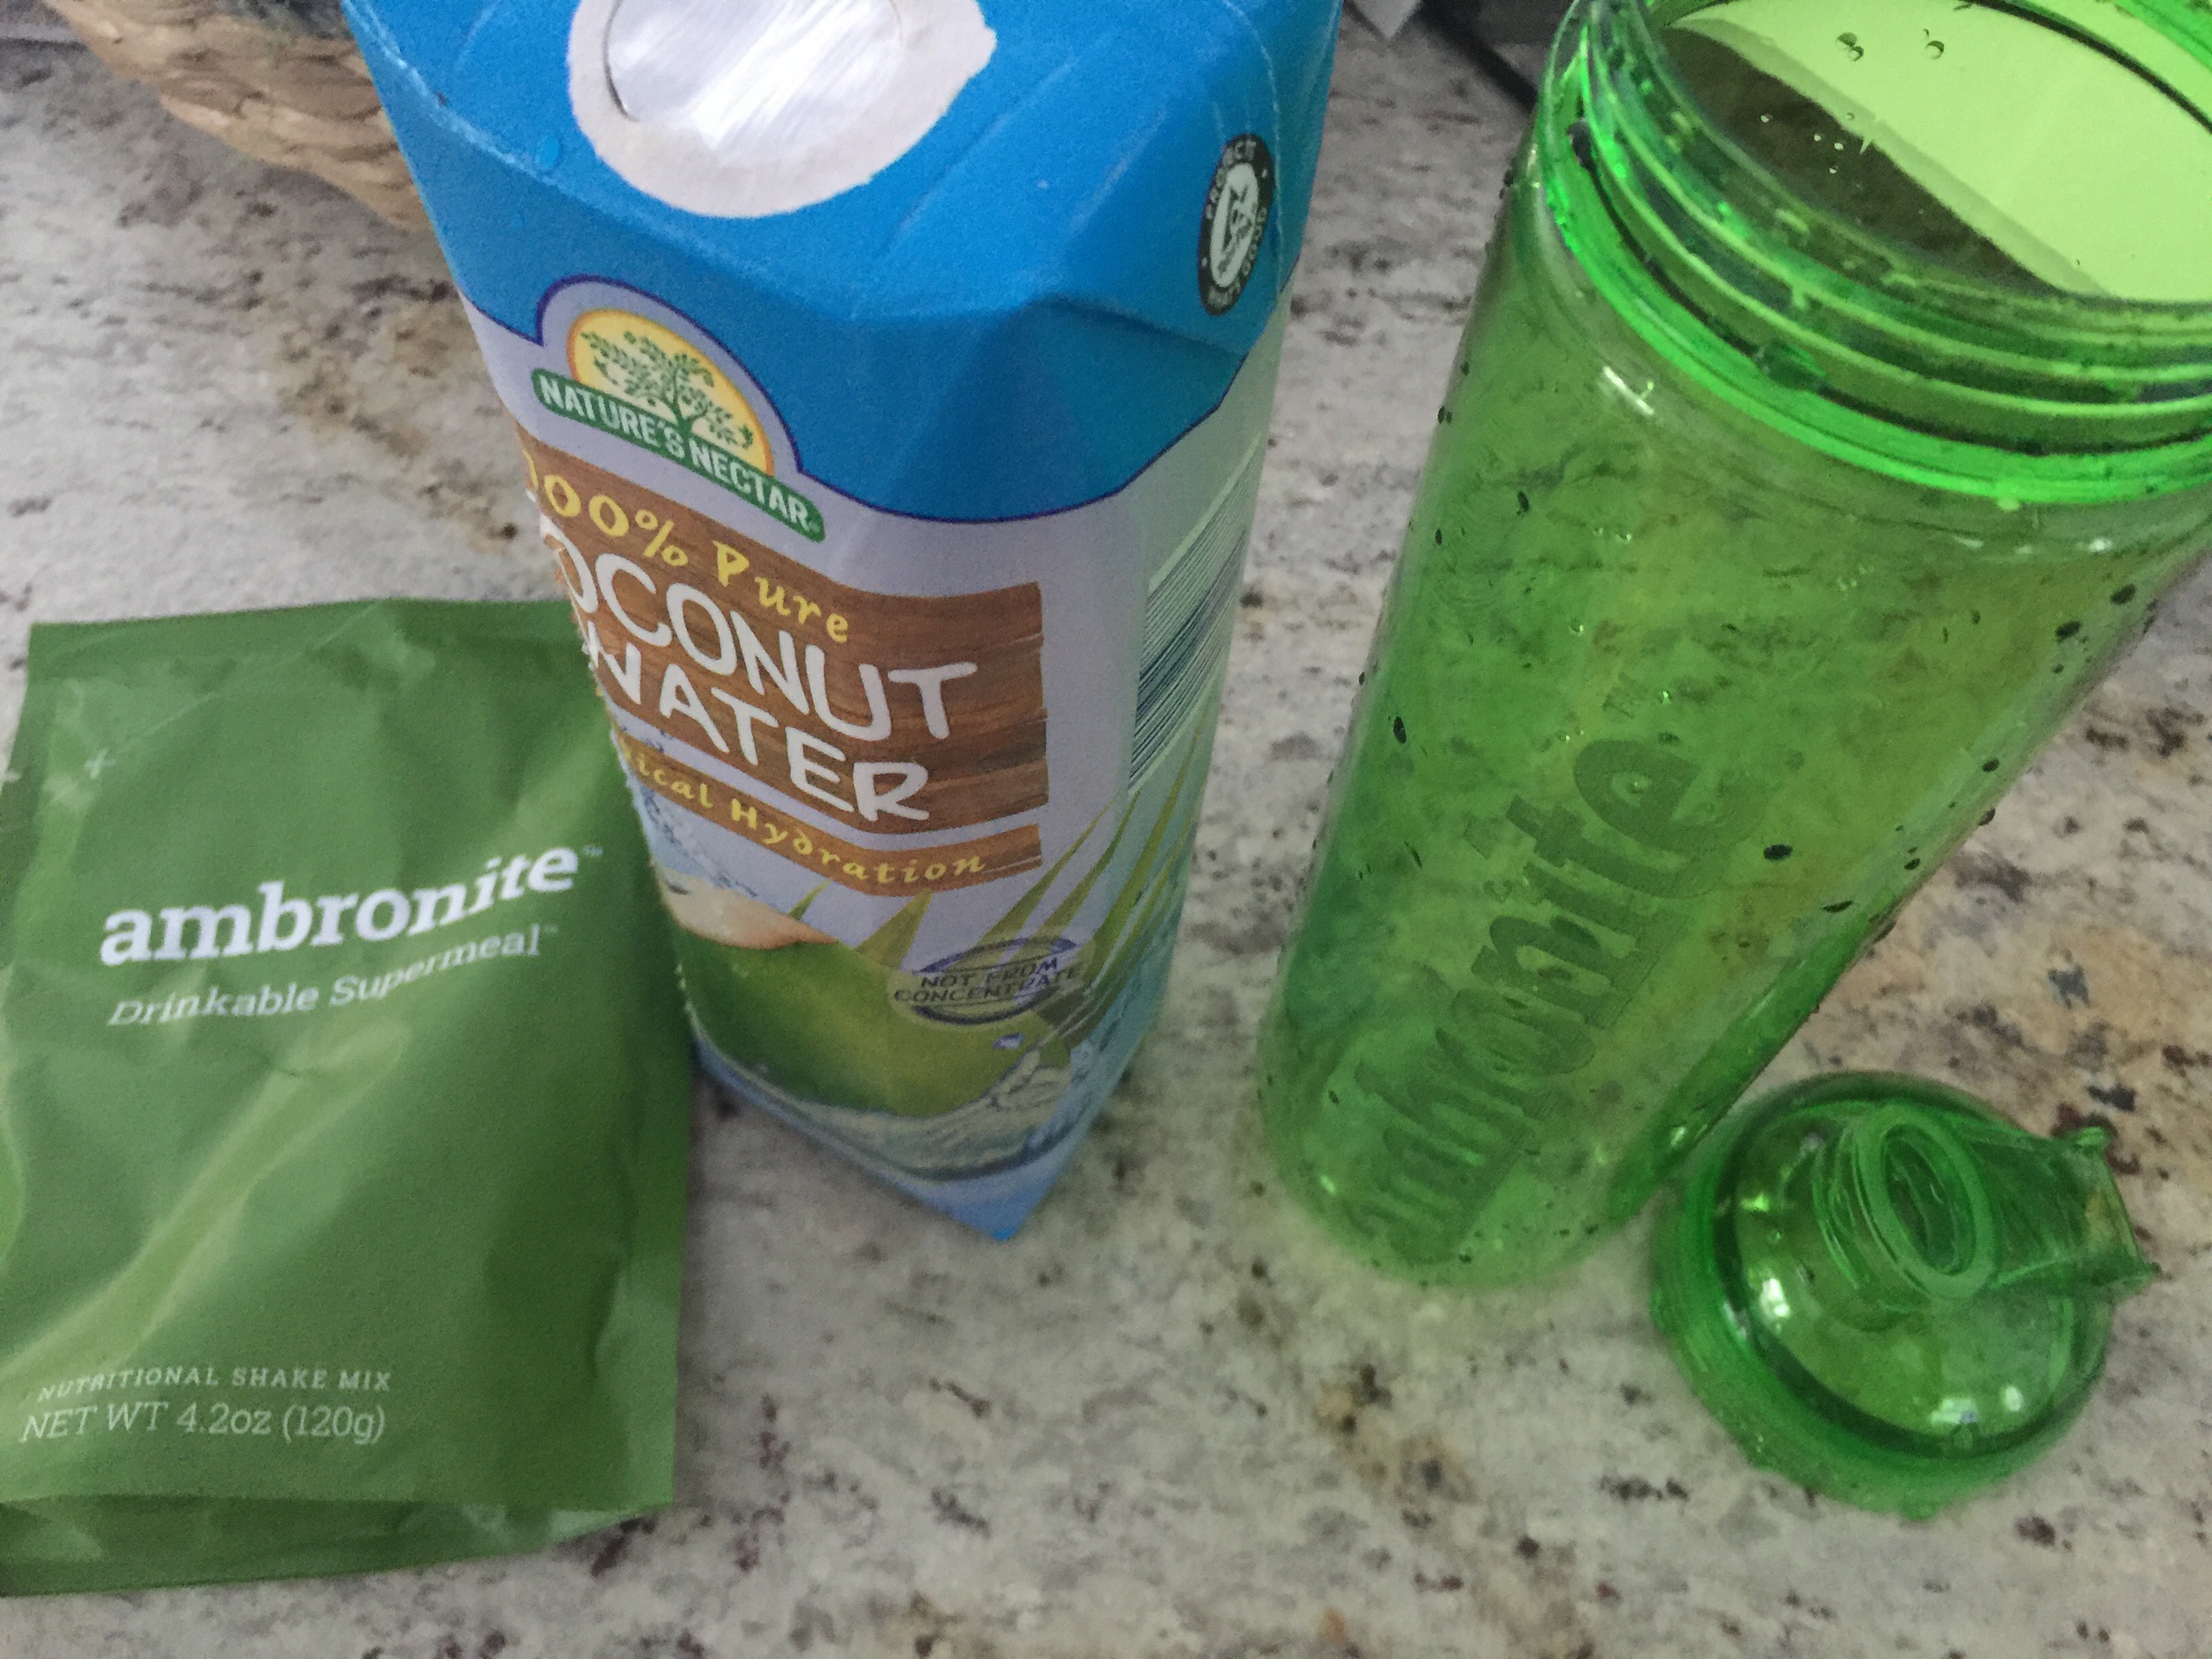
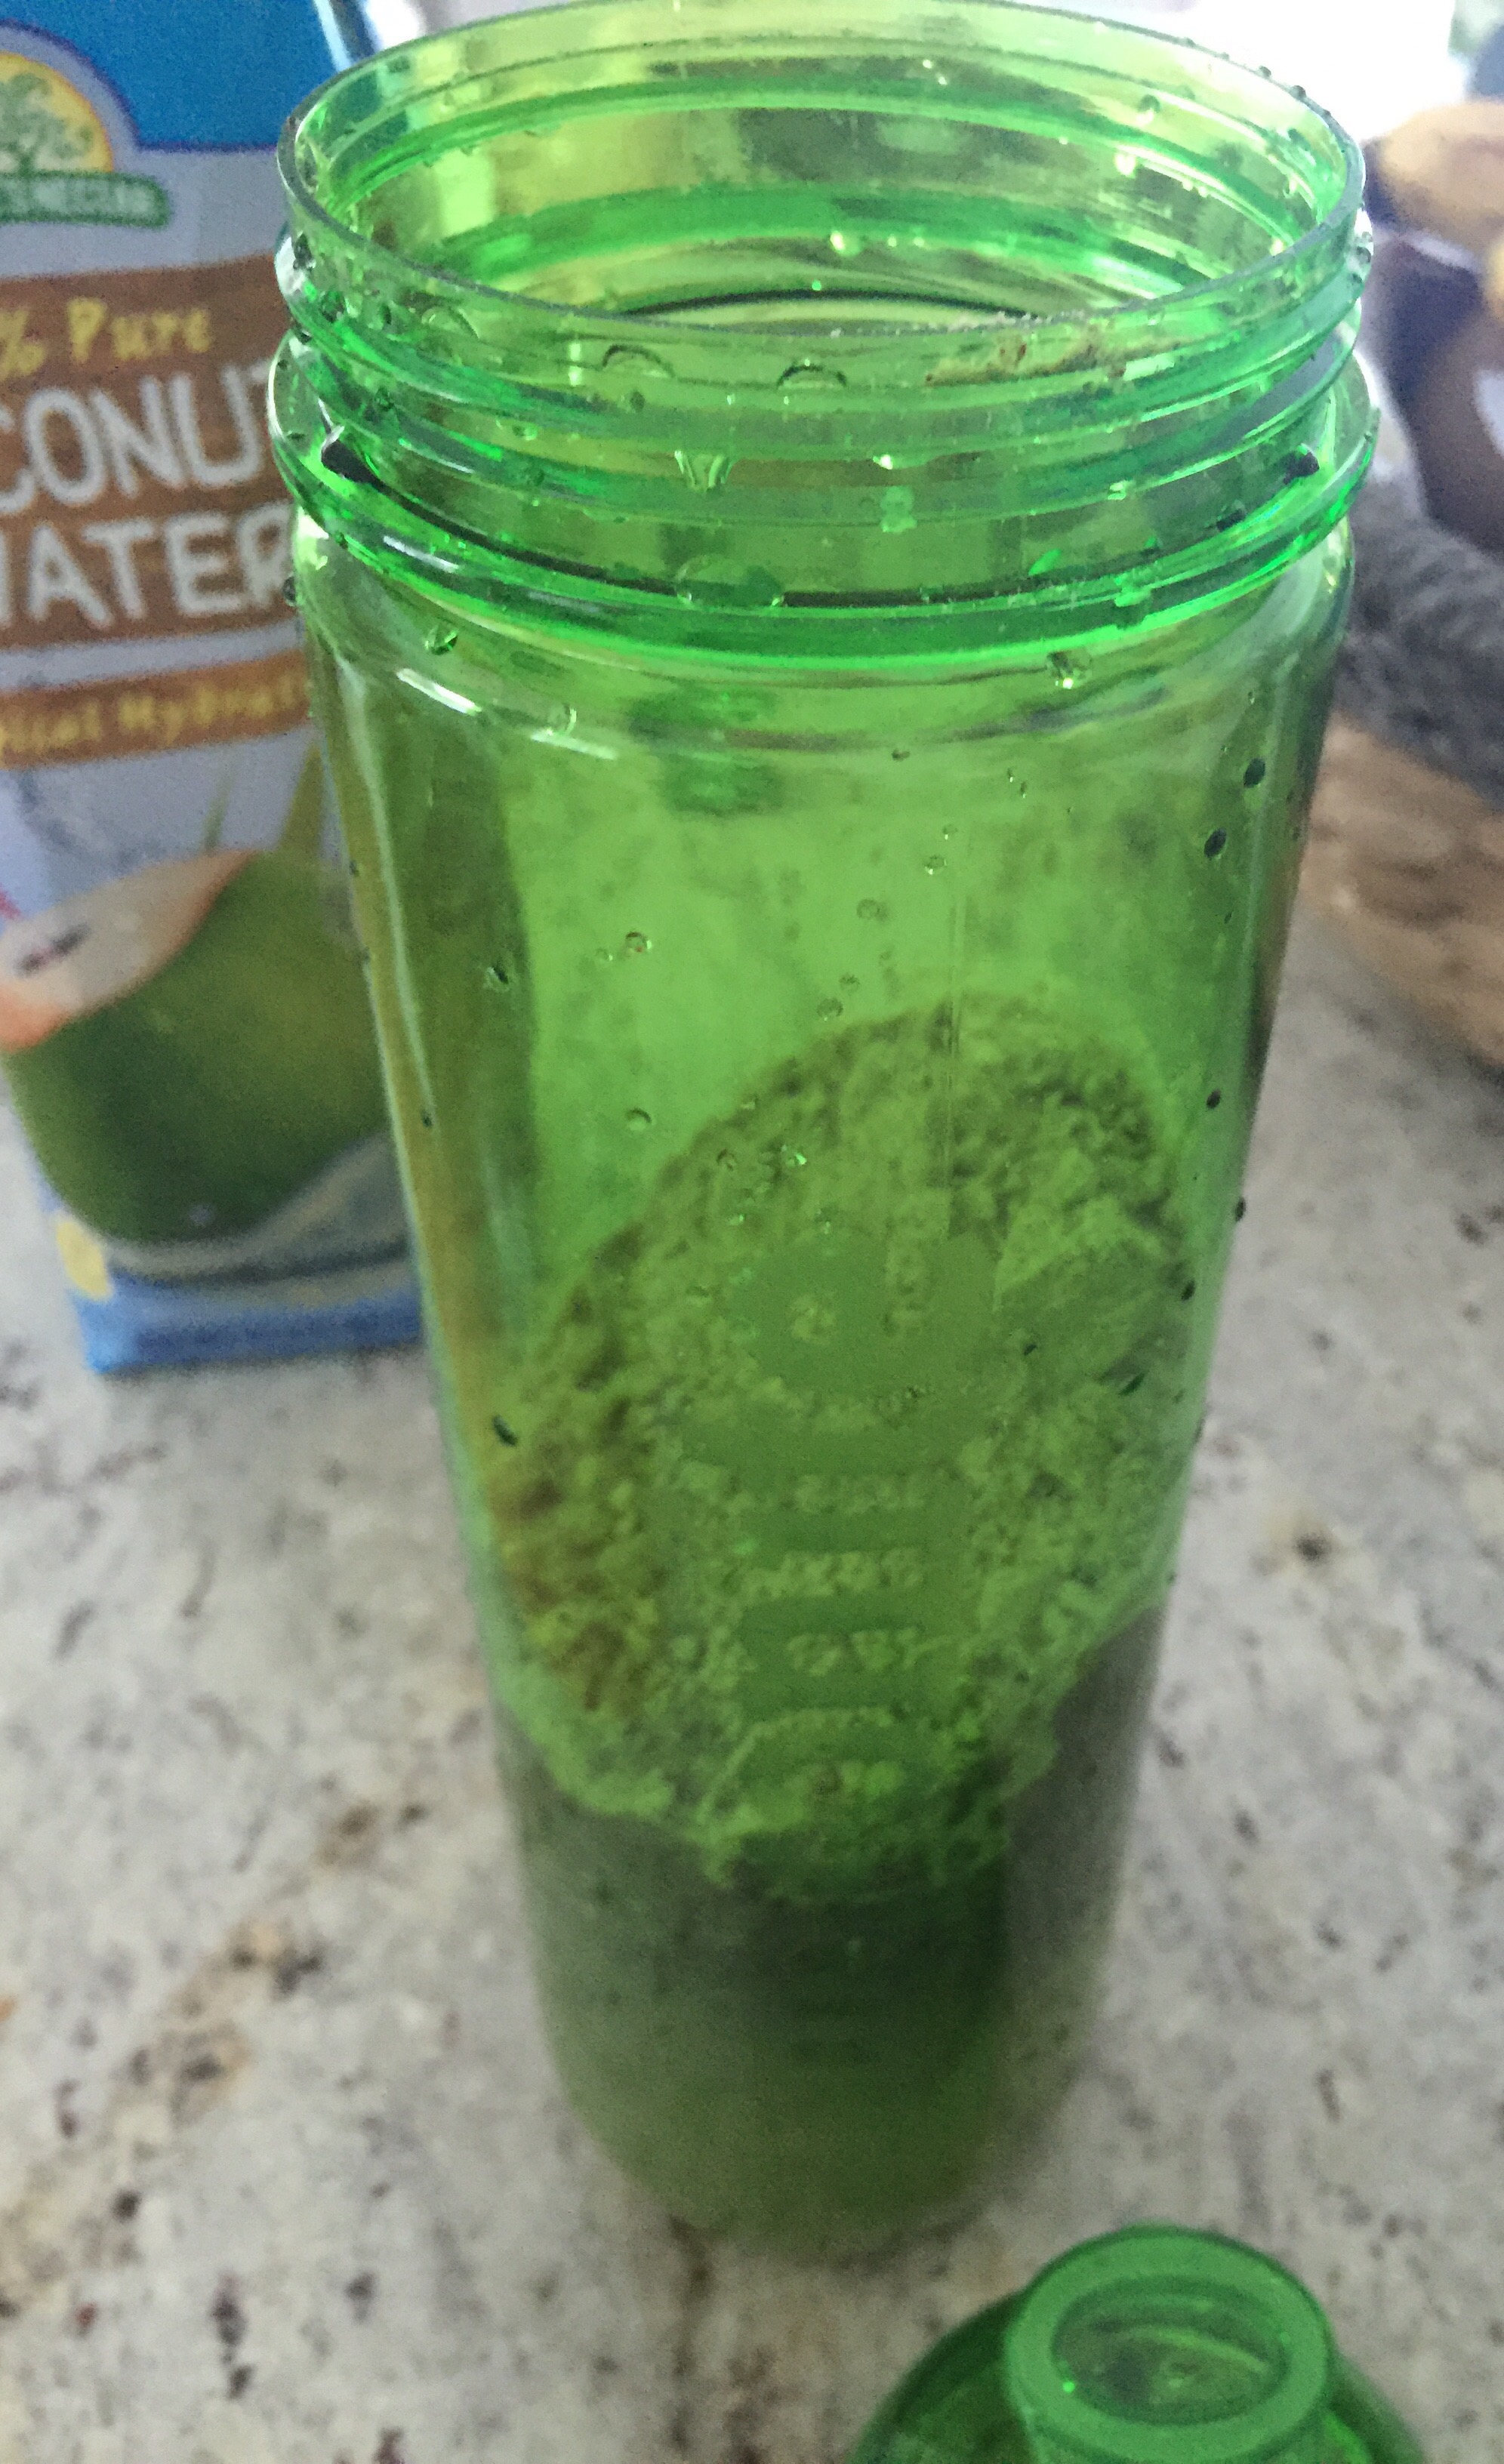
Making Ambronite is simple, add your powder pack and water, shake and go! They supply the bottle and powder, all you need to do is add cold water (or coconut water) and shake. It's so easy which is why this is so fantastic for people on the go!

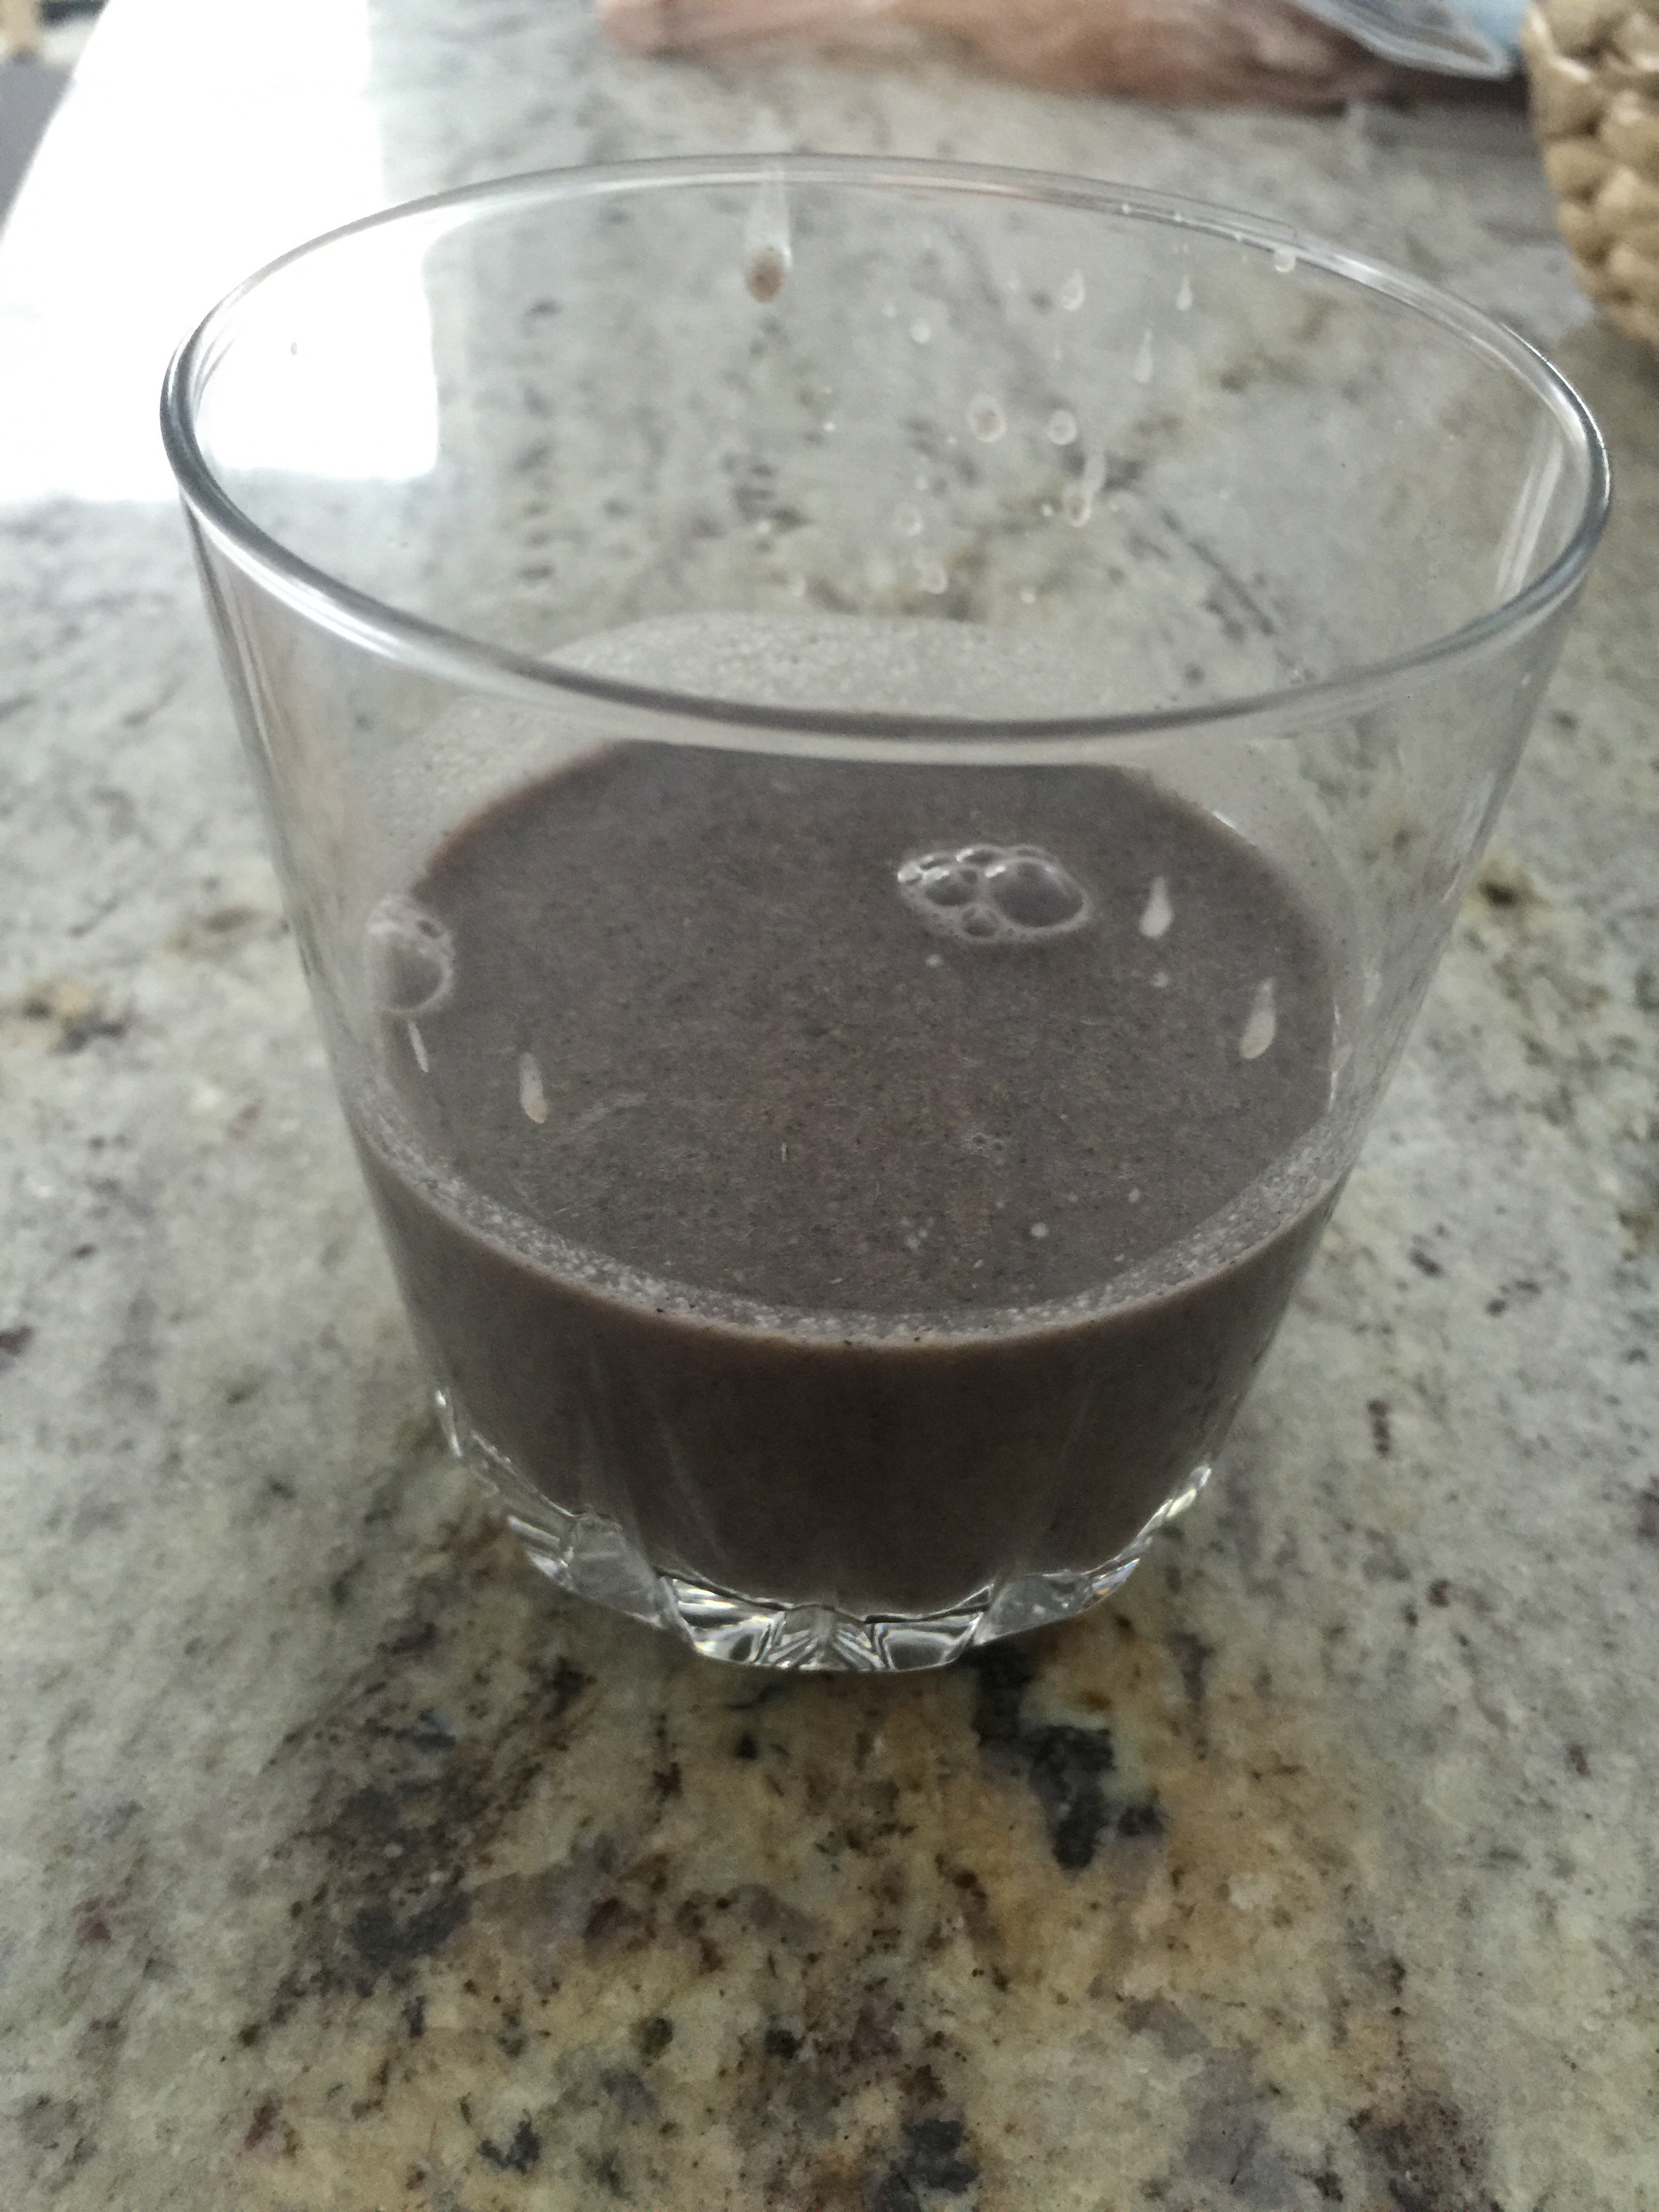
Ambronite goes down smooth. It tastes almost like oatmeal only its not thick and clumpy. The taste is pleasant, slightly nutty. Even my four and one year-olds drink it without flinching. If you want to get fancy and add fruit or milk to your Ambronite drink, power to you.  However you take it, Ambronite is a great way to shake up your morning or afternoon smoothie habit.

Ambronite is so much better than Ensure and all of those processed nutritional drinks full of chemicals and preservatives.

Ambronite gives you a nice natural jolt of energy, making it a better choice than coffee and energy drinks as well.

So what are you waiting for? Drink your nutrients with Ambronite!

Interested in giving Ambronite a try? Well, you're in luck, because one of my lucky readers will receive a free Ambronite sample. If you're on my mailing list, you're already entered. If not, hurry up and sign up. I'm drawing a name at random on Monday afternoon (1/25).

And if you're ready to dive in and place an order, you can contact the fine folks at Ambronite in one of the following ways:

hello@ambronite.com

facebook.com/ambronite

instagram.con/getambronite

twitter.com/ambronite


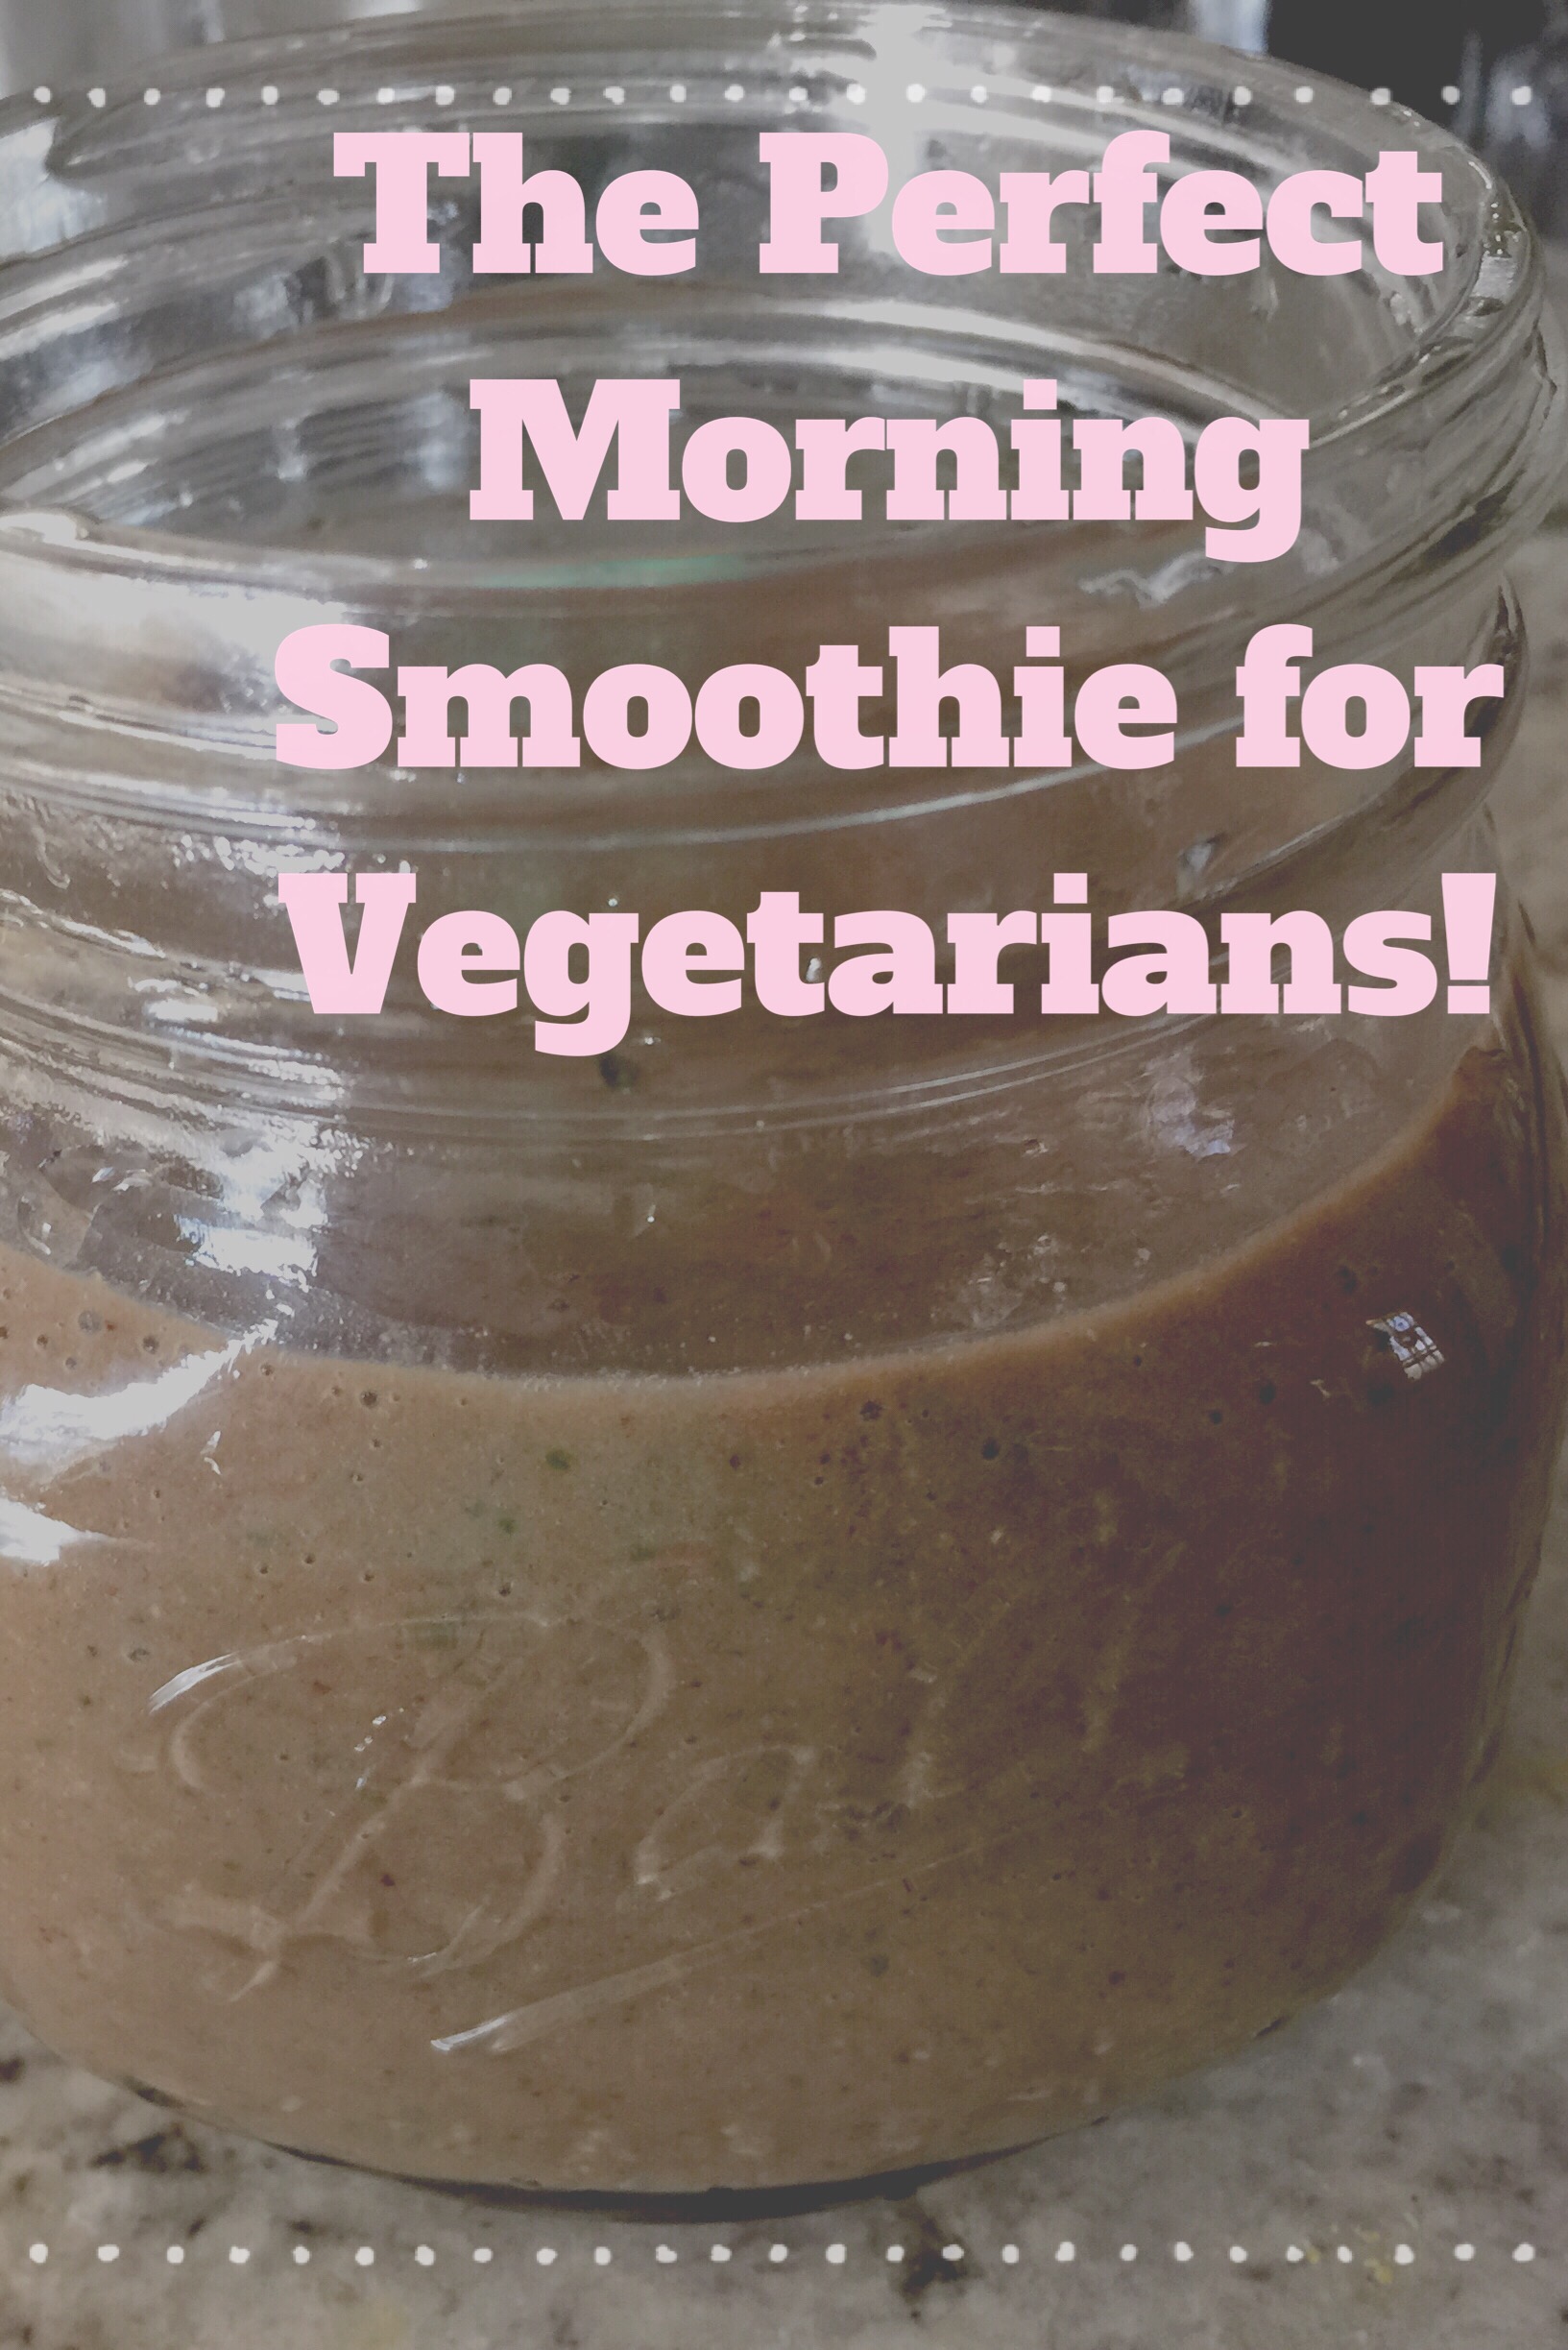
The Perfect Smoothie for Vegetarians!

The Perfect Smoothie for Vegetarians! A new year is here again!

I love the energy and excitement brought forth by a new start.

January 1st, is one of my favorite times to pause, reflect and start new.

With the start of this new year, I am continuing with my quest to be as clean, green and natural as possible, both inside and out. Instead of beginning each day with a breakfast meal, I've started drinking breakfast smoothies.

I like smoothies. There are so many different varieties. I've been drinking them for breakfast on and off since college. Smoothies are a great way to squeeze in extra nutrients. They're easy to transport for days when you need a quick breakfast on the go and they're pretty darn delicious. Smoothies, pretty much rock in my opinion, which is why I'm so excited to share this particular recipe. This particular vegetarian friendly smoothie goes above and beyond as far as nutrients, minerals and taste are concerned.

Wait- a vegetarian friendly smoothie? What are you talking about? Aren't all smoothies vegetarian?!?

Good point my perceptive reader, and to answer that, yes- usually. Your typical smoothie does not call for meat (although I have seen recipes that call for bacon).

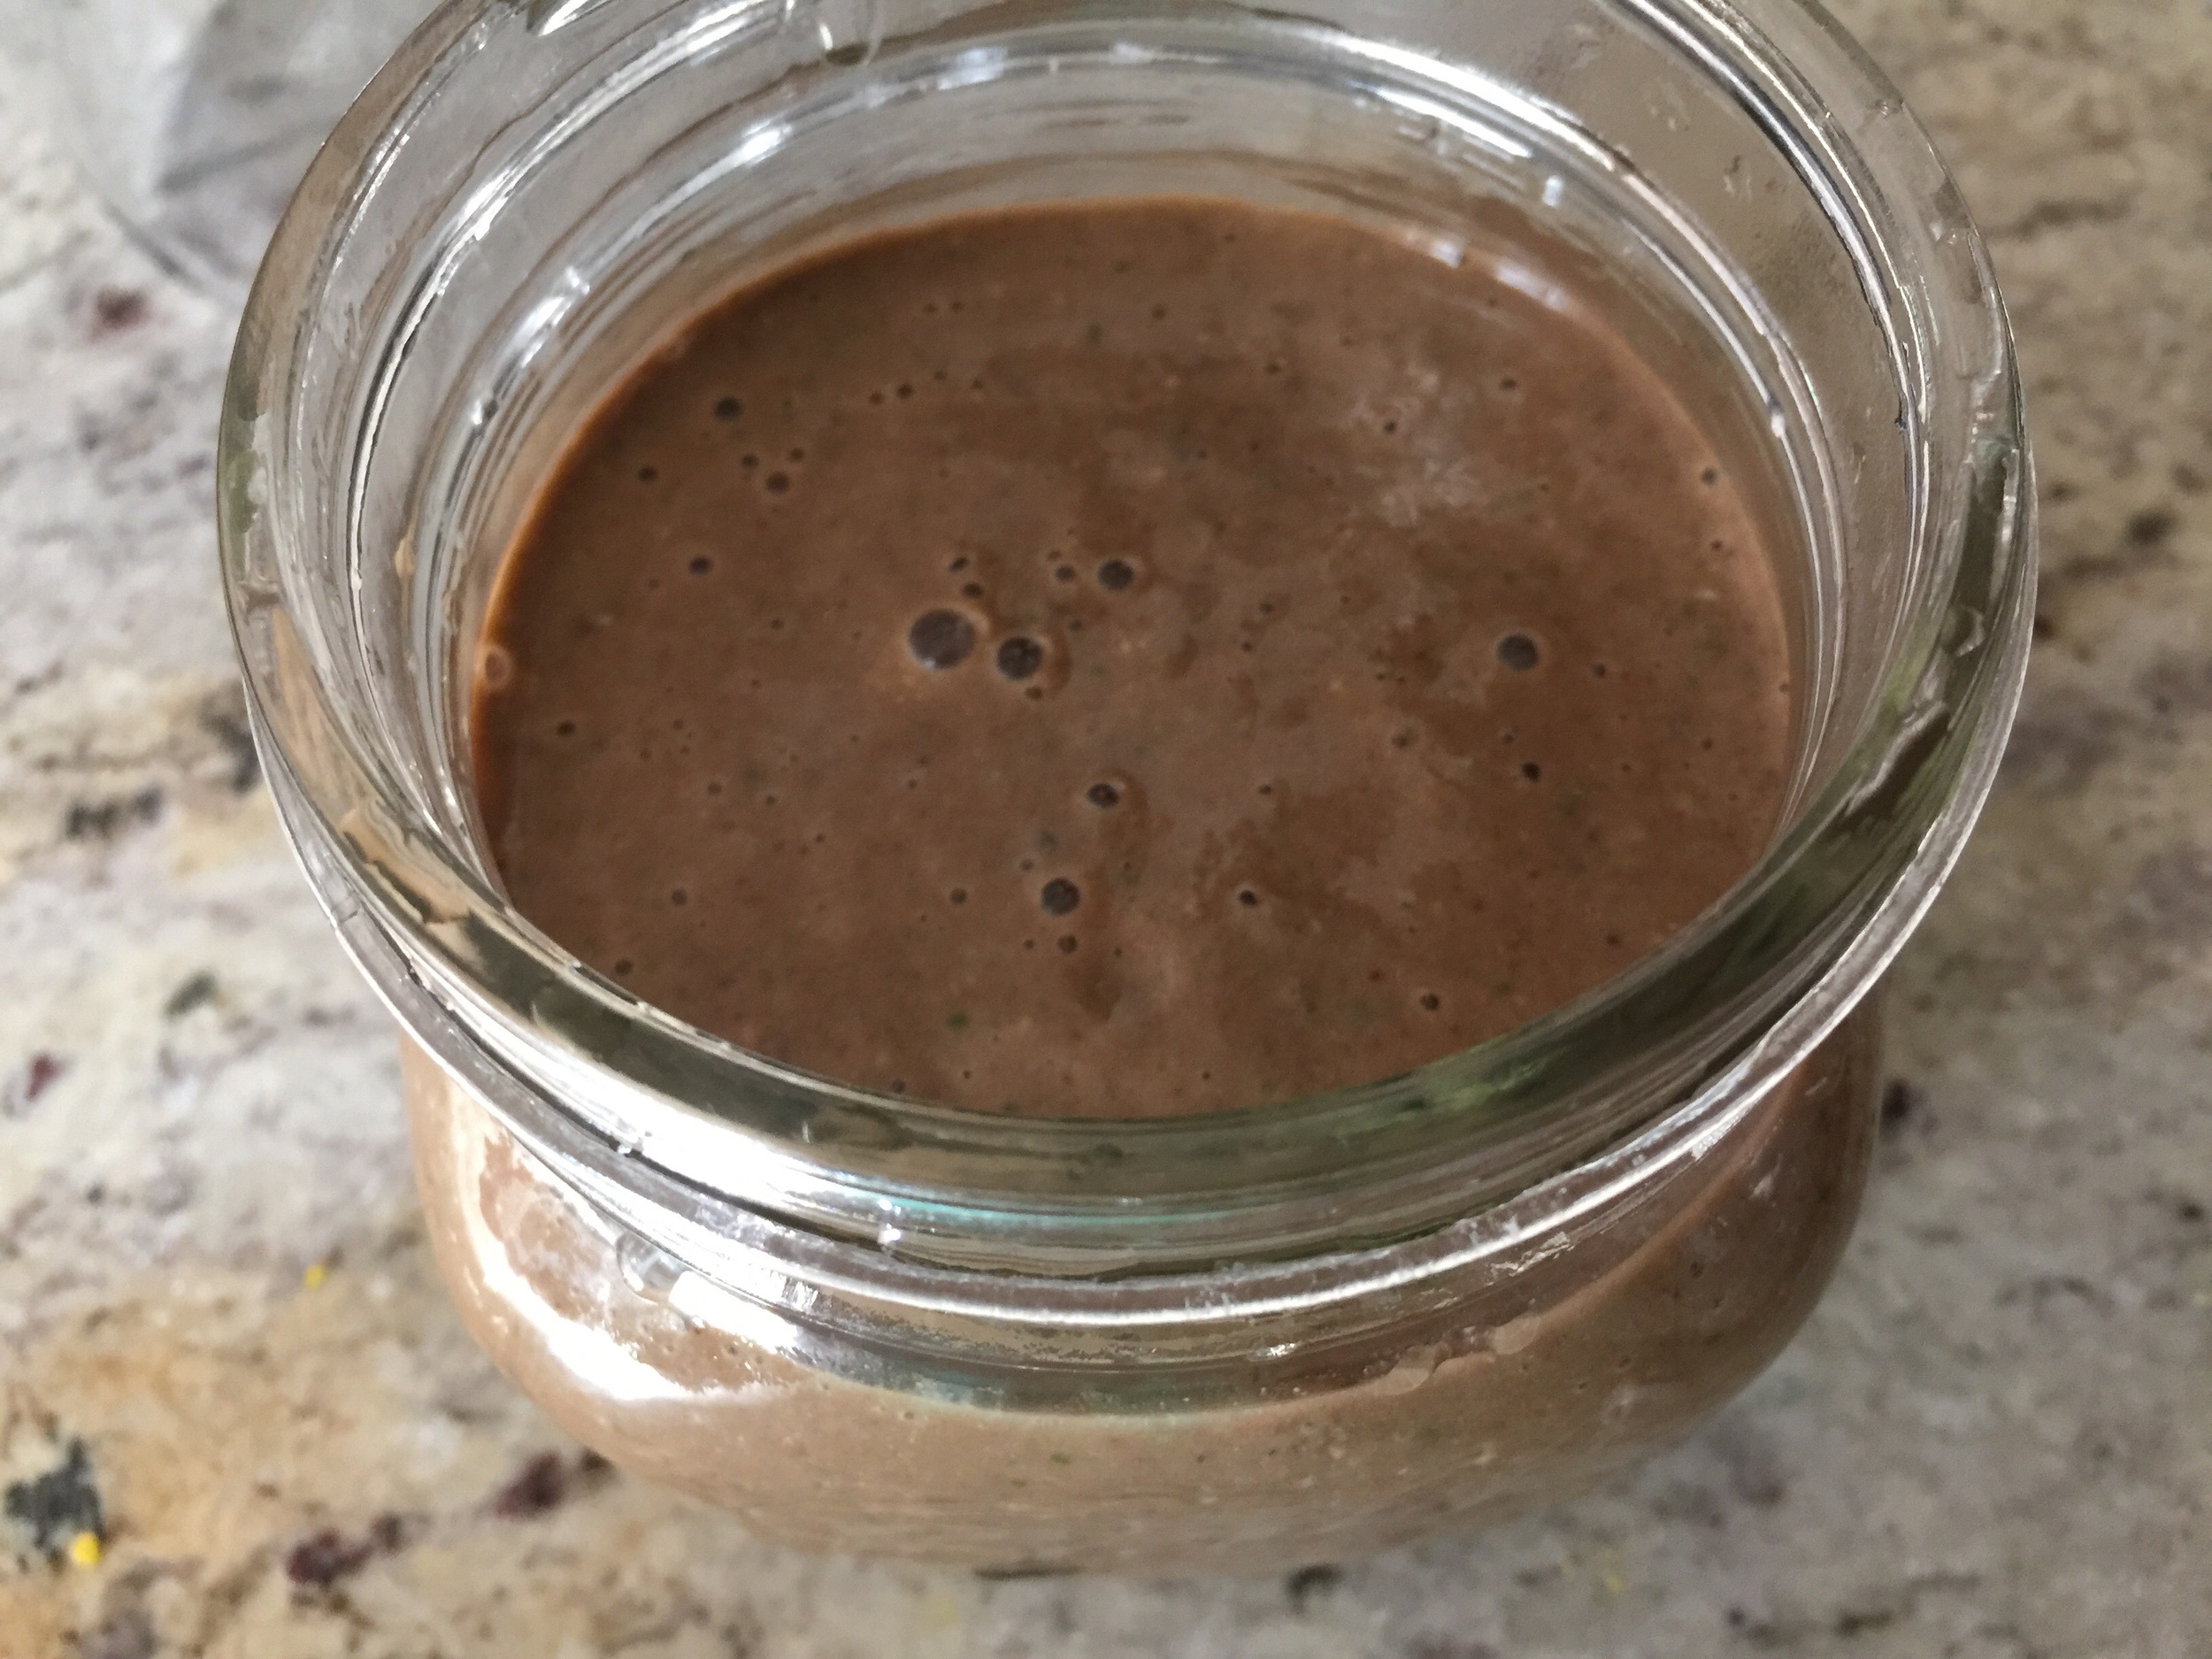
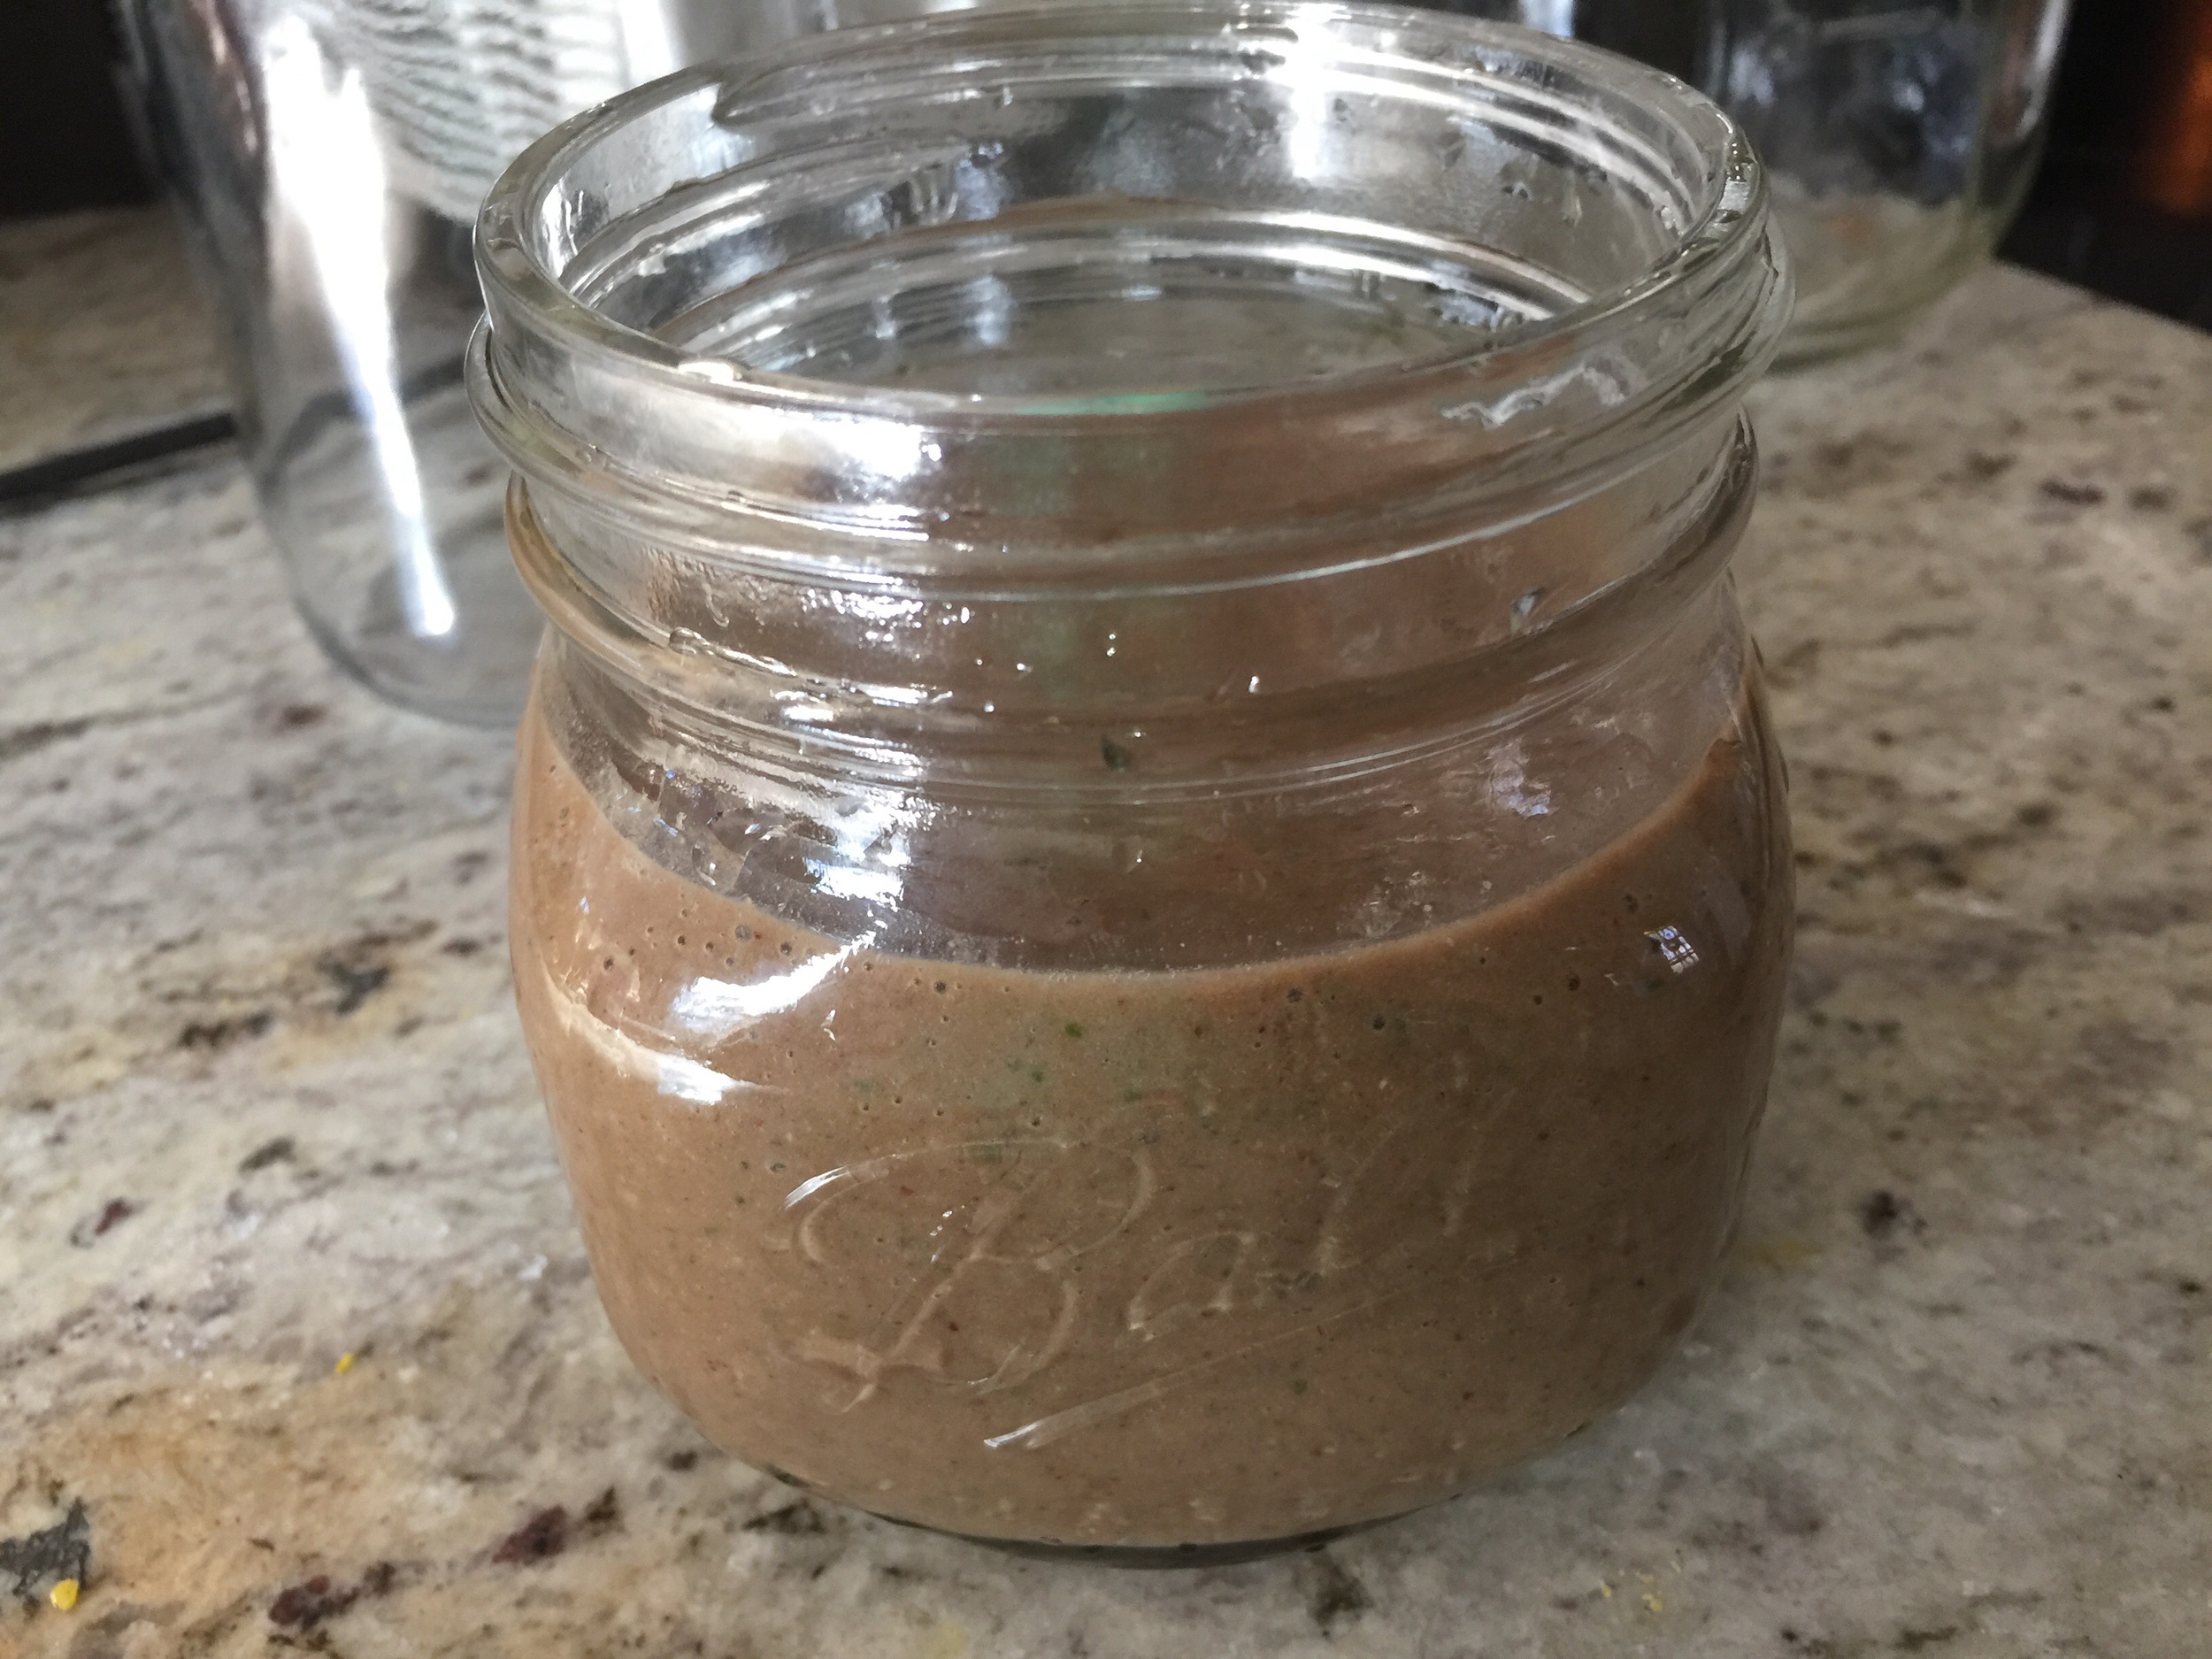
What makes this smoothie stand out, aside from the fact that it tastes like a chocolate milkshake, is the fact that it provides a super boost of both protein and iron, nutrients that can be lacking in a vegetarian diet. Hence the title- The Perfect Smoothie for Vegetarians!

Thanks to the following cast of power players:

Blackstrap molasses- iron, minerals, calcium

Chia- omega 3's, antioxidants, calcium

Cocoa powder- antioxidants

Almond butter- protein

Almond milk- protein

Baobab powder- antioxidants, iron, vitamin C

This smoothie is quite literally the perfect smoothie for vegetarians!

So here's what you need:

2 bananas

4 tablespoons blackstrap molasses

2 tablespoons chia seed

1 cup chopped kale

1 teaspoon ground nutmeg

1 tablespoon pure vanilla extract

2 tablespoons pure cocoa powder

4 tablespoons almond butter

2 cups almond milk

1 tablespoon baobob powder


The directions are simple. Combine the  ingredients in a blender and press blend.

The result is a deliciously hearty iron rich, chocolatey, protein rich, get your day started right -breakfast smoothie.

This recipe makes two 8 ounce servings, which means share it with someone you love. In fact it's very child friendly. My four year old drinks it like a treat and my one year old eats it from a bowl like cereal.

Little do they know that mommy is stuffing them full of the nutrients that tend to be absent from our vegetarian and soy-free diet.

And that makes me do a happy dance...

Do you drink smoothies? What do you like to put in your breakfast smoothies?

Easy Spaghetti Squash Bowls

Disclaimer: This was my first time working with spaghetti squash! Truth: I loved it!

Last week, I went to the farmer's market in search of squash to display in my fruit and veggie basket.

I was just looking for pretty colors, interesting shapes and a variety of textures. This was supposed to be a simple fall display. One I'd eventually get around to eating (like our Halloween porch pumpkins...eventually).

When I got home, I filled my basket and took a moment to browse Pinterest.

I'm not exaggerating when I say that I must have been hit with about thirty spaghetti squash recipes.

It was a sign.

So the cogs and wheels in my head began to churn. I looked over a few of the recipes, then consulted my trusty Kripalu Vegetarian Cookbook. I had a plan.

I've never been very good at following recipes. I think that's why I can't make a successful batch of croissants despite numerous attempts. I'm an improviser, an embellisher, I need space to make something mine. Which is great when you're talking spaghetti squash bowls and not so great when you're talking croissants (one day...).

There were quite a few steps. This wasn't the quickest recipe.

But it was delicious and healthy and very worth it!

Here's what I did:

Ingredients:

1 Medium sized spaghetti squash

1 Medium red potato

2 stalks of Tuscan kale

1medium yellow onion

2 tablespoons grated ginger

1/2 cup French lentils

1 small yellow squash

1/2 cup couscous

1 tablespoon balsamic vinegar

4 cups vegetable broth

1 teaspoon black pepper

1/4 teaspoon cayenne pepper

1 teaspoon dill

1/2 teaspoon nutmeg

1 teaspoon cinnamon

1 teaspoon Himalayan sea salt

2 tablespoons ground flax

Spaghetti Squash Prep:

Being careful not to cut all of my fingers off (much easier said than done!), I took the biggest and sharpest knife from my knife drawer and cut the squash in half lengthwise.

Once open, I placed the halves face down in a cake pan, filled halfway to the top with water and placed in the oven at 350 degrees for 45 minutes.

I set the halves out to cool for thirty minutes before scooping out the contents of the center with a spoon. The seeds I laid out to dry for roasting (another project for another day).

The pulp, I set aside for the filling.

Filling:

IMG_1320

This was a crock pot dish. If you have sturdy ceramic cookware, you can use that in lieu of a crock pot.

I love crock pot cooking because it's so easy and you can just dump everything in at once and be on with your day.

I cubed the potato, the onion and squash.

I cut the kale into thin strips.

I added the spaghetti squash spaghetti pulp.

Everything went in together. I gave the mixture a good faith stir before placing on the lid and giving it three and  a half hours to cook.

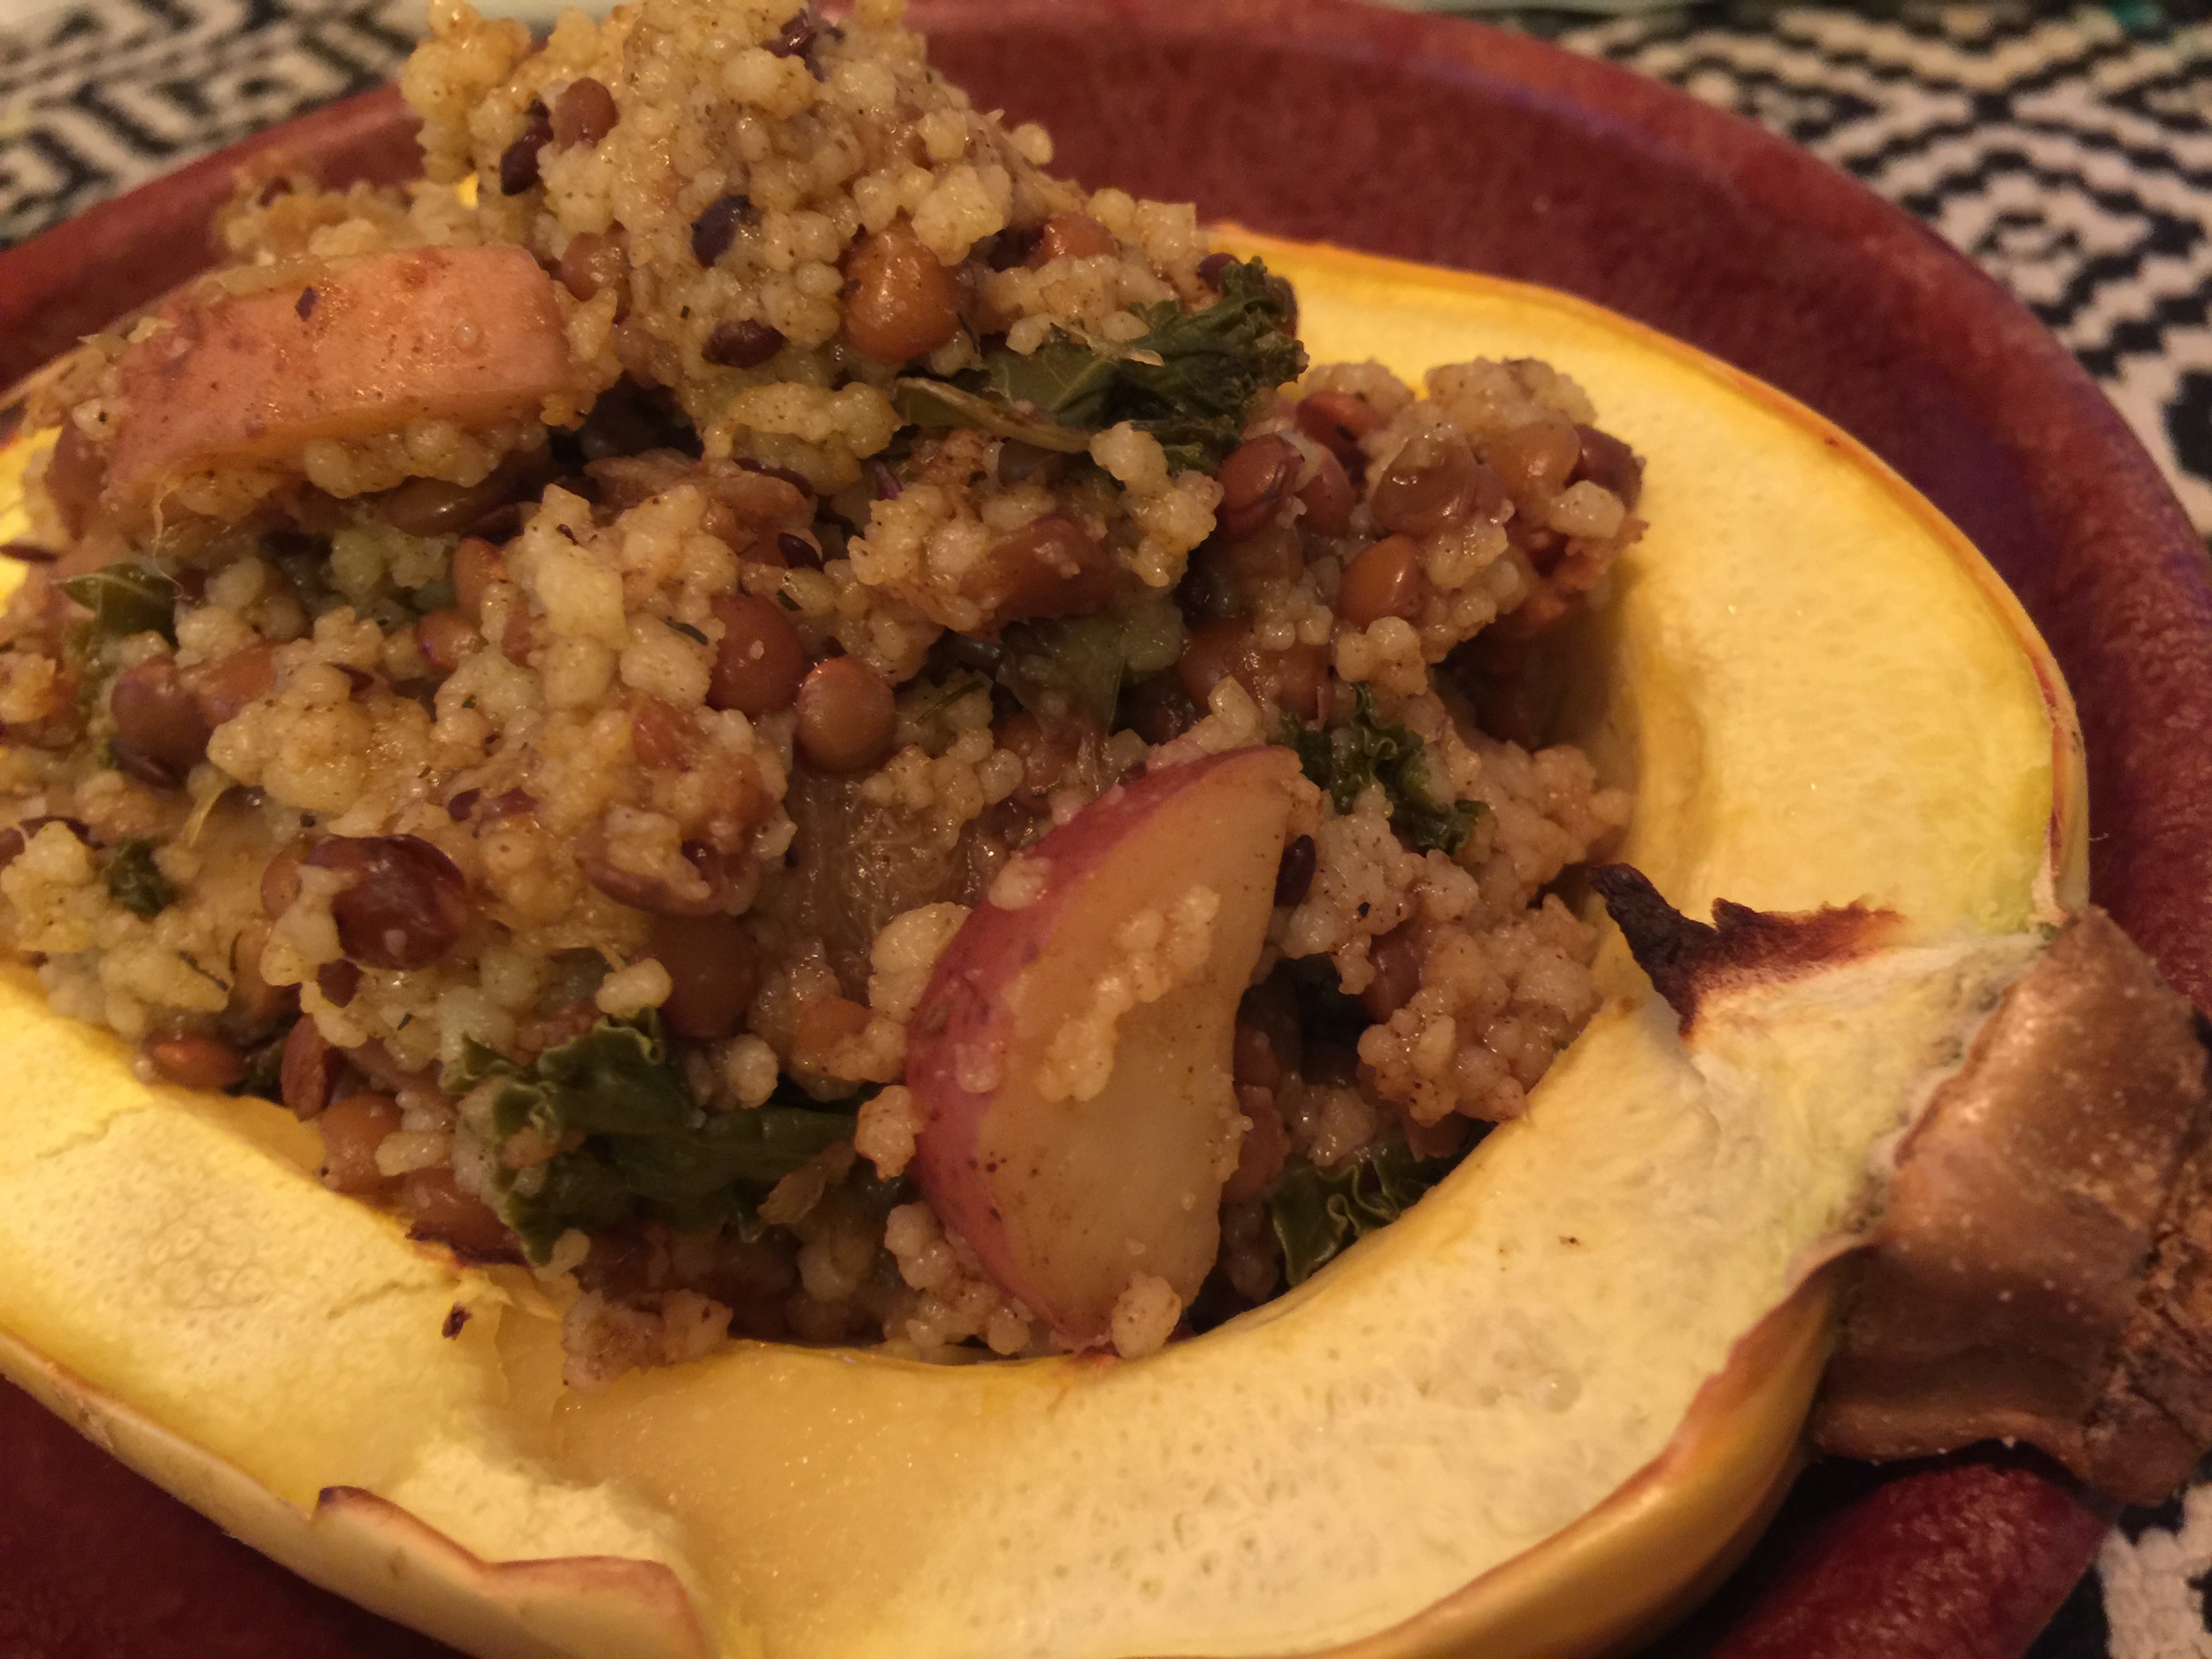
Three and a half hours later, for  the final step, I scooped the filling into the spaghetti squash halves which were set at room temperature to cool.

I popped the boats in the oven at 350 for ten minutes to give everything a nice overall brown.

Once out of the oven, I drizzled a little olive oil, sea salt and pepper over the top and....ta-da!

IMG_1340

Dinner is served!

spaghetti squash bowl

This is a delicious, hearty, savory, vegetarian dish that can be used as a main or a side.

Strawberry Rhubarb Pie- The Best of Summer on a Fork!

I don't know where the time has gone. It is no longer summer. In fact, we've just had our first frost. But, when I originally made this delicious pie and wrote this post, it was.

strawberry rhubarb pie

I've been in the kitchen a lot since we made the move to Maryland. The food options in our immediate neighborhood are mostly chains (nothing particularly exciting) cooking at home (unless we make the trek to DC, Alexandria or Baltimore) is the preferable option.

I am smitten by my new spacious kitchen. Making food from scratch gives me endless gratification. It is no exaggeration to say that I spent the latter part of August and all of September in the kitchen.

I experimented with new dishes, soups and deserts.

I harvested herbs from my garden, explored new seasonal gems (ahem rhubarb).

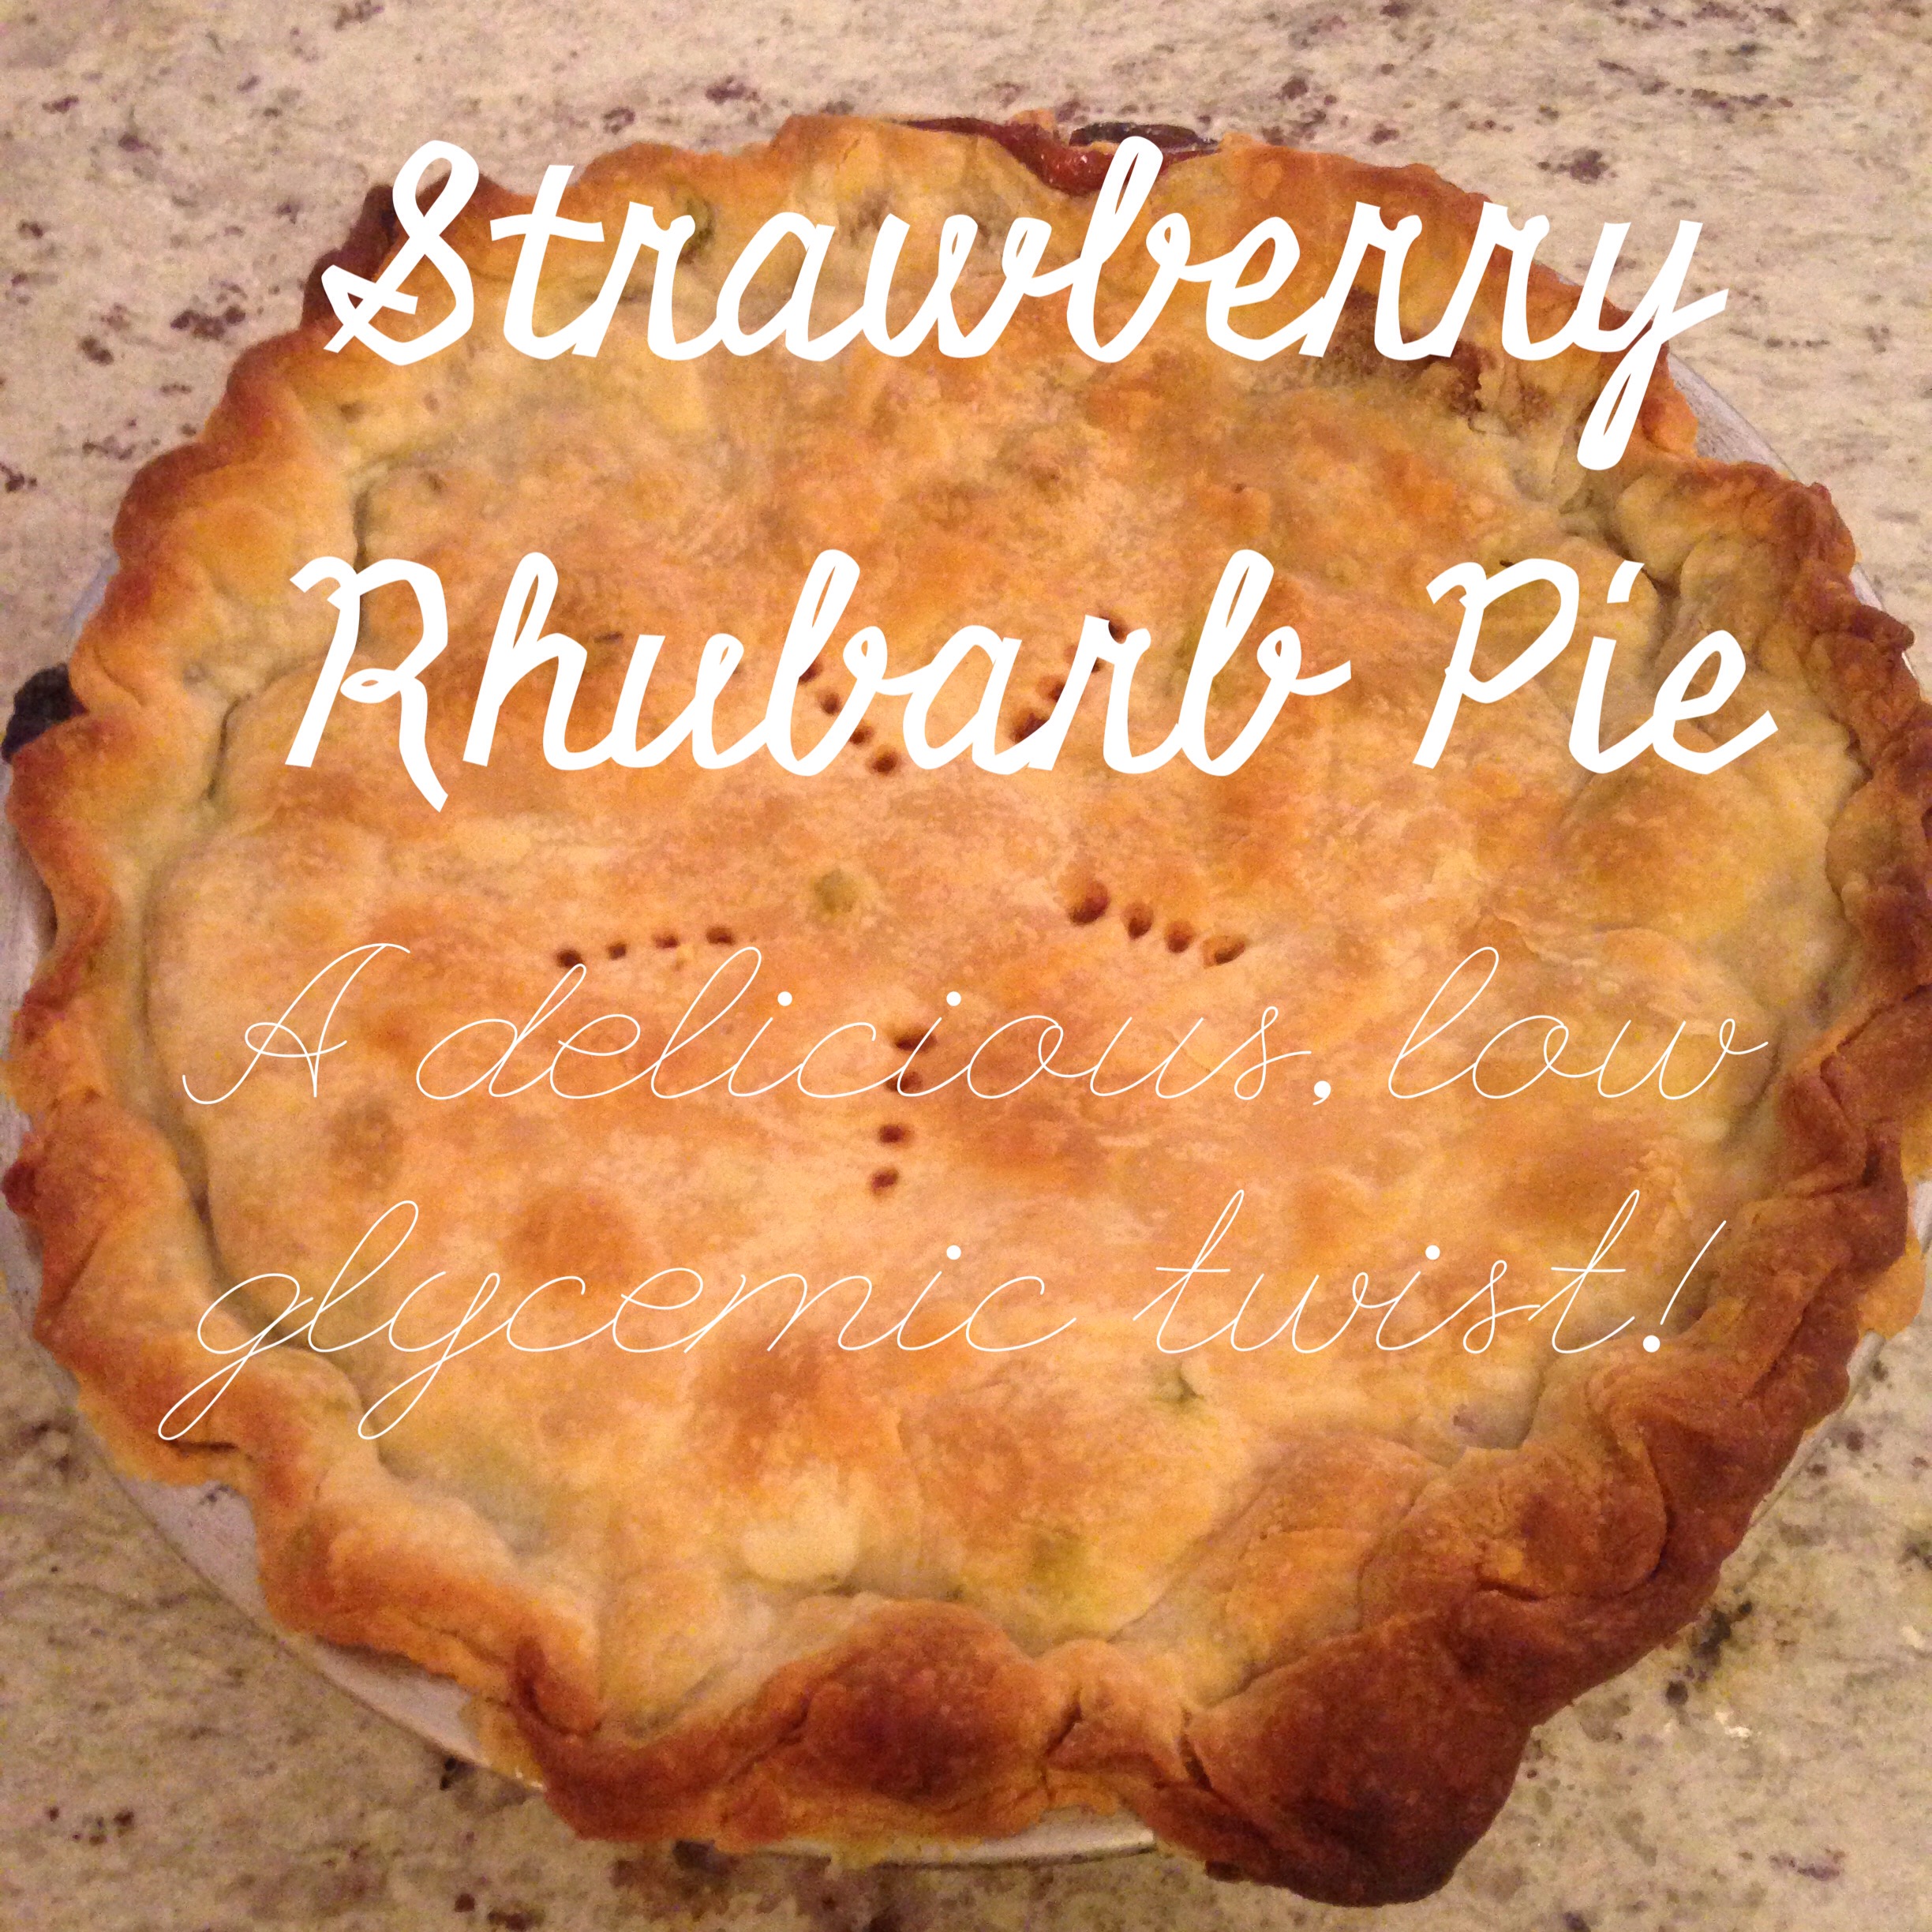
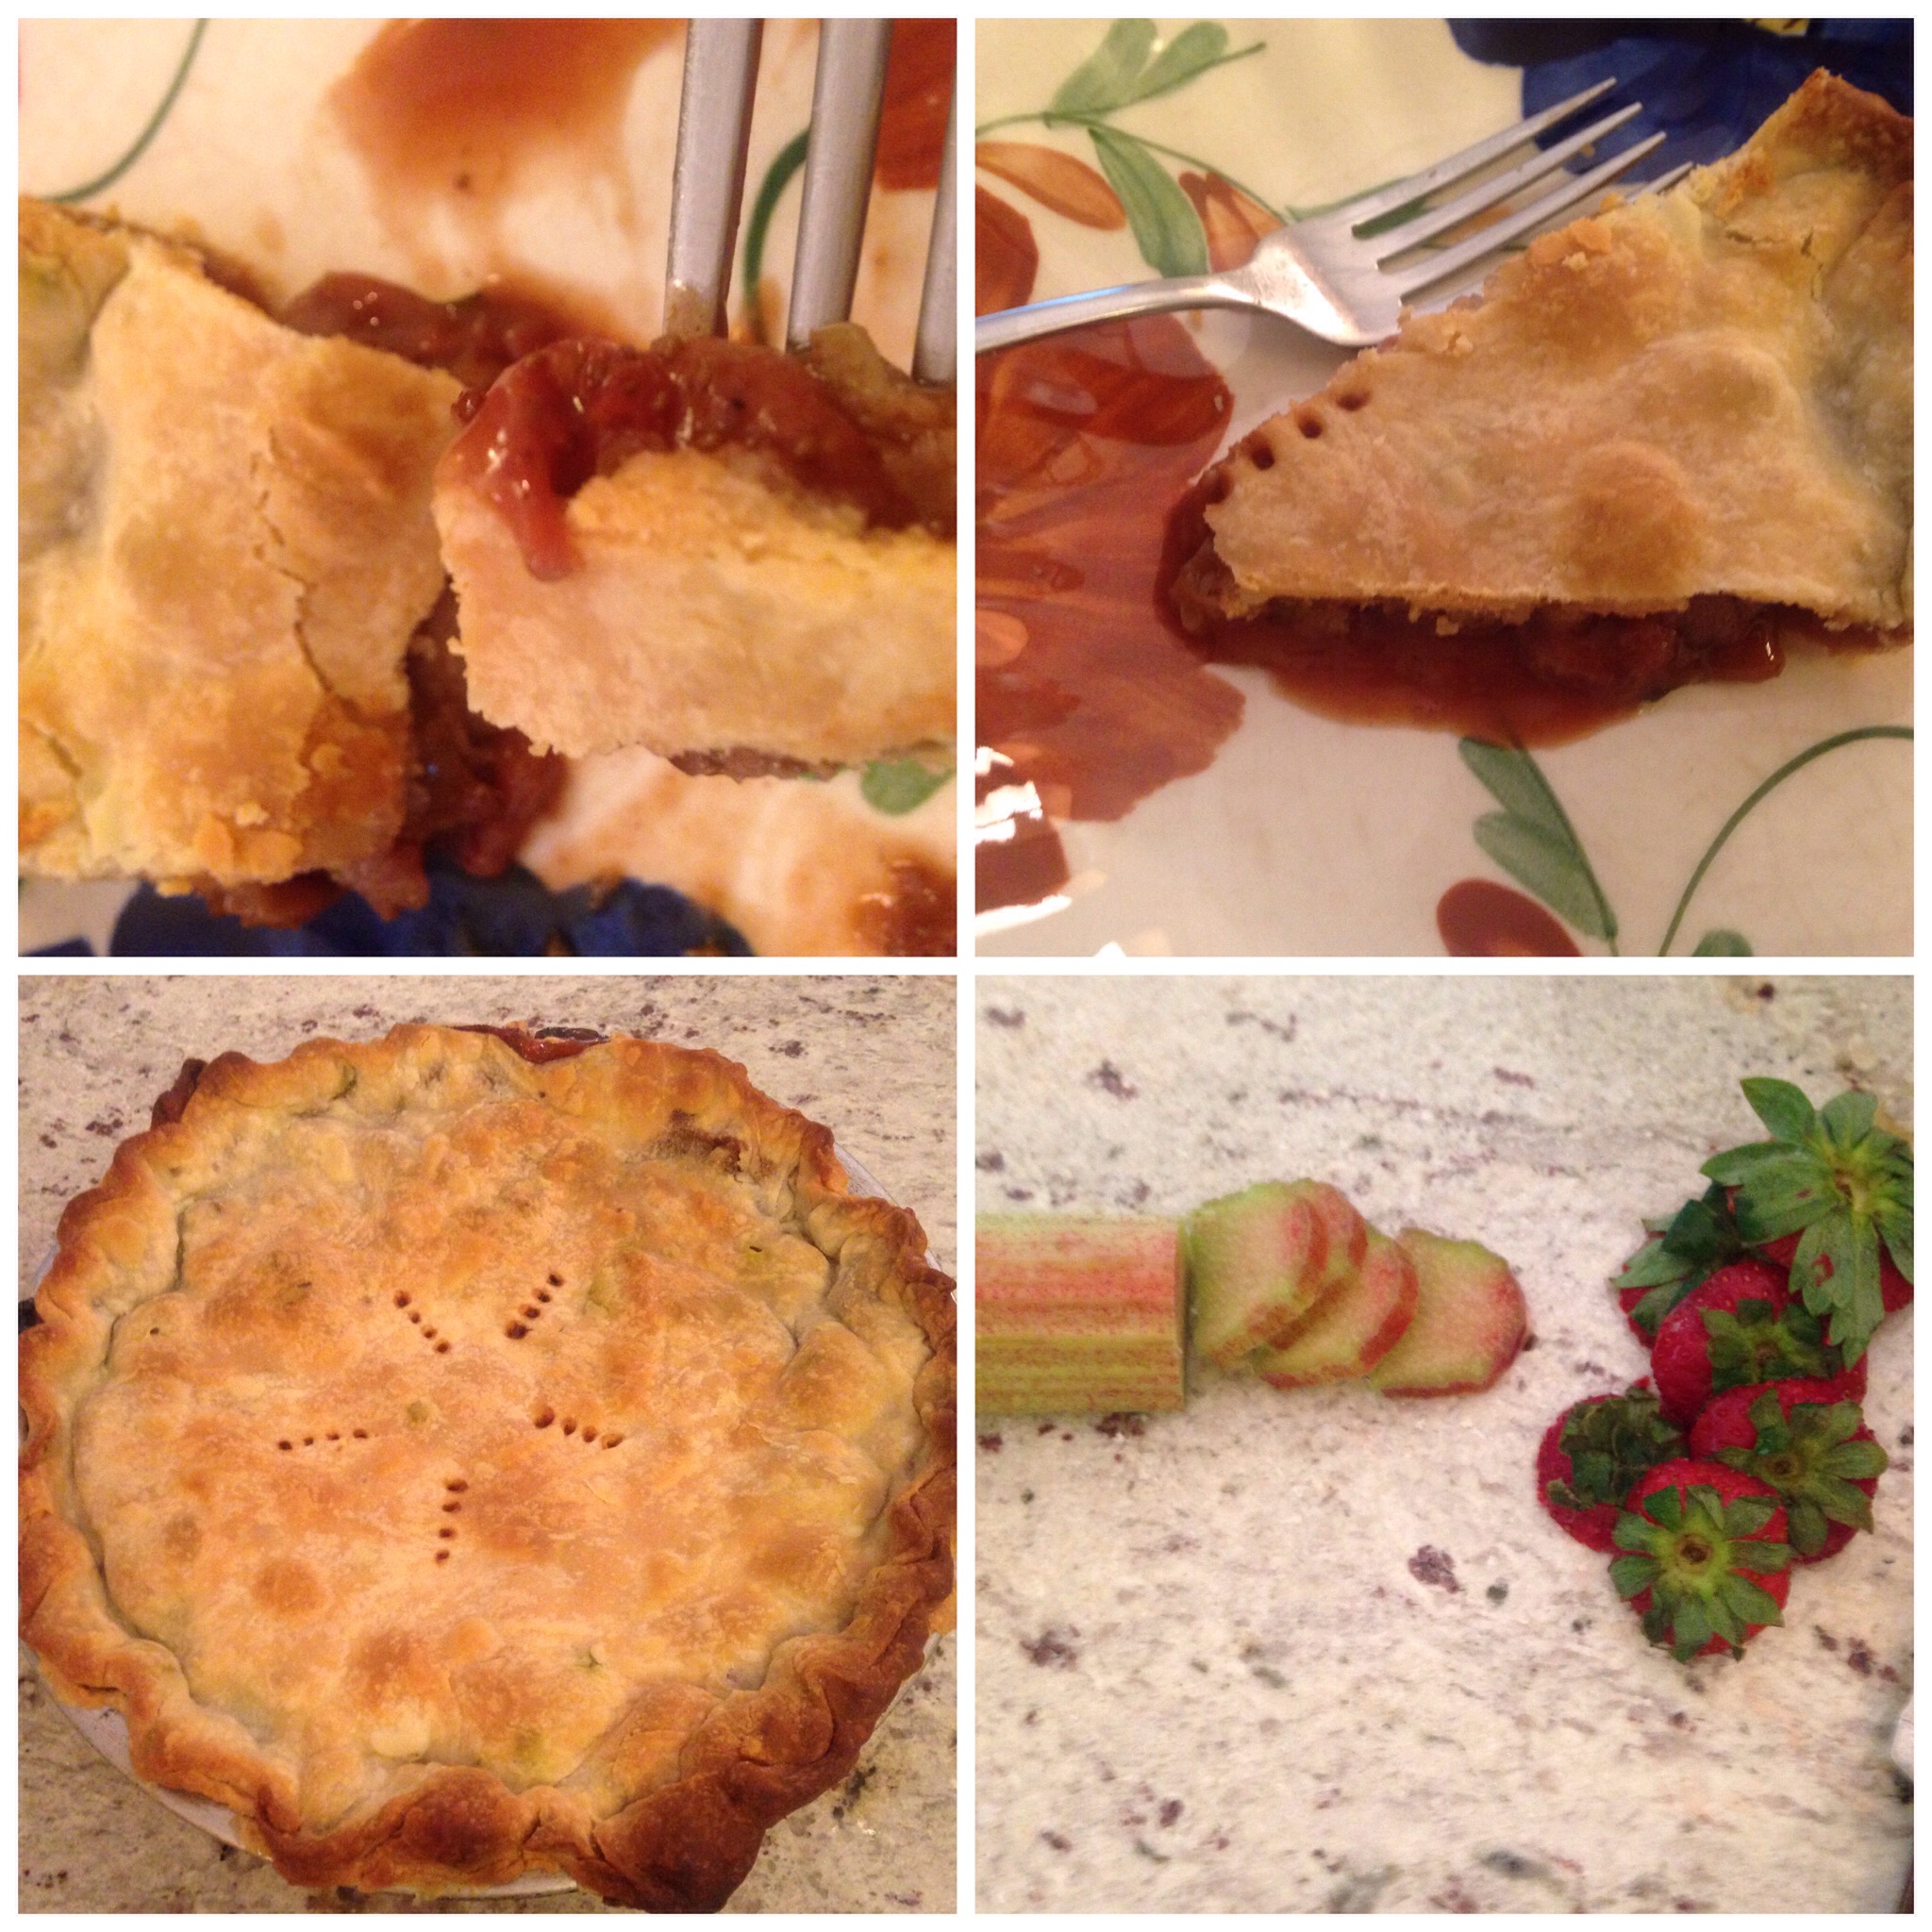
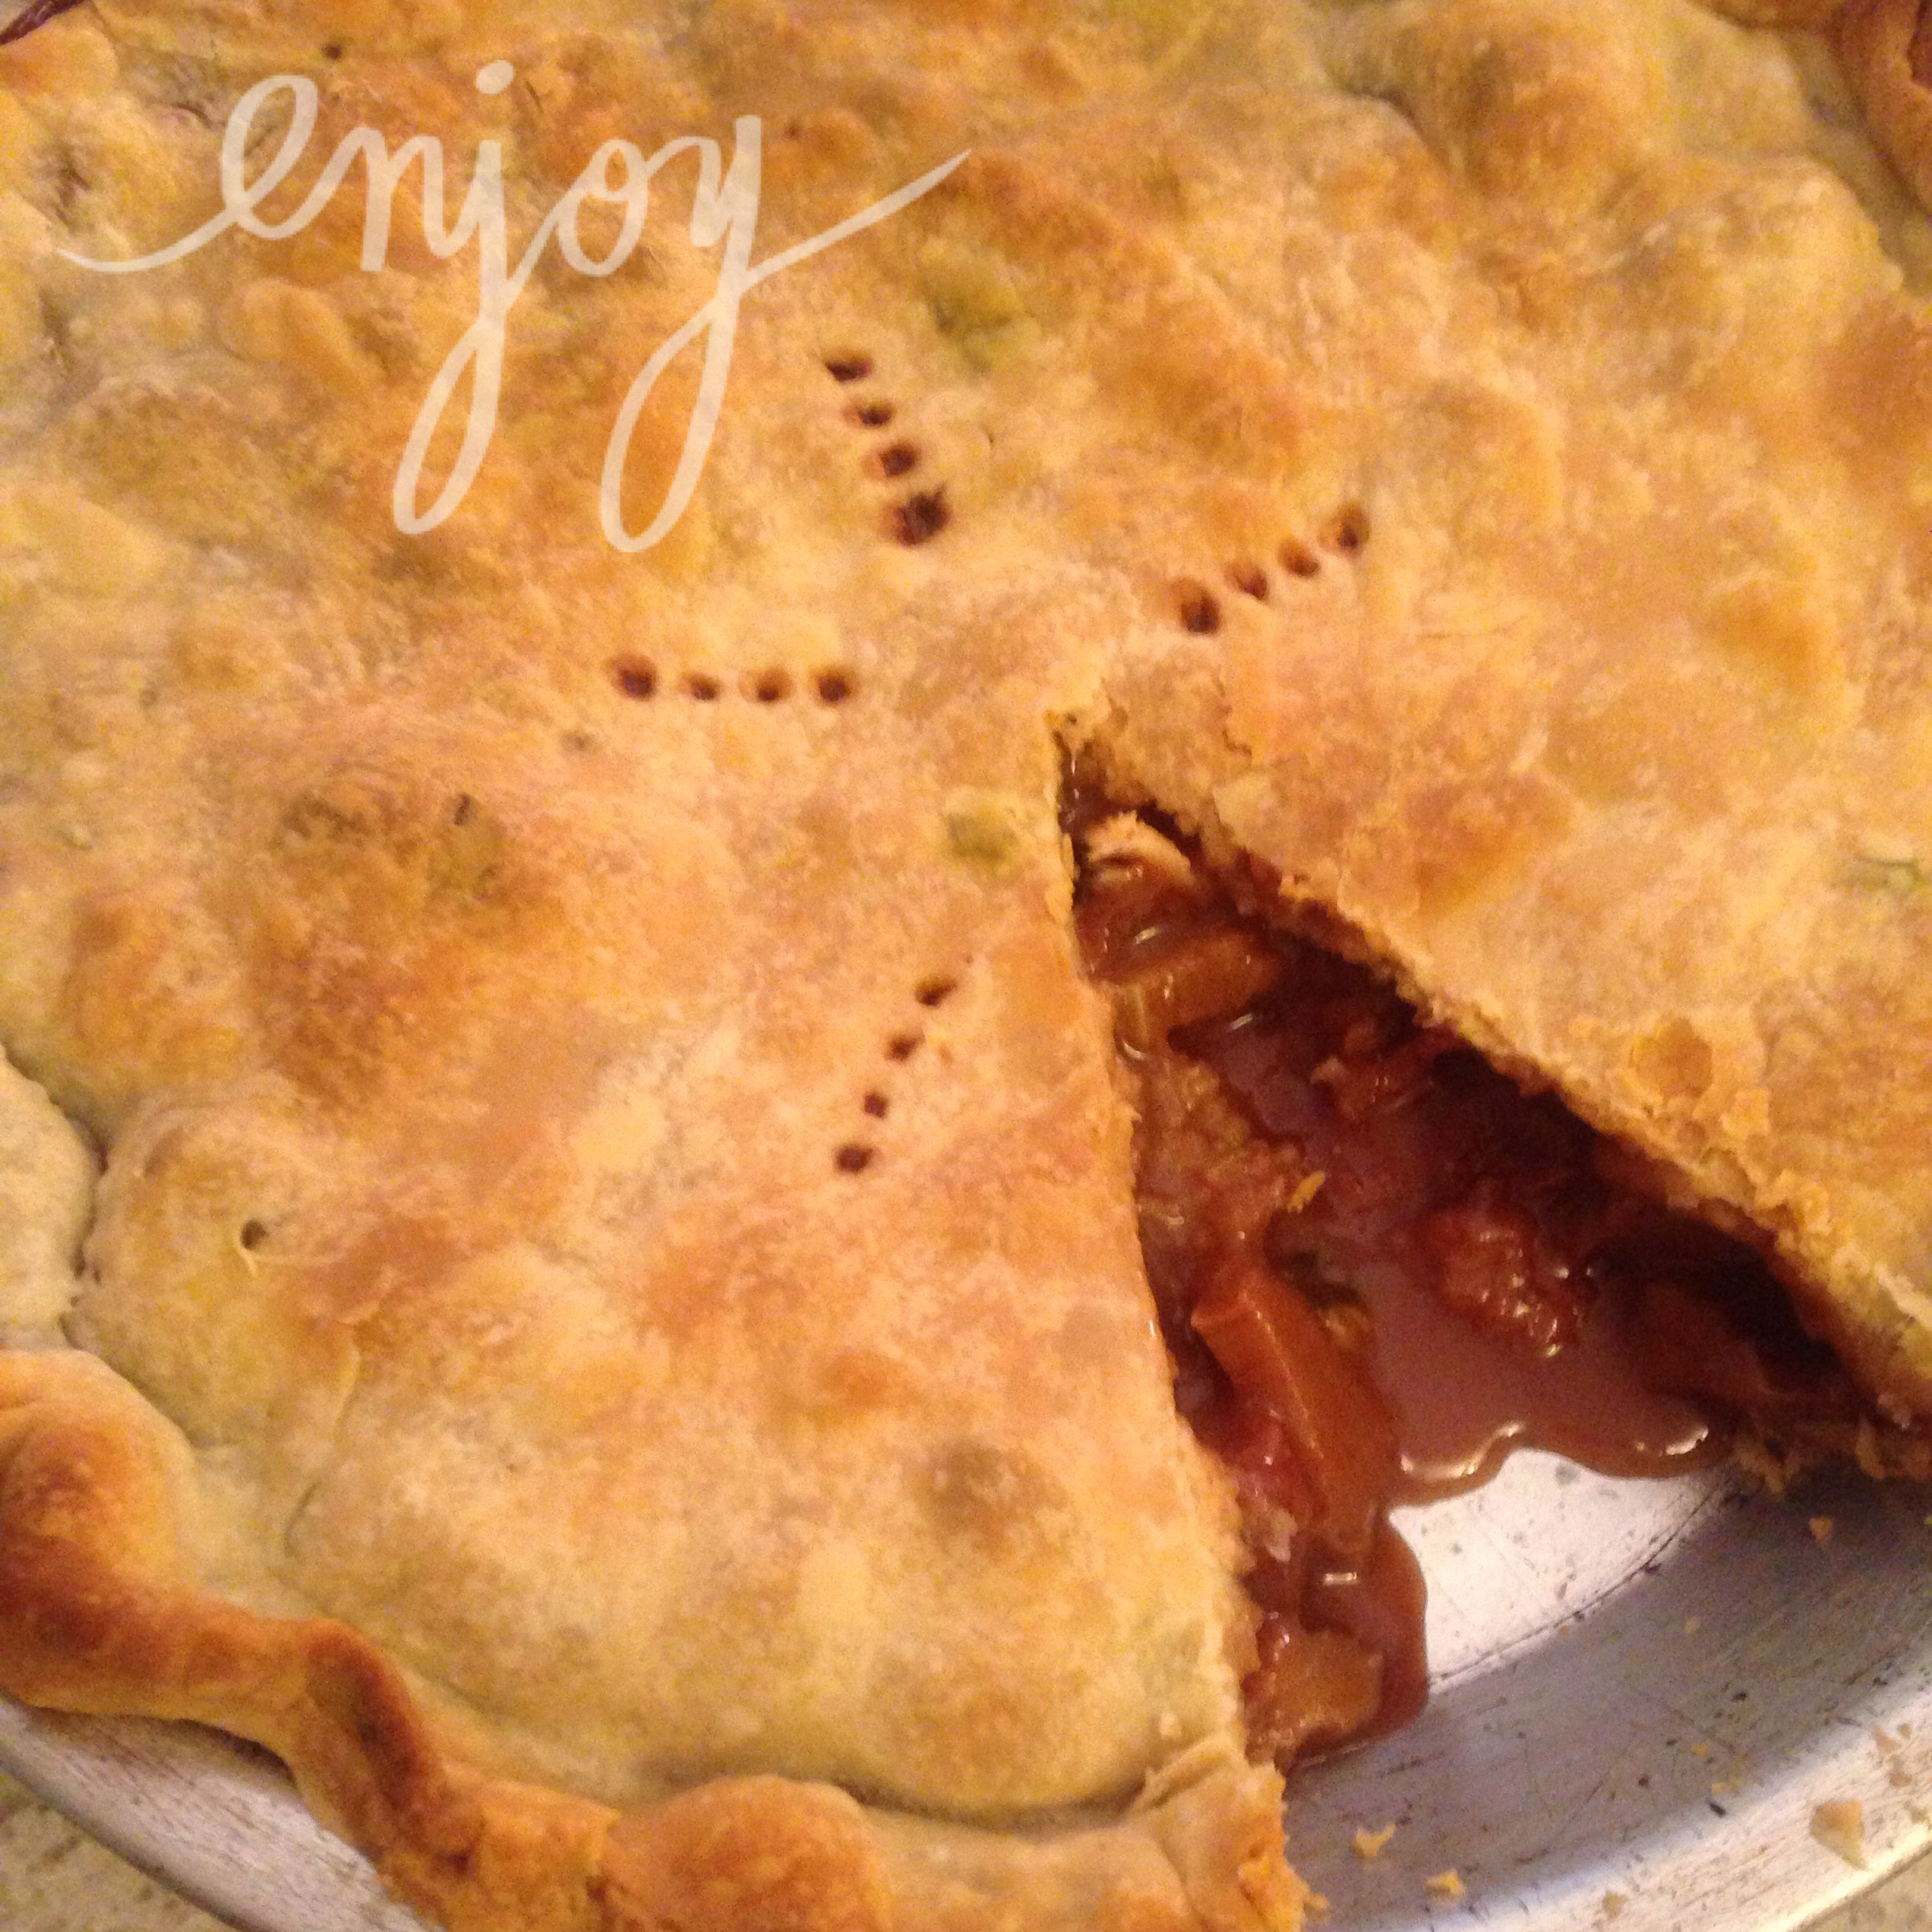
My strawberry rhubarb pie, 100% in season when I made it, turned out wonderfully!

I used fresh herbs from my front yard to give it an aromatic twist and swapped out regular sugar for the coconut palm variety (low glycemic index but just as delicious).

The pie lasted only a few hours in our house and now, at long last, I'm getting around to posting it.

The strawberry and rhubarb are not in season right now, but that's okay, give it time. After the excitement of holiday season, the chill of winter and the optimism of spring, strawberry season will be upon us once more and you'll have the perfect summer recipe.

Strawberry Rhubarb Pie- The Best of Summer on a Fork!

IMG_0393

Here's what you'll need for the crust:

2 1/2 cups all-purpose flour

2 teaspoons coconut palm sugar

1 teaspoon sea salt

1 tablespoon fresh rosemary

1 cup of very cold sliced unsalted butter

Directions:

IMG_0394

Preheat your oven to 375 degrees.

In a bowl, combine your flour, sugar and salt. Once this mixture is uniform add your fresh rosemary which you can choose to chop or not depending upon your preference.

Add to this mixture your sliced butter and get your hands in there to mix it all together. With your fingertips, knead the butter into the flour mixture.

Form two balls from your dough.

On a flat floured surface, roll your dough with a rolling pin until it's about 1/4 of an inch thick.

Lift carefully and place into a pie tin that has been oiled with butter. Using a fork poke holes in the bottom layer of crust to vent.

Once you add the filling, you'll place the second layer of crust on top for a full covered pie.

IMG_0367

This crust is like a rosemary shortbread cookie- it just might make you swoon!

Here's what you'll need for the filling:

1 rhubarb stalk

1 1/4 cup of coconut palm sugar

dash of cinnamon

1 pint of strawberries

1 tablespoon cornstarch

1 teaspoon grated lime zest

1 teaspoon of fresh torn basil

1/4 teaspoon sea salt

Directions:

Thinly slice your rhubarb stalk. Cut your strawberries in half. Combine the rhubarb and strawberries in a bowl. Add the grated lime zest and your basil. Toss together and set aside.

In a small bowl mix your sugar, cinnamon, sea salt and cornstarch together until uniform. Add this mixture to the strawberries and rhubarb.

Once combined, pour into your pie crust.

Place the top layer of pie crust over the filling.

You can use a fork or a knife (or both) to carve out fancy designs in the top layer of crust to vent.

Use whatever method makes you happy when it comes to the edge of the pie. I like to use my thumb to create a squiggly pattern to seal my pie crust. Many people swear by the old fold over method. Others simply cut and press. Either way will get you there.

It's now oven time!

Set your pie on the middle rack at 375 degrees for about 30-40 minutes until the pie crust turns golden and the aroma is irresistible!

IMG_0392

Cool for 15 minutes before slicing.

This pairs wonderfully with vanilla ice cream or fresh cream!


Lavender Biscuits

"Mommy. I want biscuits!" It was my four year old. Crouched by the top of my head, hovering over me as I lay in bed.

Ugh...Not again! 

The day before I had made biscuits for breakfast and two days before that and a week before that. I was over it.

"Mommy! I want to help you make biscuits!"

That four year old again. This time, he had his arms around my neck in what I could only interpret as a hug.

Slowly my eyes opened. I nodded and mumbled some sort of agreement and before I knew it, I was up, making my way groggily down the hallway to make biscuits.

FYI- It was 6:15 am on a Sunday (the joys of motherhood!)

I went through the customary motions, pulled out my ingredients and bowls. Preheated the oven.

Then I paused. I looked around. I was waking up. My juices started glowing. I got creative.

If I was going to make biscuits, then I was going to reinvent my standard go-to.

Looking in the fridge, we had left over shredded cheddar cheese. I placed it on the counter.

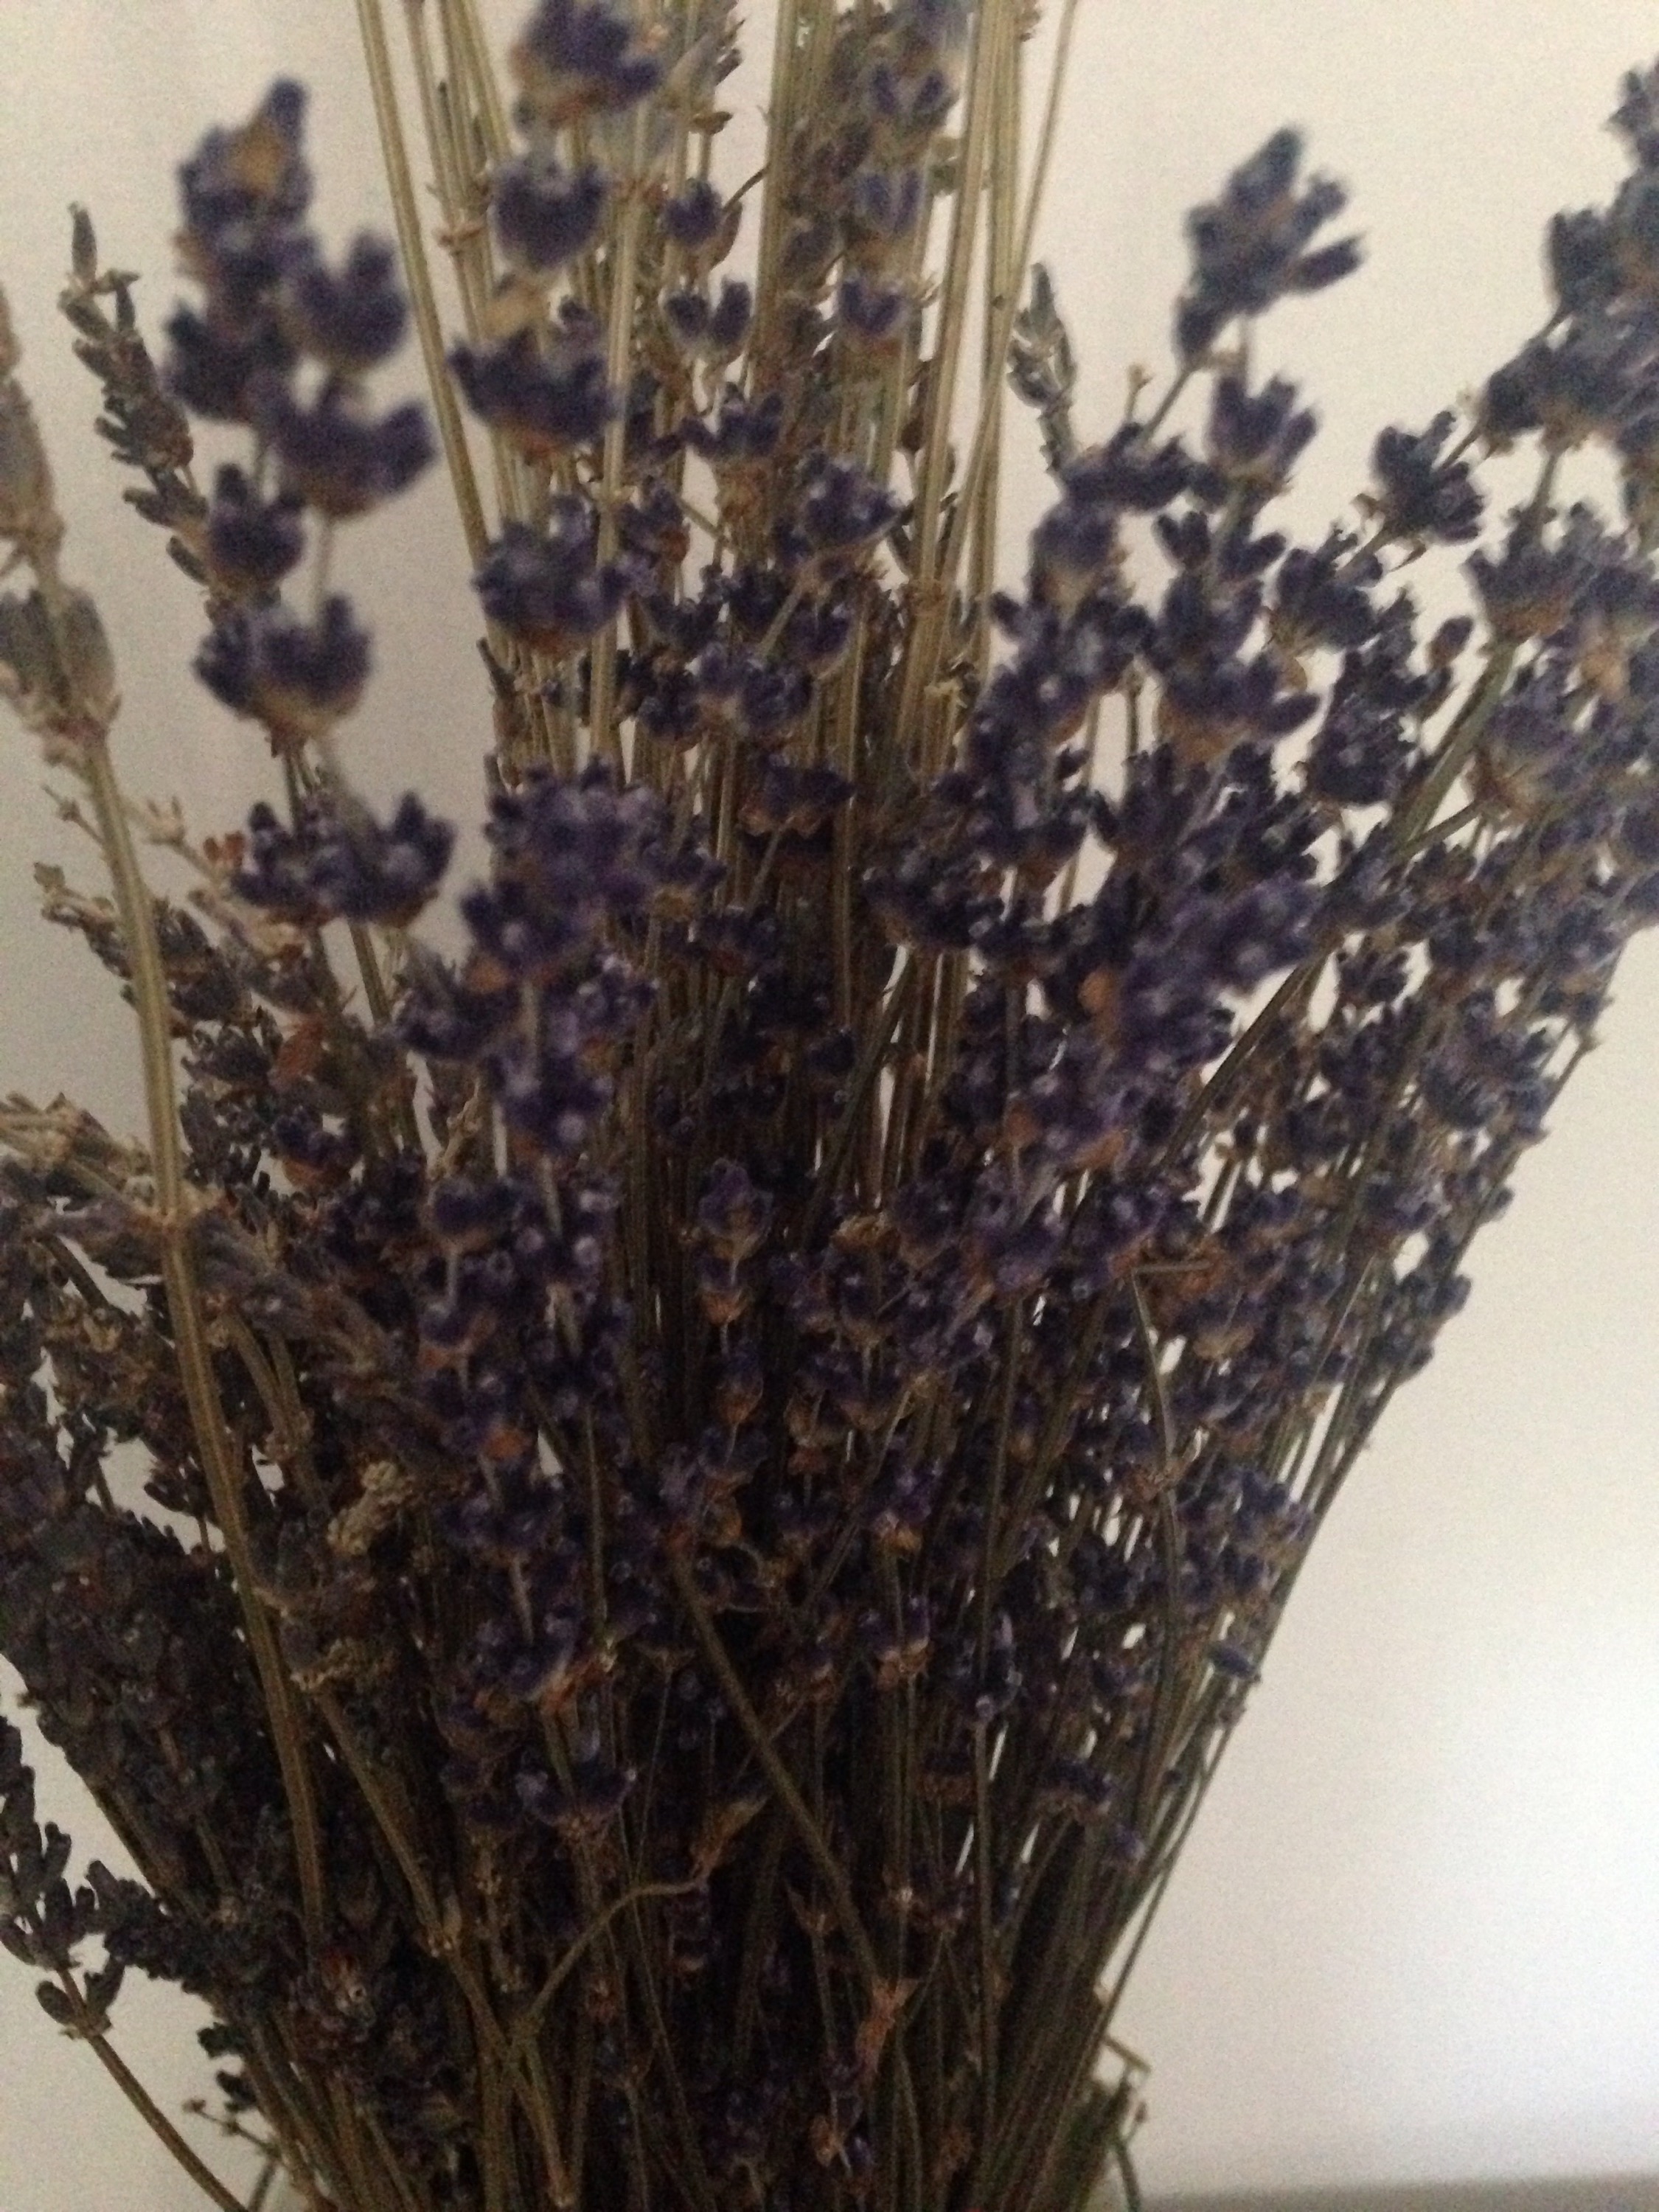
I opened my spice drawer and the smell of lavender hit me. I had just purchased a bag of lavender buds the other day, they'd be perfect.

Coffee in hand, four year old ironically not in sight, I set to creating.

The result was fabulous!

I'm still patting myself on the back.

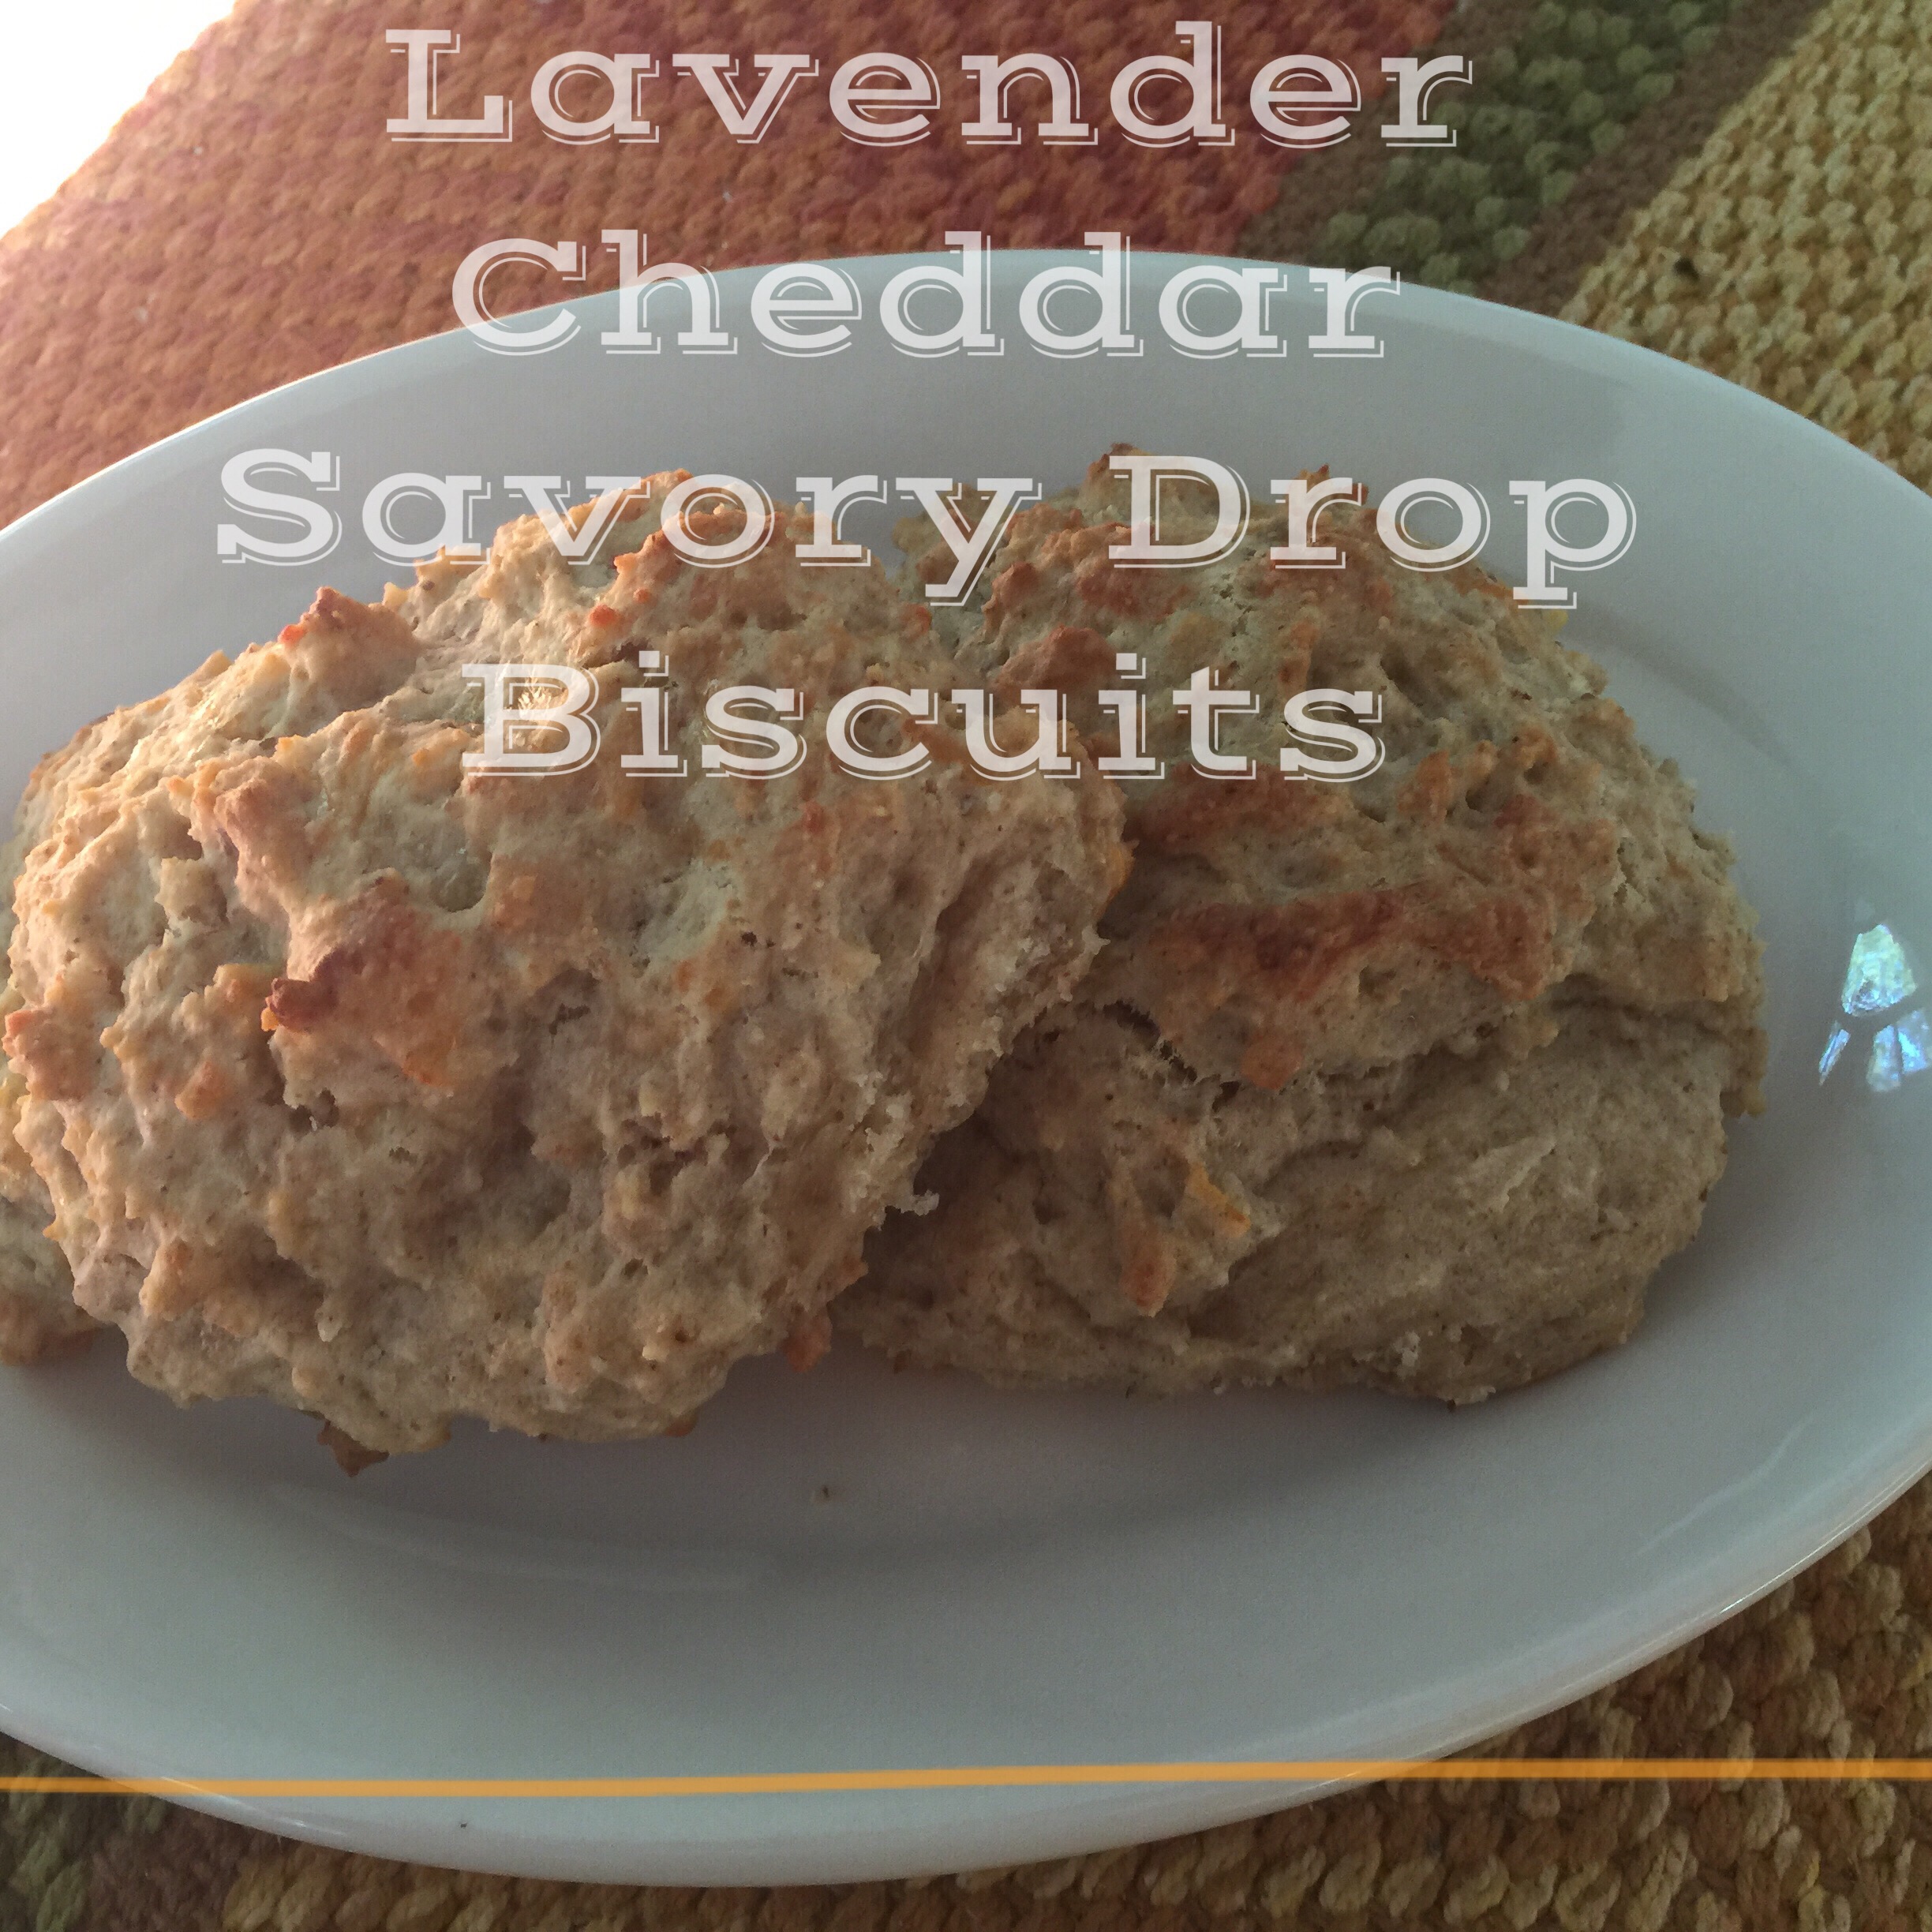
I made, lavender flavored savory cheddar cheese infused drop biscuits. The delicate balance of sweet (date sugar) and salty/savory (cheddar cheese) melded beautifully. The biscuit dough (with the inclusion of almond flour) was light and fluffy.

I added flax seed and used coconut oil for a heart healthy, omega 3 twist.

The hubby, the four year old, the one year old, were all enraptured.

Sojourner, the biscuit making mad lady had done it again!

Here's what I did-

IMG_1397.JPG

I took:

1 1/2 cups all purpose flour

1/2 cup almond flour

2 teaspoons baking powder

1/2 teaspoon baking soda

2 tablespoons date sugar

2 tablespoons ground flax

2 tablespoons ground lavender

1 teaspoon sea salt

1 cup buttermilk

1/2 cup coconut oil

1/2 cup cheddar cheese (shredded)

Here's what to do:

Preheat your oven to 475 degrees. Place your rack in the middle for an even heat.

In a coffee grinder, grind the flax seed and lavender buds. Set the mixture aside in a small bowl.

In a large bowl, combine your flour, baking powder, baking soda, sugar, salt and flax/lavender mixture.

Melt your coconut oil until it has formed a pliable liquid consistency. Stir until crumbly.

Add the cold buttermilk and cheddar cheese and stir until a smooth texture is accomplished.

Prepare an oiled baking sheet. Scoop about a tablespoon of dough onto your sheet for each biscuit. You want to create enough space for your dough to expand and rise (about an inch all around).

Cook for ten minutes or until golden brown.

You will yield about a dozen.

These are amazing!

You'll win friends, lovers, minions with these bad boys.

I hope you're prepared for what is about to happen!

These biscuits pair perfectly with honey butter and lavender jam.

Another option- slice your biscuit in half and place a fried egg, bacon (if you like it), cheddar cheese and an avocado inside. You'll be in breakfast sandwich heaven!


Banana Almond Butter Muffins

IMG_1203.jpg

I bought a bunch of bananas at the beginning of last week. As these things tend to go, I set them on display on my kitchen table, used them as paper weights, cut a few in thin slices and attempted to coax my one year old to eat. Eventually, as these things also tend to go, I had a bunch of very ripe bananas. They were beginning to attract fruit flies. I needed to do something- FAST!

On their own, I really am not a fan of bananas. My four year old used to be, but then he changed his mind, a fact I always seem to forget when I go to the grocery store and buy a bunch out of habit. My one year old, who won't eat anything, is certainly not about to start with bananas. My husband pretends to like them, then passes them over for something less healthy.

It has become a problem, the cycle, the bananas, until now...

Banana Almond Muffins

Though I dislike bananas as they are, I love banana flavored baked goods. I love the rich flavor combination of bananas and nut butters. I love my latest concoction- Banana Almond Butter Muffins!

Healthy, full of protein, fiber and minerals, these muffins are a great way to start the day or get a post lunch pick-me-up.

Banana Almond Muffins

Low glycemic due to my use of coconut palm sugar and heart healthy due to the almonds and coconut oil, these muffins are a light (the addition of almond flour takes away from the heaviness), guilt free, delicious choice (as far as muffins go that is...).

Want to know what I did?

Here's what you'll need:

1 cup all-purpose flour 1/3 cup almond flour 1/2 teaspoon sea salt 1/2 teaspoon baking soda 1/4 teaspoon baking powder

2 tablespoons chia 1/3 cup coconut oil 2/3 cup coconut palm sugar 2 eggs 2 large mashed very ripe bananas 1/2 cup soft almond butter 1/2 cup walnuts

Here's what to do:

Preheat your oven to 350 degrees. In a large mixing bowl, combine your dry ingredients minus the sugar (all-purpose flour, almond flour, salt, chia, baking soda and baking powder). Almond flour tends to clump, a sieve may work well when trying to distribute it evenly. Whichever method you choose, make sure your dry ingredients combine uniformly.

In a smaller bowl, lightly beat your eggs then add the coconut palm sugar. Mix together then add the coconut oil and almond butter. Mash and mix in the bananas followed by the walnuts. Combine these ingredients until thoroughly mixed.

Add you wet ingredients to your dry ingredient bowl and mix together. Once your batter is smooth and lump free, you're ready for the final step.

Either grease your muffin tins with coconut oil or use cupcake inserts. Fill each hole 3/4 of the way full with the batter.

Bake for 15-20 minutes, or until a toothpick inserted in the center comes out clean.

Cool before releasing your muffins.

banana almond muffins

Enjoy as they are or slather on some almond butter. They also taste great with honey butter or jam!

Makes about a dozen!

banana almond butter muffins

A Delicious Low Glycemic, All Natural Chocolate Milk Syrup Your Kids Will Love!

IMG_1089-0.jpg

A Delicious Low Glycemic, All Natural Chocolate Milk Syrup Your Kids Will Love!

Like most four-year-olds, my son loves chocolate milk. LOVES!

For breakfast, with dinner, whenever we go out, he wants one beverage- chocolate milk.

Now, many people would say, what's the problem, he's drinking milk, let him enjoy- but all of that sugar, artificial flavoring, the artificial colors and carrageenan adds up. Think toxic sludge in the digestive tract- not so yummy, eh...

So, I've come up with a solution- a genius solution!
This one has been husband tested, tested on my kids, my friend's kids- it's golden!
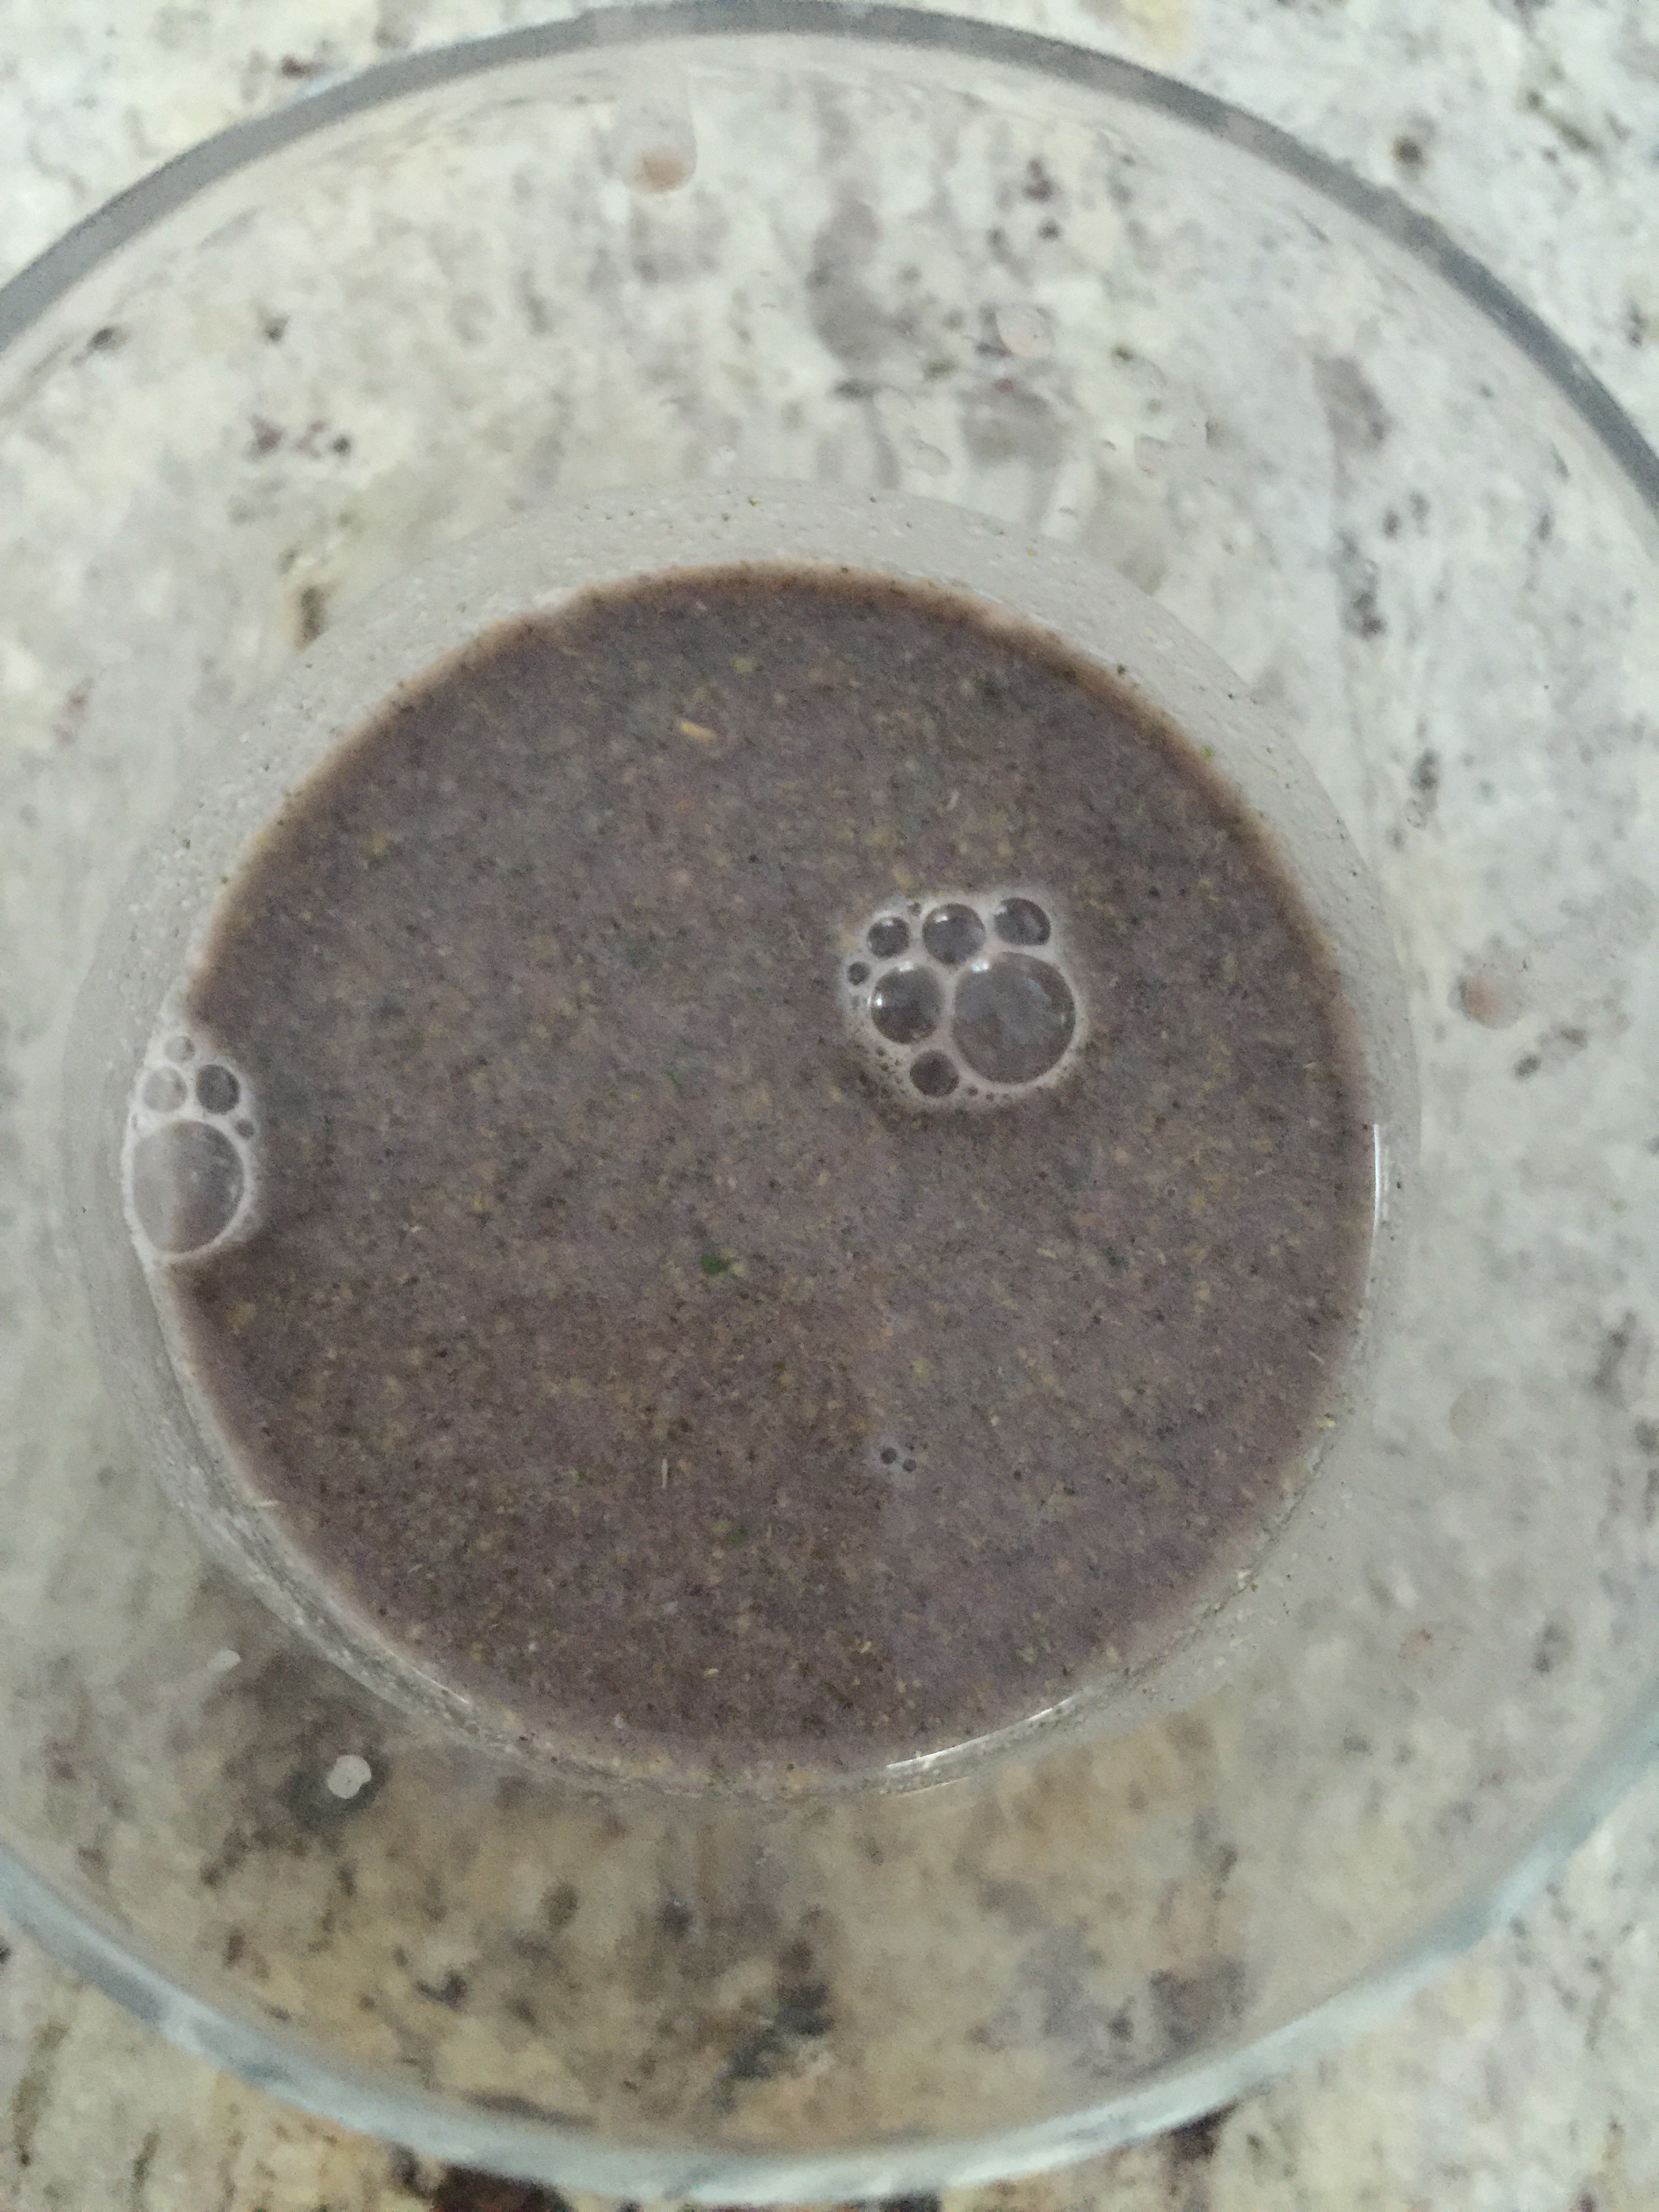
This will not only satisfy your kiddos and their chocolate milk cravings, but can be used to make hot chocolate or double as fudge syrup- sky is the limit!

It's so easy to make. Trust me when I say this one is a game changer!

IMG_0398.JPG

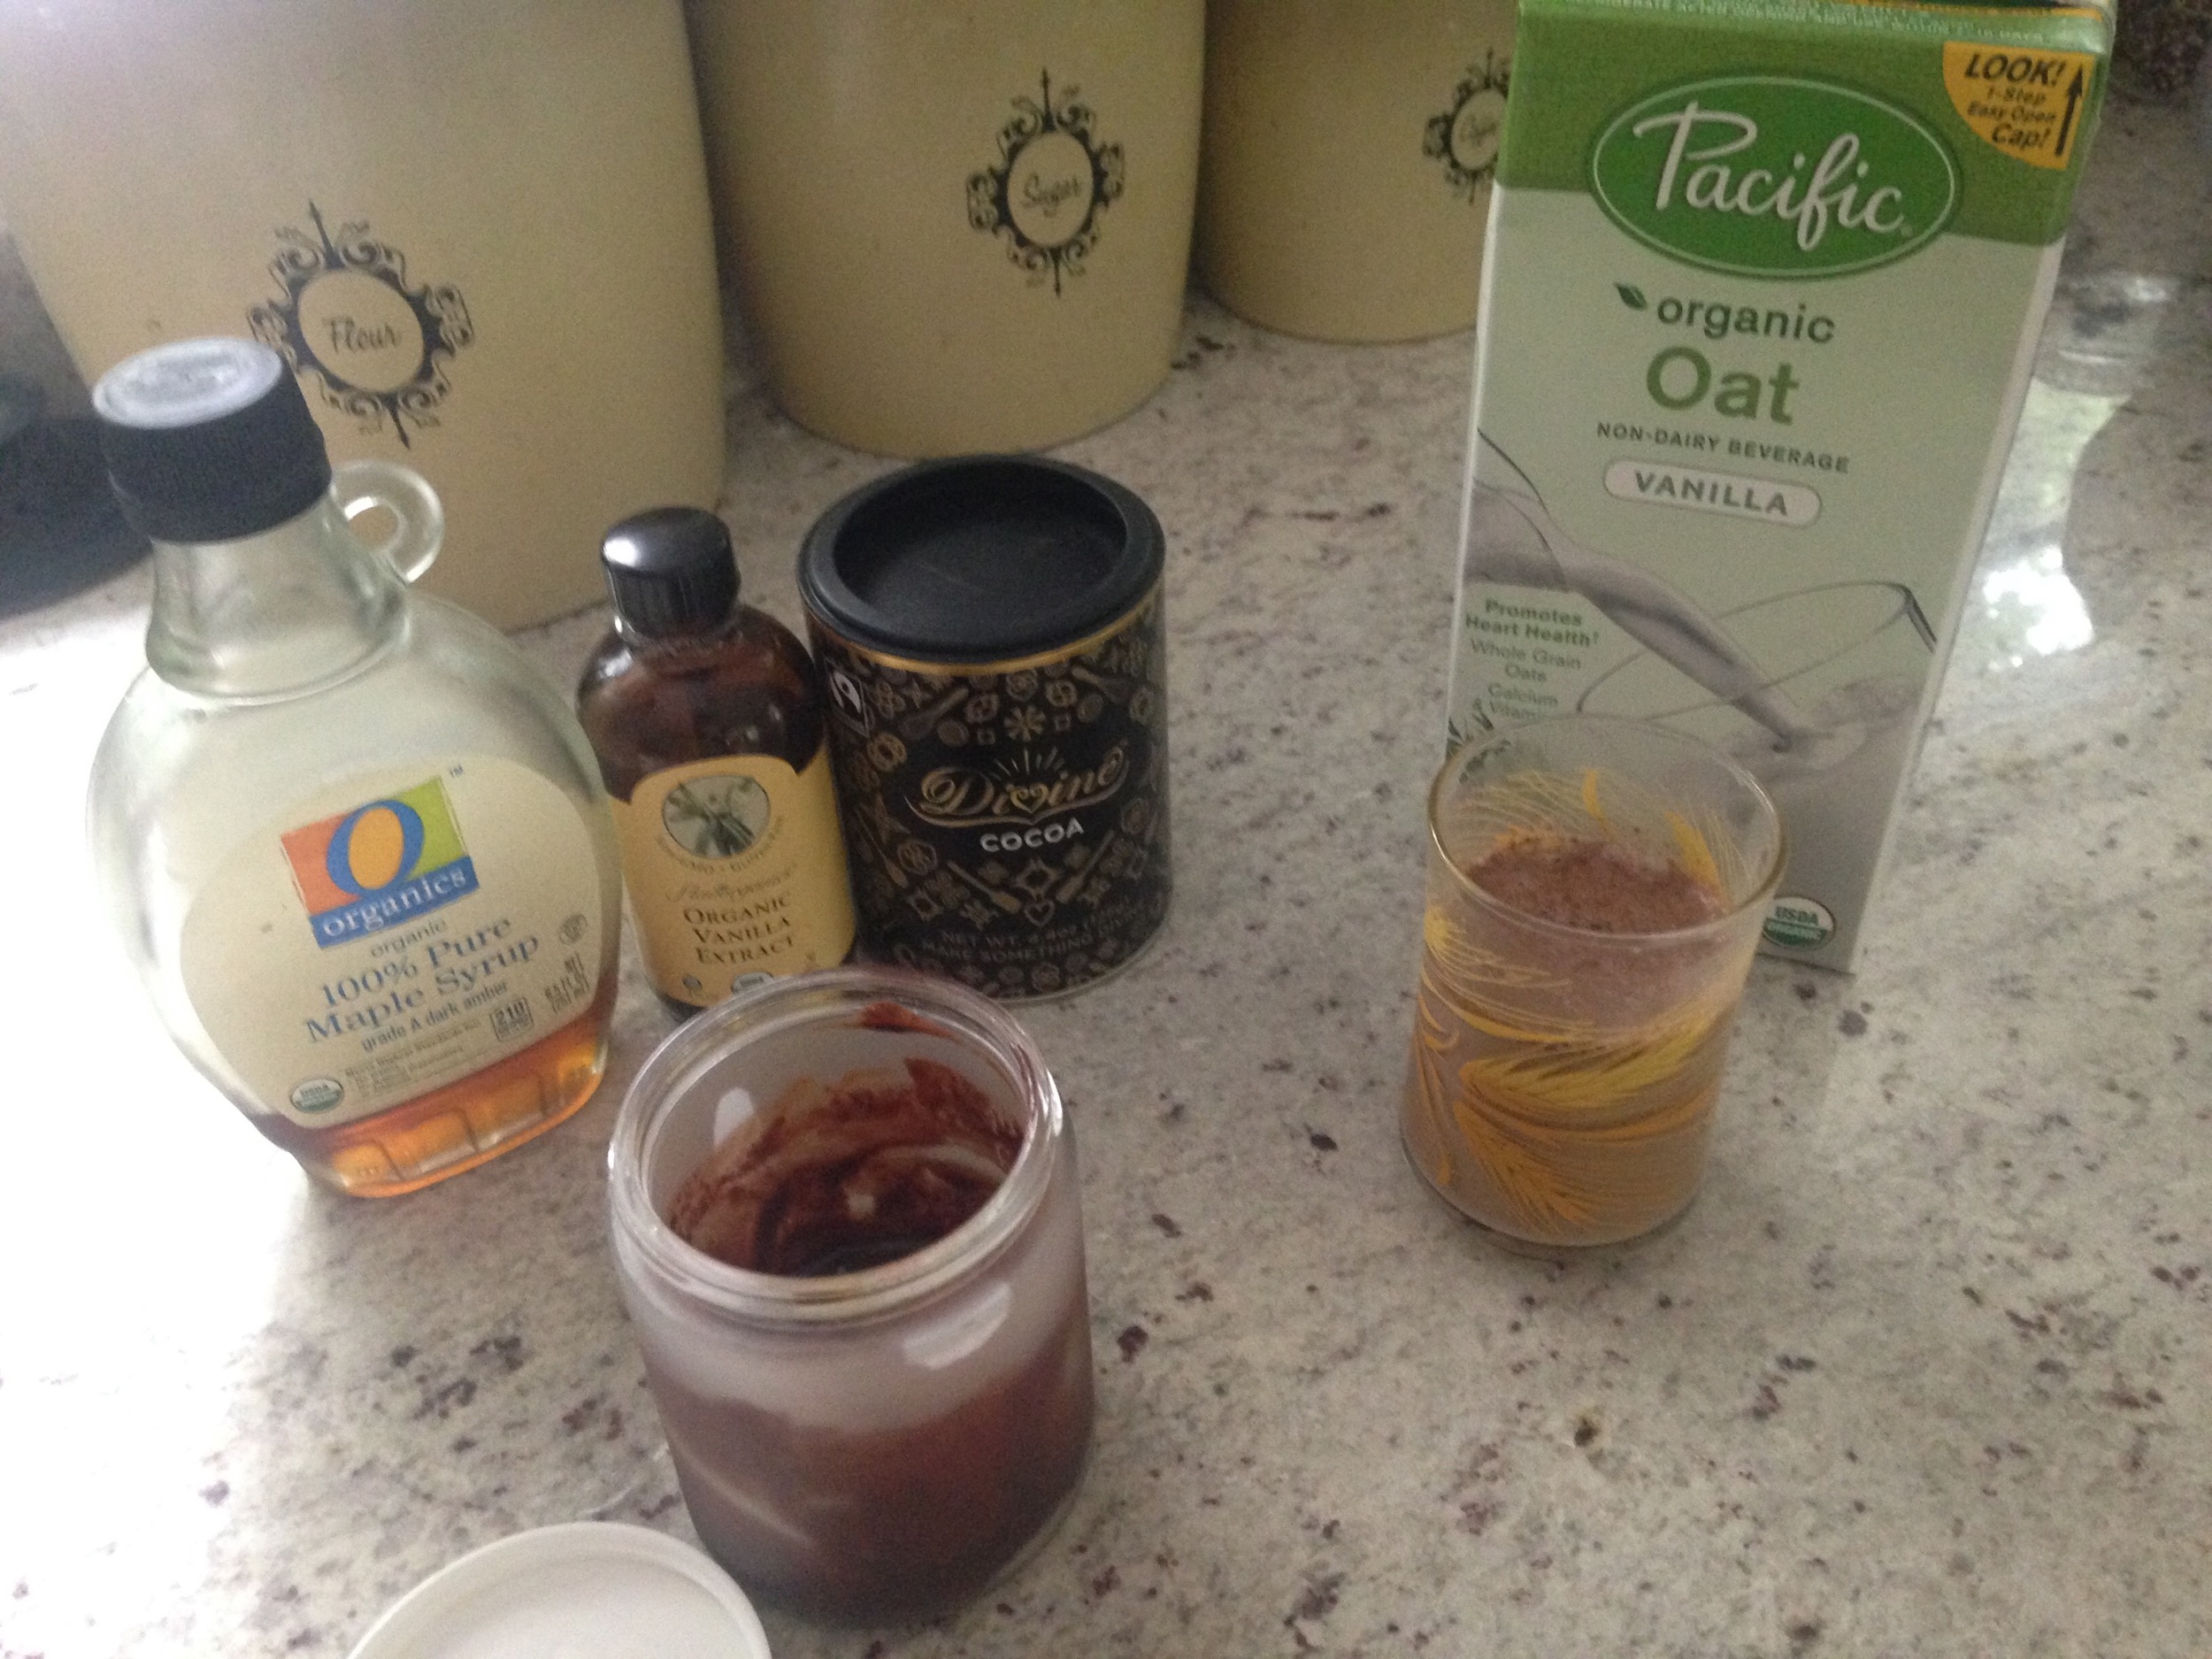
Here's what you'll need:

2 tablespoons unsweetened cocoa powder

4 tablespoons pure maple syrup (do not even think about using Aunt Jemima! 100% pure grade A or B please!)

1 teaspoon vanilla extract ( or almond or peppermint depending on your mood!)

*a dash of cinnamon and cayenne pepper if your feeling feisty!

Here's what to do:

You'll need a container that holds about 4 ounces.

IMG_1070.JPG

Add your ingredients, mix with a spoon and stir until uniform. I told you it was easy!

Add one to two teaspoons to your desired form of milk and voila!

IMG_1071.JPG

HEAVEN......

*note: If you opted for the cayenne pepper, you've got yourself one heart healthy beverage (dark chocolate = antioxidants and cayenne pepper= increased circulation and low inflammation)!

What you don't use can be stored in your jar for the next time. Since there are no preservatives, you mixture shouldn't stand unused for more than a month!


Lavender Buttermilk Waffles

IMG_3136.jpg

  The intensely floral and deeply layered scent of lavender is one of my favorite. Instantly calming, bold, soothing and pretty, lavender is so much more than a fragrance. Lavender is healing. When applied to the temples it can tame a migraine and lower blood pressure, when sprinkled on freshly washed sheets, it can lull even the most anxious among us into a good nights sleep. Lavender keeps mosquitoes and gnats at bay. Dried lavender lasts forever and looks lovely in every room. Lavender is also a perfectly edible flower. Lavender tea has a bold and aromatic flavor and ground lavender flowers add a ridiculously delectable and fancy flavor to your food.

 I am, quite possibly lavender obsessed. I'm okay with that and you just may join me in my lavender obsession once you taste these lavender buttermilk waffles! What?!?!

These lavender buttermilk waffles are quite possibly the best waffles out there. They're fancy, yet so easy to make.

In addition to being fragrant, floral and delicious, they're healthy! Flax seeds add omega 3's, antioxidants and fiber, virgin coconut oil is an antioxidant rich, heart healthy alternative to butter when it comes to baking, coconut palm sugar is sweet, has no aftertaste and is a low glycemic, all-natural processed sugar substitute, and nutmeg isn't just delicious, it contains vital trace minerals and aids in digestion.

lavender buttermilk waffles

Here's What You'll Need:

3 cups all-purpose flour

2 tablespoons ground lavender

1 tablespoon ground flax

1 teaspoon ground nutmeg

1/2 cup sugar (coconut palm sugar is an excellent low glycemic option)

4 teaspoons baking powder

1 teaspoon baking soda

1/2 teaspoon salt

2 1/2 cups buttermilk

4 large eggs

1 cup coconut oil (melted to a liquid)

1 tablespoon vanilla extract

Here's What You Need To Do:

In a coffee grinder, add your lavender and flax seed and grind until it is the consistency of flour. Prepare yourself for a blast of wonderful lavender aromatherapy.

ground lavender


In a large mixing bowl, you want to combine your dry ingredients. Add your flour, sugar, baking powder, baking soda, freshly ground lavender, nutmeg, flax and salt.

IMG_3133.JPGIn a small mixing bowl, whisk together the buttermilk, eggs, melted coconut oil and vanilla. Note: Make sure your melted coconut oil is cooled so that it doesn't cook the eggs (woops!)

Add your wet ingredients to the dry ingredient bowl. Whisk until smooth.

You know your waffle maker better than I do. Go ahead and preheat, grease with coconut oil and ladle (yes, I use a soup ladle for this job) your mixture onto the griddle to bring these delicious lavender buttermilk waffles to life. lavender buttermilk waffles

Top with pure maple syrup or whipped cream and a few sprinkles of lavender and voila- an instantly fancy brunch is served!


Honey Sweet Cornbread

I have a mild obsession with quick breads. Not a week goes by where I don't make at least three batches of batches of biscuits or cornbread or loaf bread. Sweet, savory, plain, loaded, I can't get enough of these versitile delicious breads. Carbaholics Anonymous- come and get me. I'm so guilty!

My "retirement" dream, and I'm putting this down because recording your dreams is the first step to realizing them is to open a cafe/bakery featuring the many quick bread variations that I've fallen in love with.

In the meantime, I'll keep working, refining and recording those recipes here.

Today's recipe for Honey Sweet Cornbread is a sweet and flavorful cornbread. Sweetened with honey and coconut palm sugar, you get a robust sweetness while keeping the glycemic index relatively low. The pepper, nutmeg and cardamom provide subtle, layered secondary flavors, while the olive oil and almond milk absorb the sweetness in a nutty earthiness. Long story short, it all just works!

Your result is a sweet, aromatic cornbread, that is crisp around the edges and moist in the center that pairs perfectly with your favorite savory chili or a light fruity jam.

IMG_2370.JPG

Here's what you need:

1 cup yellow cornmeal 1 cup all purpose flour 1 tablespoon baking powder 1/3 cup coconut palm sugar 1 teaspoon sea salt 1/2 teaspoon finely ground cardamom 1/2 teaspoon nutmeg 1/8 teaspoon coarsely ground peppercorns 1 cup unsweetened almond milk* 2 large eggs 1/3 cup extra virgin olive oil 1/3 cup raw honey 2 teaspoons pure vanilla extract

*Feel free to substitute your milk of choice. Almond gives this recipe a rich nutty flavor.

**This recipe is great for those with milk allergies or lactose sensitivity.

Here's what to do:

Preheat your oven to 375 degrees. You're going to use the lower rack, so it's probably easiest to adjust it prior to turning on the heat.

In a large mixing bowl, combine your dry ingredients (cornmeal, flour, baking powder, sugar, sea salt, nutmeg, cardamom, peppercorns).

In a small mixing bowl, gently beat the milk, olive oil, vanilla and eggs with a whisk. Once uniform, pour the mixture into the dry ingredient bowl.

Make sure your honey is soft. Raw honey, if stored near a window can stiffen which makes it difficult to work with.

I like to drop my raw honey in the center of the bowl. Using a mixing spoon and some elbow grease, I mix the batter until smooth.

It will smell wonderful!

Go ahead and take a deep breath. Enjoy what you've created so far.

I like to work with round cooking pans, but the shape doesn't matter. Use what you've got.

Before pouring in the batter, I use canola oil to coat the pan.

Spread your batter evenly, then place the pan in the oven for twenty minutes.

Let the cornbread cool for 15 minutes before you enjoy.

IMG_2371.JPG

Yum!

Gluten Free Lasagna with a Lactose Friendly Twist

My dear cousin Brielle who is gluten free and lactose intolerant inspired this recipe. Brielle, a practicing postpartum doula, came to stay with us for two weeks this summer after Jai was born. Not only was she an AMAZING help (If you are pregnant or know anyone who is currently pregnant- I highly recommend a postpartum doula- life changing I tell you!) but she was an illuminating nutritional presence as she introduced me to the wonders of sheep cheese, the various incarnations of goat’s cheese and the outright goodness of brown rice pasta.

Lasagna is a beloved dish in our household, but I’d avoided making it regularly because my husband is lactose intolerant (booh!).

I'm happy to say that holding the cheese when it comes to lasagna is no longer an issue!

Brielle, whose hubby is one of Washington’s most talented and innovative chefs, was able to give me the skinny on non-cow dairy.

It turns out, sheep cheese very closely resembles the taste and texture of cow’s milk cheeses and most lactose intolerant people are able to digest it without trouble. This was revolutionary news in my household since my hubby is a cheese lover who suffered (not so silently) through his difficulties rather than give up his beloved cheese.

Goat cheese, is also gentle on the digestive track for lactose intolerant individuals. Goat cheese is fabulous because it comes in so many different forms, such as ricotta.

IMG_0287


Bring on the cheese!

Using goat ricotta, sheep mozzarella and parmesan, rice lasagna noodles and a pesto inspired sauce; I created this non-traditional lactose friendly, gluten free lasagna. But I don’t want to focus on what’s not in this lasagna; instead, let’s focus on what makes this lasagna delicious and unforgettable.


Pesto Sauce Ingredients:

1 cup olive oil

1 teaspoon sage

1 teaspoon salt

1 tablespoon of ground chia

¼ teaspoon cayenne pepper

¼ teaspoon cinnamon

2 tablespoons of basil

1 tablespoon of parsley

1 tablespoon of minced garlic

IMG_0284

Combine all of your dry ingredients

IMG_0285

Add the olive oil and blend.

Set aside for later use.


Lasagna Ingredients:

Rice lasagna noodles

1 heirloom tomato (sliced thinly)

Goat Ricotta cheese

Sheep parmesan cheese

Sheep mozzarella cheese

1 yellow onion (sliced and caramelized)

1 red pepper (thinly sliced)

4 cups arugula

1 package of ground turkey (thoroughly cooked in a skillet)

IMG_0286


Directions:

Preheat your oven to 350 degrees.

Lay two rows of lasagna noodles onto the bottom of your baking dish.

*Note: Most rice noodles don't need to be pre-cooked. Check your box.

In a small bowl, combine your ground turkey crumbles and your ricotta cheese. Lay a layer of your turkey and ricotta, topped with caramelized onions, arugula, mozzerella and red peppers. Pour your pesto sauce on top and sprinkle a light layer of parmesan cheese.

Lay another layer of lasagna noodles and repeat the same process of layering turkey and ricotta, caramelized onions, arugula, red peppers and pesto sauce.

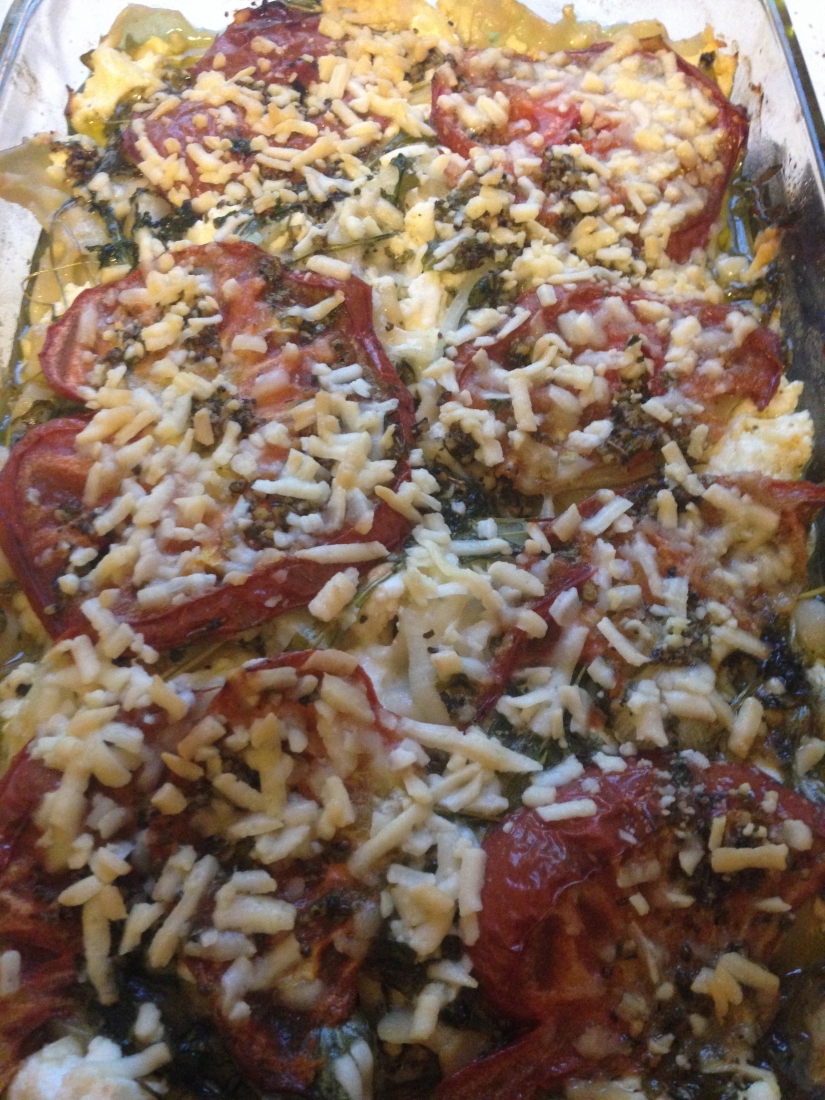
Lay your final layer of lasagna noodles and top with your tomato, pesto sauce and a generous layer of parmesan cheese.

IMG_0292

Bake for 30 minutes, until the cheese has browned.

Let cool for ten minutes, before cutting and serving.


Healthy Green Saute: A Recipe for Delicious Leafy Greens!

I happen to be a dark green leafy veggie person. It's always been that way. I prefer spinach to peas, kale to broccoli and I would much rather eat a salad then, say, lima beans (blech). Recently, a friend came to me for advice about cooking Kale. He wanted to incorporate it into his diet because it was healthy, but he'd been boiling it and it tasted bland.

I was so happy to share this recipe, it's what I do when I want to give my kale some pizazz. My secret ingredient... dandelion leaves.

Dandelion leaves are amazing! They cleanse the liver, and are jam packed with antioxidants, calcium and iron, but they're also very bitter. Now I personally, have no problem with their bitter astringent taste, but I can't get my husband or children to eat them unless I dilute the bitter taste by adding kale. It is such a complimentary blend. The kale comes alive with an almost nutty sweetness which I top off with some basil and dill for complexity of flavor and a splash of lemon for a healthy green saute, sure to please the masses.

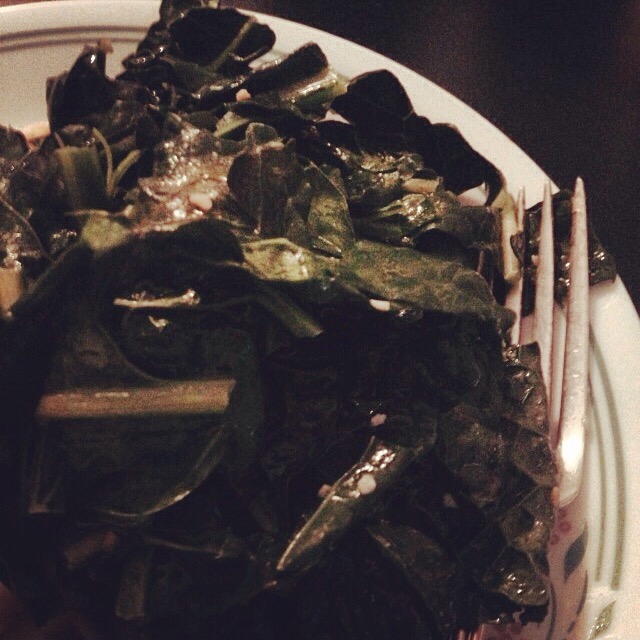
healthy green saute

Here's what you'll need:

Tuscan kale (approx 2 cups)

Dandelion leaves (approx 2 cups)

Fresh basil (a handful, approx 1/2 cup)

Fresh dill (a handful, approx 1/2 cup)

2 tablespoons of ghee

1 tablespoon of minced garlic

1/2 Fresh lemon

Here's what to do:

Place your ghee in your skillet and allow it to melt. Once melted, add your kale, dandelion, basil, dill and garlic. Saute on medium heat for five minutes. Once your greens are soft (but not wilted), glossy and dark green, turn off the heat and squeeze your lemon juice liberally over the greens. Toss, serve, and enjoy!


Easy Apple Bread

Easy Apple Bread This weekend, I embarked on an extraordinary apple picking adventure.

There are literally apples everywhere!

Apples are being stored in the fruit bowl on my kitchen table. They’re being stored in my kid’s jack-o-lanterns. A bag spilled in the backseat of my car. I thought I got them all, but there are about a half dozen rolling around back there as well.

My three year old will be taking apple slices to school for snack for the next….well, however long it takes for me to use up all of those apples.

Luckily for me, there area lot of apple recipes out there.

As much as I love biting into a fresh crispy apple, I also love apple bread.

My version of apple bread is easy to make and is loaded with nutrients and has a low glycemic index as I use coconut palm sugar in lieu of granulated. Sweet, but not too sweet. Moist and light. This easy apple bread recipe is the answer to an abundance of apples.

IMG_1268.JPG

Here's what you'll need:

3 cups flour

1 tablespoon chia

1 teaspoon baking powder

1 teaspoon baking soda

1 teaspoon sea salt

3 teaspoons cinnamon

1 teaspoon nutmeg

1/4 teaspoon cloves

1 cup coconut palm sugar

1 cup light brown sugar

3 large eggs

1 cup extra virgin olive oil

1 tablespoon vanilla extract

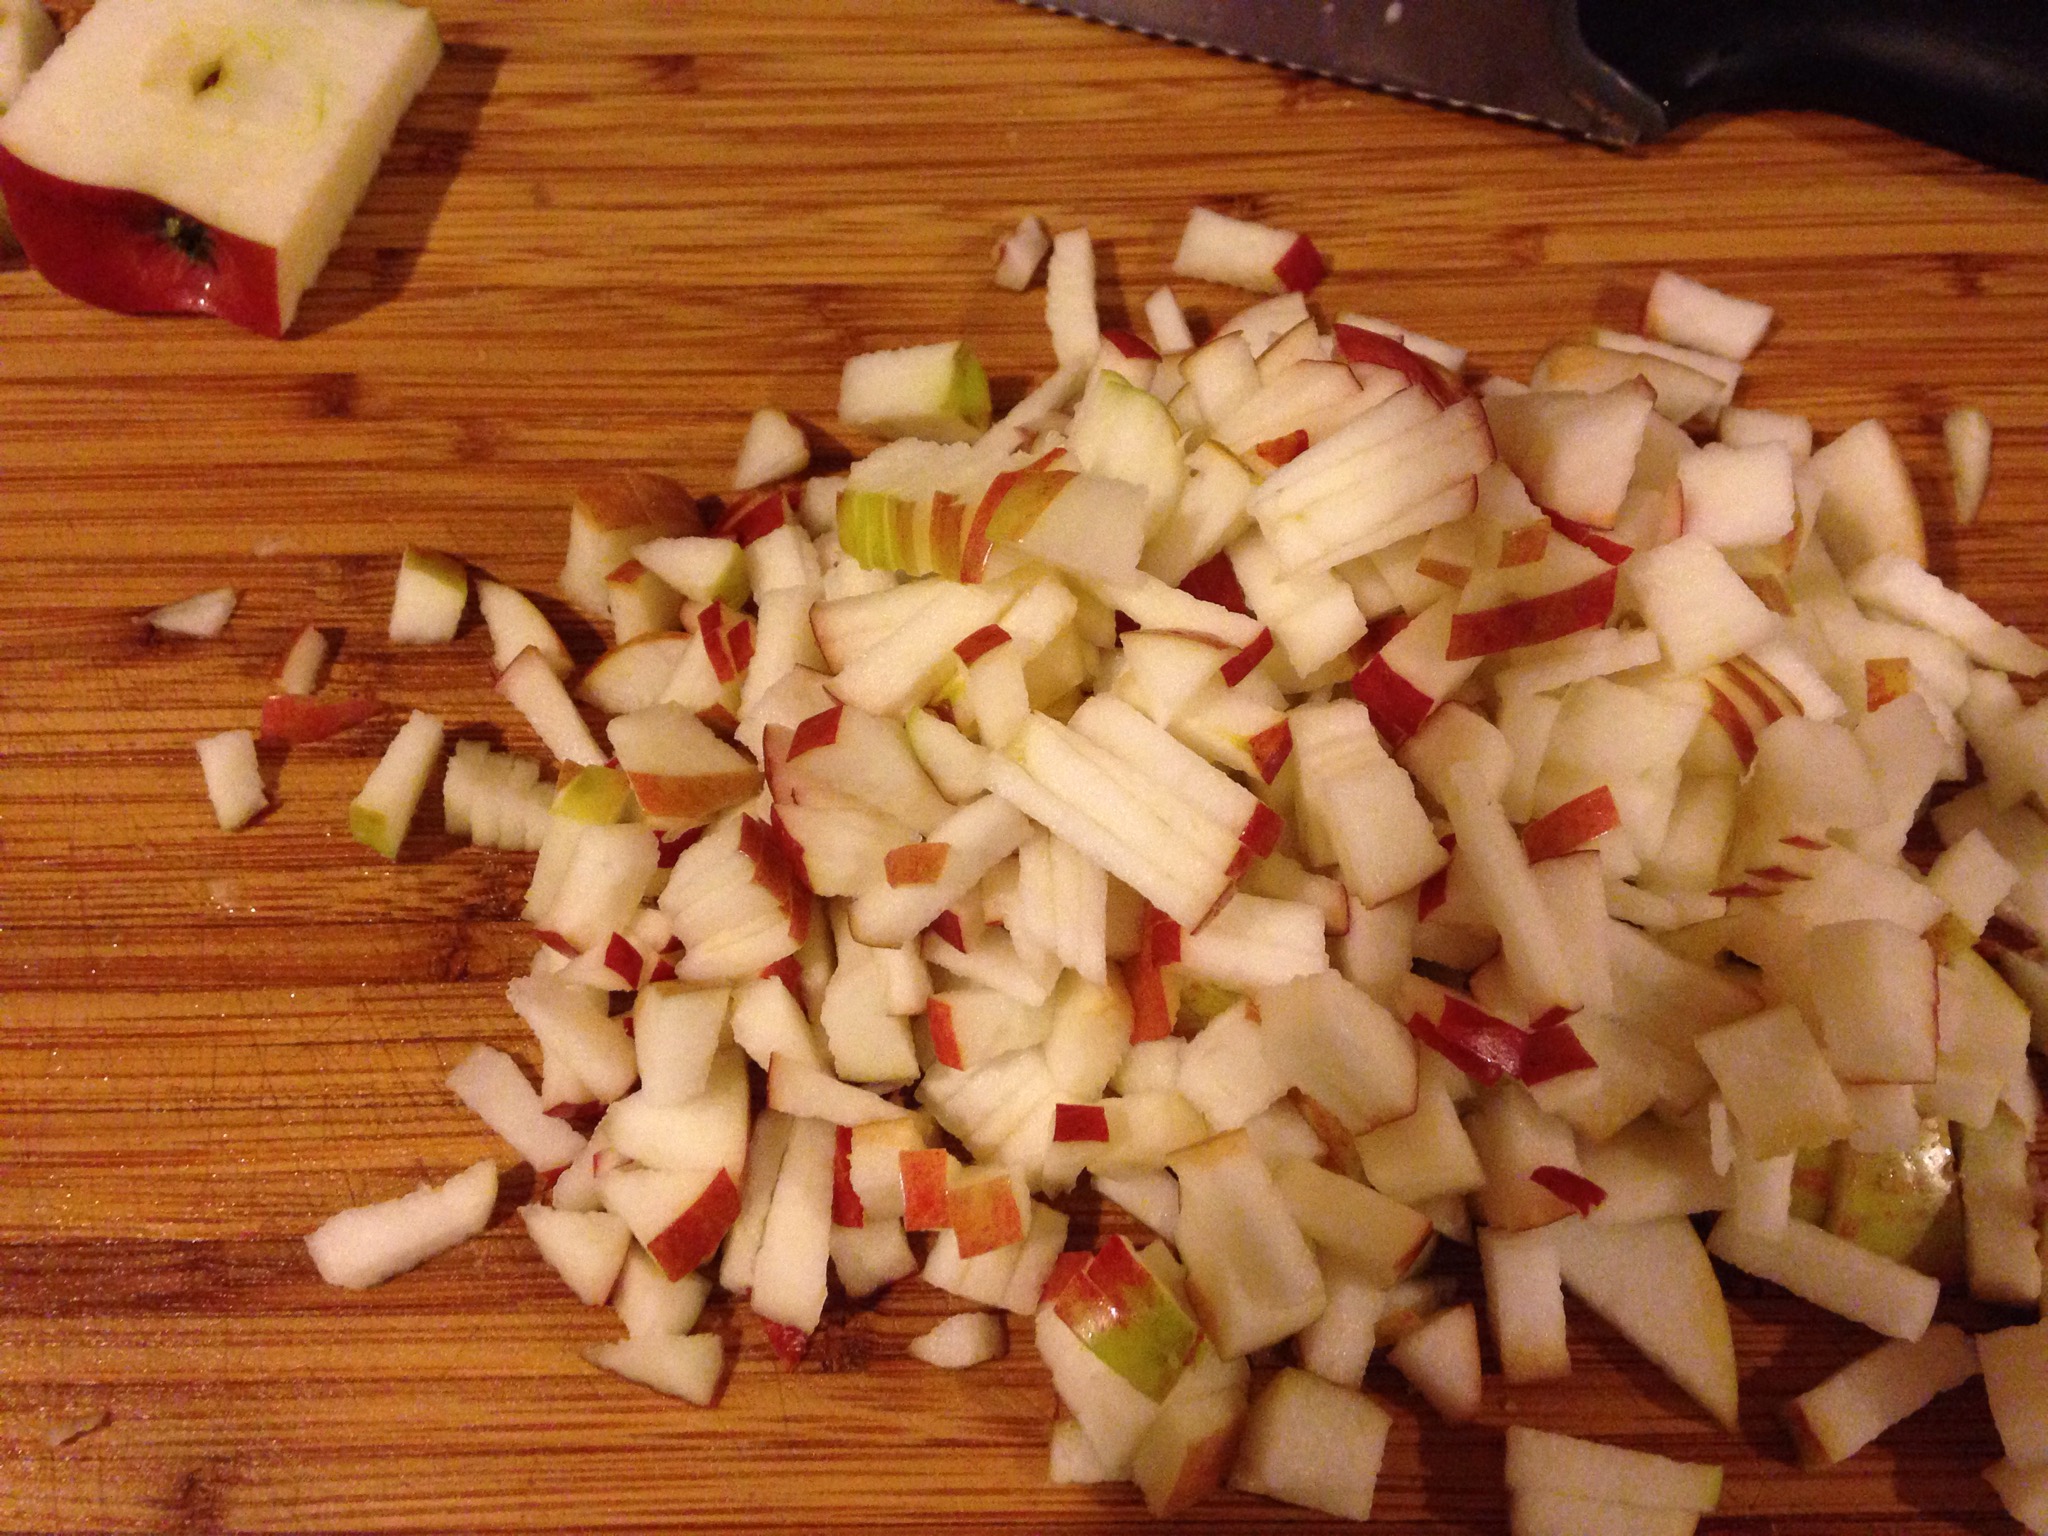
2 cups diced apples (approx 4 apples)

1 cup pecans (whole or chopped to taste)

Here's what to do:

Preheat your oven to 350 degrees.

IMG_1223.JPGIn a large mixing bowl, combine your dry ingredients and set aside.

In a small mixing bowl, combine your wet ingredients and blend well. Add your wet ingredients to your dry ingredients along with your apples and pecans.

IMG_1220.JPGThoroughly blend your batter together. his will take a lot of elbow grease since the batter will be very thick and crumbly.

Grease two baking loaves, or a baking loaf and a small cake tin (scroll down to see what I mean).

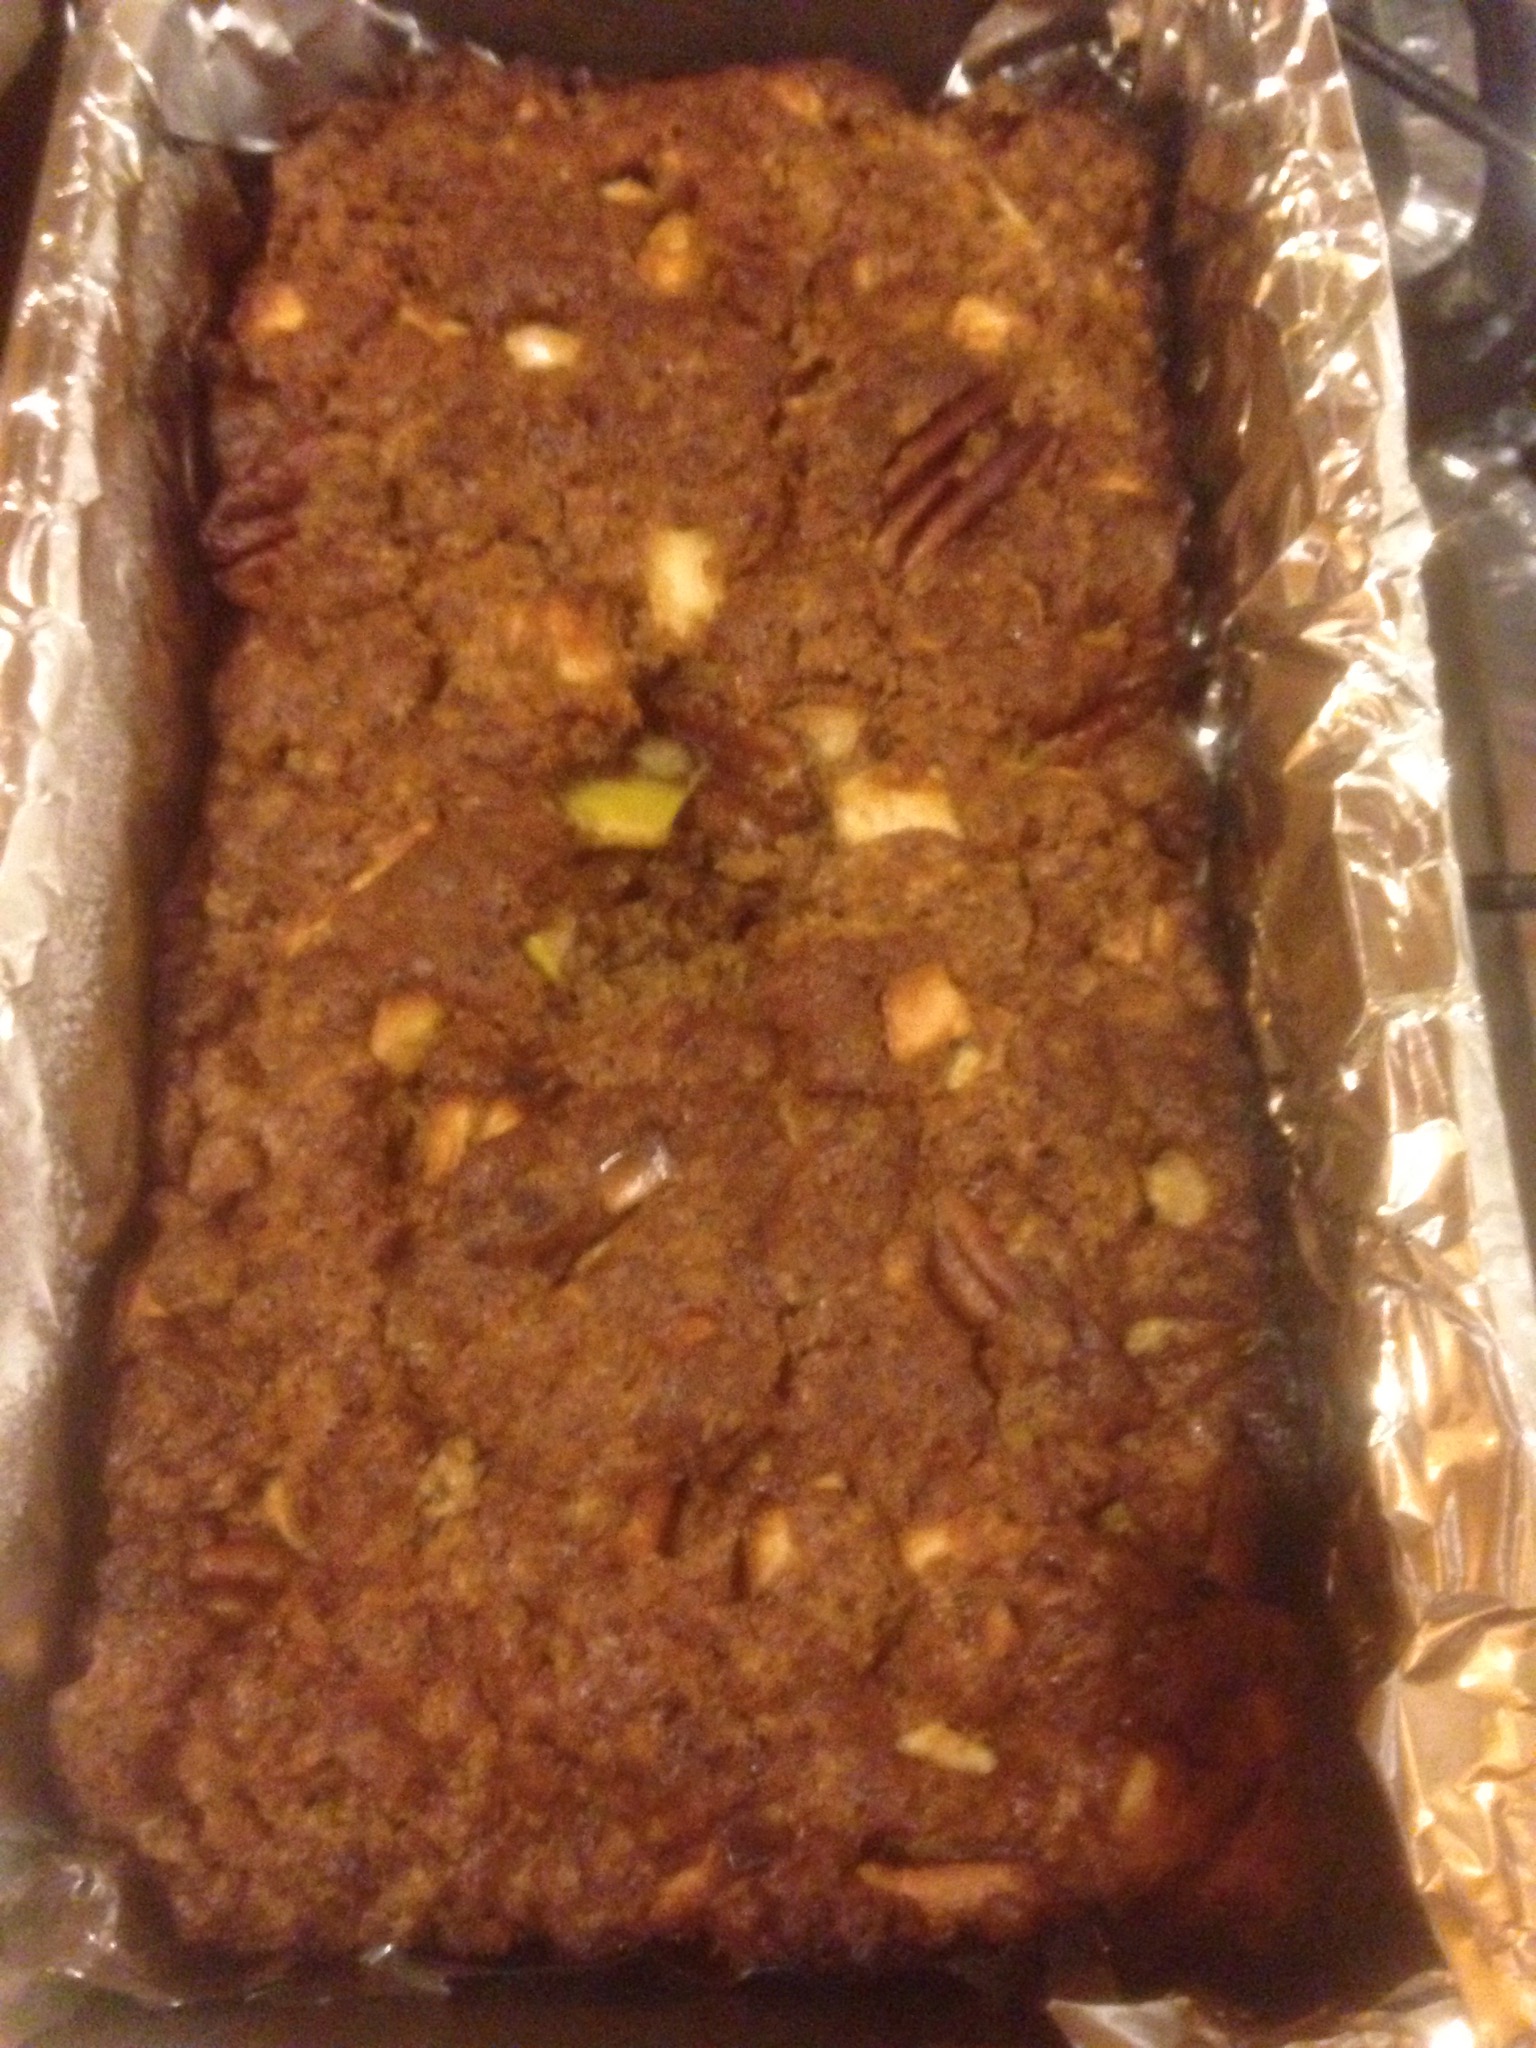
Cook for about 40 minutes, or until your bread his risen, golden and brown and a toothpick inserted comes out clean.

Enjoy as a simple sliced loaf.

IMG_1224.JPG Or, for a bit of variety, frost a batch with Nutella and enjoy as a cake.

IMG_1239.JPGLife is good!

Ghee: The healthy way to eat butter!

IMG_1074.JPG I love butter. Butter just makes me happy. It tastes so good. Smells heavenly when warmed. When slathered over bread or a muffin or a biscuit it makes my heart melt.

But that’s not the only influence it’s having on my heart.

During my twenties, I told myself I was too young to worry about matters of the heart.

In my thirties, especially now that I’m a mother, I know better.

Don’t get me wrong; there is most definitely a place for butter. I use it when I bake (when a substitution with olive oil or coconut oil just doesn’t make sense). I’m just more cognizant of the damage it can potentially do to my precious ticker.

I do have butter cravings from time to time as a result of my attempts to scale back and when I do, I turn to trusty ghee, also known as clarified butter.

Clarified butter?

Ghee comes from unsalted butter that has been left to simmer for a long time to remove the milk solids and water. Ghee is pure butterfat that contains many healthful properties (it is even known to lower bad cholesterol).

Ghee is easy to make and has several healthy and healing properties. Ghee:

  • Promotes heart health (healthy lipid) and reduces LDL cholesterol levels.
  • Rich is vitamins A, D, E and K
  • People with lactose and casein dairy sensitivities can typically tolerate ghee.
  • Ghee promotes good digestion and encourages the growth of good bacteria in the intestinal track.
  • Ghee has a high smoke point, which means you can use it in your baking as well as frying without worrying about it breaking down into potentially harmful free radicals.


There are so many uses for ghee. From time to time, I’ll splurge and splash some ghee over fresh steamed green beans, over wild rice or even slather it on a biscuit. I’ve infused herbs and spices into ghee for medicinal purposes. I’ve even made curative lip-gloss out of ghee (recipe to come in a later post).


Here’s how to make ghee:

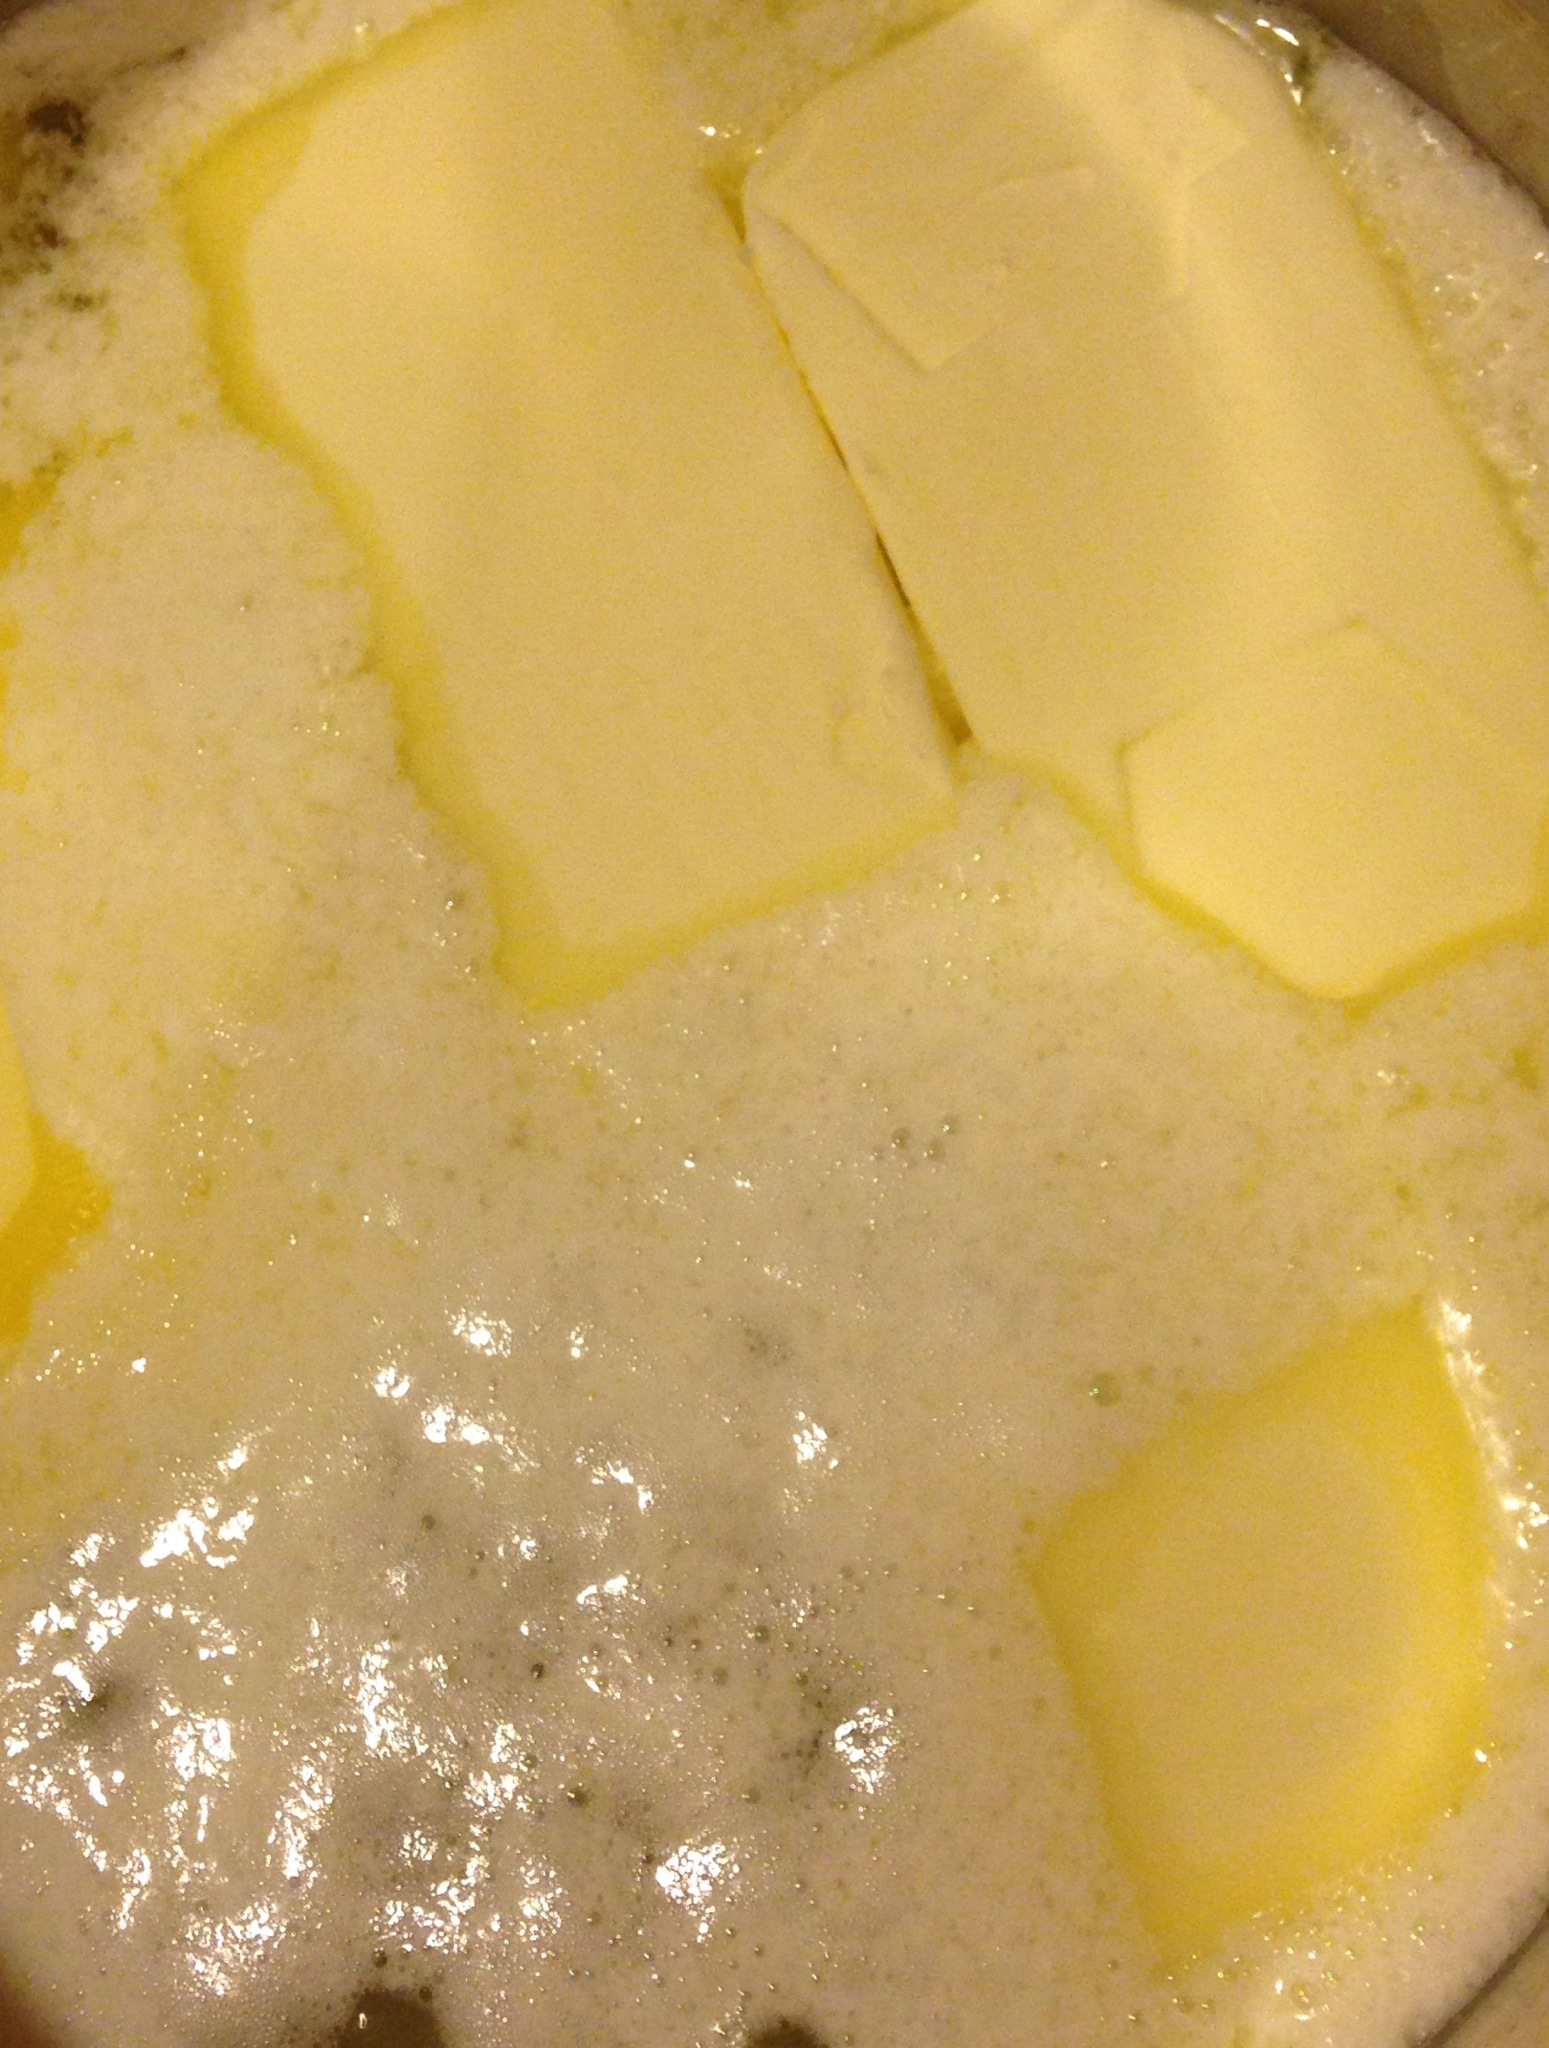
Place your butter in a saucepan and simmer over low heat until the butter completely melts. Keep your eye on your melted butter. You want to see small bubbles. It will take about 25 minutes for the butter to separate completely.

IMG_1062.JPG


You’ll notice a white froth on the surface (this is what you’ll be removing).

IMG_1063.JPGUsing a spoon, gently scrape off the white frothy layer, until you’re left with a uniform yellow liquid.

IMG_1066.JPG


Using a strainer and cheesecloth or coffee filter, strain the remaining liquid, to ensure that your ghee is pure.

Ghee can be stored in a mason jar. It doesn’t need to be refrigerated (keep away from light and water) and will last a very long time.

IMG_1073.JPG


Farmer's Market Salad or Brussels Sprouts Take Center Stage

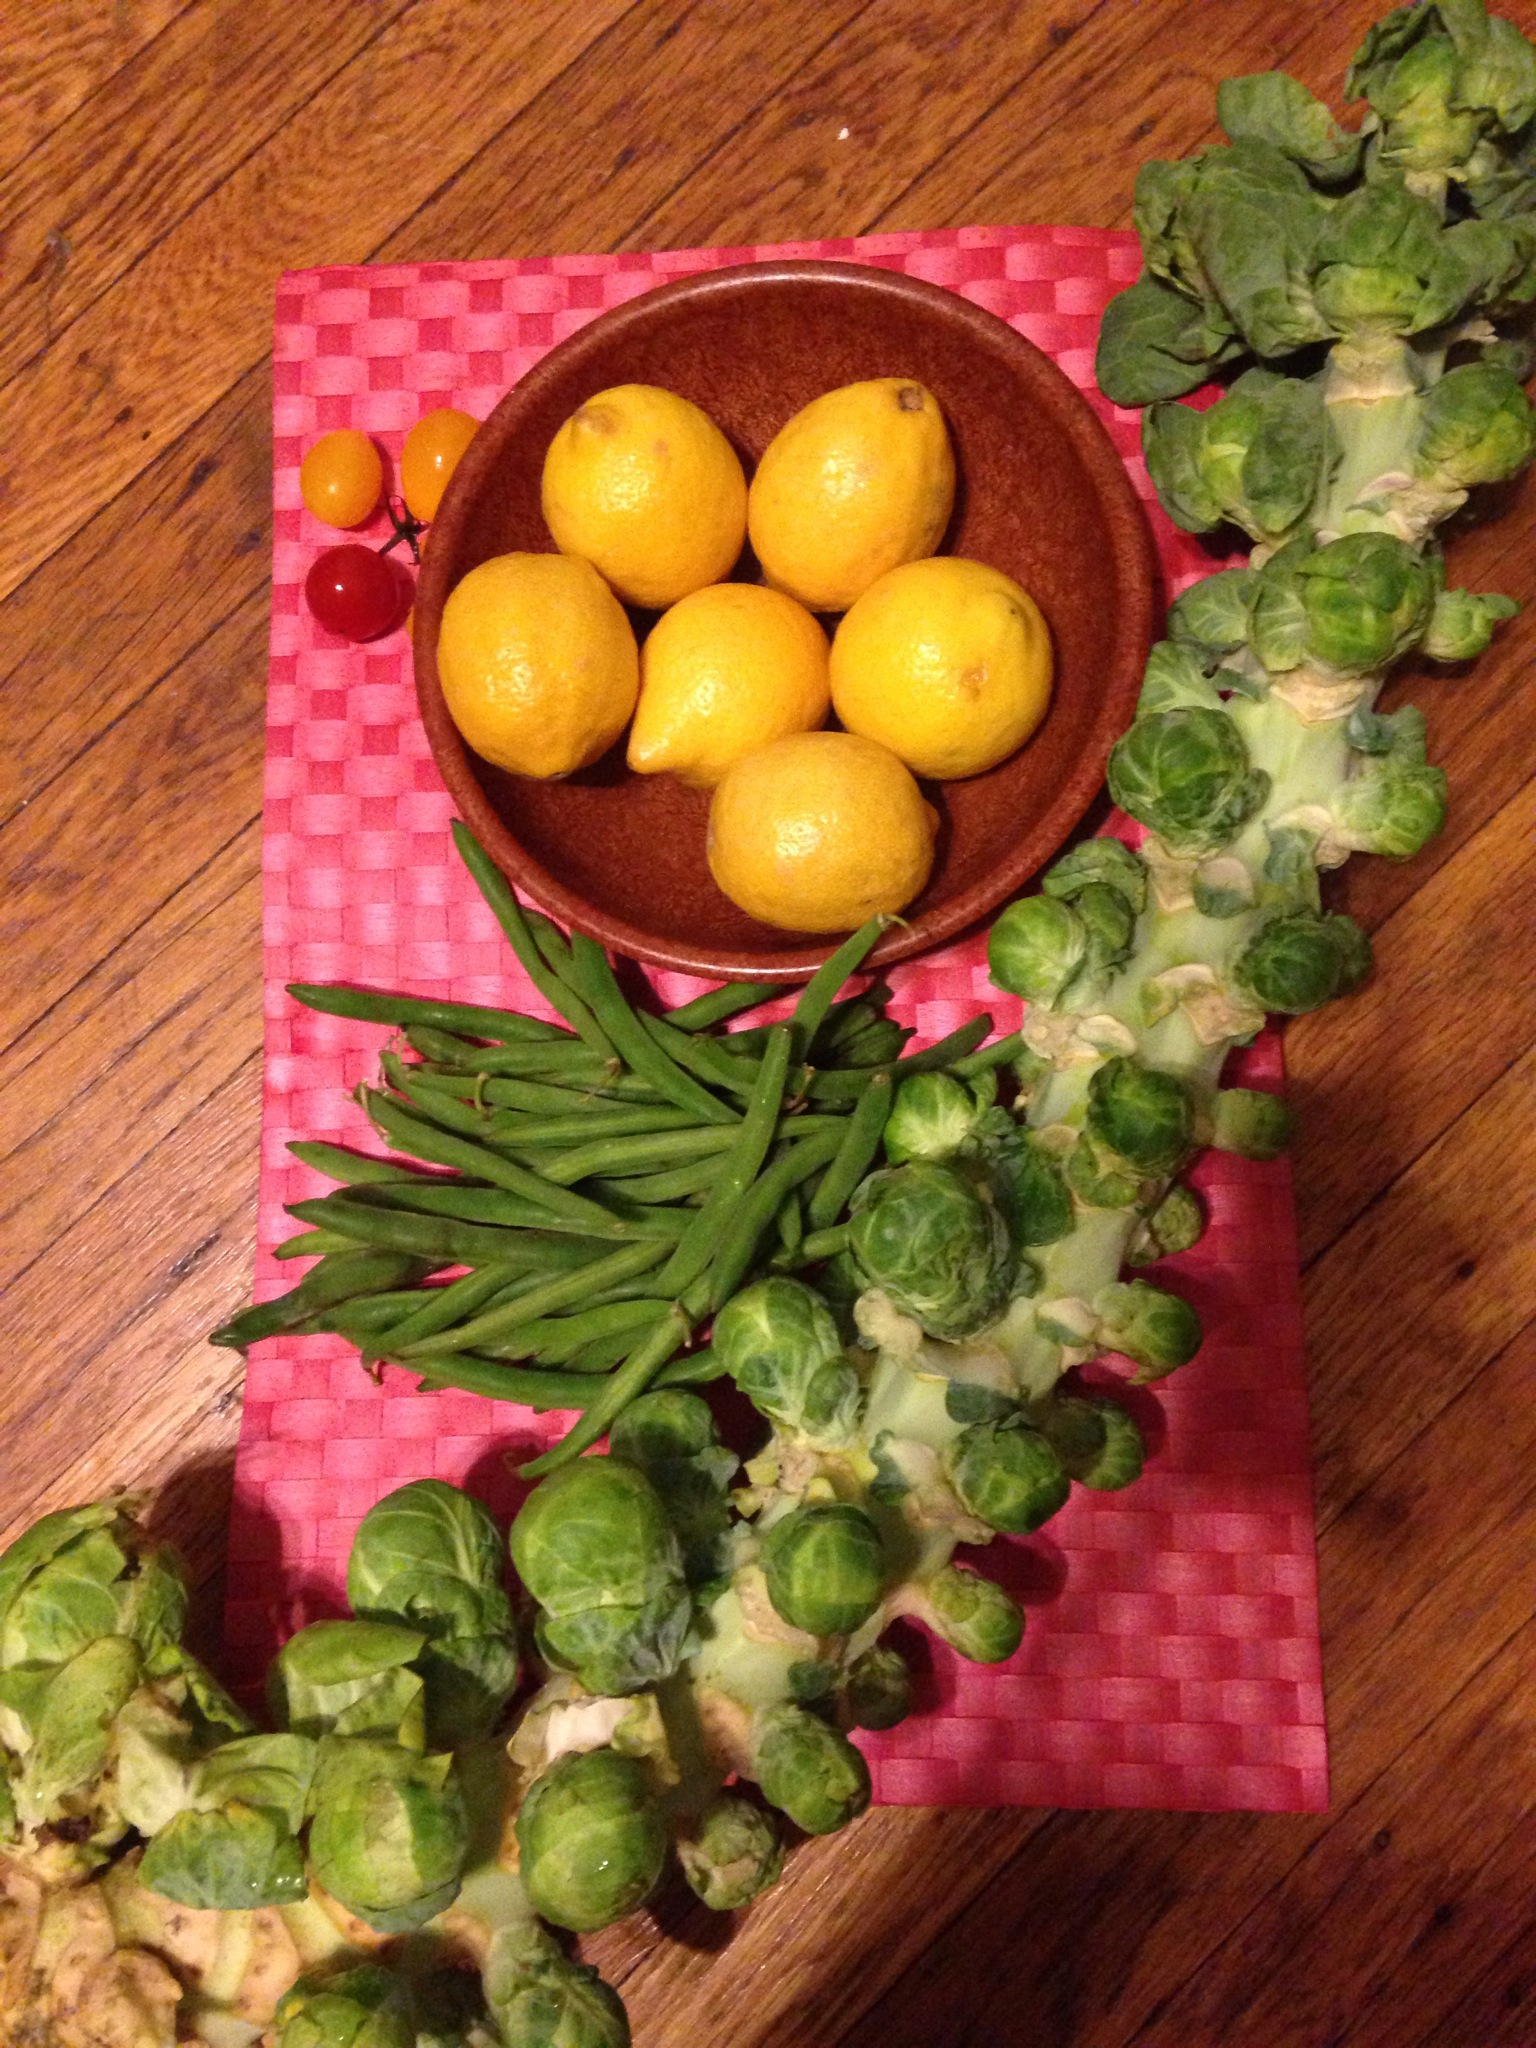
IMG_0960.JPGMy recent trip to the Rochester Public Market was thrilling. The glorious sights and scents of autumn came alive.

Farmer’s markets make me giddy. Waist deep in freshly harvested vegetables, my three year old and I started grabbing with little thought as to how everything would go together.

Before I knew it, I was at home, hungry and staring at an assortment of vegetables. I knew I wanted my hearty stalk of brussels sprouts to take center stage and from here my brussels sprout salad was born.

Here’s what you’ll need:

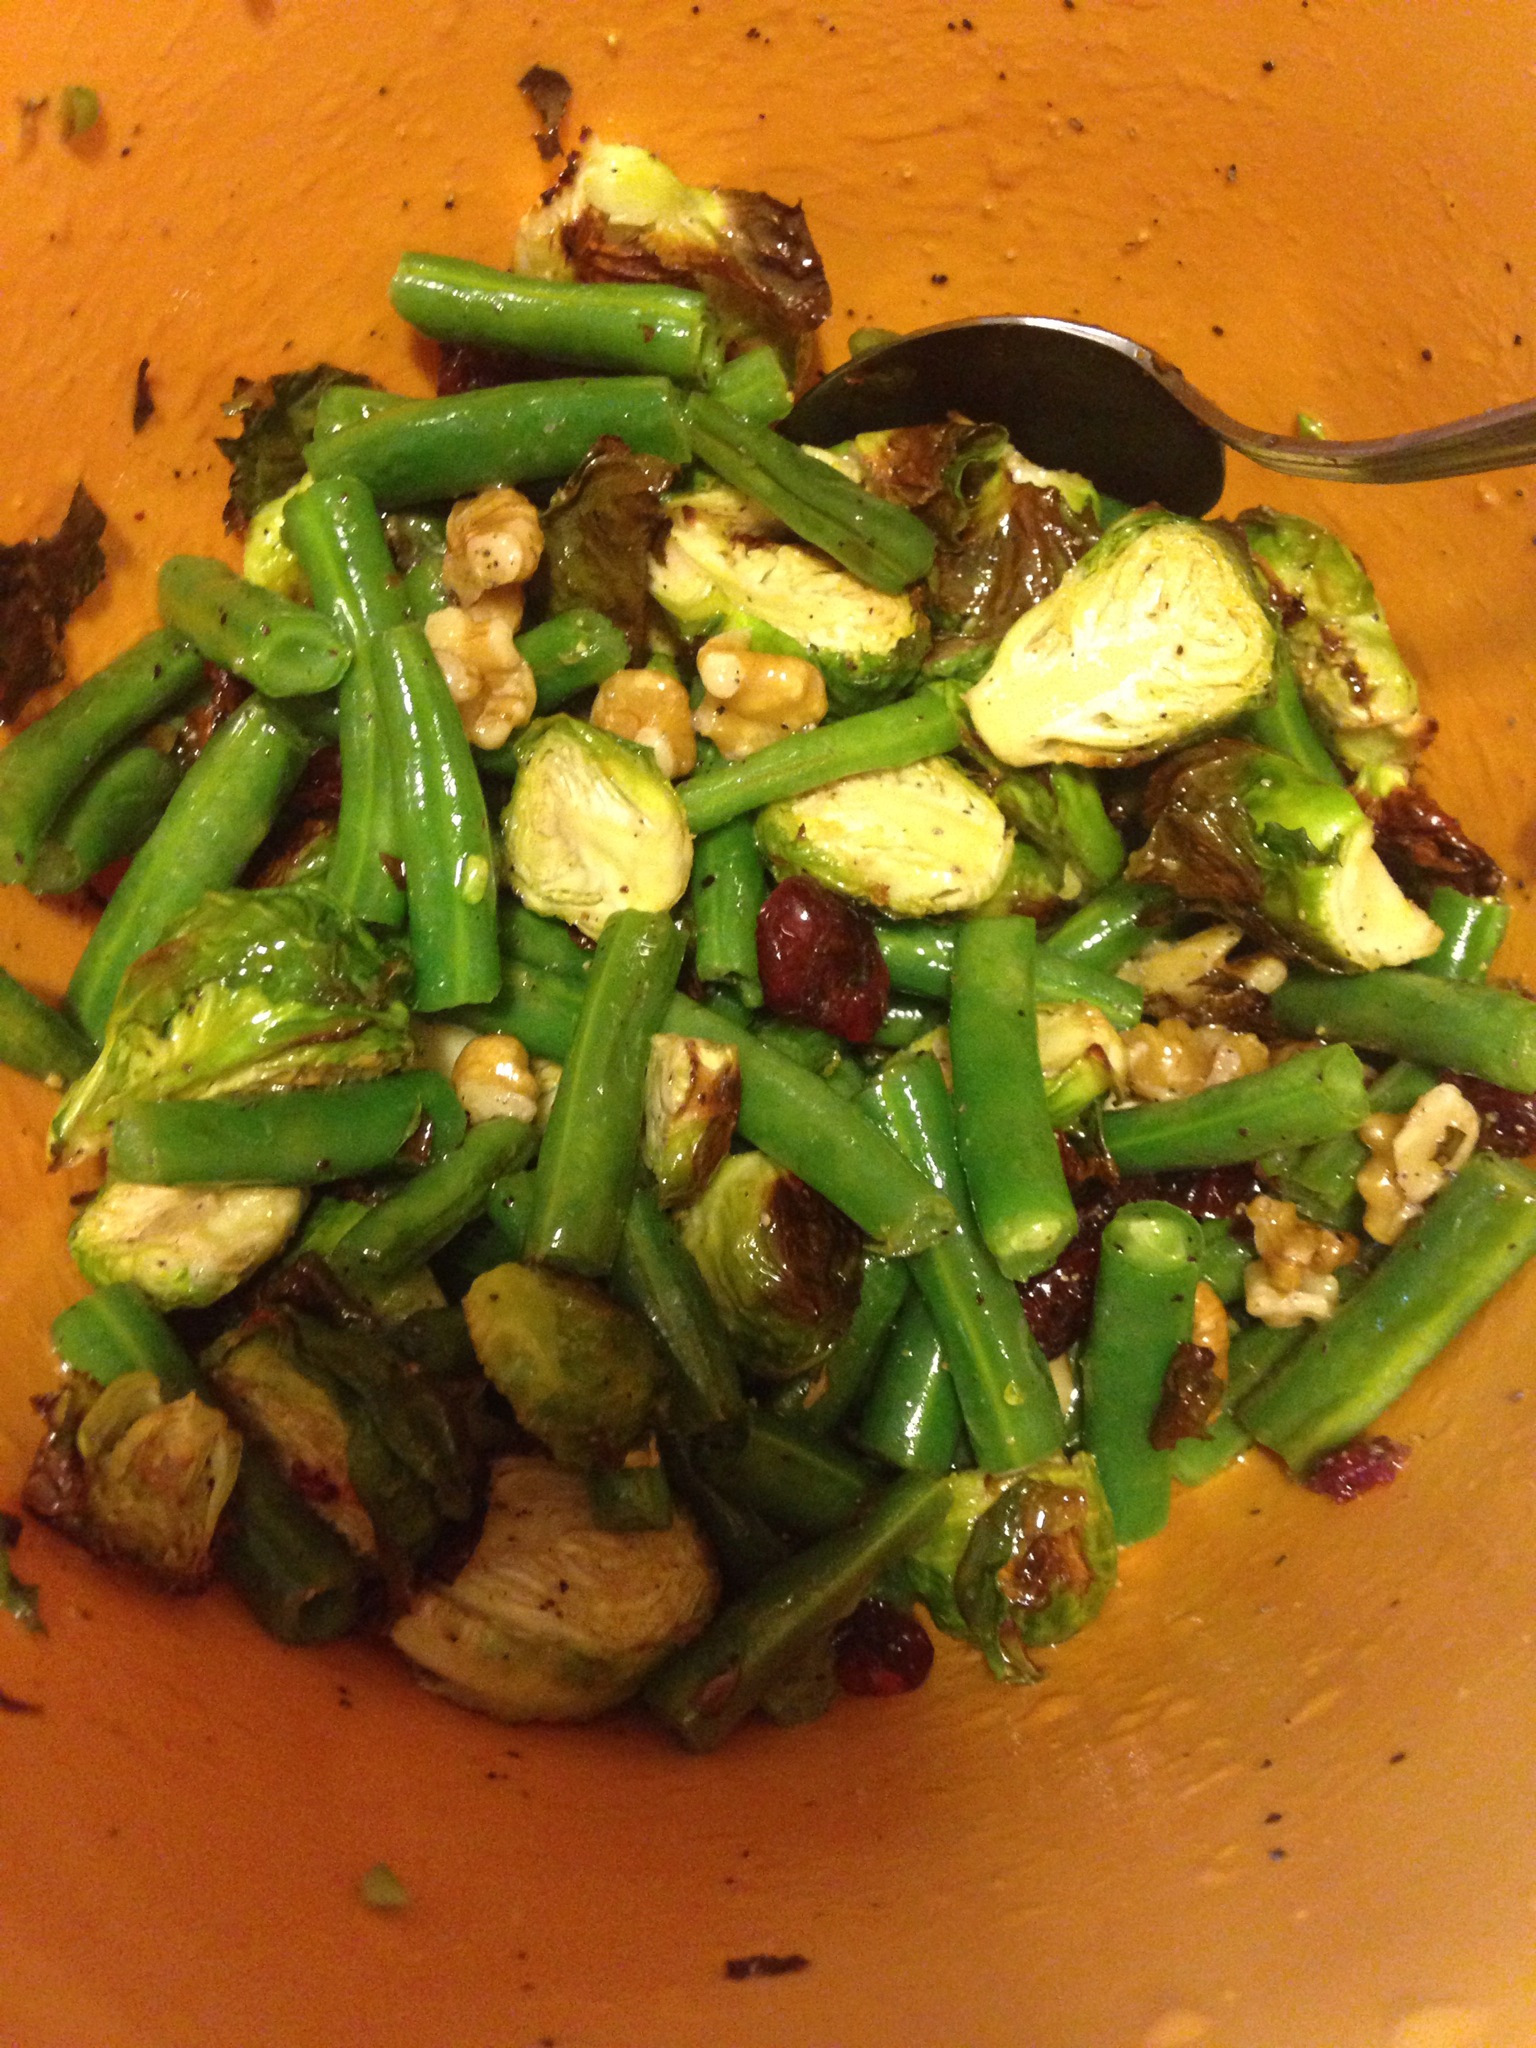
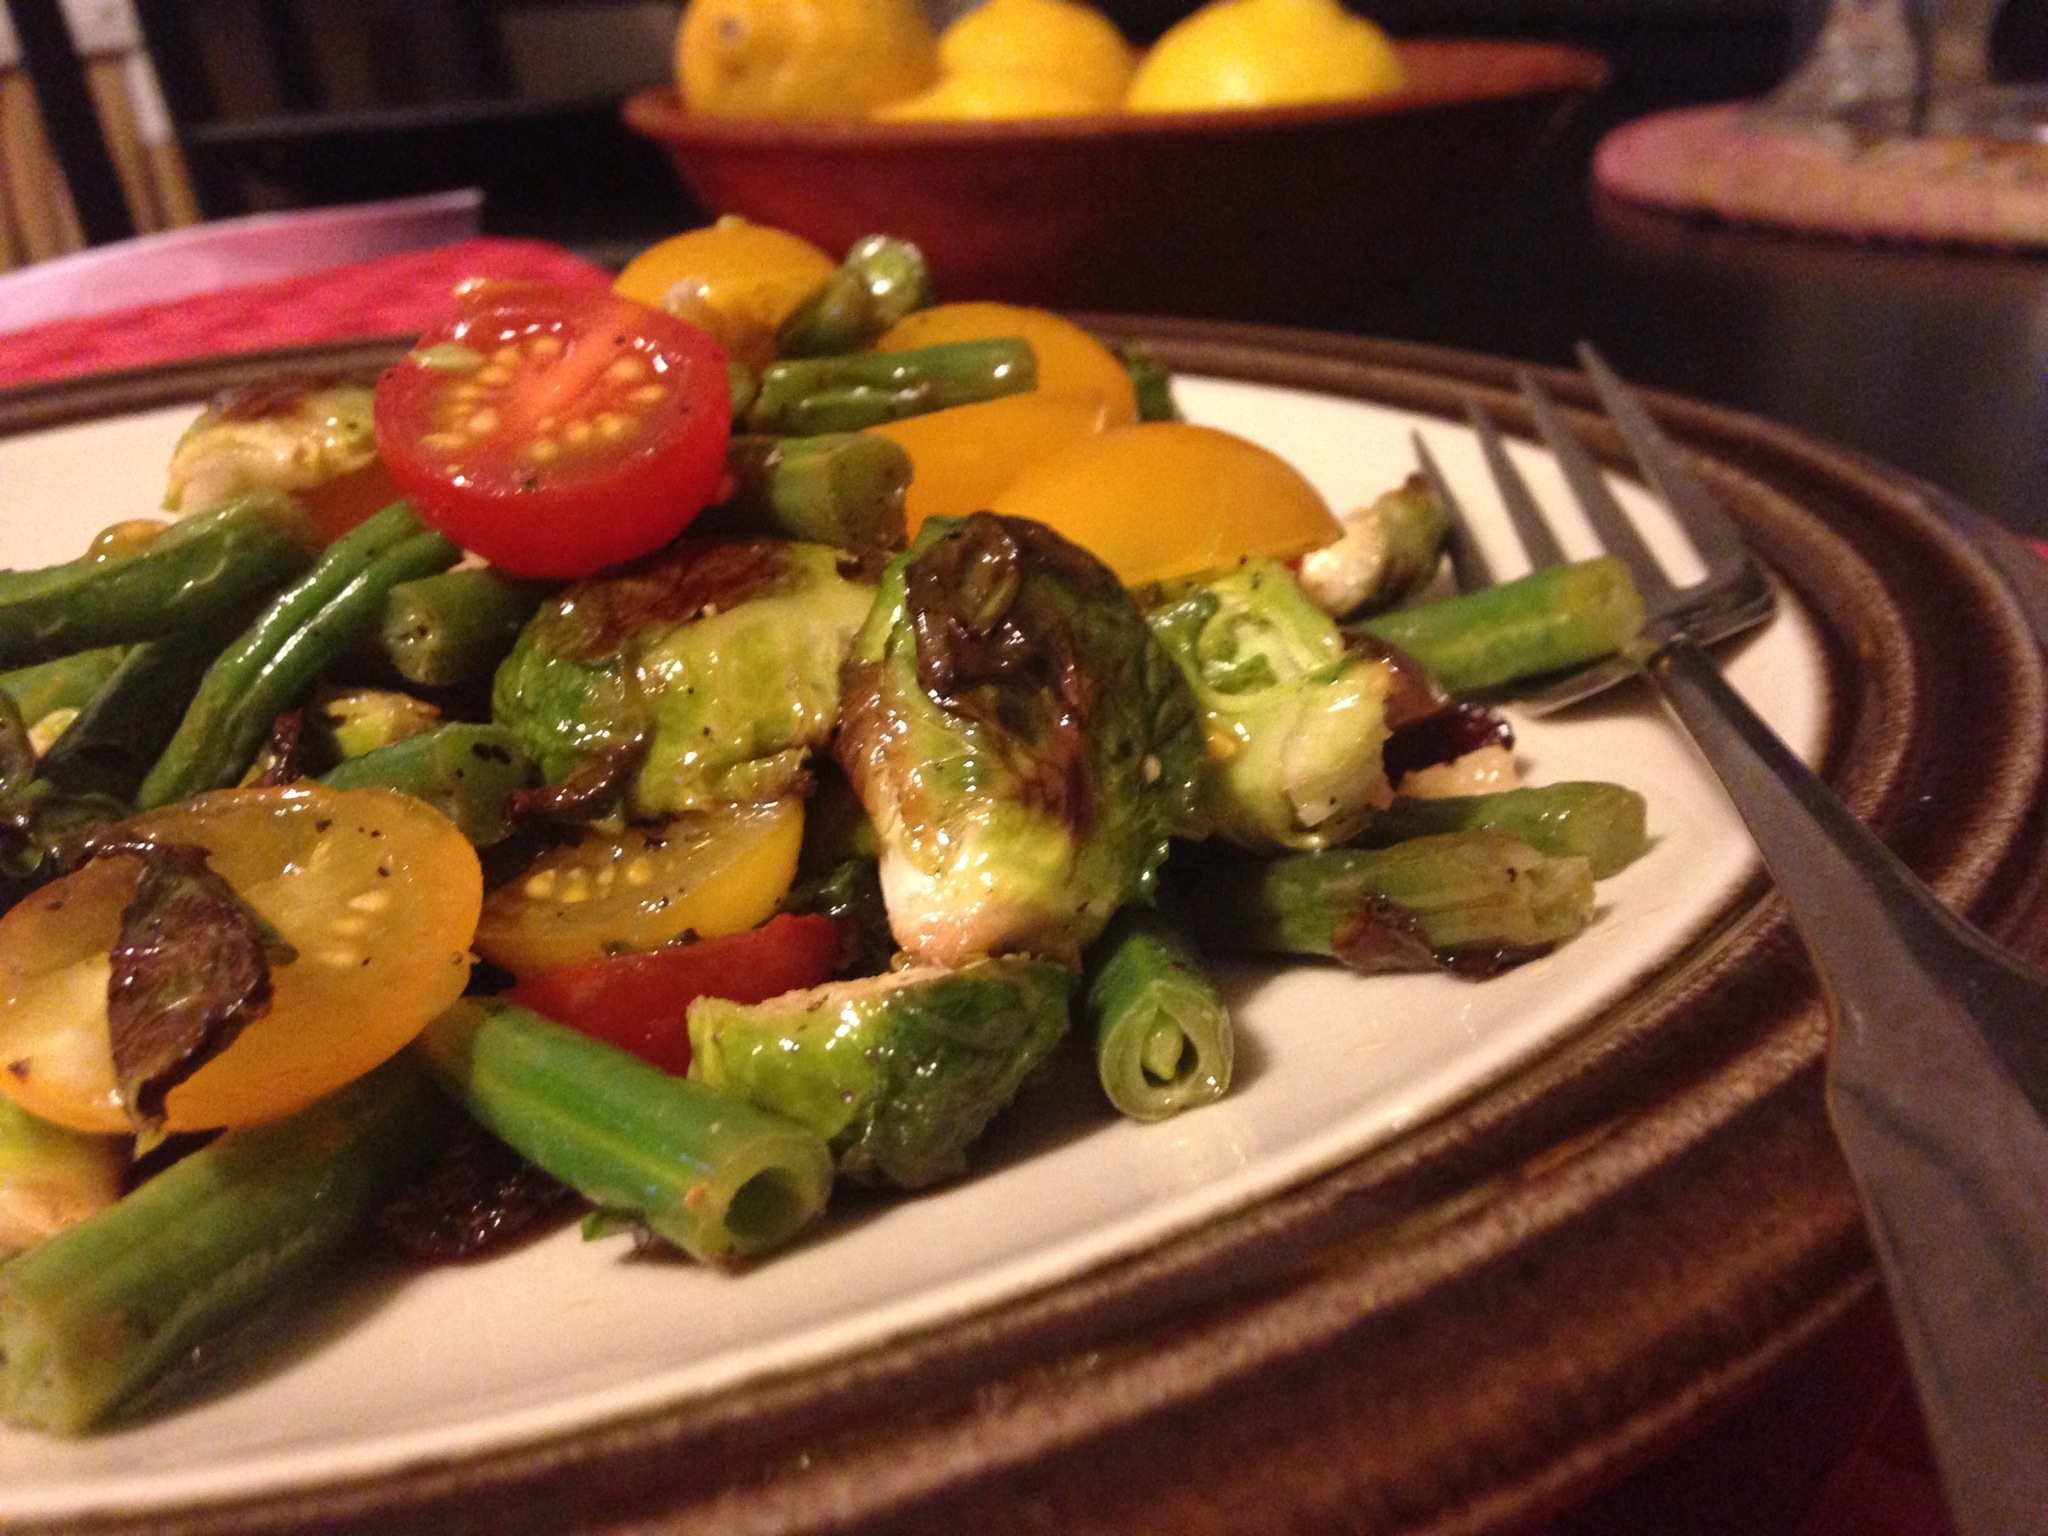
Brussels sprouts (grilled and halved) String beans (ends cut off and chopped into inch long segments) Cherry tomatoes (halved) Craisins Walnuts Fresh lemon Olive oil Salt and pepper to taste

Here's what to do:

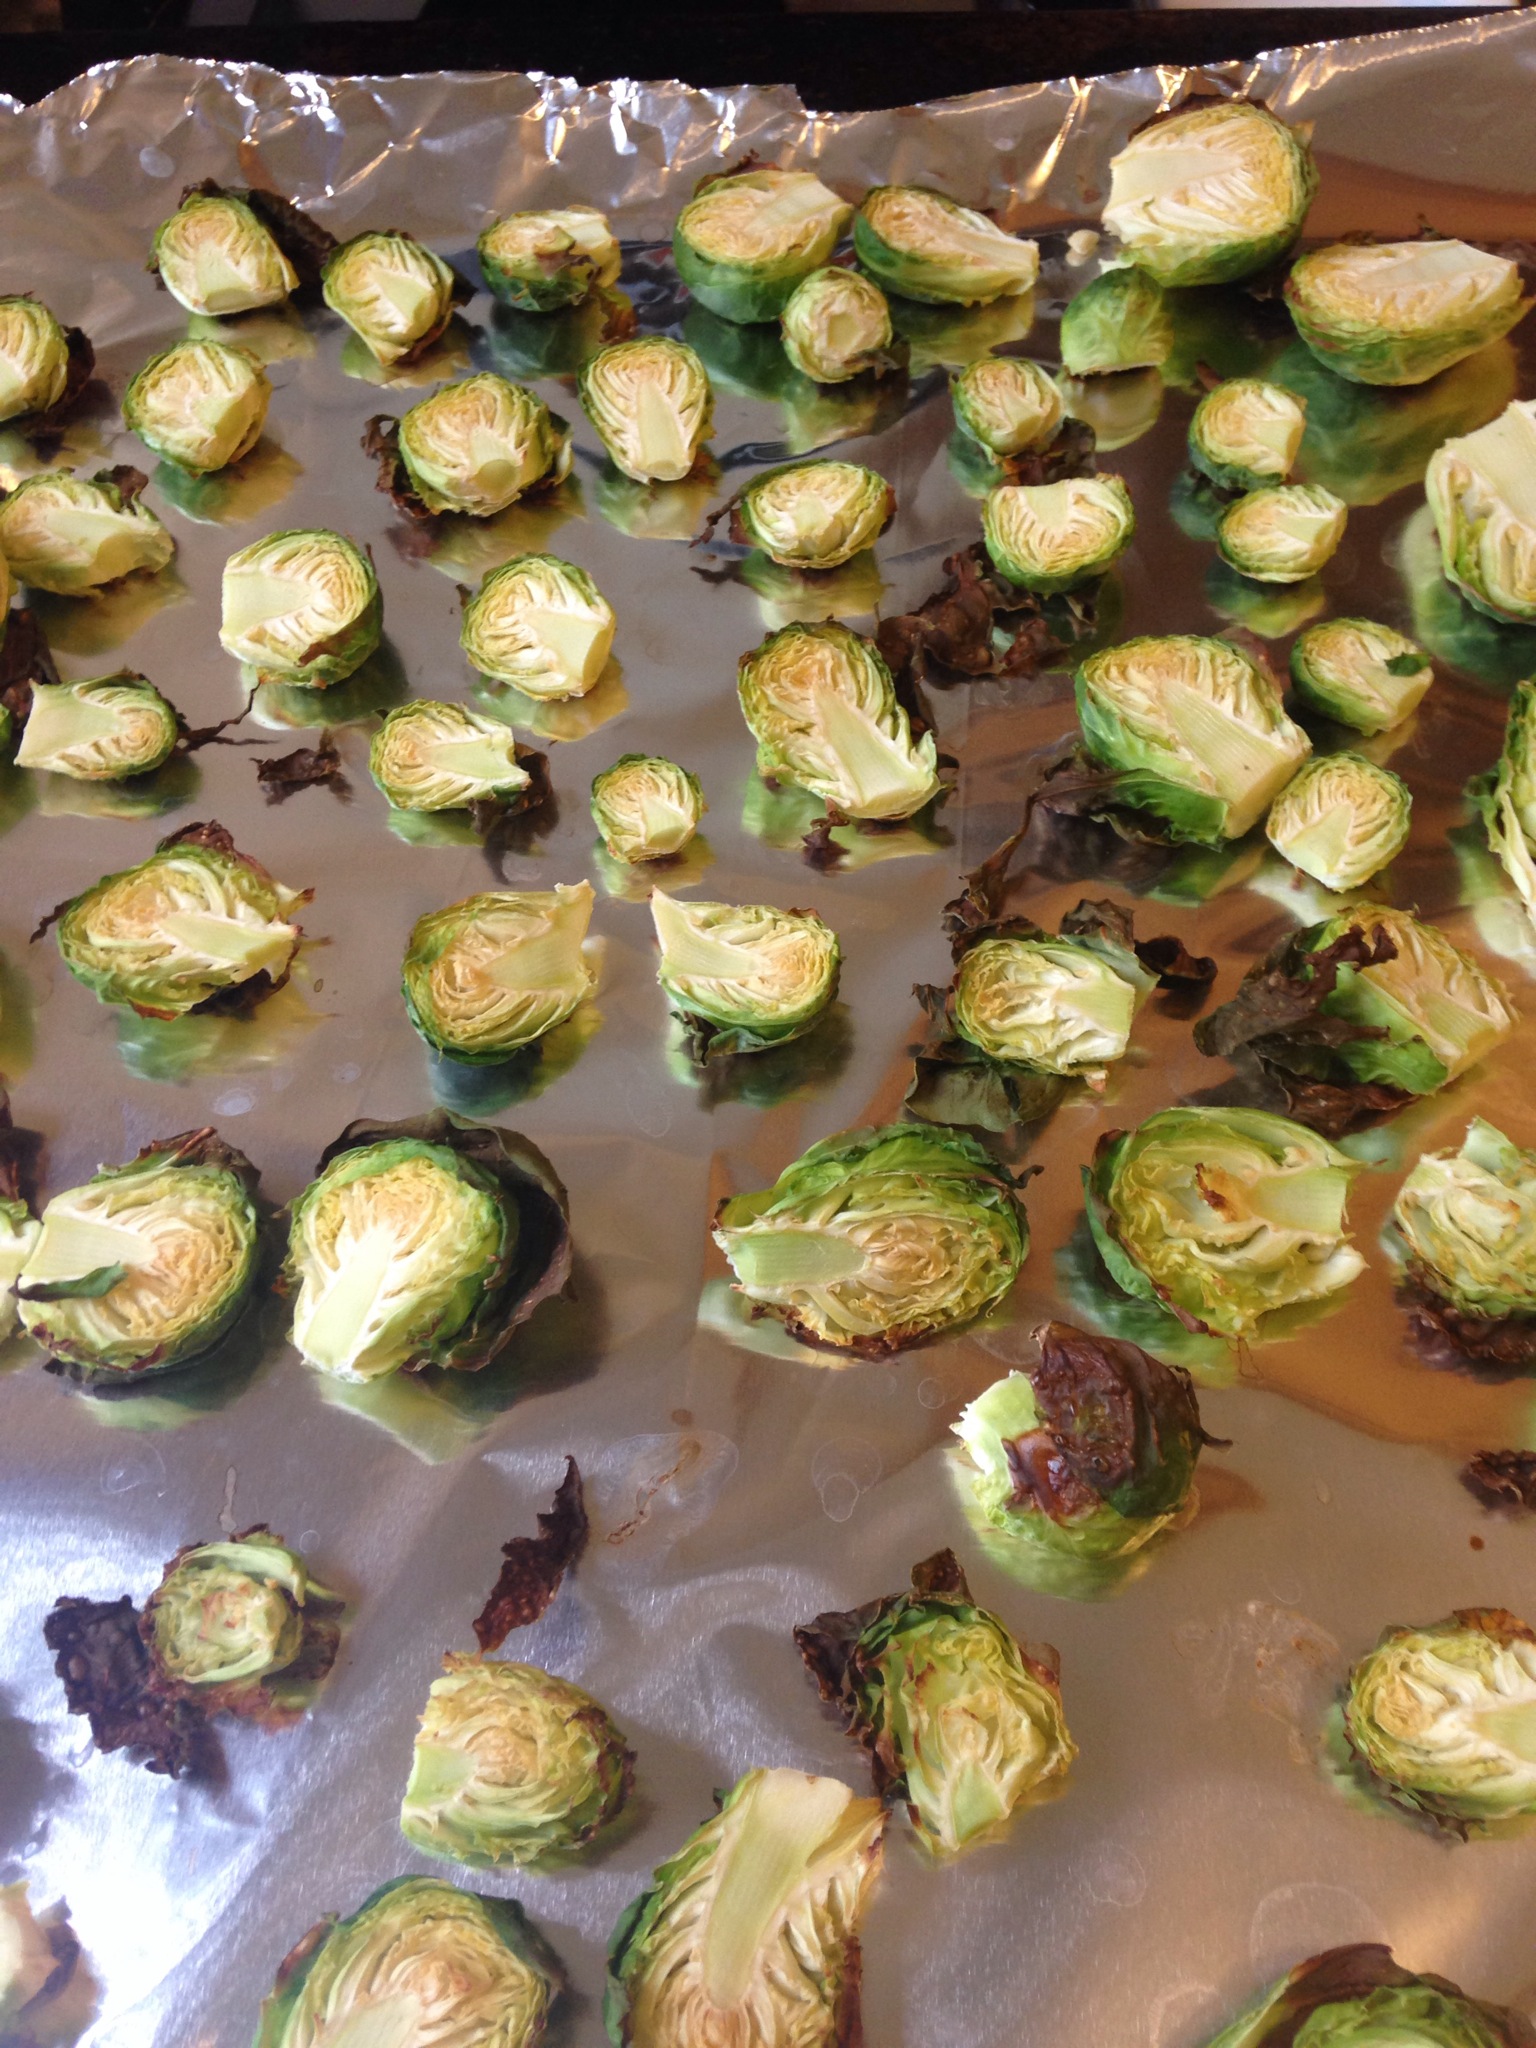
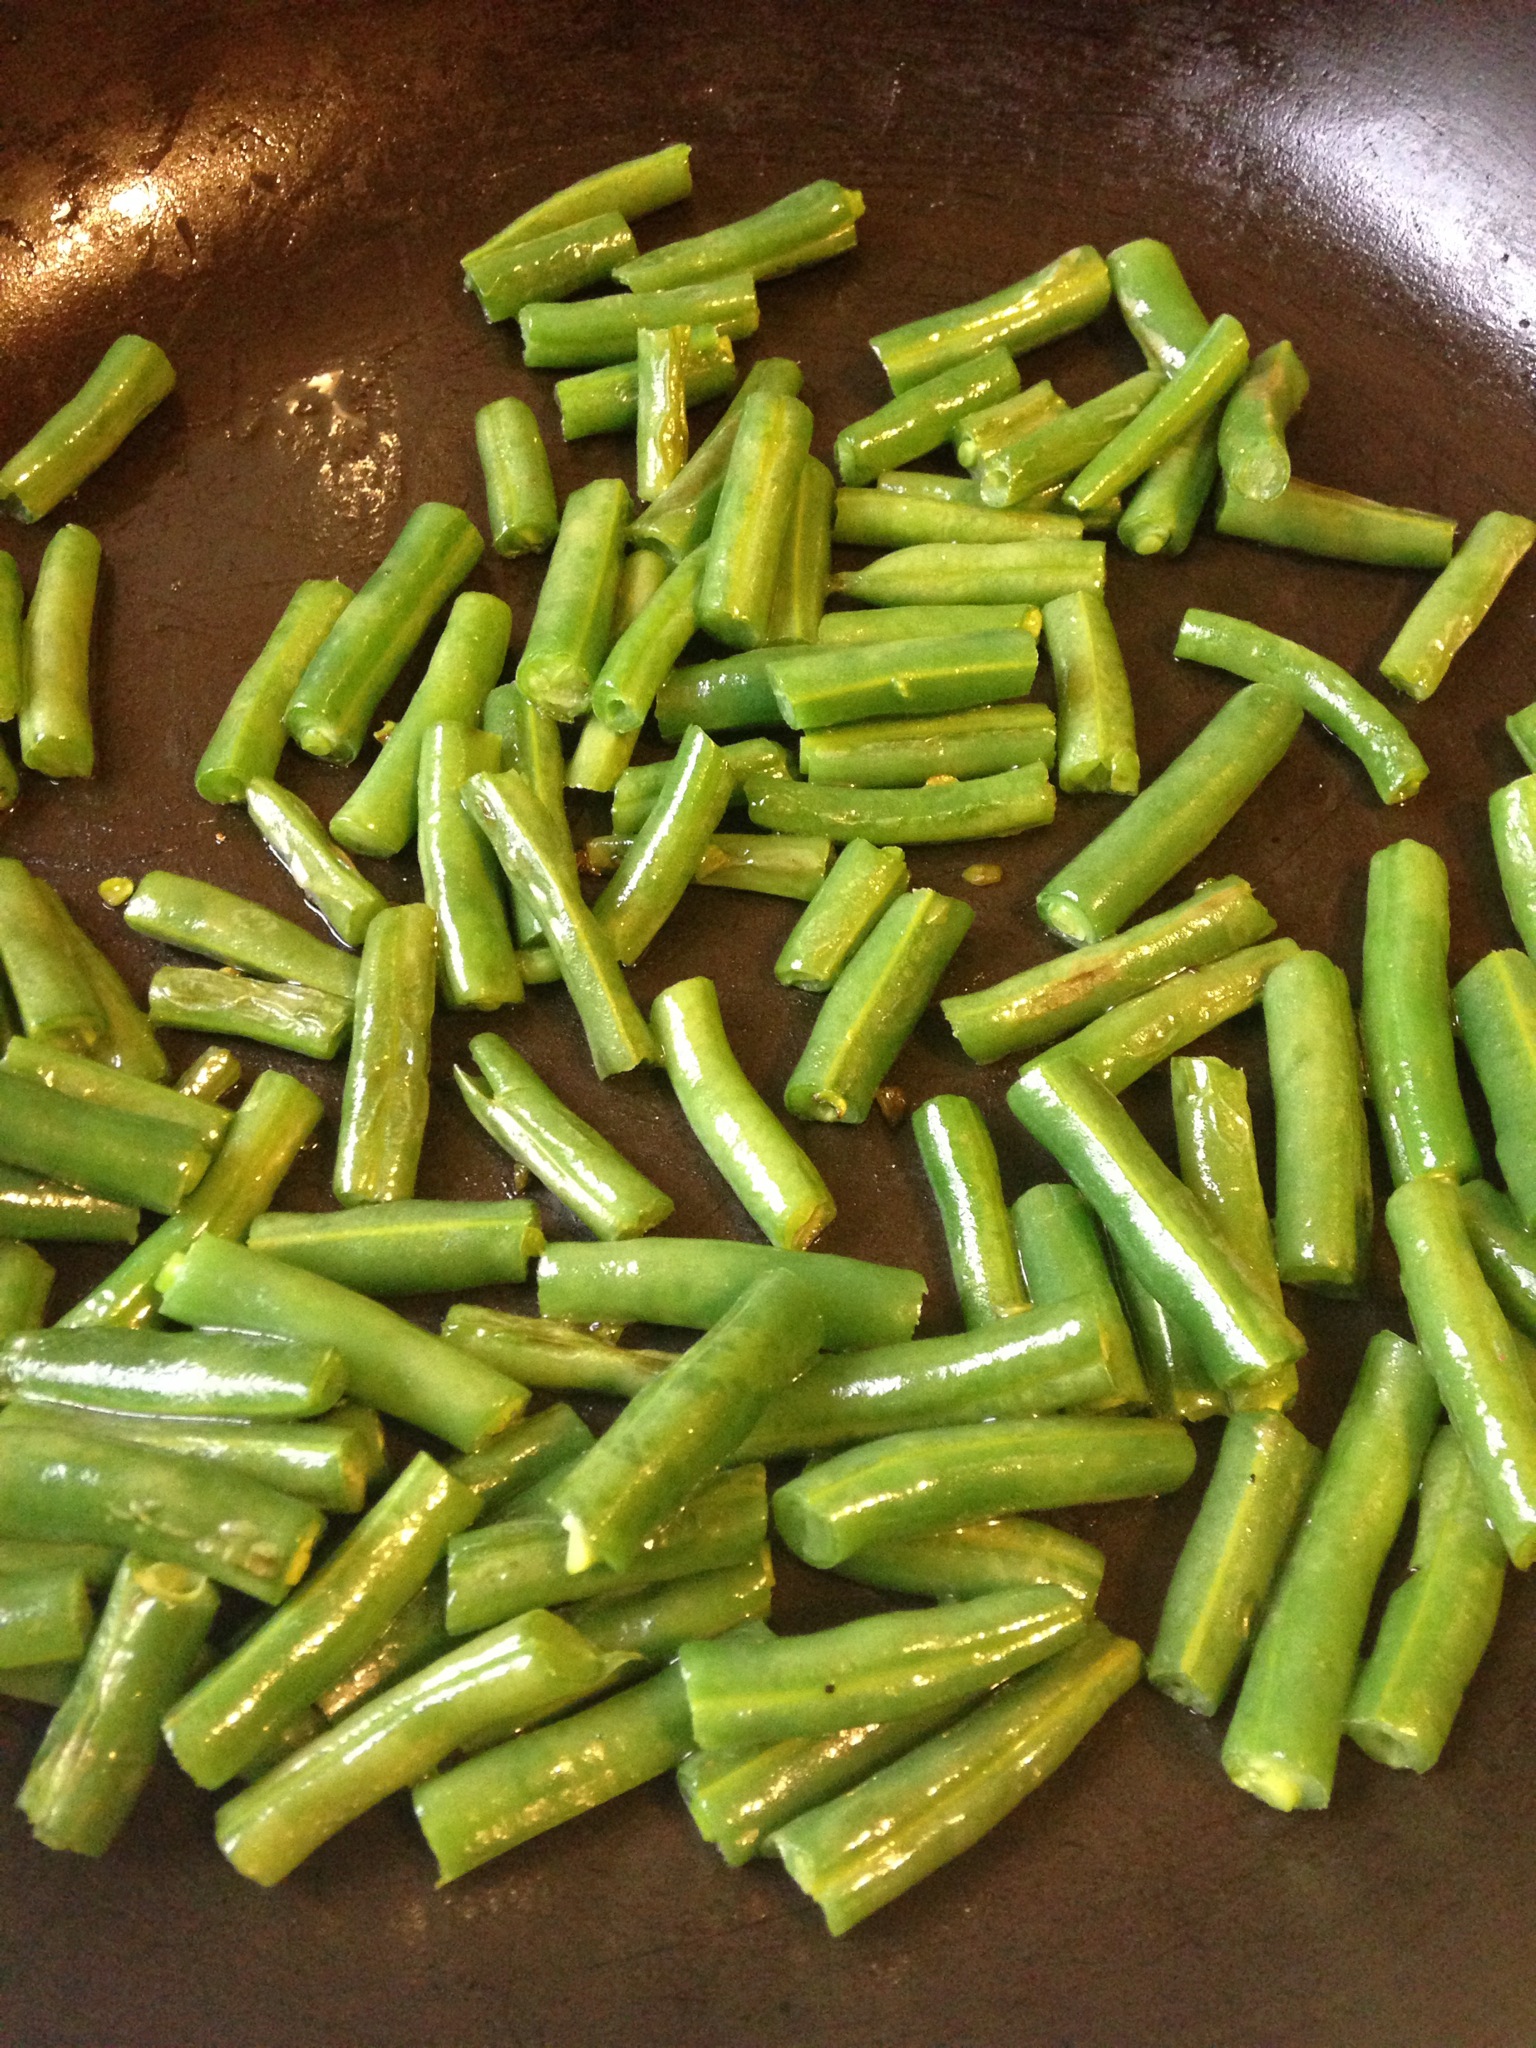
IMG_0964.JPG Half your brussels sprouts and grill them in the oven at 375 degrees (about eight minutes) until the edges turn brown and crispy. IMG_0965.JPG Wash and cut your green beans into inch long segments. Saute for five minutes (I used a dash of canola oil). You'll want your beans to be nice and vibrant and crisp.

IMG_0966.JPG Toss your brussels sprouts, green beans, craisins, and walnuts together. Add your halved cherry tomatoes. Splash on your olive oil. Squeeze a lemon into the mix and add some salt and pepper. Toss and savor!

IMG_0968.JPG