DIY Natural Beauty

An Easy Anti-Aging Serum You Can Make At Home

Time catches up with us all at one point or another. It's the prize we get for living full and fruitful lives. Remember, laugh lines mean you've had the privilege of much laughter and joy. 

Sometimes time makes an appearance in the form of an ache or a pain and at others with a gray hair or a reflection that you may not at first recognize.

Luckily, nature has provided us with some amazing tools to counteract the signs of aging. 

In this post, I'm sharing with you an easy anti-aging serum you can make at home.

This recipe is SIMPLE! You can't mess it up.

The two key ingredients are powerful in an of themselves and combined, form an unstoppable force to counteract the signs of aging the natural way.

IMG_4711.JPG

I'll start with the ingredients for this easy anti-aging serum you can make at home!

FullSizeRender.jpg

Here's What you'll need:

2 oz Tamanu Oil 

10 drops Frankincense Essential Oil (diluted in Jojoba is fine, just up the drops to 15)

5 drops Lavender Essential Oil


A few notes about the key ingredients-

Tamanu Oil is pure magic! You can learn more about it by clicking HERE.

Frankincense Essential Oil has been heralded for thousands of years for it's anti-aging properties. The Ancient Egyptians used Frankincense in their beauty preparations. They even used it as a preservative in mummification. Frankincense is antibacterial, anti-inflammatory, encourages cellular regeneration, has been said to slow the production of tumors, is immune enhancing, elevates the mood and reduces the signs of wrinkles, dark spots and scars. 

TAMANU + FRANKINCENSE = POWER!

here's what you need to do:

  1. Measure out your Tamanu Oil

  2. Add your essential oils

  3. Swirl the liquid to mix

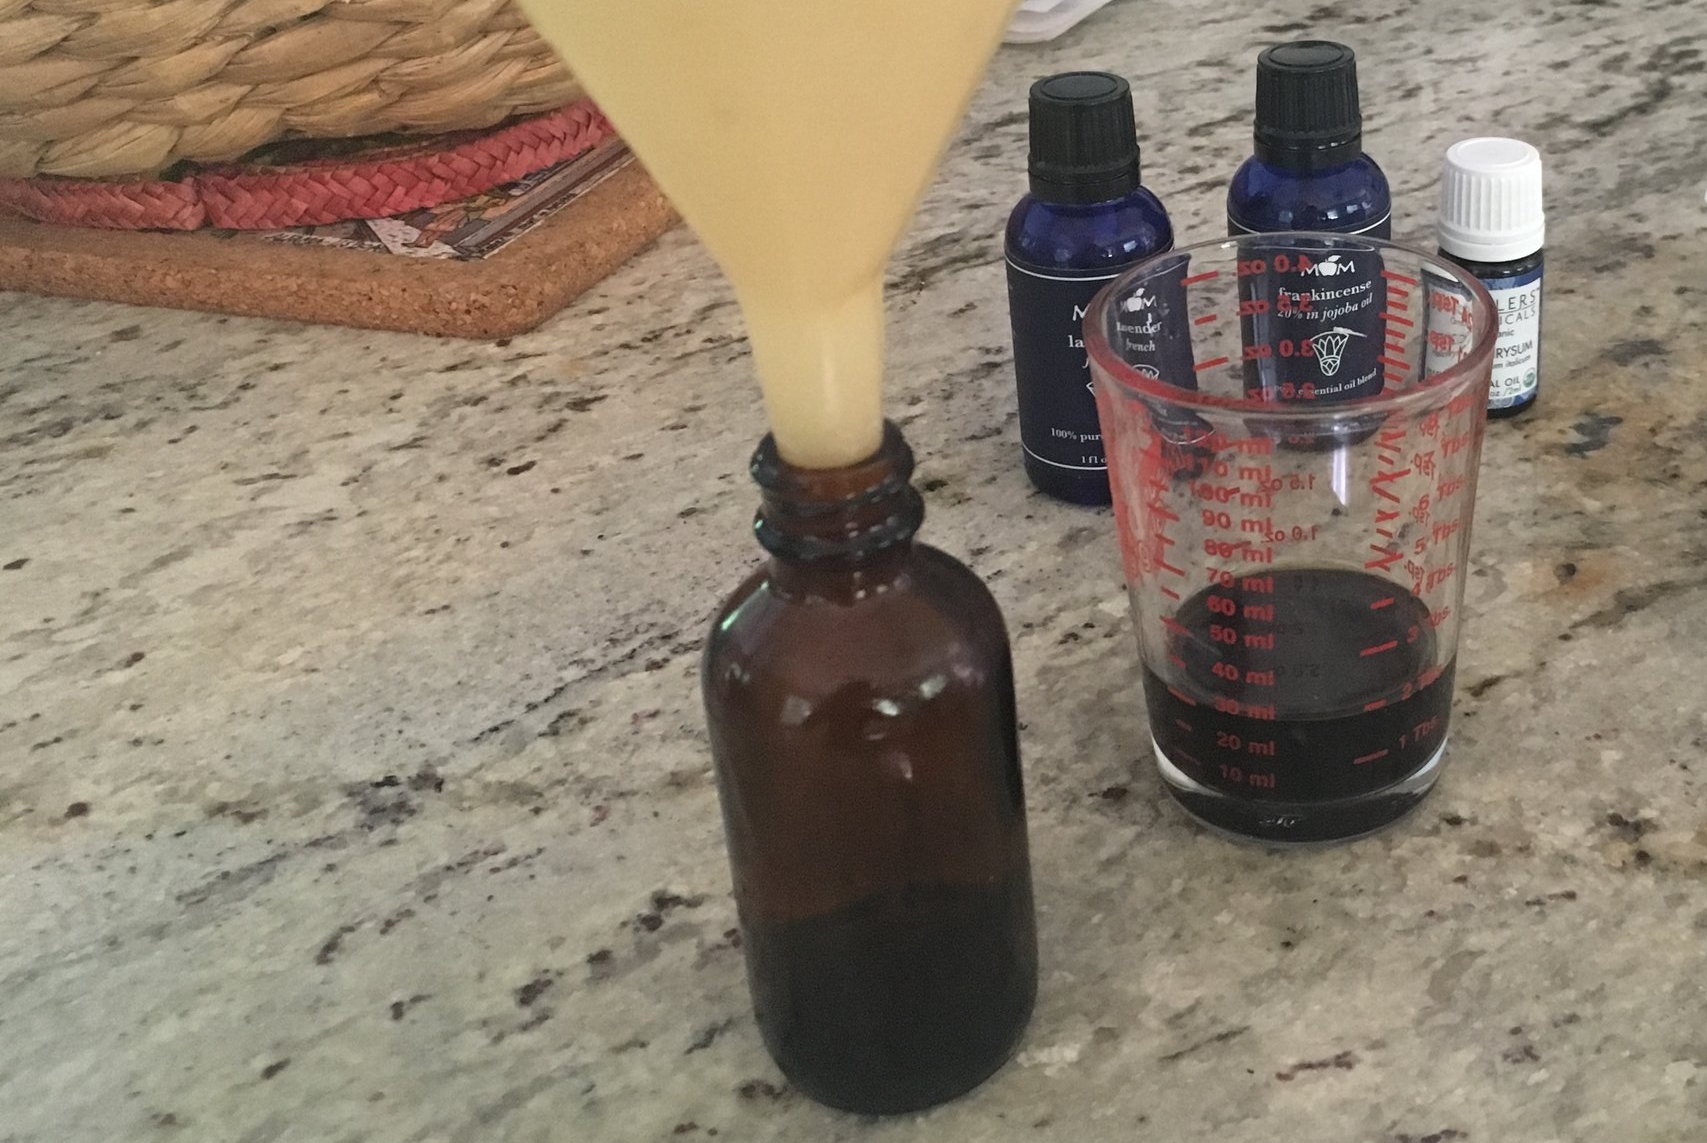
  4. Use a funnel to pour your mixture into your bottle of choice

      * Makes about an ounce at a time

FullSizeRender.jpg
IMG_4706.JPG
FullSizeRender.jpg
FullSizeRender.jpg
FullSizeRender.jpg

There you have it, an easy anti-aging serum you can make at home!

A little bit goes a long way! Seriously!!!!!

All you need is a pea sized amount. Rub the serum into your skin. It will absorb quickly without leaving a greasy sheen. 

As always, avoid your eyes and mouth. Tamanu oil has a bitter taste, so you'll want to keep it from around your lips. I've definitely made that mistake before (yuck!)

Use in the morning and before bed after washing your face or applying a toner. You can put moisturizer or a sunblock over it. 

So...have you tried it? What do you think???

For more DIY natural skin care ideas, check out my latest book Natural Beauty from the Outside In, where you’ll find 70 Ayurveda inspired hair and skin care recipes.

Gentle Moisturizing Body Wash You Can Make Yourself!

I love making body care products by hand. This is no secret. But my drive to make my own products was born out of necessity. 

My sons both have severe eczema. Their conditions have been kept under control through diet and my handmade skin care products. 

IMG_4612.JPG

Today, I'm going to share what I use on their skin in the bath with this gentle moisturizing body wash you can make yourself!

This body wash is not exclusive to eczema relief, but it helps to soothe eczema skin with it's calming and moisturizing properties. This gentle moisturizing body wash is all natural, you can use 100% organic ingredients if you choose and a little bit goes a long way.

I like to think of this body wash as a skin softener. It leaves your skin so dewey and refreshed. 

FullSizeRender.jpg

Here's what you need:

½ cup castile soap

4 tablespoons vegetable glycerin

½ teaspoon vitamin E oil

4 tablespoons olive oil 

*essential oil is optional (I don't use any essential oils for eczema skin, but for my blend, I add 10 drops of lavender and 5 drops of peppermint) 

IMG_4603.JPG

Here's what to do:

In a measuring cup, measure out your castile soap. Add your vegetable glycerin and whisk or stir. Then add your oils (vitamin E and olive) and whisk or stir once again. Finally, add any essential oils. 

FullSizeRender.jpg

Give your mixture a final stir and now you're ready to transfer your body wash into a container of your choice (I'm the queen of recycled glass bottles). 

IMG_4606.JPG

Remember a little bit goes a long way! Which is great news, because this gentle moisturizing body wash is extremely cost effective, not to mention easy to prepare. 

I hope you enjoy this simple blend. Reach out to me in the comments below with questions :)

And there we have it, a gentle moisturizing body wash you can make yourself!

For more DIY natural skin care ideas, check out my latest book Natural Beauty from the Outside In, where you’ll find 70 Ayurveda inspired hair and skin care recipes.

Cooling Spring/Summer Green Clay Mask

DIY Cooling Spring/Summer Green Clay Mask

IMG_4015.JPG

It's spring! The days are getting longer, the weather is warming and the sun is shinning. This is all great news, but the change in season can wreak havoc  on your skin.

In the spring when the sun shines a bit longer and a bit brighter, the skin can get warm, very warm, it can even feel uncomfortably hot. If you have an understanding of Ayurveda, and you're Pitta in constitution, you're probably saying amen right about now. 

No matter what the proclivities of your skin or your Ayurvedic constitution, you're most likely in need of something cooling and calming.

This cooling spring/summer green clay mask, with it's power to refresh and rejuvenate may just the answer. This is an excellent mask to apply mid-day to cool and clean a hot and sweaty face. Gentle and deeply moisturizing, even the most sensitive skin responds well.  

Cooling Spring/Summer Green Clay Mask Ingredients:

1 tablespoon French Green Clay Powder

1 tablespoon Rosewater

1 tablespoon coconut oil (softened to room temperature) 

1 tablespoon Greek Yogurt (full fat, plain) 

5 drops Rose Essential Oil

1 teaspoon Vegetable Glycerin  

Here's What to Do:

IMG_4006.JPG

In a small bowl or dish, measure out your green clay powder and yogurt. Mix with a spoon until smooth then add the softened coconut oil. Mix until smooth then add the rose water, vegetable glycerin and essential oil.

Mix until a uniform paste like consistency is achieved. 

Cool and store in the refrigerator. 

Benefits: 

IMG_4012.JPG

cools skin

reduces inflammation  

detoxifies skin and removes impurities  

moisturizing

softening

calms sun burn

tightens pores

reduces and calms Pitta

Directions for use:

Keep cool in refrigerator and apply cold to skin. Smooth over your face in gentle circles using your fingertips. Avoid direct contact with your eyes, nostrils, and mouth.

It's ideal to leave the mask on for ten minutes before rinsing and wiping away with a warm washcloth.  

Even your little ones can enjoy this natural, non-toxic, cooling mask after coming inside after a long day of play. 

IMG_4013.JPG

Enjoy the sunshine. Enjoy the glorious warmth and light!

How does your skin regimen change in the warmer months?

For more DIY natural skin care ideas, check out my latest book Natural Beauty from the Outside In, where you’ll find 70 Ayurveda inspired hair and skin care recipes.

DIY Daily Conditioner

For years now I've been making my own moisturizing shampoo yet for some reason, when it came to conditioner, I've been quick to go to the store. 

My hair is thick with a combination of spiral curls, coils and waves. It takes a lot and I mean a lot of moisture to keep me from looking like I'm sporting a scraggly lion's mane. Conditioner is not something to be taken lightly. 

About three months back, an Ayurvedic client of mine with a similar hair type requested a DIY daily conditioner.  I had a ton of recipes for a variety of hair types but nothing that I could stand behind to address the unique needs of thick, curly hair. 

So I went into mad scientist experiment mode. I tested formulas on my kids and on myself, I added this and I added that, and I came up with a DIY daily conditioner blend I can stand behind.

IMG_3371.JPG

First, can we talk about the smell? Your hair will smell divine. The lavander is so fragrantly floral and blends perfectly with the earthy sweetness of myrrh.

Second, did I mention all day moisture of not only your hair root to end, but of your scalp as well. Castor, coconut, and olive oils combined with the essential oil myrrh, pack a powerful moisturizing punch. If you have curls, they will spring into shape. The castor seals your coils like a serum.

IMG_3372.JPG
IMG_3373.JPG
IMG_3374.JPG

Finally, you can whip up a batch in minutes. I prep mine the day before and store in a 2 oz glass jar.

IMG_3357.JPG

You can make single batches or double up. If you're going to double up, I recommend adding a few drops of Vitamin E oil as a preservative. 

Here's what you'll need:

3 tablespoons unrefined coconut oil

1 tablespoon olive oil

1 tablespoon castor oil

10 drops essential oil of myrrh

5 drops essential oil of lavender 

Here's what to do:

I combine my ingredients directly in my storage container. If your coconut oil is hard, soften it by running the jar under warm water so that your items blend easily and evenly. 

IMG_3356.JPG

I mix with a small whisk and ta-da!

It's so easy!

A few things to consider:

 One batch is usually enough for my hair (shoulder length thick and wavy) and  both of my son's hair (in pictures). This means that I whip up a quick batch daily before each use. You can make a big batch if that suits your lifestyle better, but if you're planning to keep the conditioner longer than a week, I'd add a few drops of vitamin E oil to serve as a preservative. 

FullSizeRender.jpg

Also, this recipe is for daily conditioning. Even though it's moisturizing, it's relatively light. Once a week, I do a deep conditioner using the same foundational recipe only adding 1/2 cup of melted shea butter. For deep conditioning, I leave in my hair for 15 minutes before rinsing, for regular daily conditioning, I leave the basic recipe (without shea butter) in for 2-5 minutes.

Questions? Don't hesitate to reach out! You may also like my DIY Shampoo recipe. 

For more DIY natural skin care ideas, check out my latest book Natural Beauty from the Outside In, where you’ll find 70 Ayurveda inspired hair and skin care recipes.

DIY All Natural Deodorant

I have spent a lot of time over the past few years trying, testing and developing DIY all natural deodorant recipes using organic, natural and botanical ingredients. 

I can finally say that I've found my favorite!

FullSizeRender.jpg

My latest iteration is floral and calming, elementally drawing upon earth, air and ether. 

This DIY all natural deodorant is an essential oil blend that can be applied directly to your underarms. 

Most importantly, it works!

As in... ALL DAY!

This might be a good time to remind you that I'm a yoga teacher. I literally spend my entire day engaged in movement, and it works for me!

Not only does this blend keep your underarms fresh, it smells absolutely LOVELY! 

Lovely in a grounded, unisex, earthy way. Not earthy musk, as in patchouli, but soft light earth as in frankincense with astringent/floral notes. 

It's worth a try!

This blend will not irritate your underarms in the way that some natural baking soda/corn starch based deodorants might. 

The blend of essential oils is antibacterial, antimicrobial, antiviral, and anti fungal. Your stinky underarm bacteria doesn't stand a chance with this new DIY all natural deodorant recipe. 

Here's what you'll need:

fractionated coconut oil 

vegetable glycerine

lavender essential oil

ylang ylang essential oil

tea tree essential oil

white thyme essential oil

rose essential oil

frankincense essential oil

The amount of each ingredient is dependent upon the size of your jar, so you can reference this diagram to help determine the proper ratio. 

IMG_1620.JPG


*Roll on bottles and bottles with droppers work best. 

**Note, this deodorant blend is in no way an antiperspirant. You will still sweat. 

***Reapply as often as you like. If using a roller, roll onto clean hands and then press onto underarms. If using a dropper, drop the liquid on your fingertips or directly onto your underarms. 

So...what do you think?????

 For more DIY natural skin care ideas, check out my latest book Natural Beauty from the Outside In, where you’ll find 70 Ayurveda inspired hair and skin care recipes.

7 Fantastic Lip Scrub Recipes for Soft Lips

7 Fantastic Lip Scrub Recipes for Soft Lips

I'm excited to feature this guest post from Sarah Smith, editor of the site- FixYourSkin.com.


We all know that many over the counter beauty products contain harmful chemicals. Making your own skin care products is the best way to keep toxins out. If you ever get dry or peeling lips, homemade lip scrubs are the answer.

You may already be using a scrub for your body, but lips are a sensitive area, that are often neglected. As the skin on your lips is thinner, they tend to get drier much faster than other parts of your body. Using a gentle exfoliant is the best way to slough off any dead skin cells to uncover soft lips. A lip scrub exfoliates lips while at the same time locking in moisture.

You may feel that DIY recipes require effort and time, which you don’t have a lot of. But the recipes mentioned below are well worth the effort and take hardly any time to put together.

1. Honey and Almond Lip Scrub

This nourishing scrub will leave your lips super soft. Almond flour is rich in vitamin E, selenium, and antioxidants. vitamin E is an essential nutrient that protects skin from free radical damage. For more information on vitamins and their benefits, check out this infographic.

14 Potent Vitamins for Younger and Healthier Skin

Hello, World!


Almond flour also has an abrasive texture to scrub away flaky skin, while the monounsaturated fat present keeps skin moisturized. Brown sugar adds extra exfoliation and honey is a natural humectant which attracts and retains moisture. Olive oil will leave skin moisturized.

Ingredients

1 tablespoon Brown sugar

½ tablespoon Almond flour

1 tablespoon Honey

½ tablespoon Olive oil

Instructions

Mix all the ingredients together until a paste is formed. Apply this on lips and scrub gently for a few minutes. You can leave this on the lips for a few additional minutes if time allows. Wash off with lukewarm water. You can store any remaining scrub in a small jar.

2. Mint Lip Scrub

This mint scrub is made using a variation of the recipe mentioned above. The inclusion of Peppermint oil gives it an invigorating smell. This also gives a cooling sensation and has a calming effect on the body.

Ingredients

1/4 cup sugar

1 teaspoon honey

1 teaspoon olive oil

1-2 drops of peppermint oil

Instructions

Combine all the ingredients in a bowl to form a coarse paste. Apply this minty scrub on the lips and scrub gently. Let it sit for 5 minutes before washing off. Follow up with a lip balm to leave lips soft and tingly.

3. Chocolate Lip Scrub Mask

This DIY Chocolate Lip Scrub is customizable and super easy to make. Apart from the delicious smell, it is also extremely nourishing.

Ingredients

3 tablespoons brown sugar

1 tablespoon cocoa powder

2 teaspoons olive oil

1 teaspoon vanilla extract

1 small drizzle of honey

Instructions

Mix all the ingredients together to form a gritty paste. You can add more cocoa powder or olive oil to get the right consistency. To apply, take a bit of the scrub and massage it on your lips for a few minutes. This can also be left on as a mask to get the most of its nourishing benefits. Rinse off with warm water and apply a light coating of lip balm. This scrub can be stored in the refrigerator for up to 3 weeks.

4. Ginger and Cinnamon Lip Scrub

Ginger is high in antioxidants and protects skin. It also improves elasticity and evens skin tone. Cinnamon stimulates blood vessels and plumps up lips.

Ingredients

1 teaspoon grated ginger

1/2 teaspoon cinnamon

2 tablespoons coconut oil

2 teaspoons brown sugar

Instructions

Mix all ingredients together until they form an even mixture. To use, rub a small amount on clean lips and massage gently. Rinse off with warm water.

5. Coconut & Honey Lip Scrub.

This lip treatment packs a moisturizing punch while at the same time getting rid of skin cells. It is also easy to make so you can get soft, supple lips at home.

Ingredients

1 tablespoon Coconut Oil

1 tablespoon Honey

2 tablespoons Brown Sugar

Instructions

Mix the coconut oil and honey together. Add in the sugar and mix to form a granular paste. Rub this mixture on your lips in a circular motion and rinse off with warm water.

6. Orange and Vanilla Lip Scrub

This is a revitalizing scrub that is made with orange essential oil, vanilla beans, refined sugar, and coconut oil. Orange essential oil is an antiseptic and has anti-inflammatory properties. Vanilla can help soothe skin and coconut oil moisturizes.

Ingredients

2 whole Vanilla Beans

1 teaspoon brown sugar

1 teaspoon Coconut Oil

2 drops Orange Essential Oil

Instructions

Slit the vanilla beans and scrape out the pulp. Mix this in with the sugar and coconut oil to form the scrub base. Add in the orange essential oil. You can also add some orange zest to heighten the fragrance. Apply this mixture on your lips, scrub gently and wash off.

7. Raspberry Lemonade Sugar Scrub

This lip scrub has a refreshing scent and helps scrub away dead skin cells. Lemon essential oil has antibacterial properties and lightens pigmentation. Coconut oil helps Fix Your Skin and leaves it soft and moisturized.

Ingredients

1 tablespoon Coconut oil

1 tablespoon Table Sugar (Brown Sugar can be used as well, but this may alter the color and scent slightly)

2 drops Raspberry extract

2-3 drops Lemon essential oil

Instructions

Place the coconut oil in a bowl with the sugar and stir to combine. Add the raspberry extract and the lemon essential oil. Mix to form an abrasive paste. Apply this on the lips and massage gently. Wash off with warm water and follow up with a moisturizing lip balm. Store any remaining scrub in an air-tight jar.

Conclusion

You don’t need to buy pricey lip products to exfoliate your lips. These homemade scrubs can give you soft, smooth lips at a fraction of the price. They are also completely natural, so you can avoid putting harmful chemicals on your lips. The lip scrub recipes mentioned in this article are extremely effective. Using a lip scrub 2-3 times a week is recommended, as over-exfoliation can strip your lips of their natural moisture. It is most effective to exfoliate your lips at bedtime and follow up with a lip balm so that your skin can renew itself overnight. For more skincare and makeup tips such as choosing the best foundations for acne prone skin (2016's top 10), check out Fix Your Skin.

Coconut Oil and Green Clay Facial Cleanser: A Fresh Take on an Old Favorite

I'm a serial reinventor!

Every year or so I feel compelled to reinvent my favorite face wash recipe.

There's nothing wrong with the tried and true recipe. It's amazing!

But the more I study and learn about natural products, I inevitably develop a crush on a new ingredient and feel the need to work it into my pre-existing repertoire. Sometimes these experiments turn out great! And other times, I have to set my creations aside.

This coconut oil and green clay facial cleanser was one of the success stories!

I am all about vegetable glycerine!

I can't believe I functioned for so long, oblivious to it's magnificience!

Anyhow, the star of my new and improved facial cleanser is vegetable glycerine.

Vegetable glycerine is derived from plant oils (typically palm or coconut). The magic of glycerine is that it's a humectant and it attracts moisture to the skin. Your skin will feel so soft to the touch! Making this an even softer and moisturizing version of the original.

If vegetable glycerine is to receive a spotlight, then tea tree essential oil which I use often, but never in a facial cleanser deserves one as well.

Tea tree it turns out, with its invigorating tingle was meant for face wash. Antimicrobal, antiseptic, antiviral and stimulating, not only does it give your face a refreshing burst of energy, but it deep cleans in the most gentle of ways.

This moisturizing, soothing, blemish fighting, wrinkle relaxing, coconut oil and green clay facial cleanser is so easy to make.

image.jpg

Here's what you'll need:

1 tablespoon French Green Clay powder

1 tablespoon Coconut Oil

1 teaspoon Vegetable Glycerine

10 drops Tea Tree essential oil

1/4 teaspoon Vitamin E oil

Here's what to do:

image.jpg

In your container of choice (I always recommend glass because plastic can leach toxins into your product) mix the French Green Clay and Coconut Oil until an almost toothpaste like consistency is formed. Add your tea tree, vegetable glycerine and vitamin E oil and stir with a spoon until smooth.

image.jpg

This will last three months easily, but because the batch size is relatively small, you'll probably need to make this every month. I like to keep my batches small just in case. It takes minutes to whip up.

Directions for use:

Rub a dime sized amount of cleanser onto moist skin.

You'll find the green clay will act as a milk exfoliant.

Rub into your skin in a circular motion avoiding the eyes.

image.jpg

Rinse with warm water and pat your face dry.

If you're into facial toners, this one is a must try and is the ideal next step!


DIY Moisturizing Shampoo (Great for curly hair!)

IMG_1060.JPG

DIY Moisturizing Shampoo (Great for curly hair!)There is something so empowering about taking matters into your own hands and creating a product or outcome that you love.   I don’t know about you, but I’ve had the hardest time finding a shampoo suits me.

Shampoos are usually too drying for my frizz happy curly hair and I rarely enjoy the perfume smell or the way they feel (I love a good scalp tingle).

That was until I decided to make my own.
After trial after trial and (I’ll admit it) error after error, I found a recipe I love.

All natural and pleasingly free of sulfates, parabens, synthetic fragrances and dyes, this shampoo is light, moisture rich and refreshes the scalp with an invigorating tingle.

In the mood to experiment?

Try this fantastically fabulous DIY Moisturizing Shampoo!

Here’s what you’ll need:

IMG_1059.JPG

½ cup coconut milk

½ cup castile soap base (liquid black soap works well too, but I prefer Dr. Bronner’s Unscented baby-mild)

1 tablespoon coconut oil

1 tablespoon jojoba oil

½ teaspoon vitamin E oil

10 drops peppermint essential oil

20 drops tea tree essential oil

Here’s what to do:

In a plastic pump bottle, combine your ingredients and give the bottle a good swirl.

Place your bottle in your shower and enjoy the next time you wash your hair.

It is that simple. Just as nature intended!

For more DIY natural skin care ideas, check out my latest book Natural Beauty from the Outside In, where you’ll find 70 Ayurveda inspired hair and skin care recipes.

DIY Tea Tree/Peppermint Mouthwash

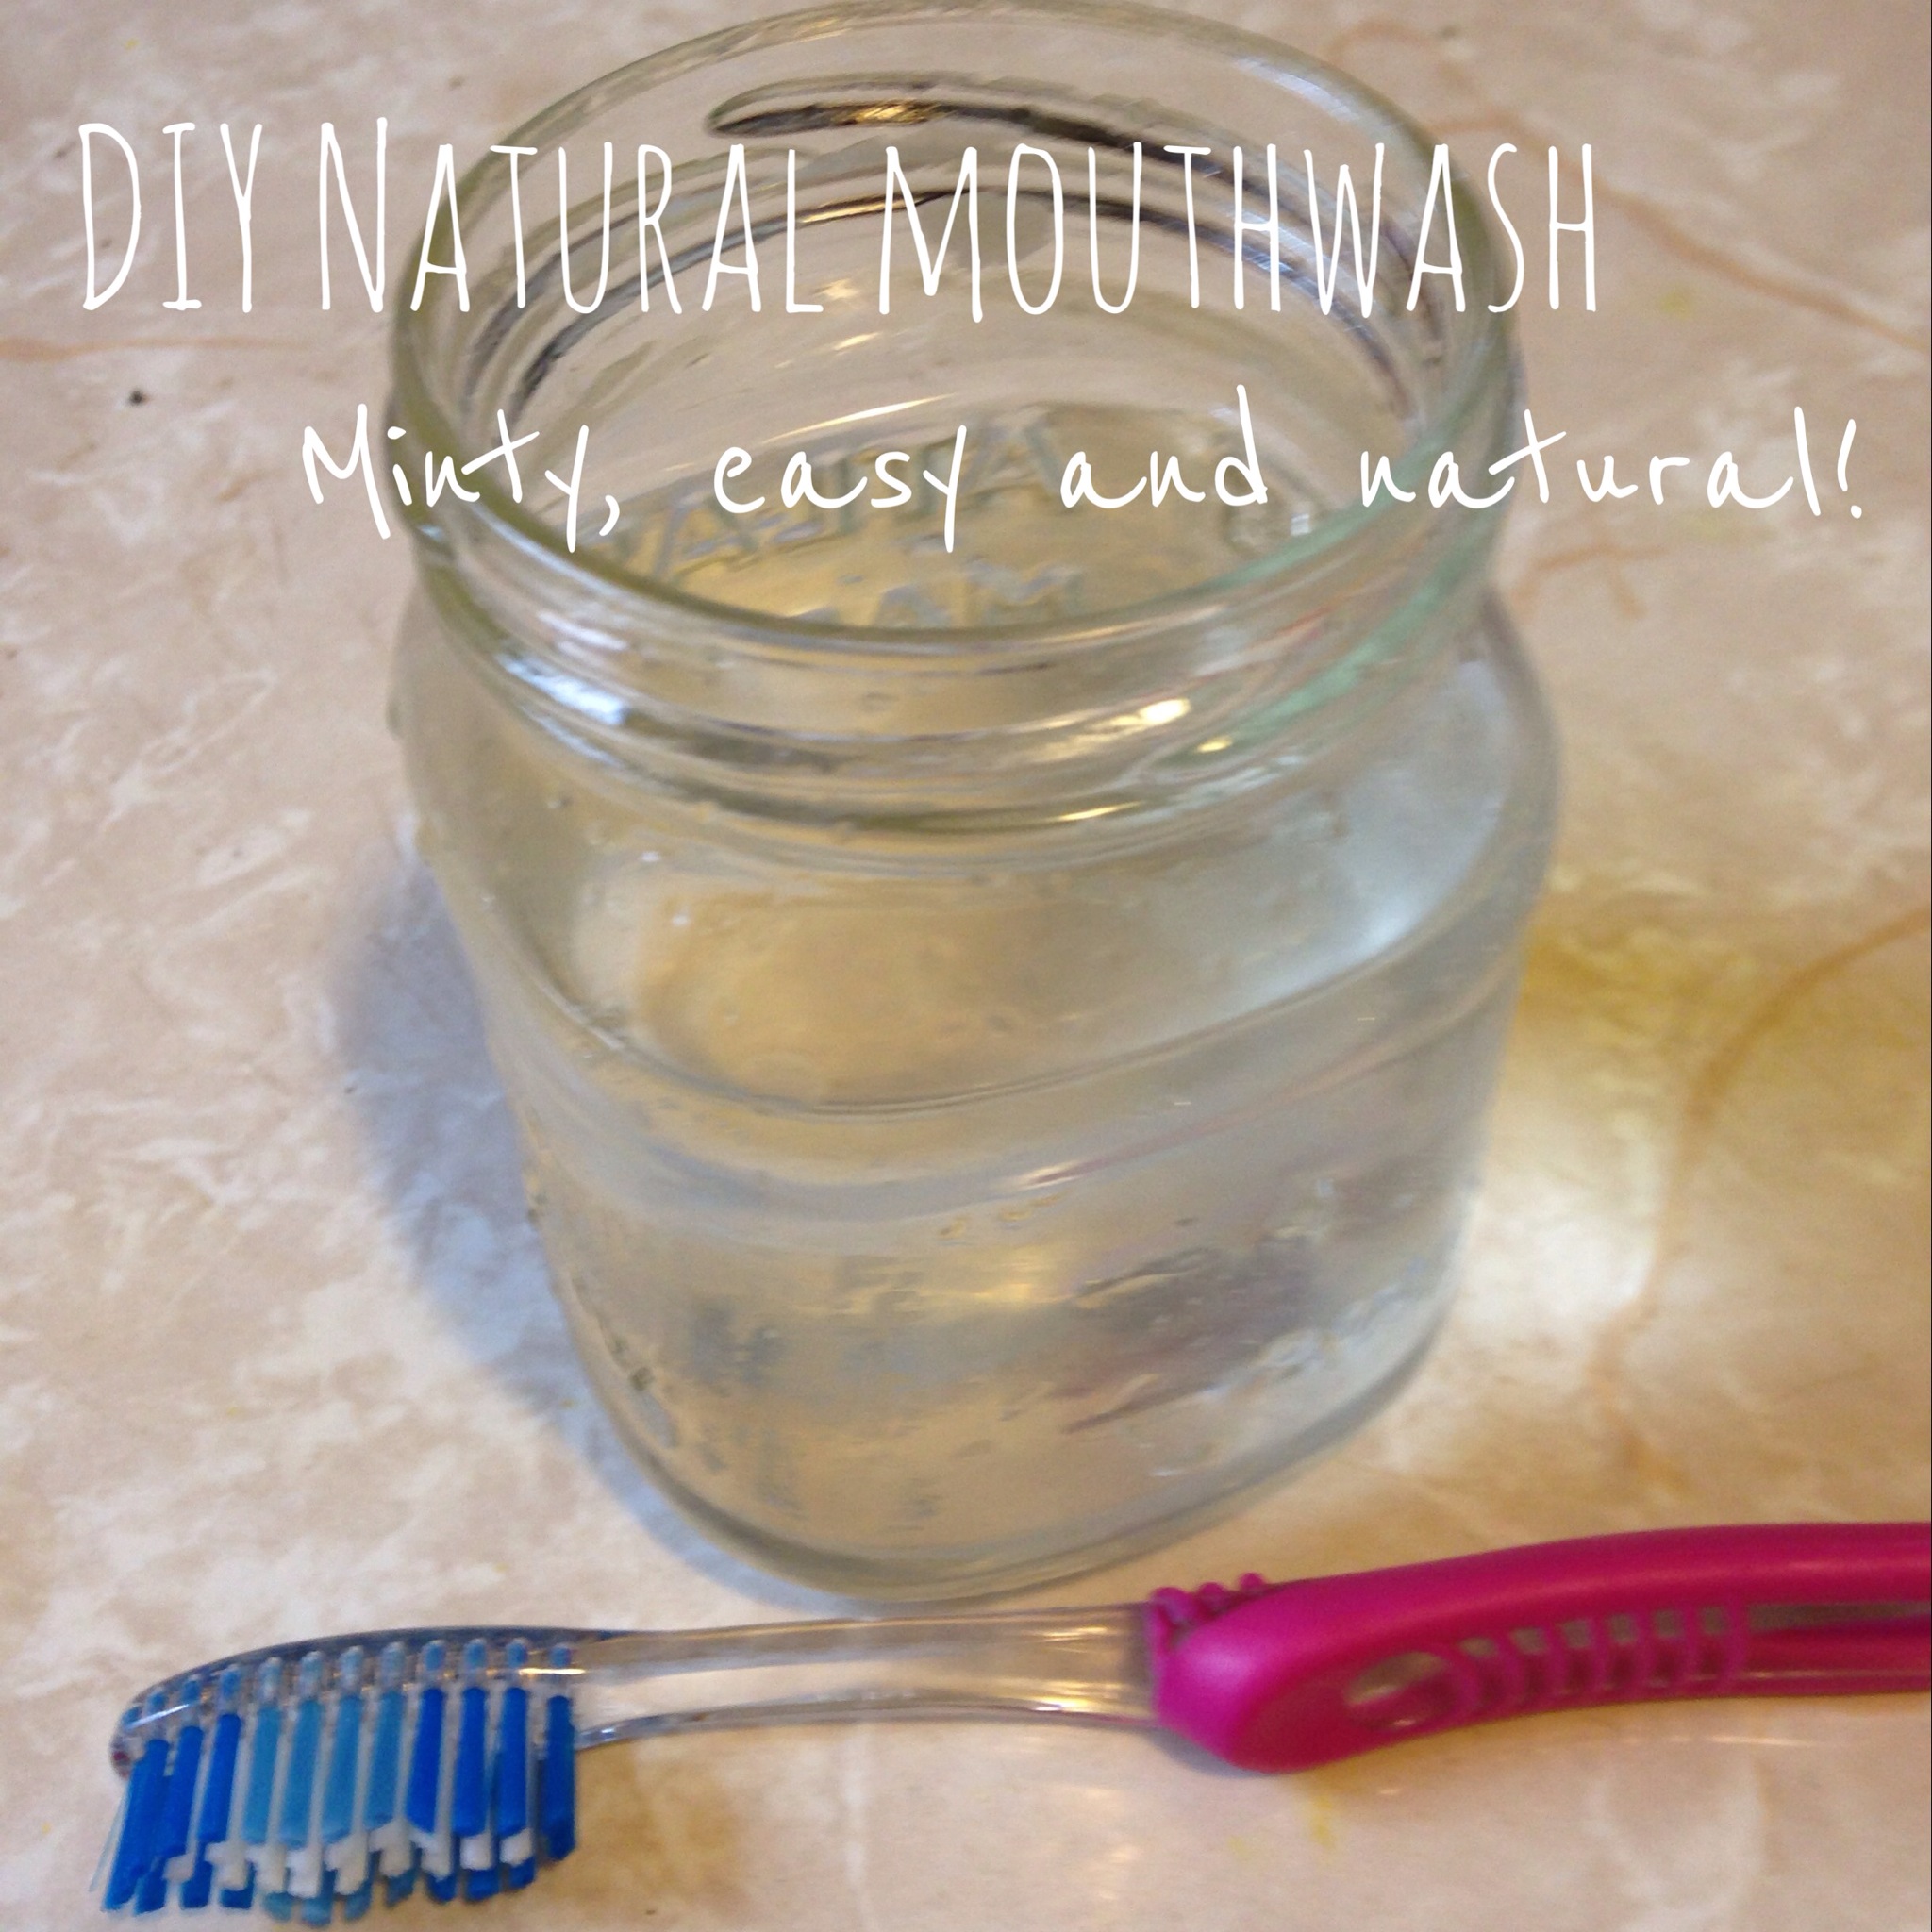
DIY Tea Tree/Peppermint MouthwashDIY Natural Mouthwash

To be honest, mouthwash really isn’t my thing. I tend to gargle with it when I have a sore throat or tooth pain, but mouthwash for the sake of gargling daily is not a part of my regular regiment.

It is however, my husband’s thing. He’s lost without his mouthwash.

Completely disinterested in my numbing clove anti-septic mouthwash (which to be fair, is best gargled with a sore throat, tender gums or sore tooth due to its intense numbing and anti-septic properties) he wants one thing- a minty fresh experience. I concocted this naturally crisp and minty fresh mouthwash for him. It was a big hit. DIY Tea Tree/Peppermint Mouthwash!

If you’re a fan of a minty gargle with an anti-bacterial and anti-microbal punch, then this very simple, completely natural, and shockingly inexpensive, recipe is also, for you.

Here’s what you’ll need:

1 cup distilled water

1 teaspoon baking soda

20 drops tea tree essential oil

10 drops peppermint essential oil


Here’s what to do:

Combine your ingredients into a jar (mine is a recycled tomato sauce jar) and shake vigorously until the contents are combined (the water should go from cloudy to clear).

DIY Natural Mouthwash- Mint and Tea Tree

You can store this mouthwash on your bathroom counter for daily use.


DIY Lavender Talc-Free Powder

DIY Lavender Scented Talc-Free Powder So, I was sitting around the apartment on partial bed rest, wondering what to do with myself when it hit me- BABY POWDER!

I'd been researching various talc-free brands to buy for the little guy, when I was like, wait! What am I doing? I can make my own!

Out came my Ayurveda binder and this absolutely fabulous recipe was born!

Here's how to make a gentle talc-free lavender scented ultra silky baby powder-

You'll need: a jar (I used a 6 oz. mason jar but any size between 4-8 oz. will do well) corn starch french green clay lavender essential oil

Here's what to do (so easy!): In your jar combine 3/4 parts corn starch to 1/4 part french green clay.

Combine until uniformly blended (I screwed on the cap and gave the jar a good shake). Tap the lid to make sure that the powder has fallen into the jar, then unscrew and add ten drops of lavender essential oil.

Screw the top on again and give your powder a good shake. Tap the lid again to encourage your powder to fall into the jar, then open the lid.

Leave the lid off for an hour so that the powder can dry. Make sure the room is dry and not humid or you won't have great results.

While your top is off the jar. Take a hammer and nail and punch holes (a small circle in the center of the lid with holes close together is best) so your powder can flow freely when needed.

20140625-130304.jpg Ta da!

Note, this is not just for babies. In fact, I may need to make another batch for my little-one because I'm having so much fun using this silky lavender scented powder. This is perfect if you need to go outside on a humid sticky day.

Another note, never shake powder directly onto your baby. Yes, this powder is talc-free so you don't have to worry about your little one ingesting talc, but it is always best to sprinkle the powder on the diaper or onto your hand so that you can pat it onto your little person's parts as opposed to shaking the powder directly onto them where it will most certainly billow about and form a cloud for them to breathe in.

Enjoy :)


Make Your Own Mouthwash!

20140612-222814.jpg

As simple as preparing tea and highly satisfying, making your own mouthwash is not only better for you, but will take you on an aromatic journey.

I have always been slightly suspicious of traditional store bought mouthwash. Why the need for bright unnatural electric green and neon blue colors? Why so much alcohol? Why the slew of unreadable ingredients? And what really happens if I accidentally swallow a cap full? Judging from the unnatural smell and burning/tingling sensation in my mouth, it wouldn't end well.

As a result, I make my own mouthwash. It is so easy and the anti- microbial, astringent, and anti-bacterial qualities of clove and tea-tree oil do a wonderful job cleaning my teeth and gums and freshening my breath - the good old fashioned natural way!

After all, if it ain't broke, what's there to fix?

Here's what you need to make a batch of my all natural (organic if you want it to be) clove and tea-tree oil mouthwash-

Directions:

You'll need- 1 heaping teaspoon of ground cloves,  1/4 teaspoon of sea salt, 5 Drops Tea Tree Essential oil Bring a cup of water to a boil. Add the cloves and sea salt and reduce to a simmer for five minutes. Allow the pot of water to cool until lukewarm.

20140612-222828.jpg

Pour into a mason jar using a coffee filter to strain the cloves. Add the Tea Tree essential oil to the strained mixture in your mason jar and shake vigorously. Gargle twice daily as you would with regular mouthwash. One batch should last about a week.


A Paste and a Preparation to Reduce Even the Most Gruesome Shiner!

20140609-163822.jpg

A Paste and a Preparation to Reduce Even the Most Gruesome Shiner!

Saturday morning, my husband came home with a gruesome shiner. For the last two years, he's trained seriously in Krav Maga (an Israeli martial art). In the beginning, he'd come home with a bruise here and a sore spot there, but as he's moved up in belt rank, so have his injuries. This was by far the worst.

Nonchalantly, he strolled into the living room, looking like a victim in a slasher film. I was completely horrified. The left side of his face looked disfigured; but once I got past my shock, I sprang into Herbalist Florence Nightingale mode.

Not only did he have a black eye (well purple and maroon at that point to be accurate), but his entire eye was swollen shut and there was a bleeding scrape on the top of his eyelid.

He refused to let me photograph his misery for the purposes of my blog, but you get the picture.

As he settled onto our sofa and tuned into ESPN, I worked to devise a plan. My first objective was to cool the area and try to reduce the inflammation and swelling. He'd already iced the area to no avail, so I decided to pull out my cooling summertime face mist and a roll of cotton rounds. I sprayed the rounds with the cooling mixture and placed the sodden pads over his entire eye. I repeated this for about five minutes. The witch hazel and aloe cooled the area, while the lavender and witch hazel worked to clean the scrape on his eyelid.

Next, I wanted to stimulate the blood flow to reduce the discoloration and inflammation.

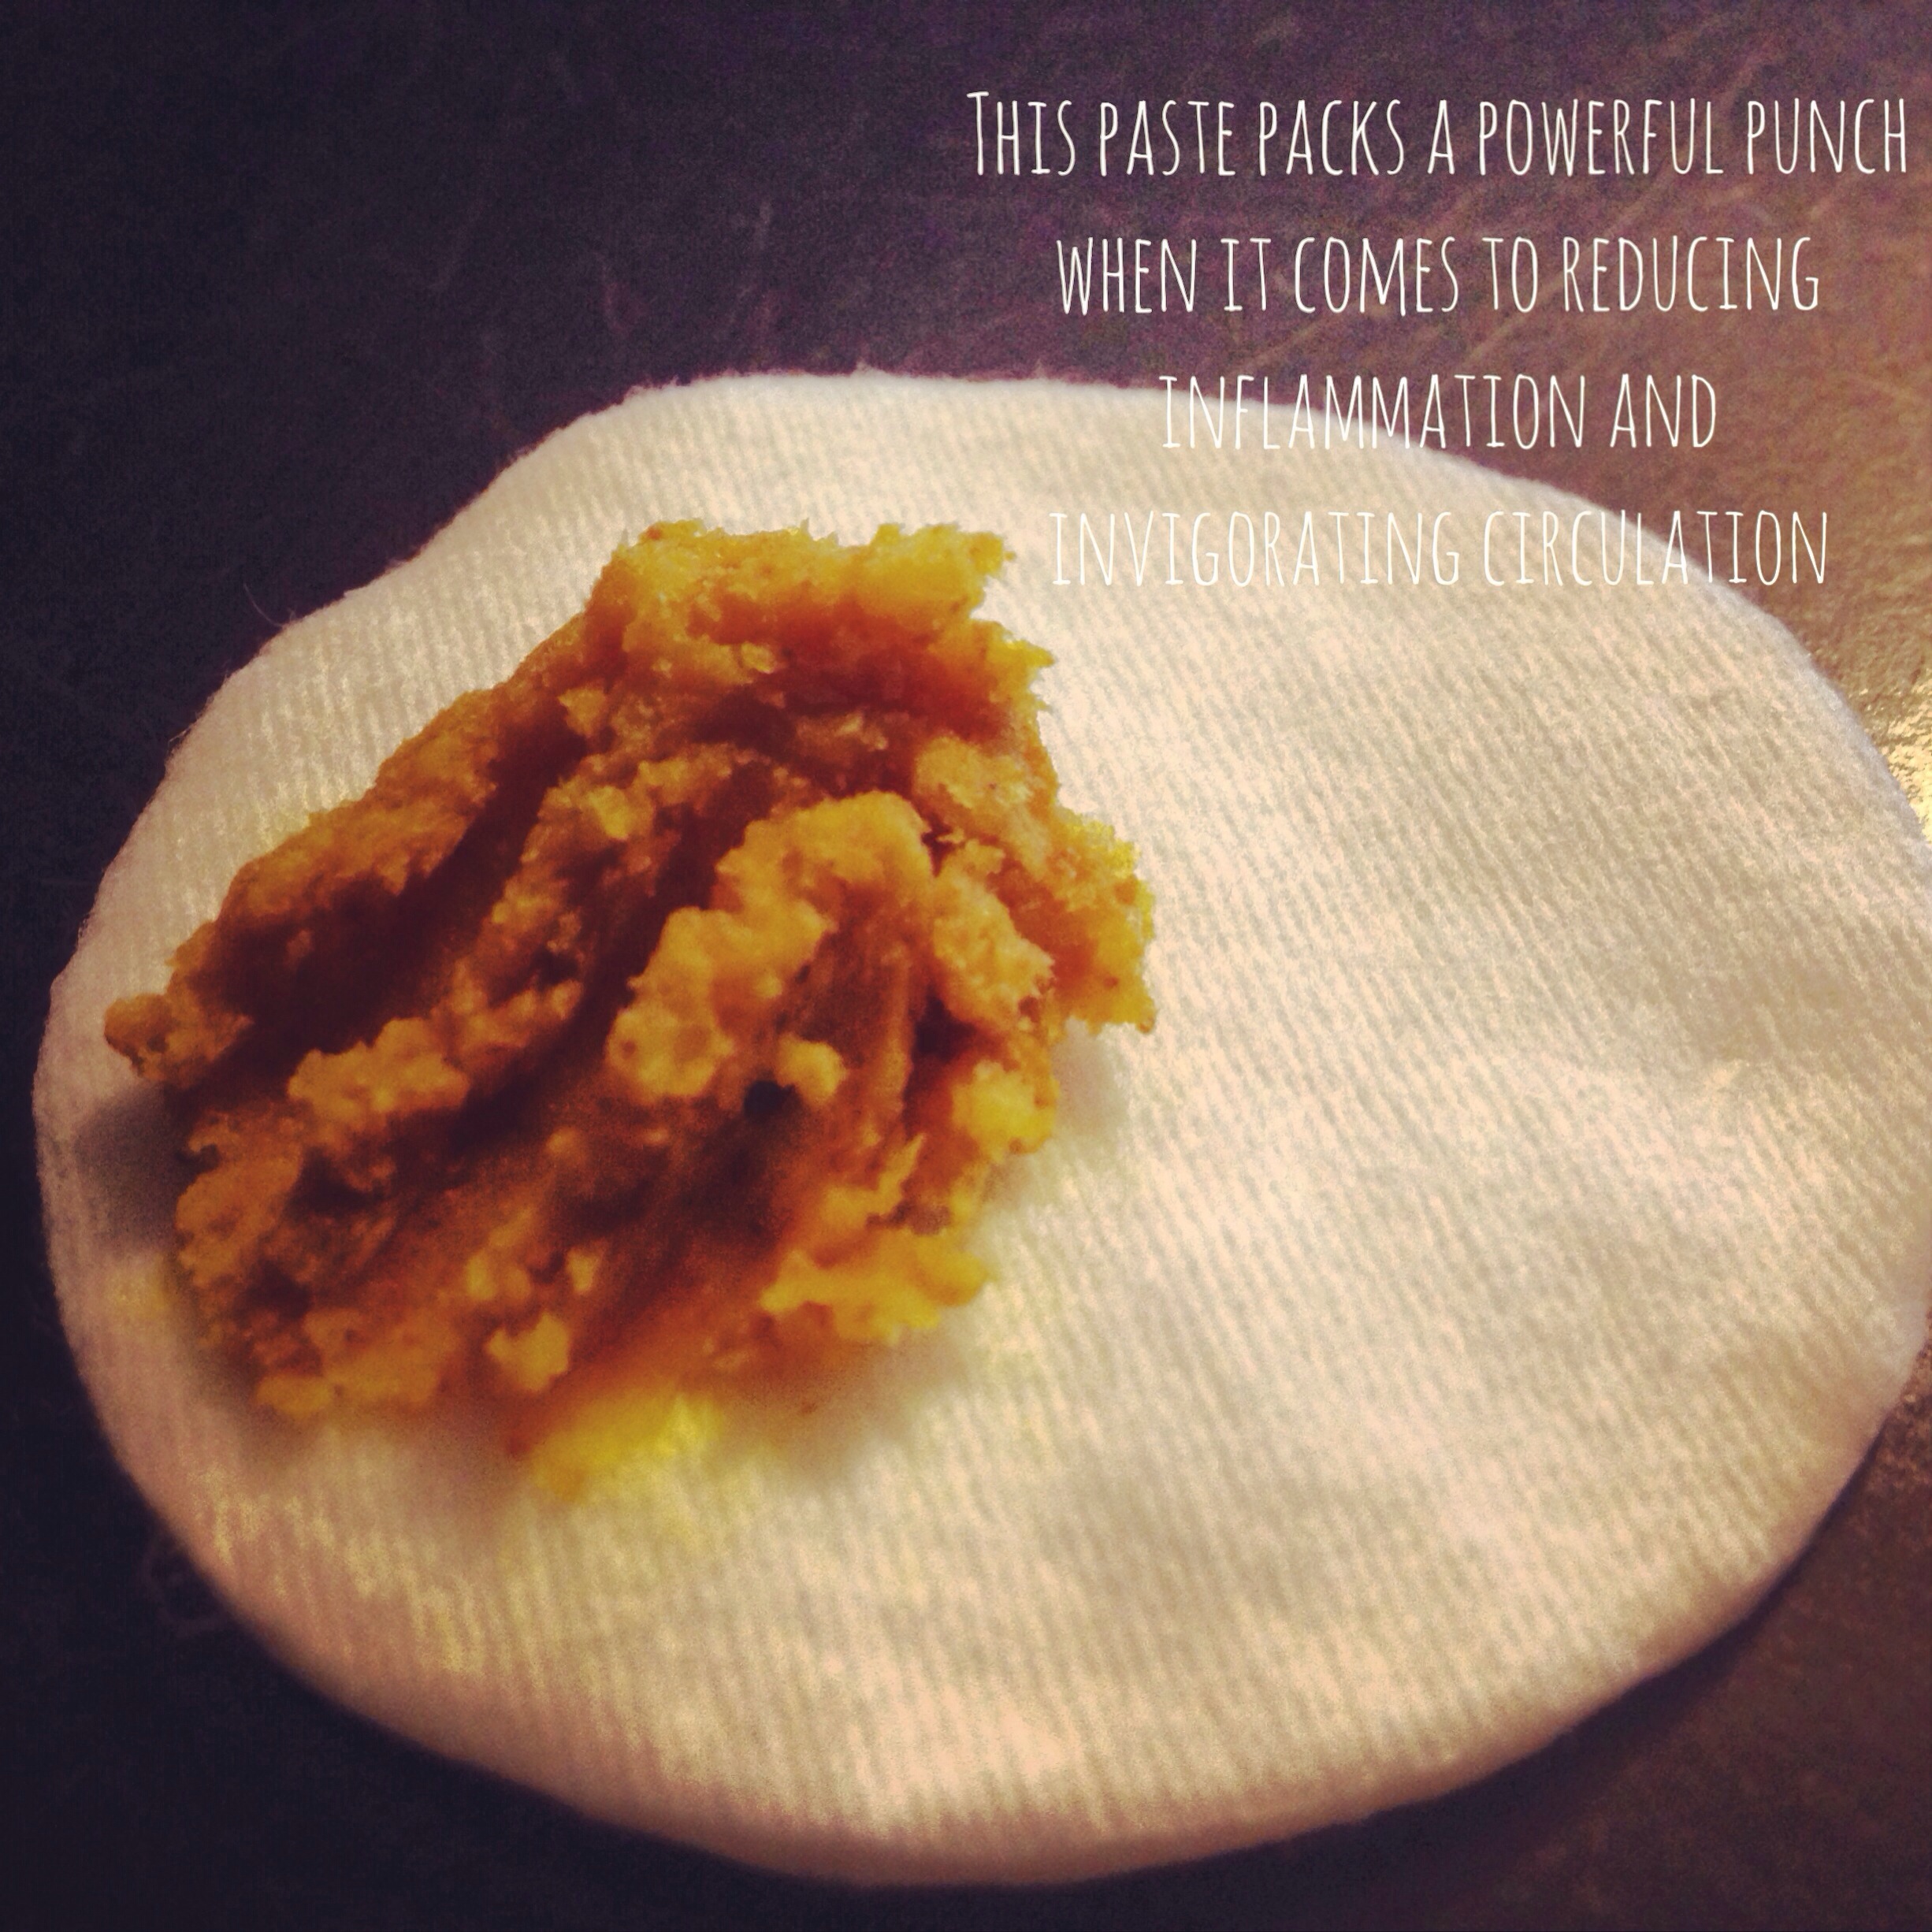
I made a paste using 1 tablespoon shea butter, 1 teaspoon cayenne pepper and 1 teaspoon turmeric. After mixing the paste, I applied it liberally to the swollen puffy area beneath his eye (being very careful not to get any inside his eye). After five minutes, I rinsed the paste off and repeated my summer skin cooling mist application.

We began a cycle:

  1. cooling summertime face mist
  2. paste application
  3. cooling summertime face mist
  4. ice
  5. repeat

Two hours later, the swelling went down tremendously and he was able to open the eye 90% and his skin color began to return to normal.

It looks like Mr. Musician will be able to return to the stage again in no time.  As for the gym, that's a completely different story.

This regimen works well for bruises and swelling of all types as long as you don't have broken skin (if you've got a scrape or cut, don't get the paste in it! It will burn).


Cooling Summertime Face Mist

20140607-150221.jpg Boy oh boy, the heat is rising!

Don't get me wrong, after the crazy winter that hit basically every corner of the US, heat is a very good thing.

But, as a city dweller and resident of the swampy North East, the increased heat and humidity can be irritating to the skin.

Recently, I came home after an afternoon in the sun, wiped a tissue  across my face to find a smudge of sooty debris- gotta love NYC!

Even if you're not in the city, sweat and humidity can leave your skin itchy, blotchy and inflamed.

My cooling summertime face mist is one of my favorite ways to soothe and quickly revitalize sticky, hot skin.  Not only does the mist calm inflammation and clean out your pores, but it's hydrating and cooling.

This Cooling Summertime Face Mist is a keeper!

I keep a batch in a spray bottle in my refrigerator and help my face to a squirt or two every time I come in from the heat. My two year old swears by this spray as well. He hovers by the refrigerator door once we enter the apartment chanting "spray, spray, spray!"

So here's how to make my cooling summertime face mist. It is extremely easy to put together and will last all summer long.

Steps:

In a sterilized spray bottle combine 1/4 portion of witch hazel with 1/4 portion of aloe juice. Gently shake the aloe juice and witch hazel together until combined. Add 1/2 portion of rosewater along with ten drops of vitamin E oil and five-ish drops of lavender essential oil. Shake your concoction gently and place in the refrigerator.

Step outside, go for a run, take a walk, go to work then when you come back home, go straight to your refrigerator (don't forget and let it disappear behind the leftovers), shake your spray bottle and mist away!

Spritz on your face and neck to combat a steamy summer day. The aromatherapy will calm frayed nerves and encourage relaxation.

*Note: If you have a sunburn, this spray works wonders to soothe the burning sensation!

Happy misting!