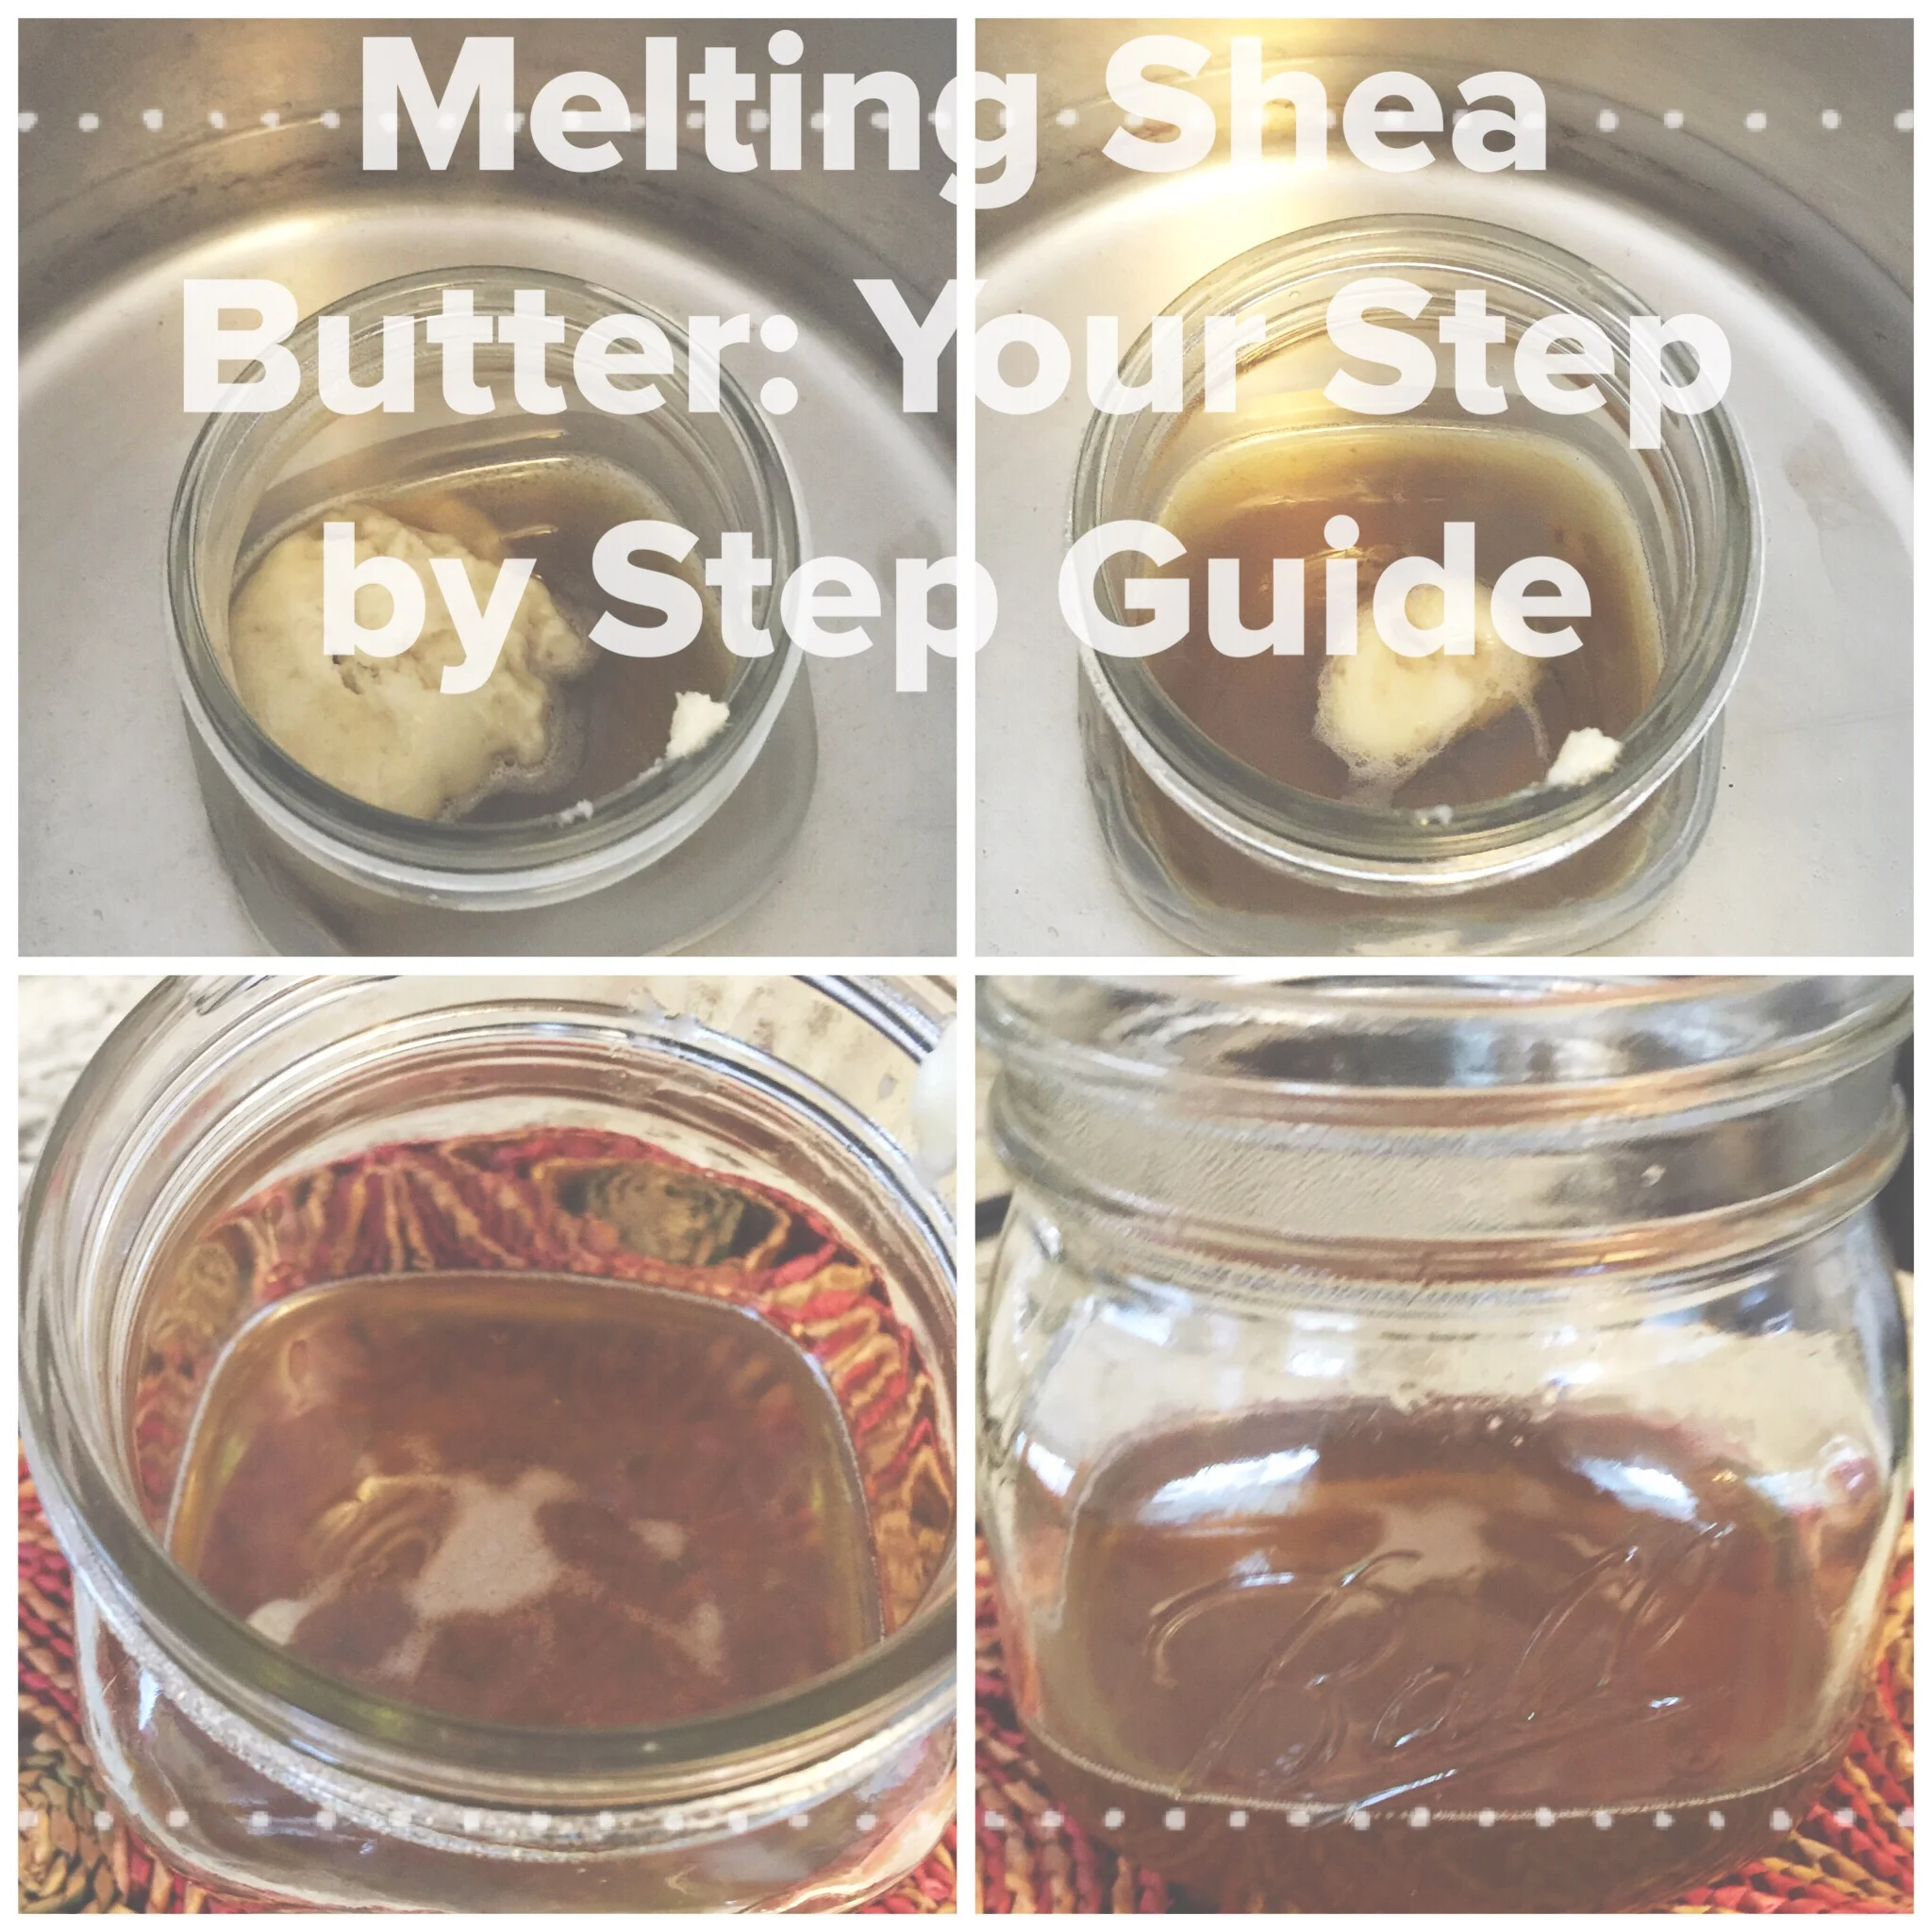
Melting Shea Butter: Your Step by Step Guide Unrefined shea butter is the base for many DIY body butters and body whips. It's certainly my favorite base for both the lotions I make for Sojourn.Herbal Apothecary and the lotion and whip recipes I post on this blog.
In order to get the full benefits of shea butter, you should use unrefined shea. Unrefined shea has not been processed and contains all of the vitamins, minerals and properties which make shea butter healthy and nutritive. Although it can be used as is, unrefined shea butter is quite solid and thick, and will most likely be gritty as well. But with a quick low heat melt and strain, it will be ready to be blended or whipped into a lotion formula for easy use.
So, why am I dedicating an entire post to melting shea butter properly? Because despite unrefined shea butter's hearty and robust appearance, it is delicate and sensitive. In order to preserve the integrity of your shea butter, it must be prepared carefully.
Melting shea butter rapidly over high heat can burn it, and the curative properties we all love about it begin to disintegrate.
Ideally, shea butter should be melted slowly and deliberately over low heat. A double boiler is best, but is not necessary.
Rejoice! You do not need to run out and purchase a double boiler for melting shea butter effectively. This post is dedicated to an alternative method.
Using a glass container and a regular pot, you can safely and intentionally melt shea butter.
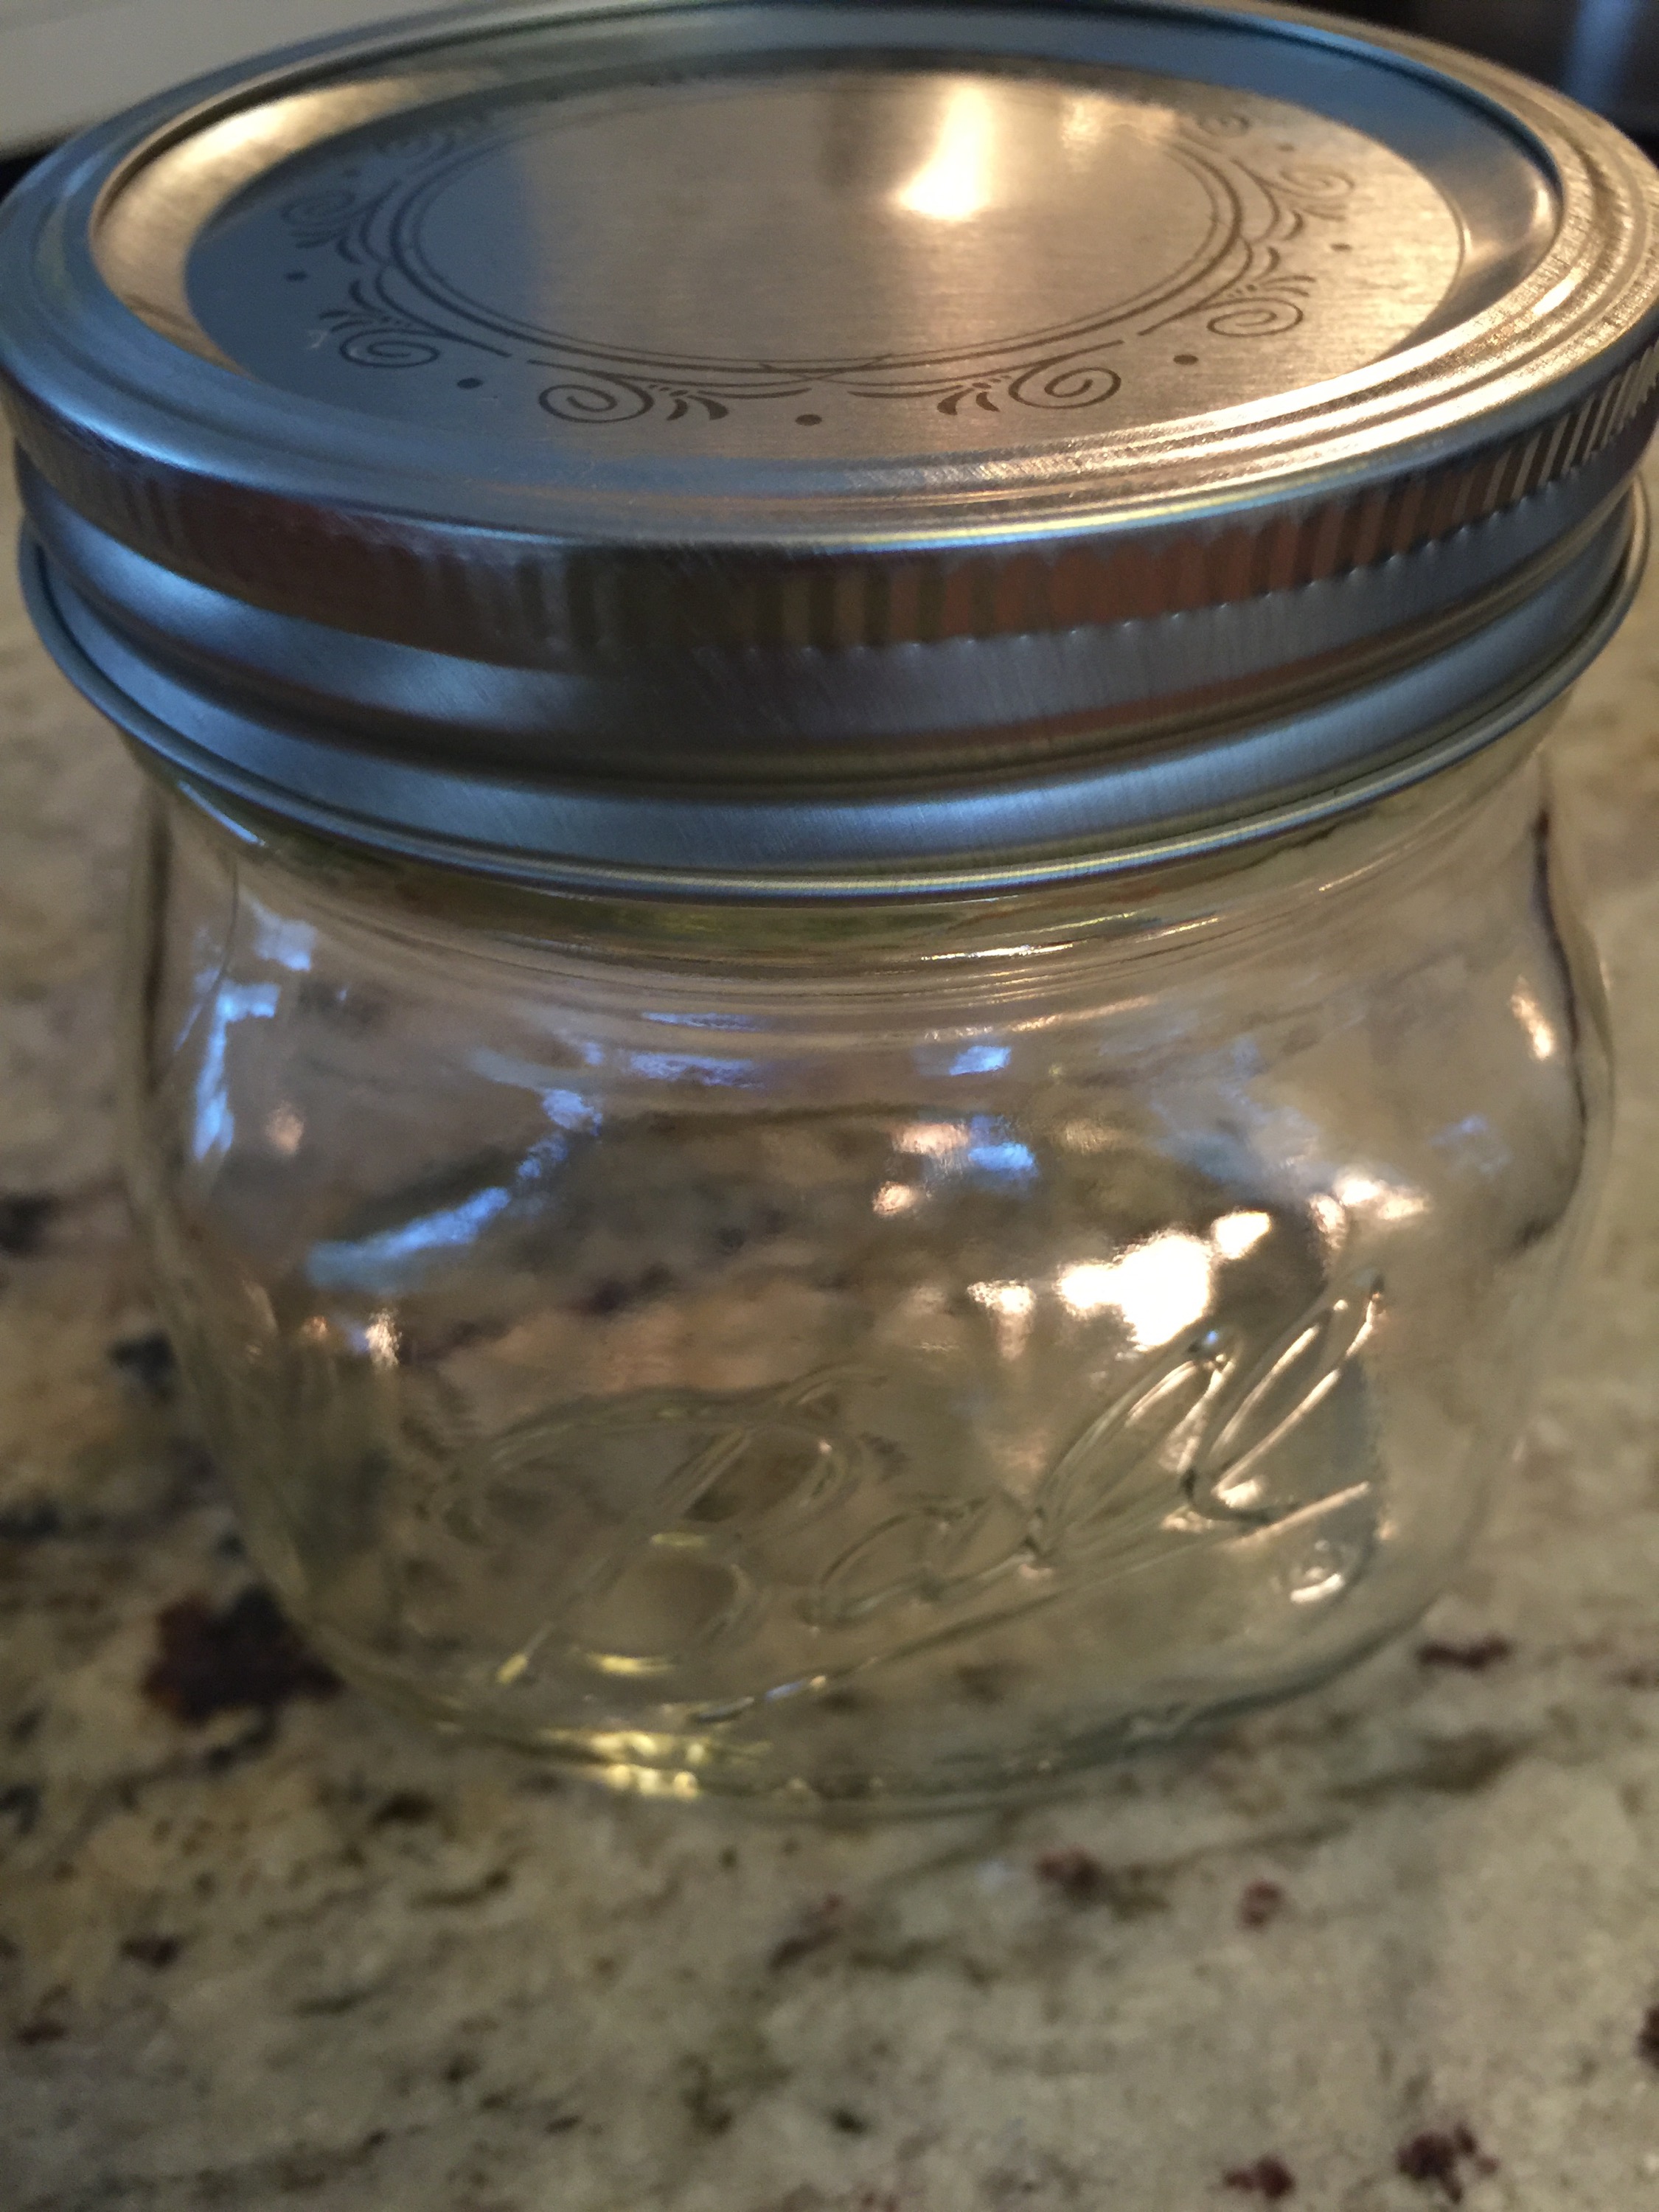
Let's talk about the type of glass you want to use for a moment. It's important to make sure your glass is heat safe. Pyrex is always a safe bet. Mason jars work well also, but make sure you've got a Ball jar, as they are heat safe.
Note: Some vanity mason jars are made of thin glass and will crack when boiled. You don't want this to happen while you're melting shea butter. It's very messy.
Melting Shea Butter: Your Step by Step Guide

IMG_1956-0.jpg
Here's what you'll want to do:
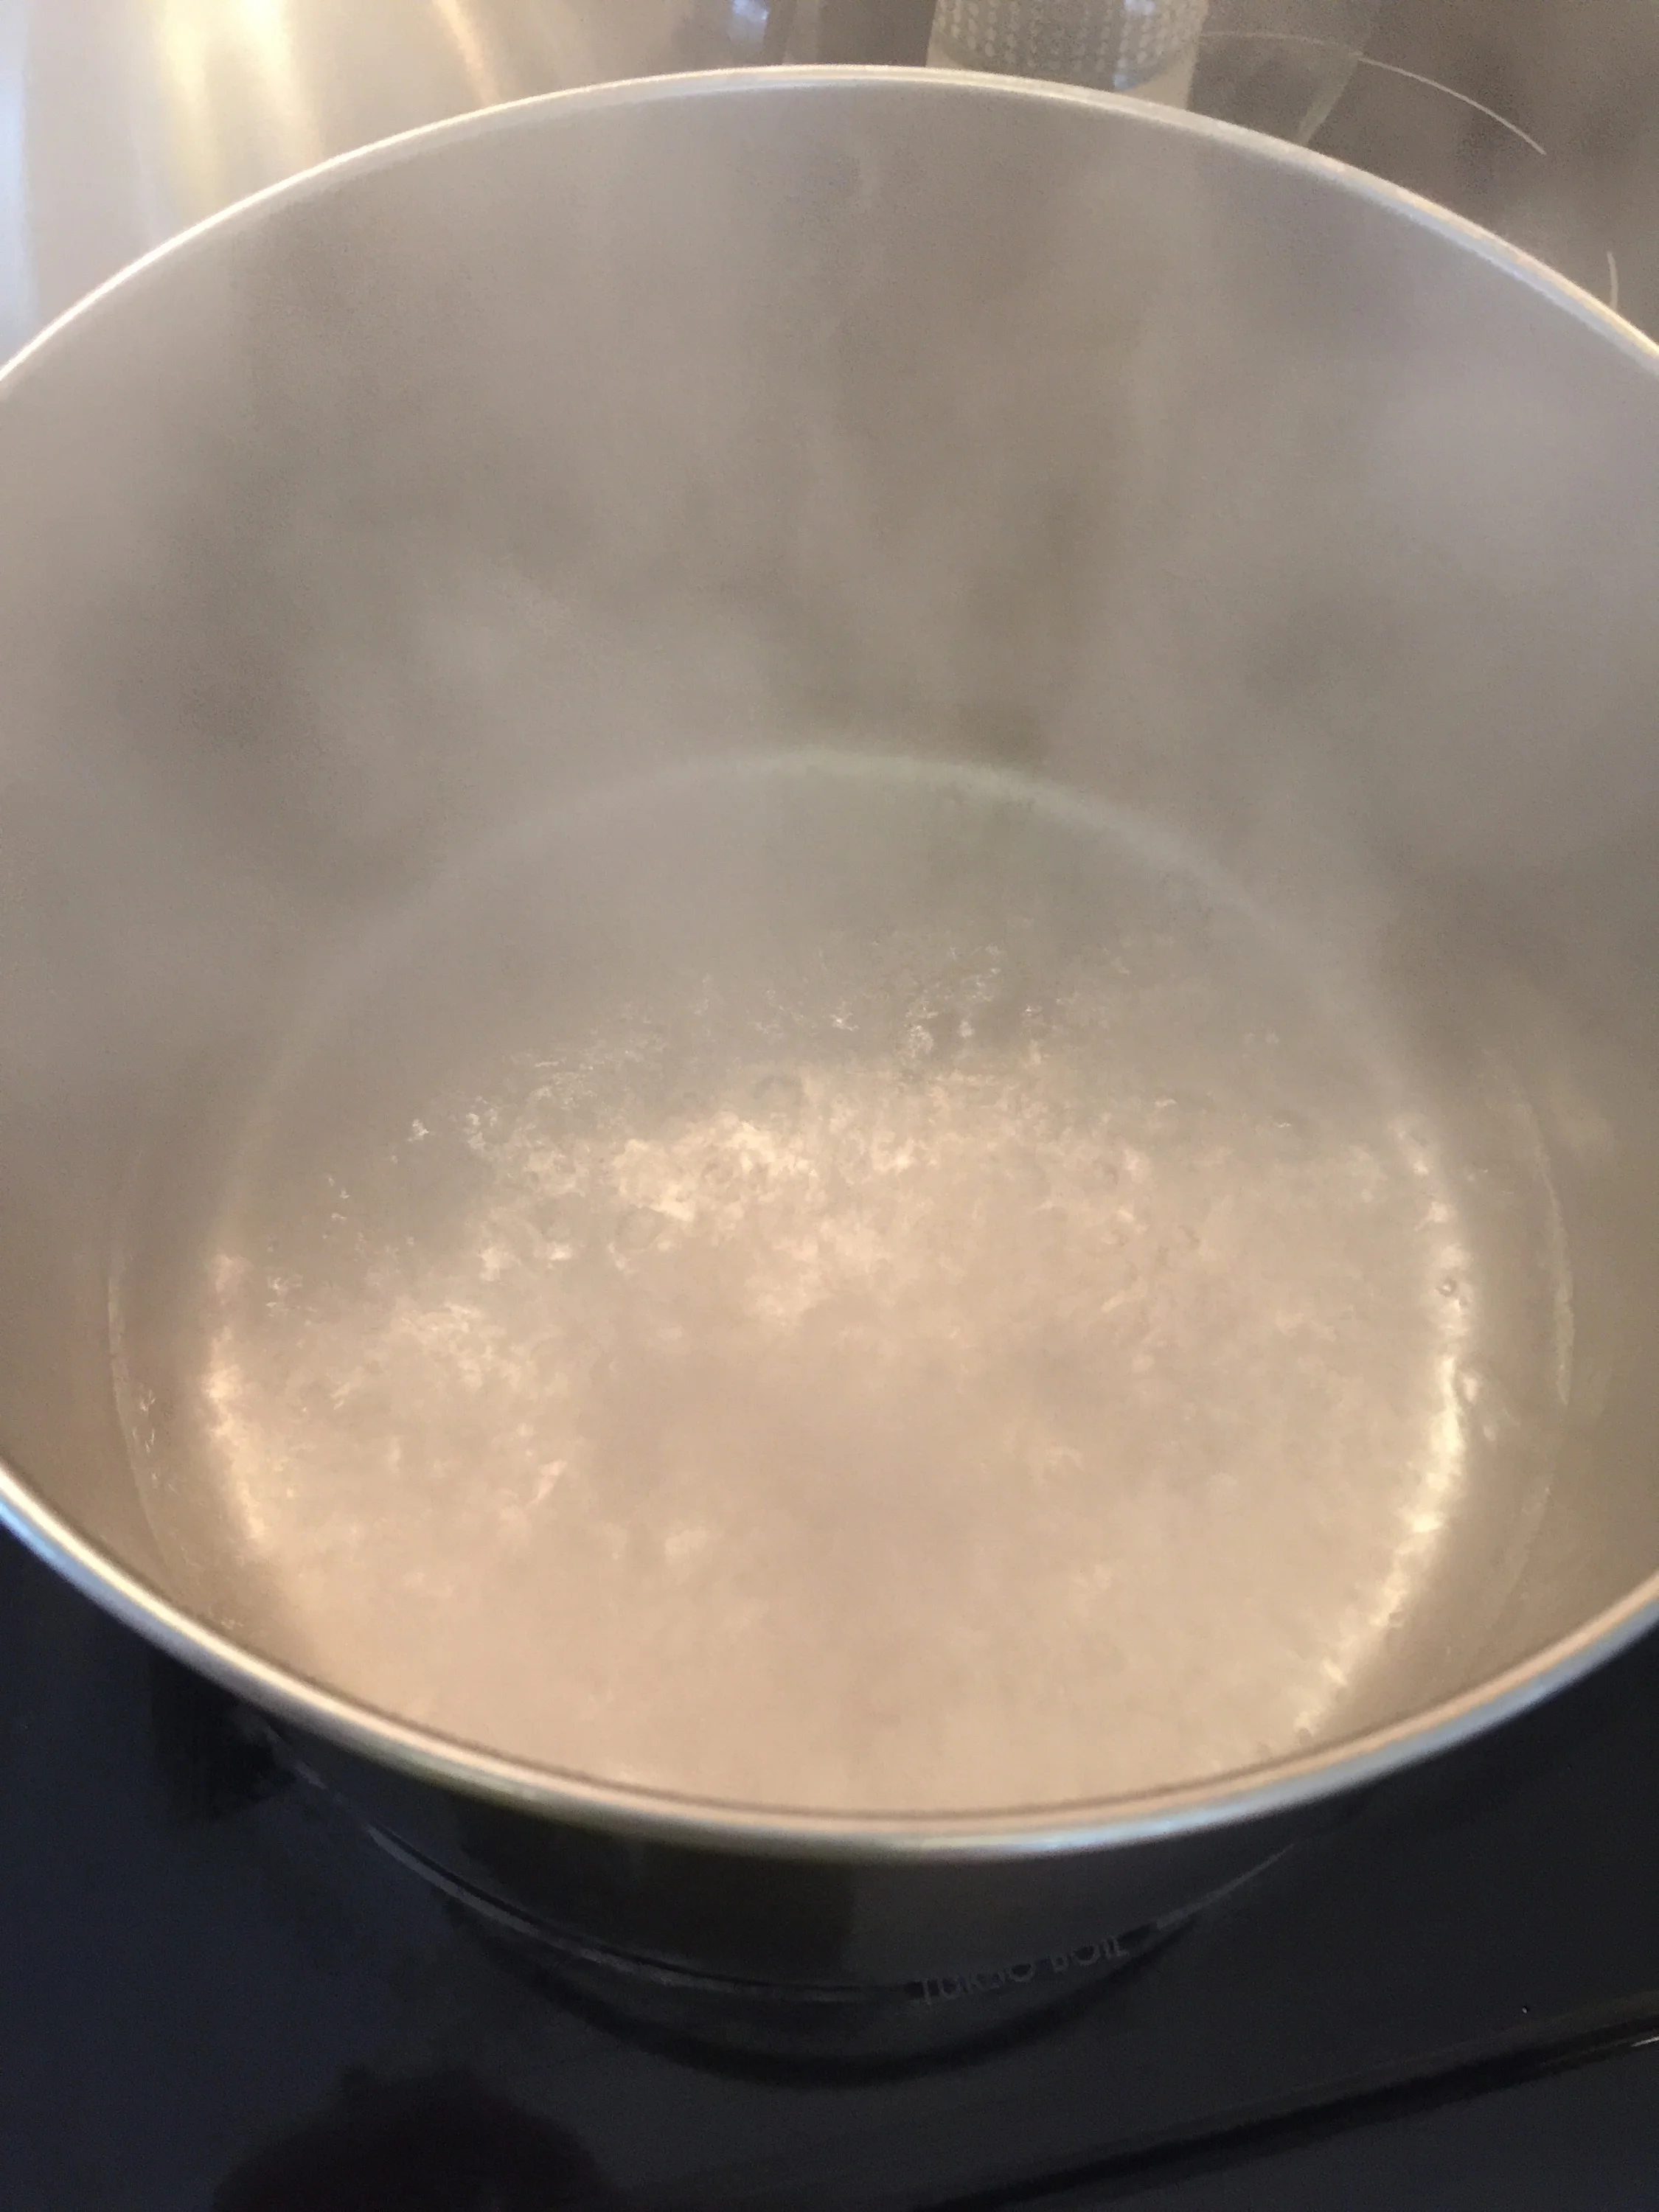

Take a pot and fill it about 1/4 of the way with water. Set that pot on the stove to boil. Once the water begins to boil, take it off the heat and set aside.
IMG_1935.JPG
Place the desired amount of unrefined shea butter into your glass container. I always use glass instead of plastic when melting shea butter, as plastic tends to release toxic chemicals when heated. You don't want those chemicals in your shea butter, which will ultimately be absorbed into your skin.

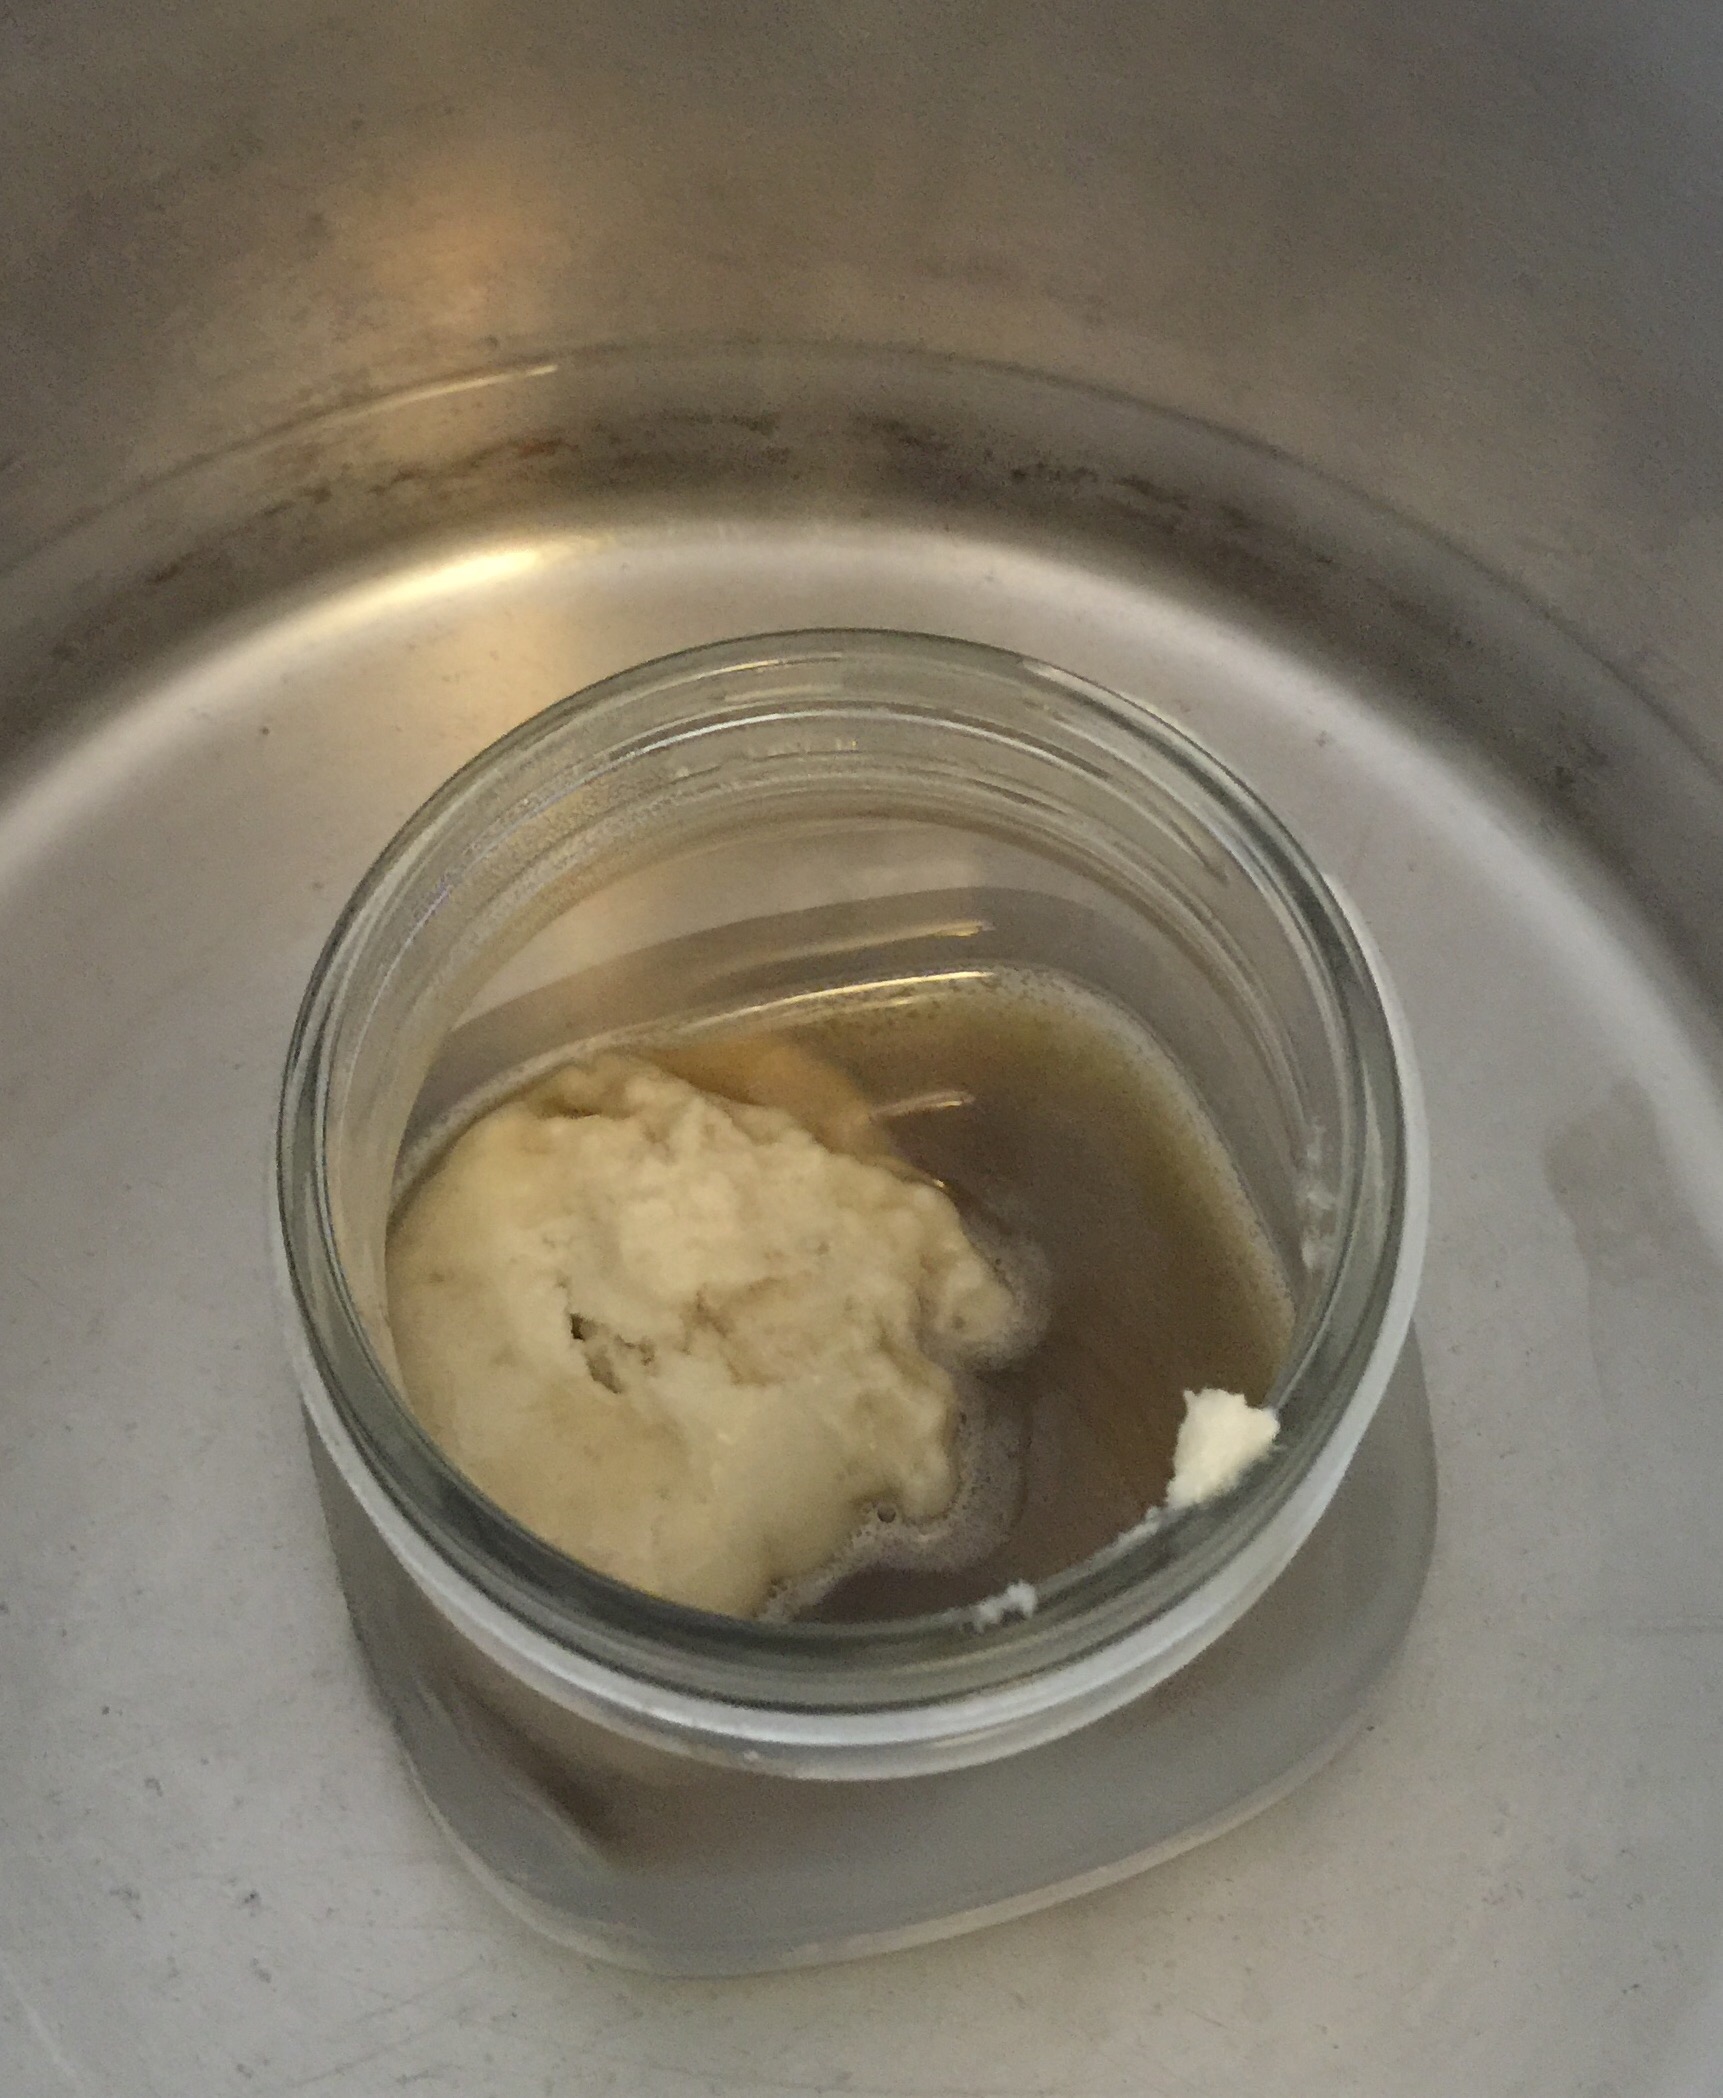
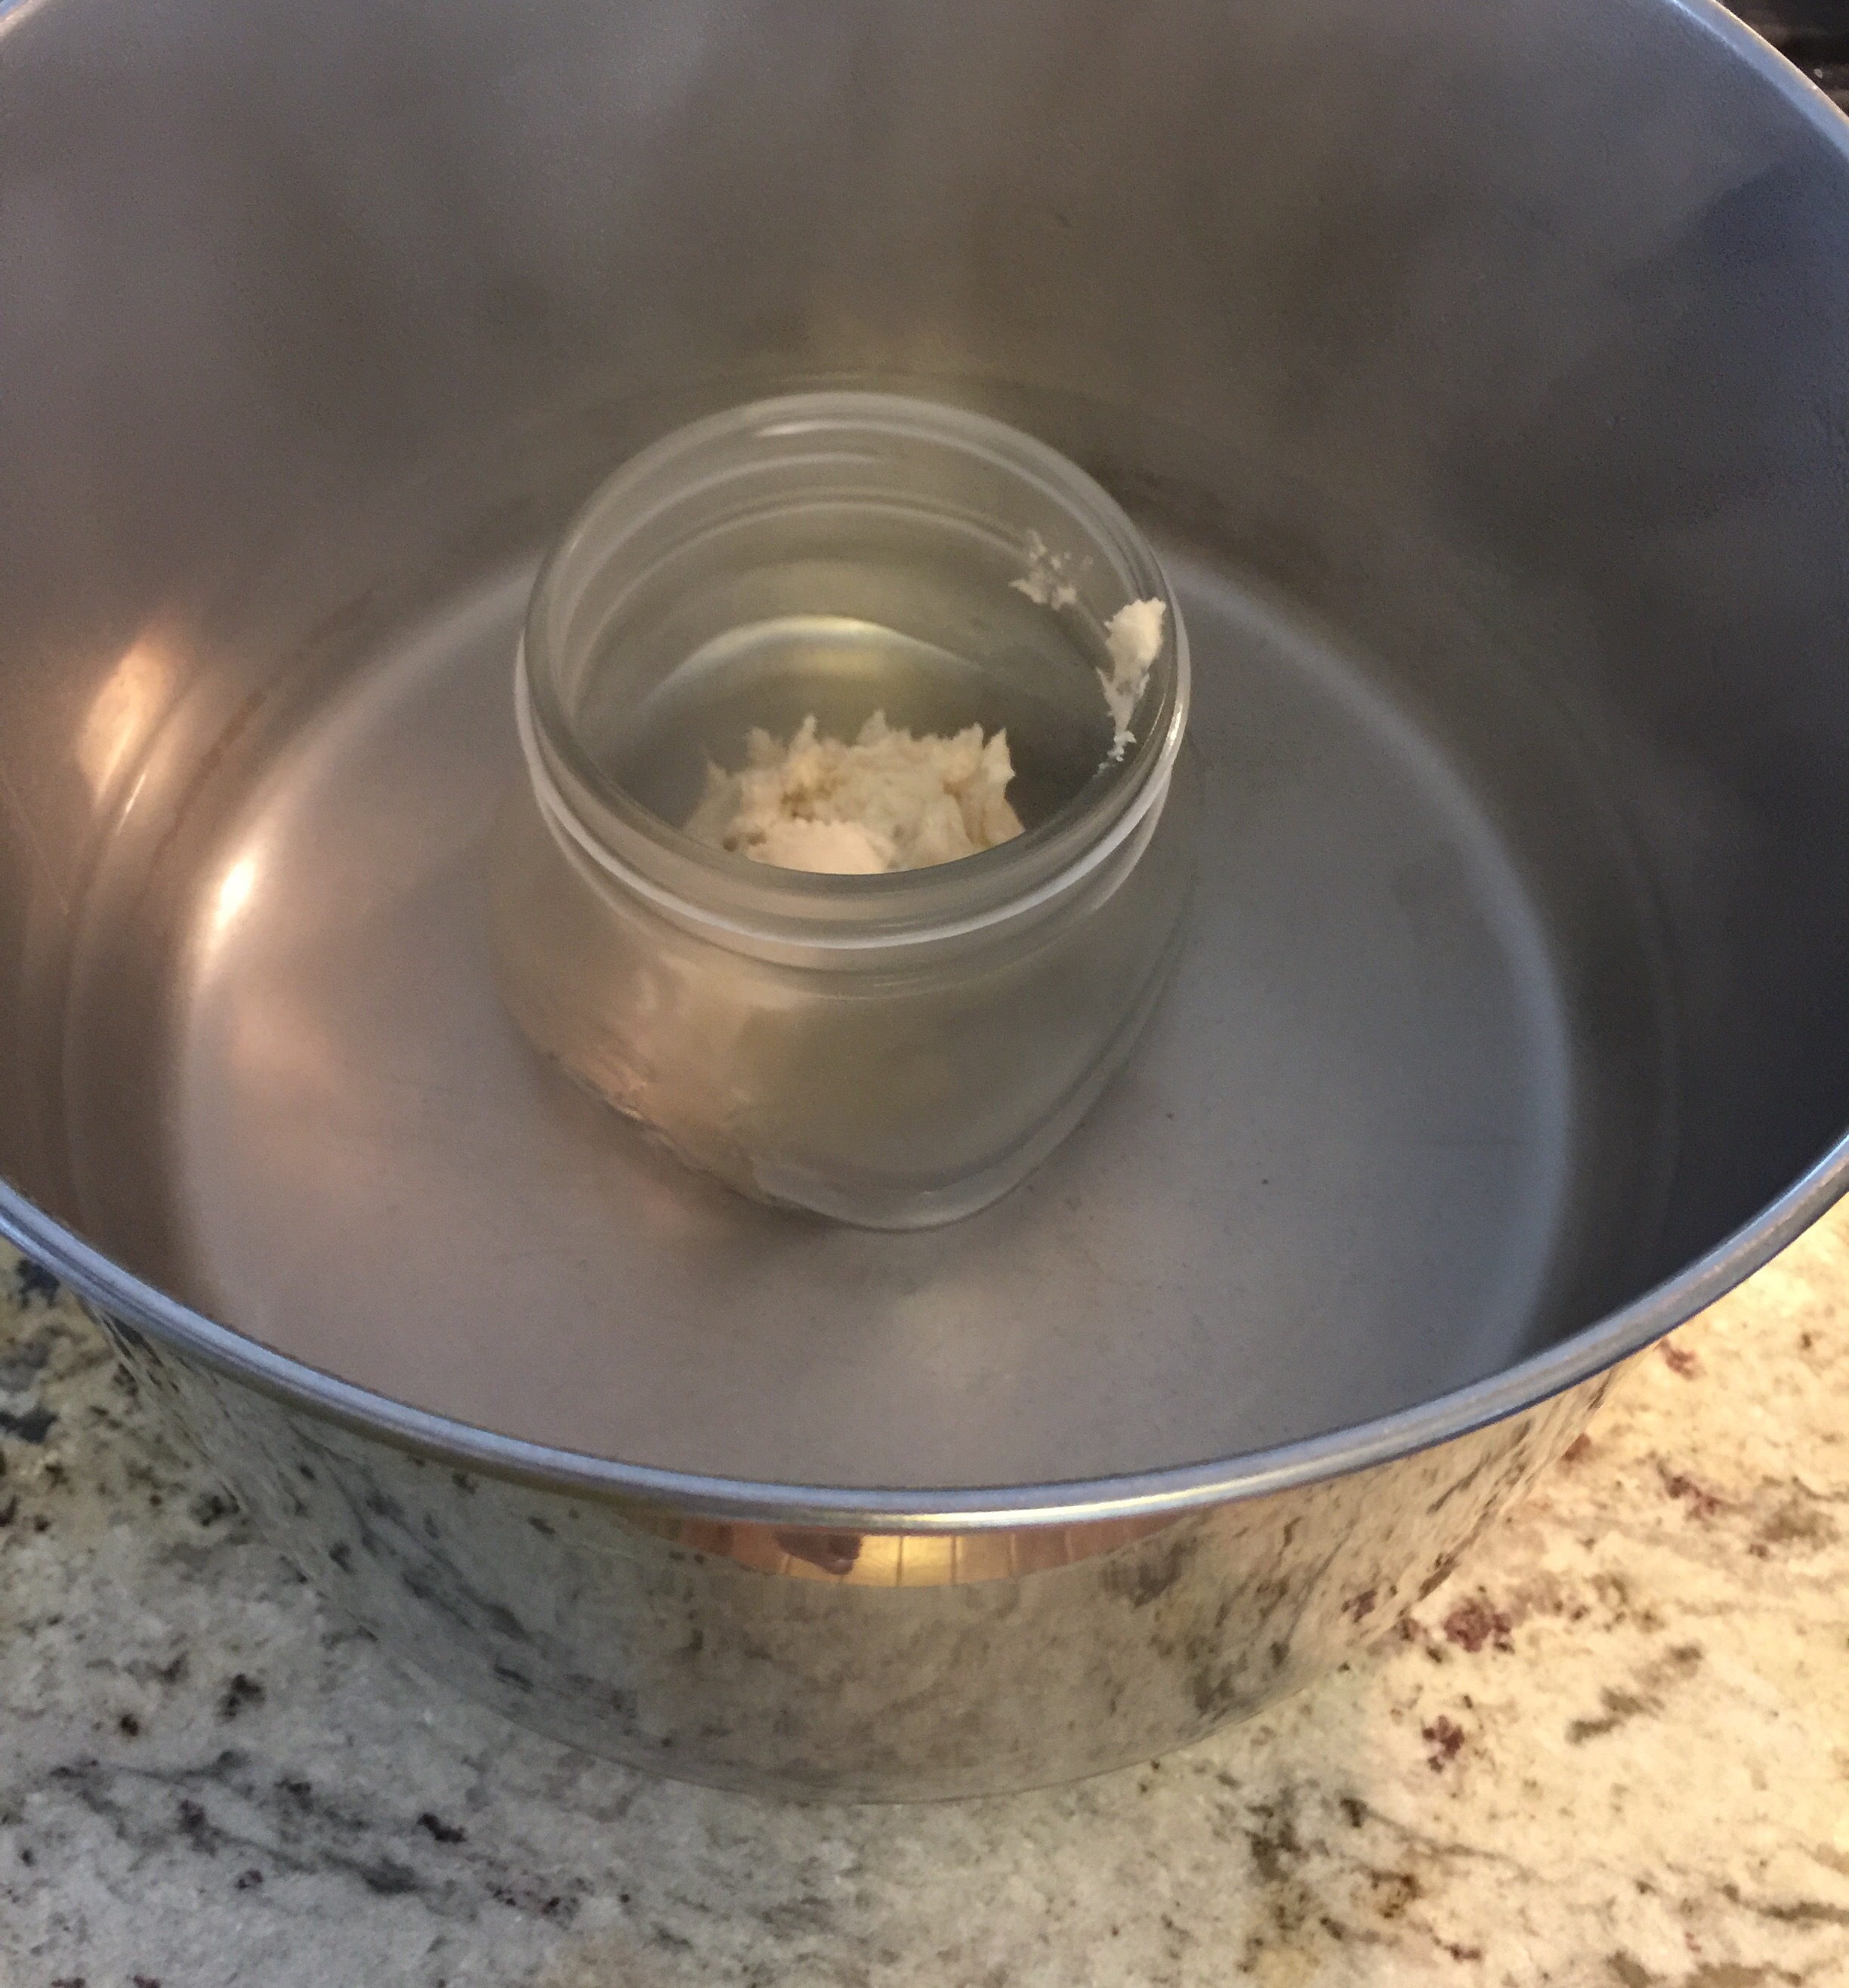
Place your glass container into your pot of boiling water that you set aside in step one.
It will take a few minutes, but the shea butter will slowly dissolve. You may speed this process up by swirling the glass around or taking a wooden or metal spoon to the shea butter.
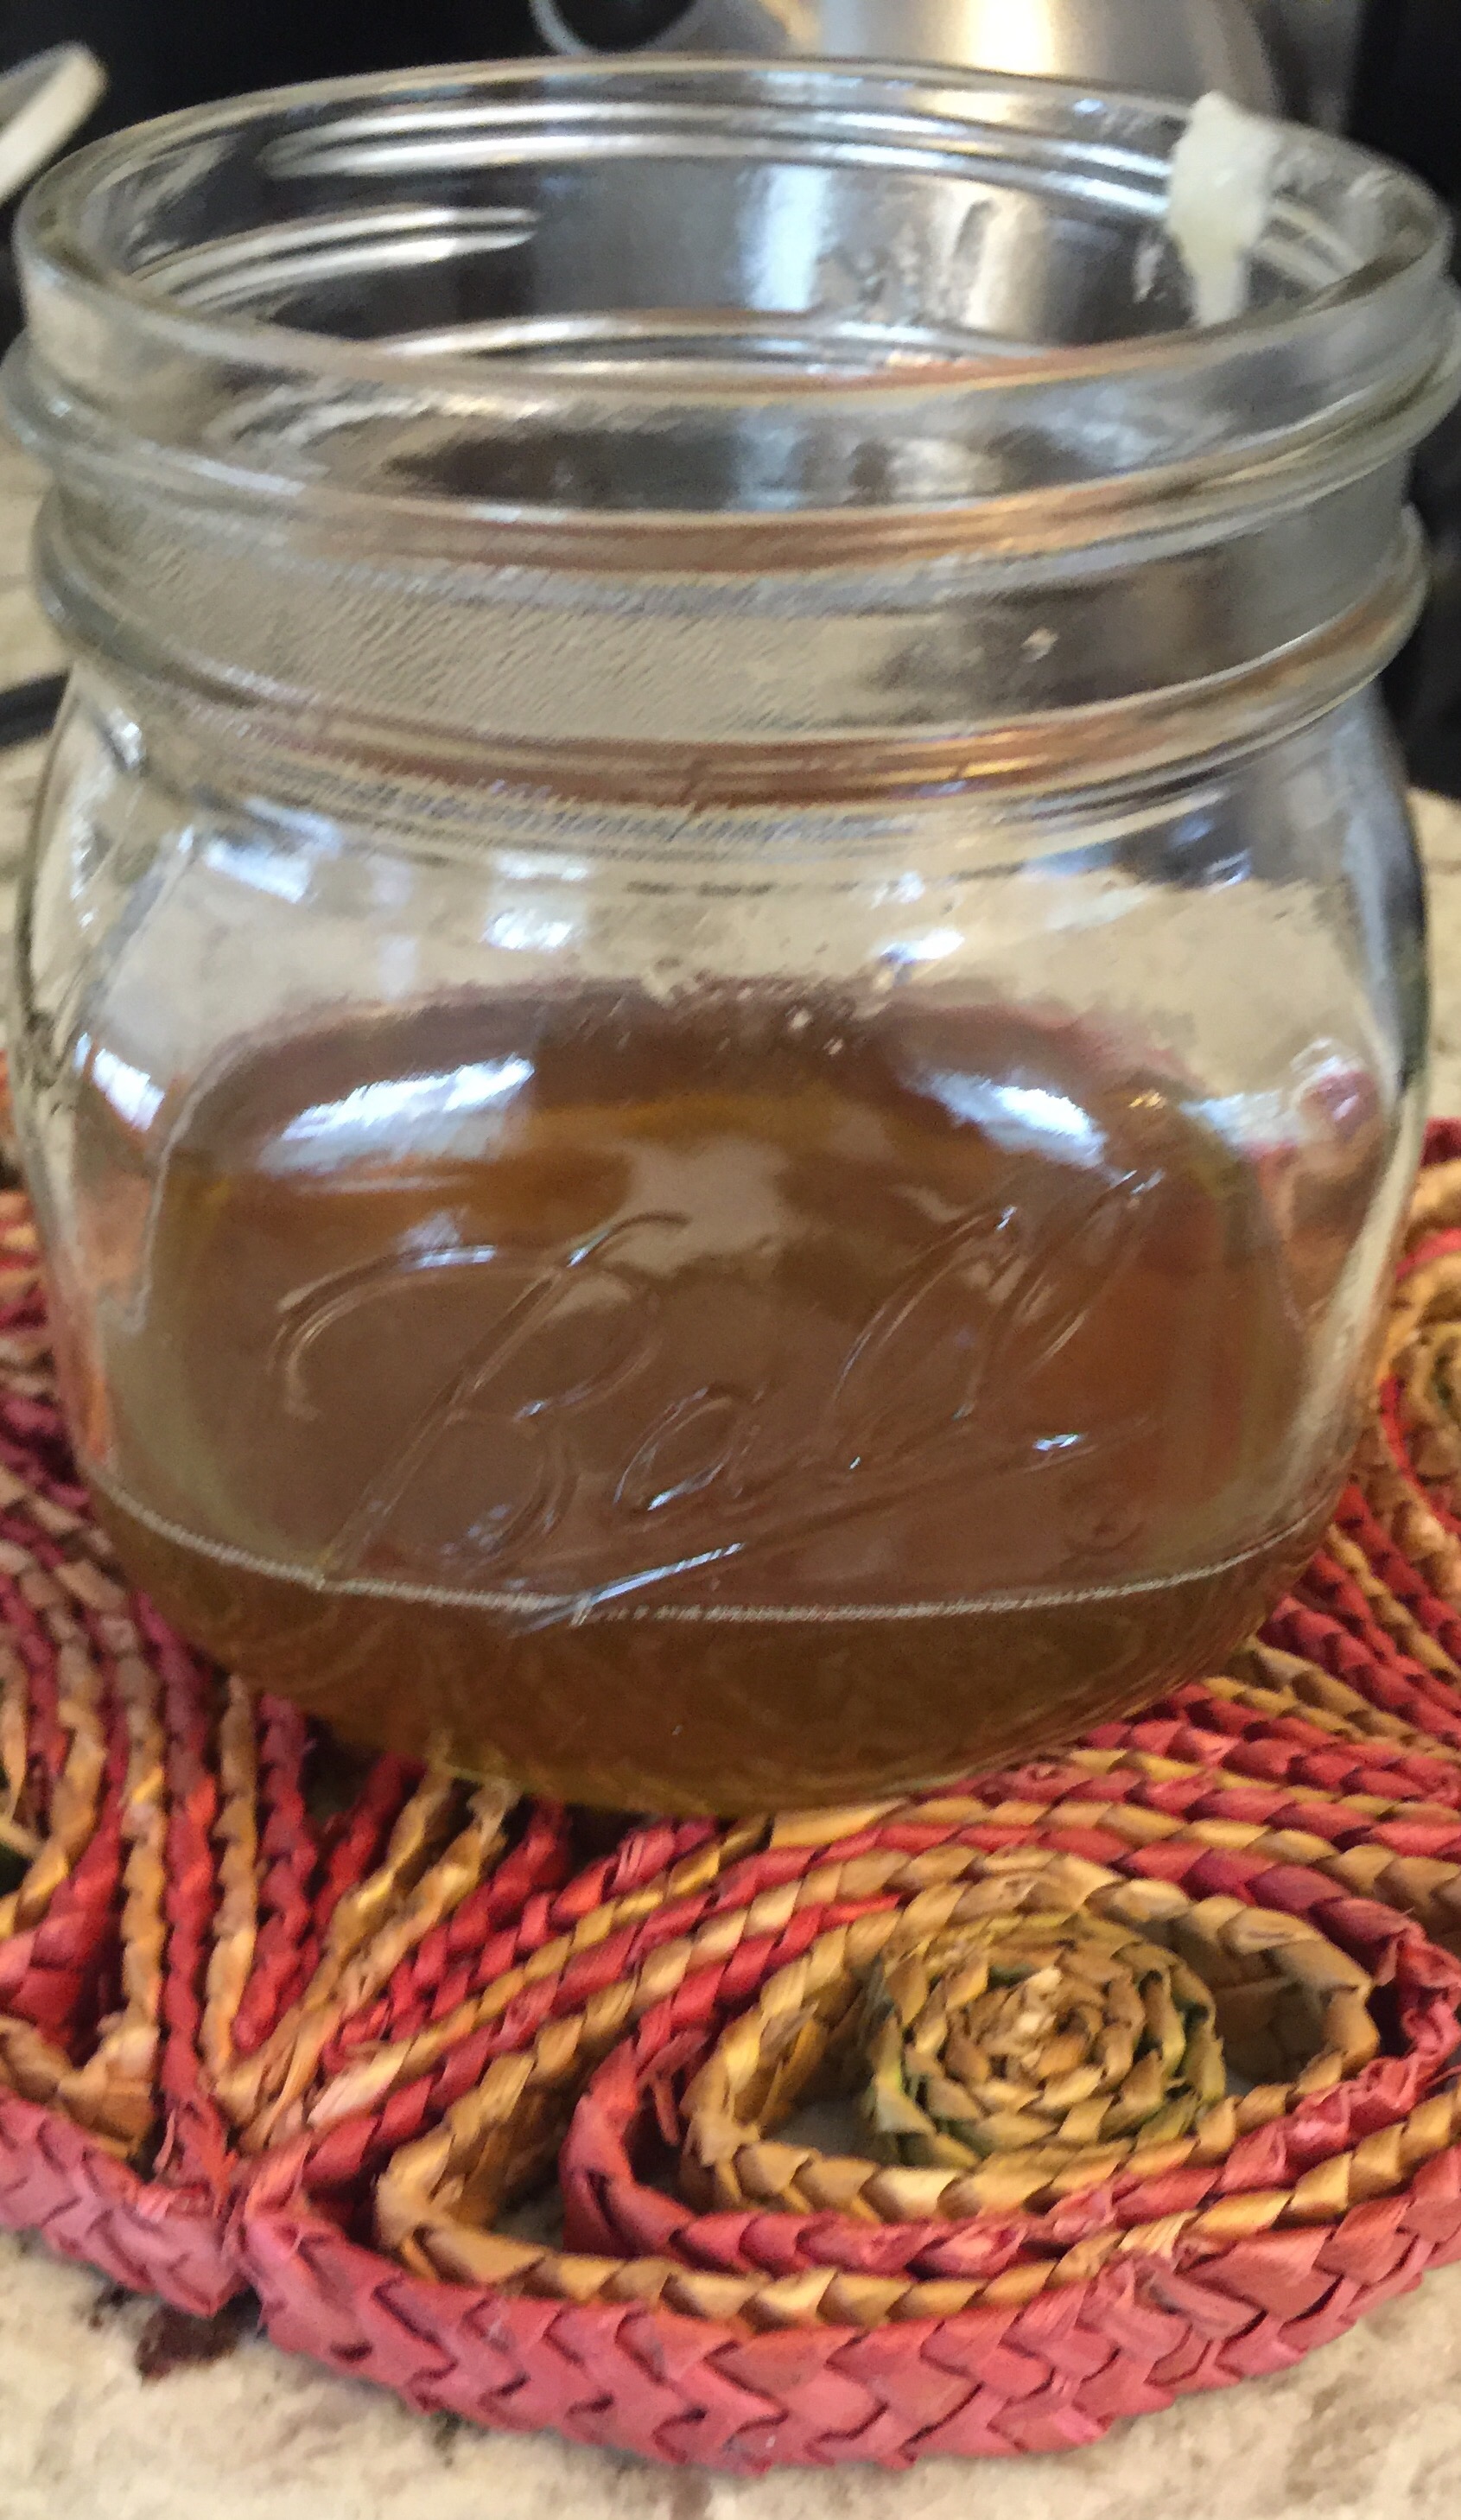

Once your shea butter has melted, you are ready to carefully remove your glass bowl or jar from your pot of water. If there is debris in your melted butter, you can easily strain it using a cheese cloth. Now it's time for the fun part! You can add essential oils to scent it, or you can combine and whip with other oils such as jojoba, coconut, tamanu or sea buckthorn (the list is quite long) to create a custom lotion or body butter.
Melting shea butter is easy. Done properly, the entire process only takes about ten minutes.
Here are some of my favorite super easy DIY shea butter formulations:
Shea Butter Moisturizer for Mature Skin
Shea Butter Moisturizer for Curly Hair
Shea Butter Moisturizing Body Scrub
For more DIY natural skin care ideas, check out my latest book Natural Beauty from the Outside In, where you’ll find 70 Ayurveda inspired hair and skin care recipes.